Like all events, we like to drag Halloween out. October is a month for spooky vibes, so for anyone who says Halloween nail art is pointless- take those negative vibes elsewhere.
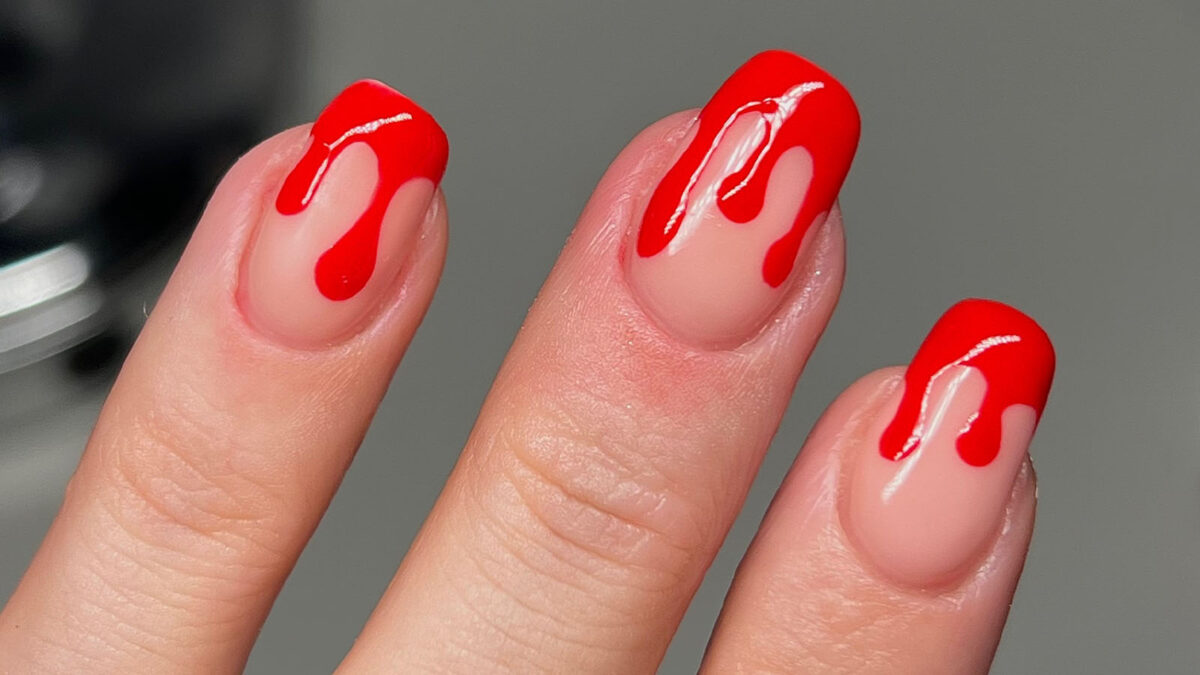
We’re kicking off the spooky szn with this blood drip nail art design, which is actually super easy to recreate at home, and will be the perfect finishing touch to any Halloween look, whether you’re going full OTT, or keeping it simple.
Scroll to find out how to achieve this blood drip tip design, that’s easy-peasy, spooky-szn ready and most importantly- perfect for beginners.
Step One:
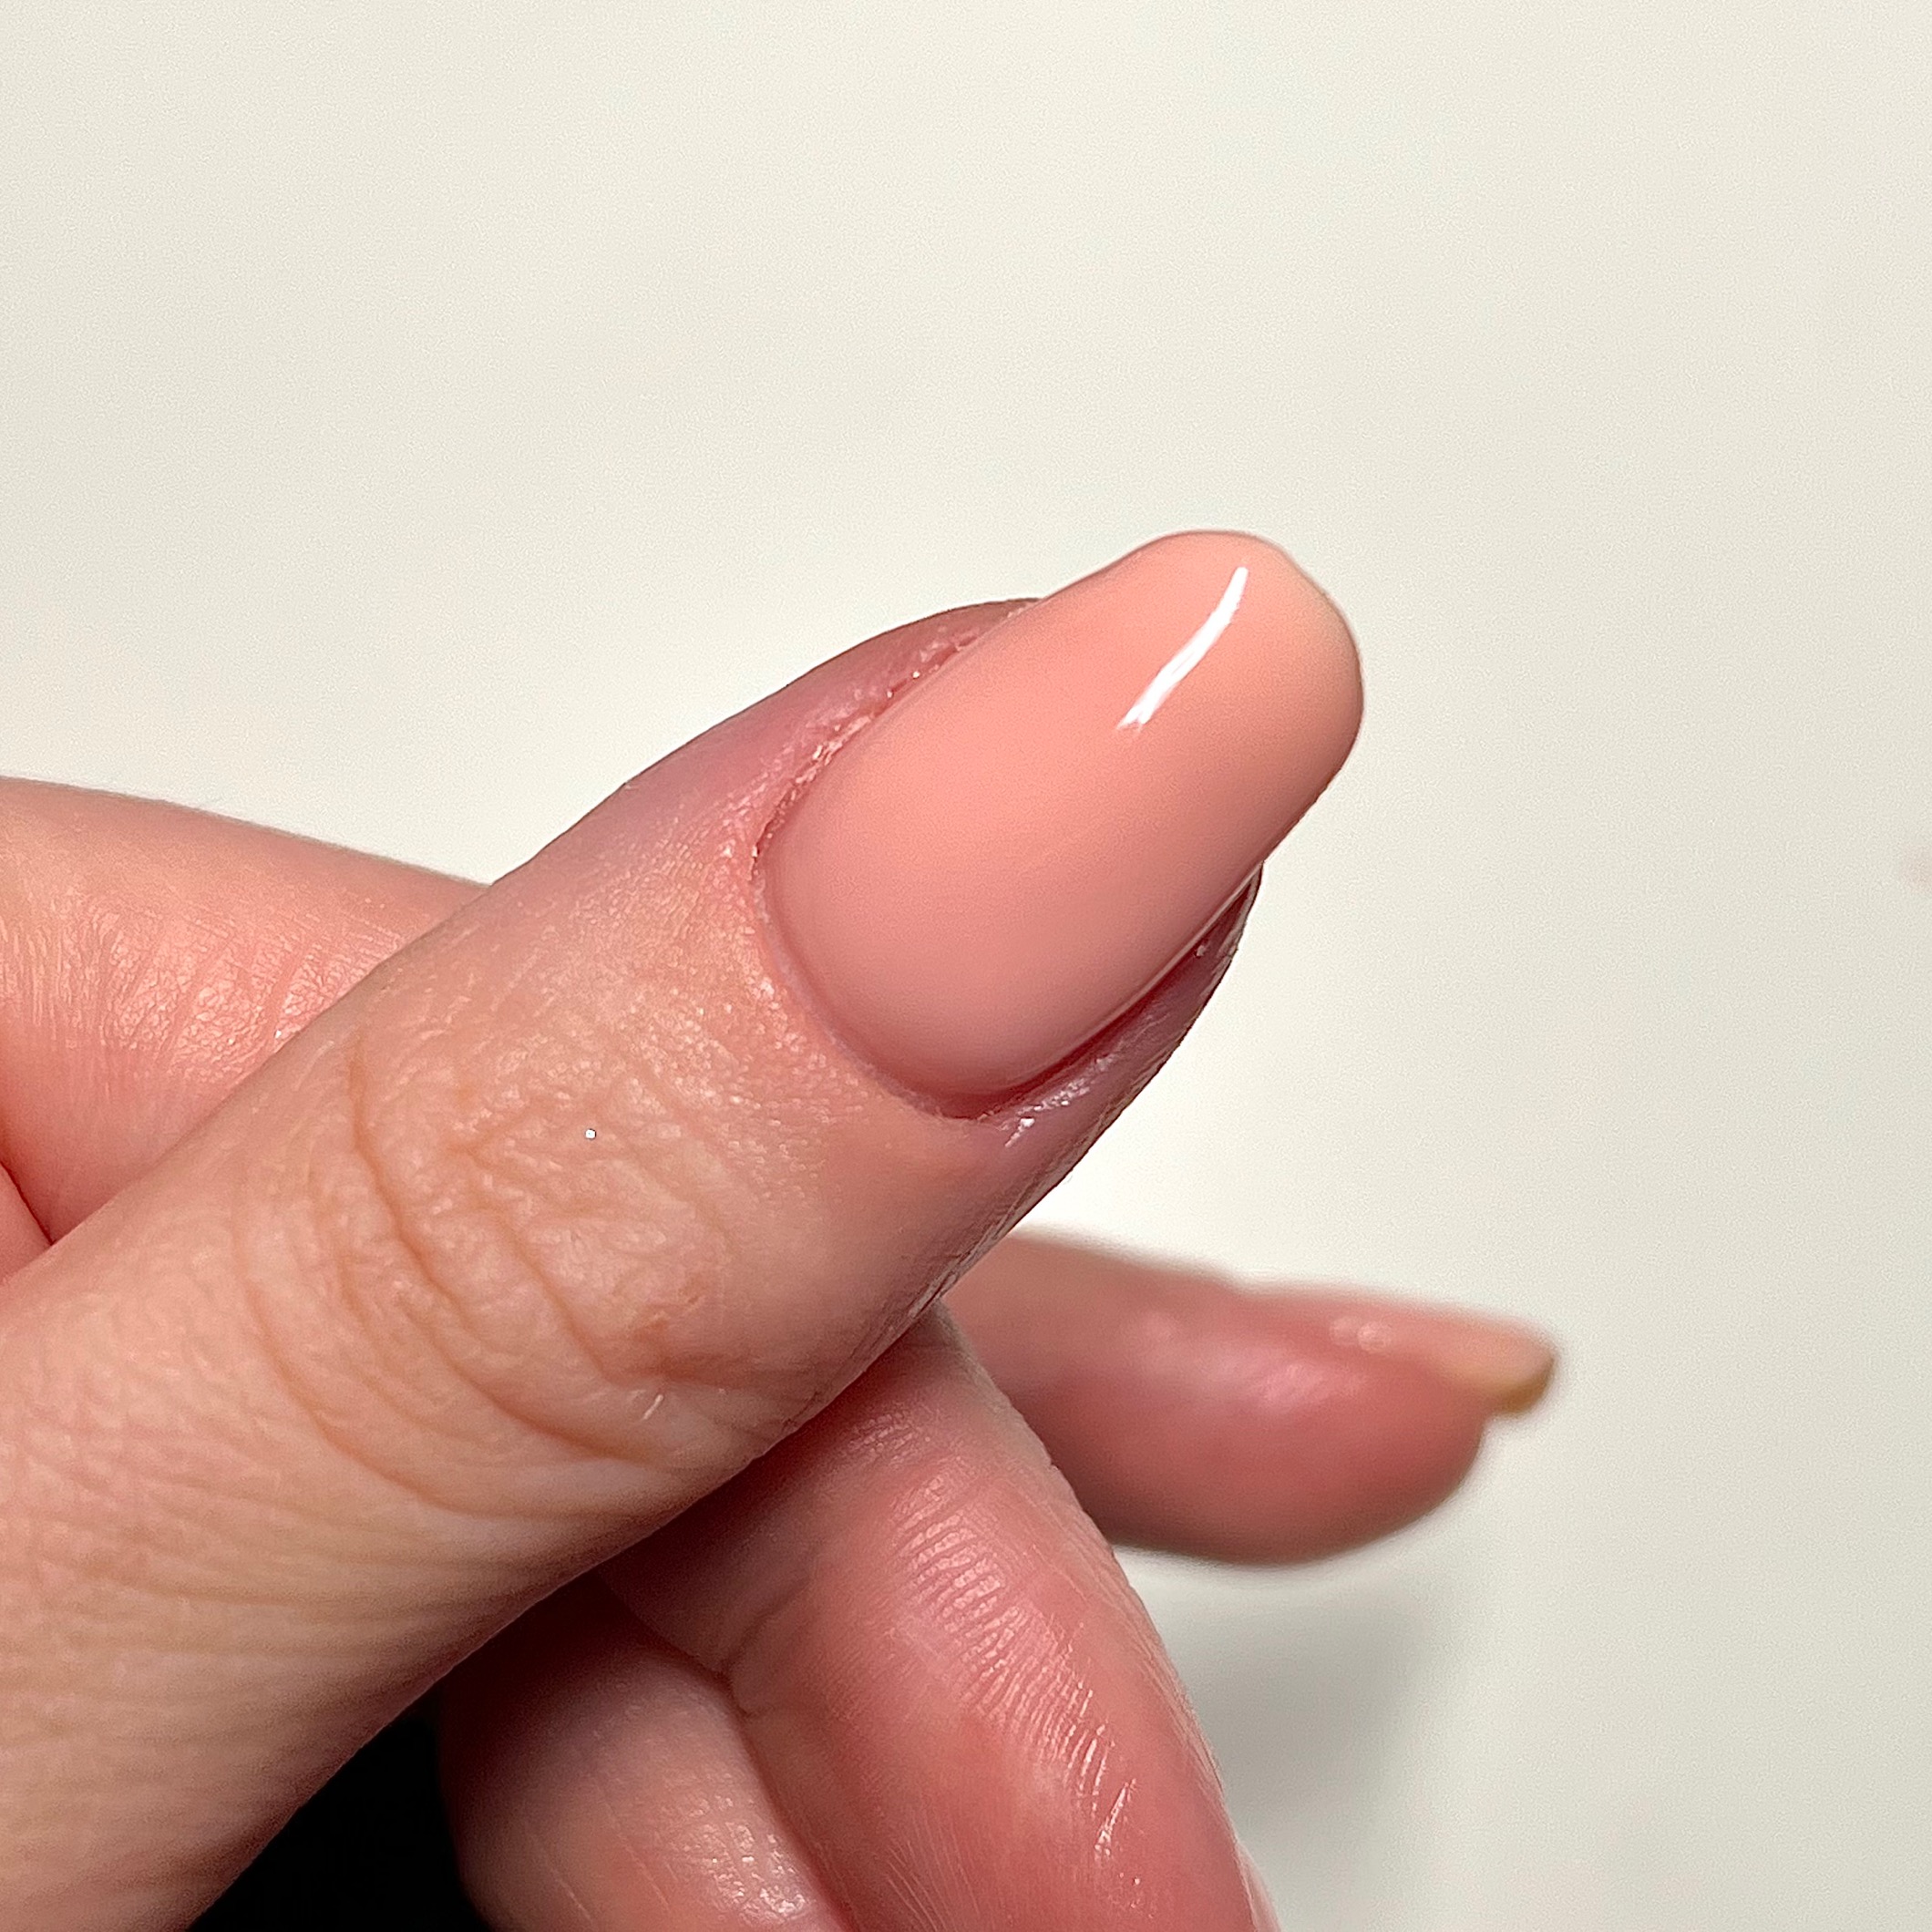
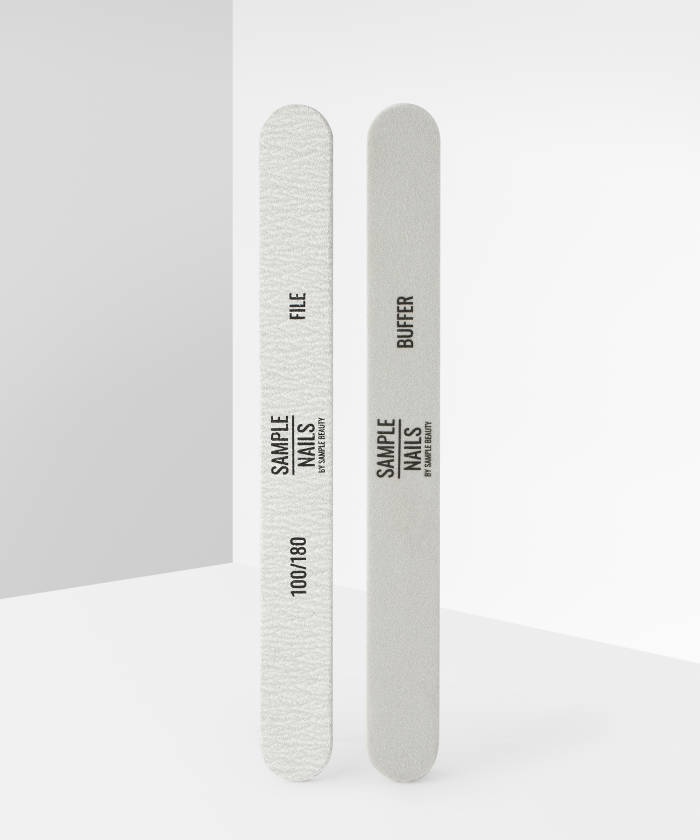
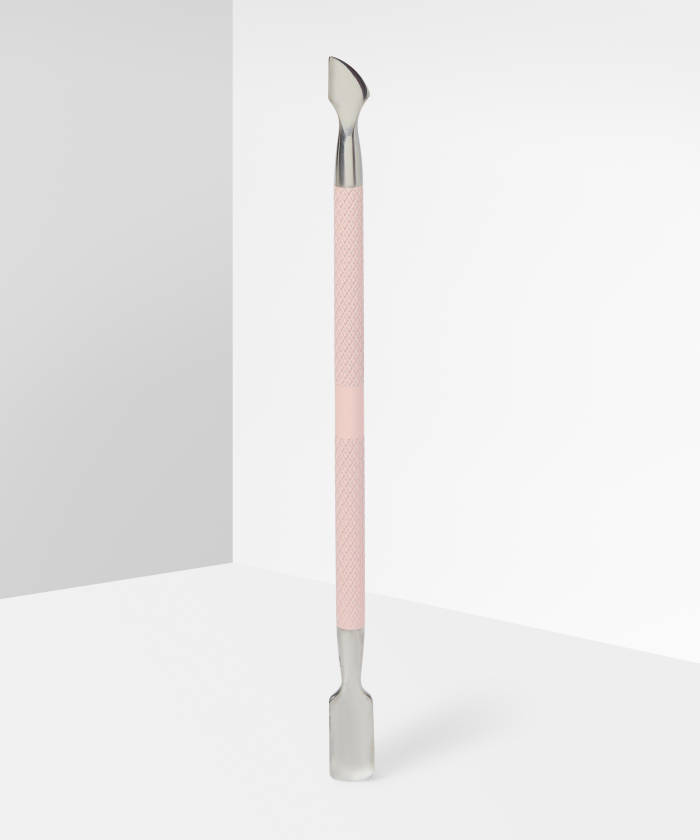
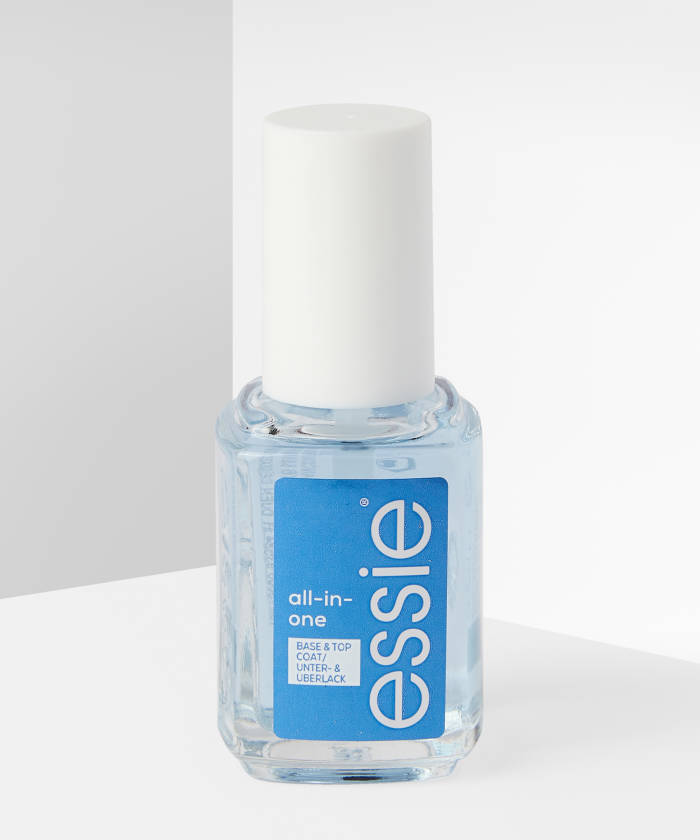
Start out by prepping and filing your nails into shape with a nail file and cuticle pusher. Then apply a base coat for the perfect base. Now is the perfect chance to paint your nails a nude shade or keep it plain- it’s completely up to you.
Step Two:
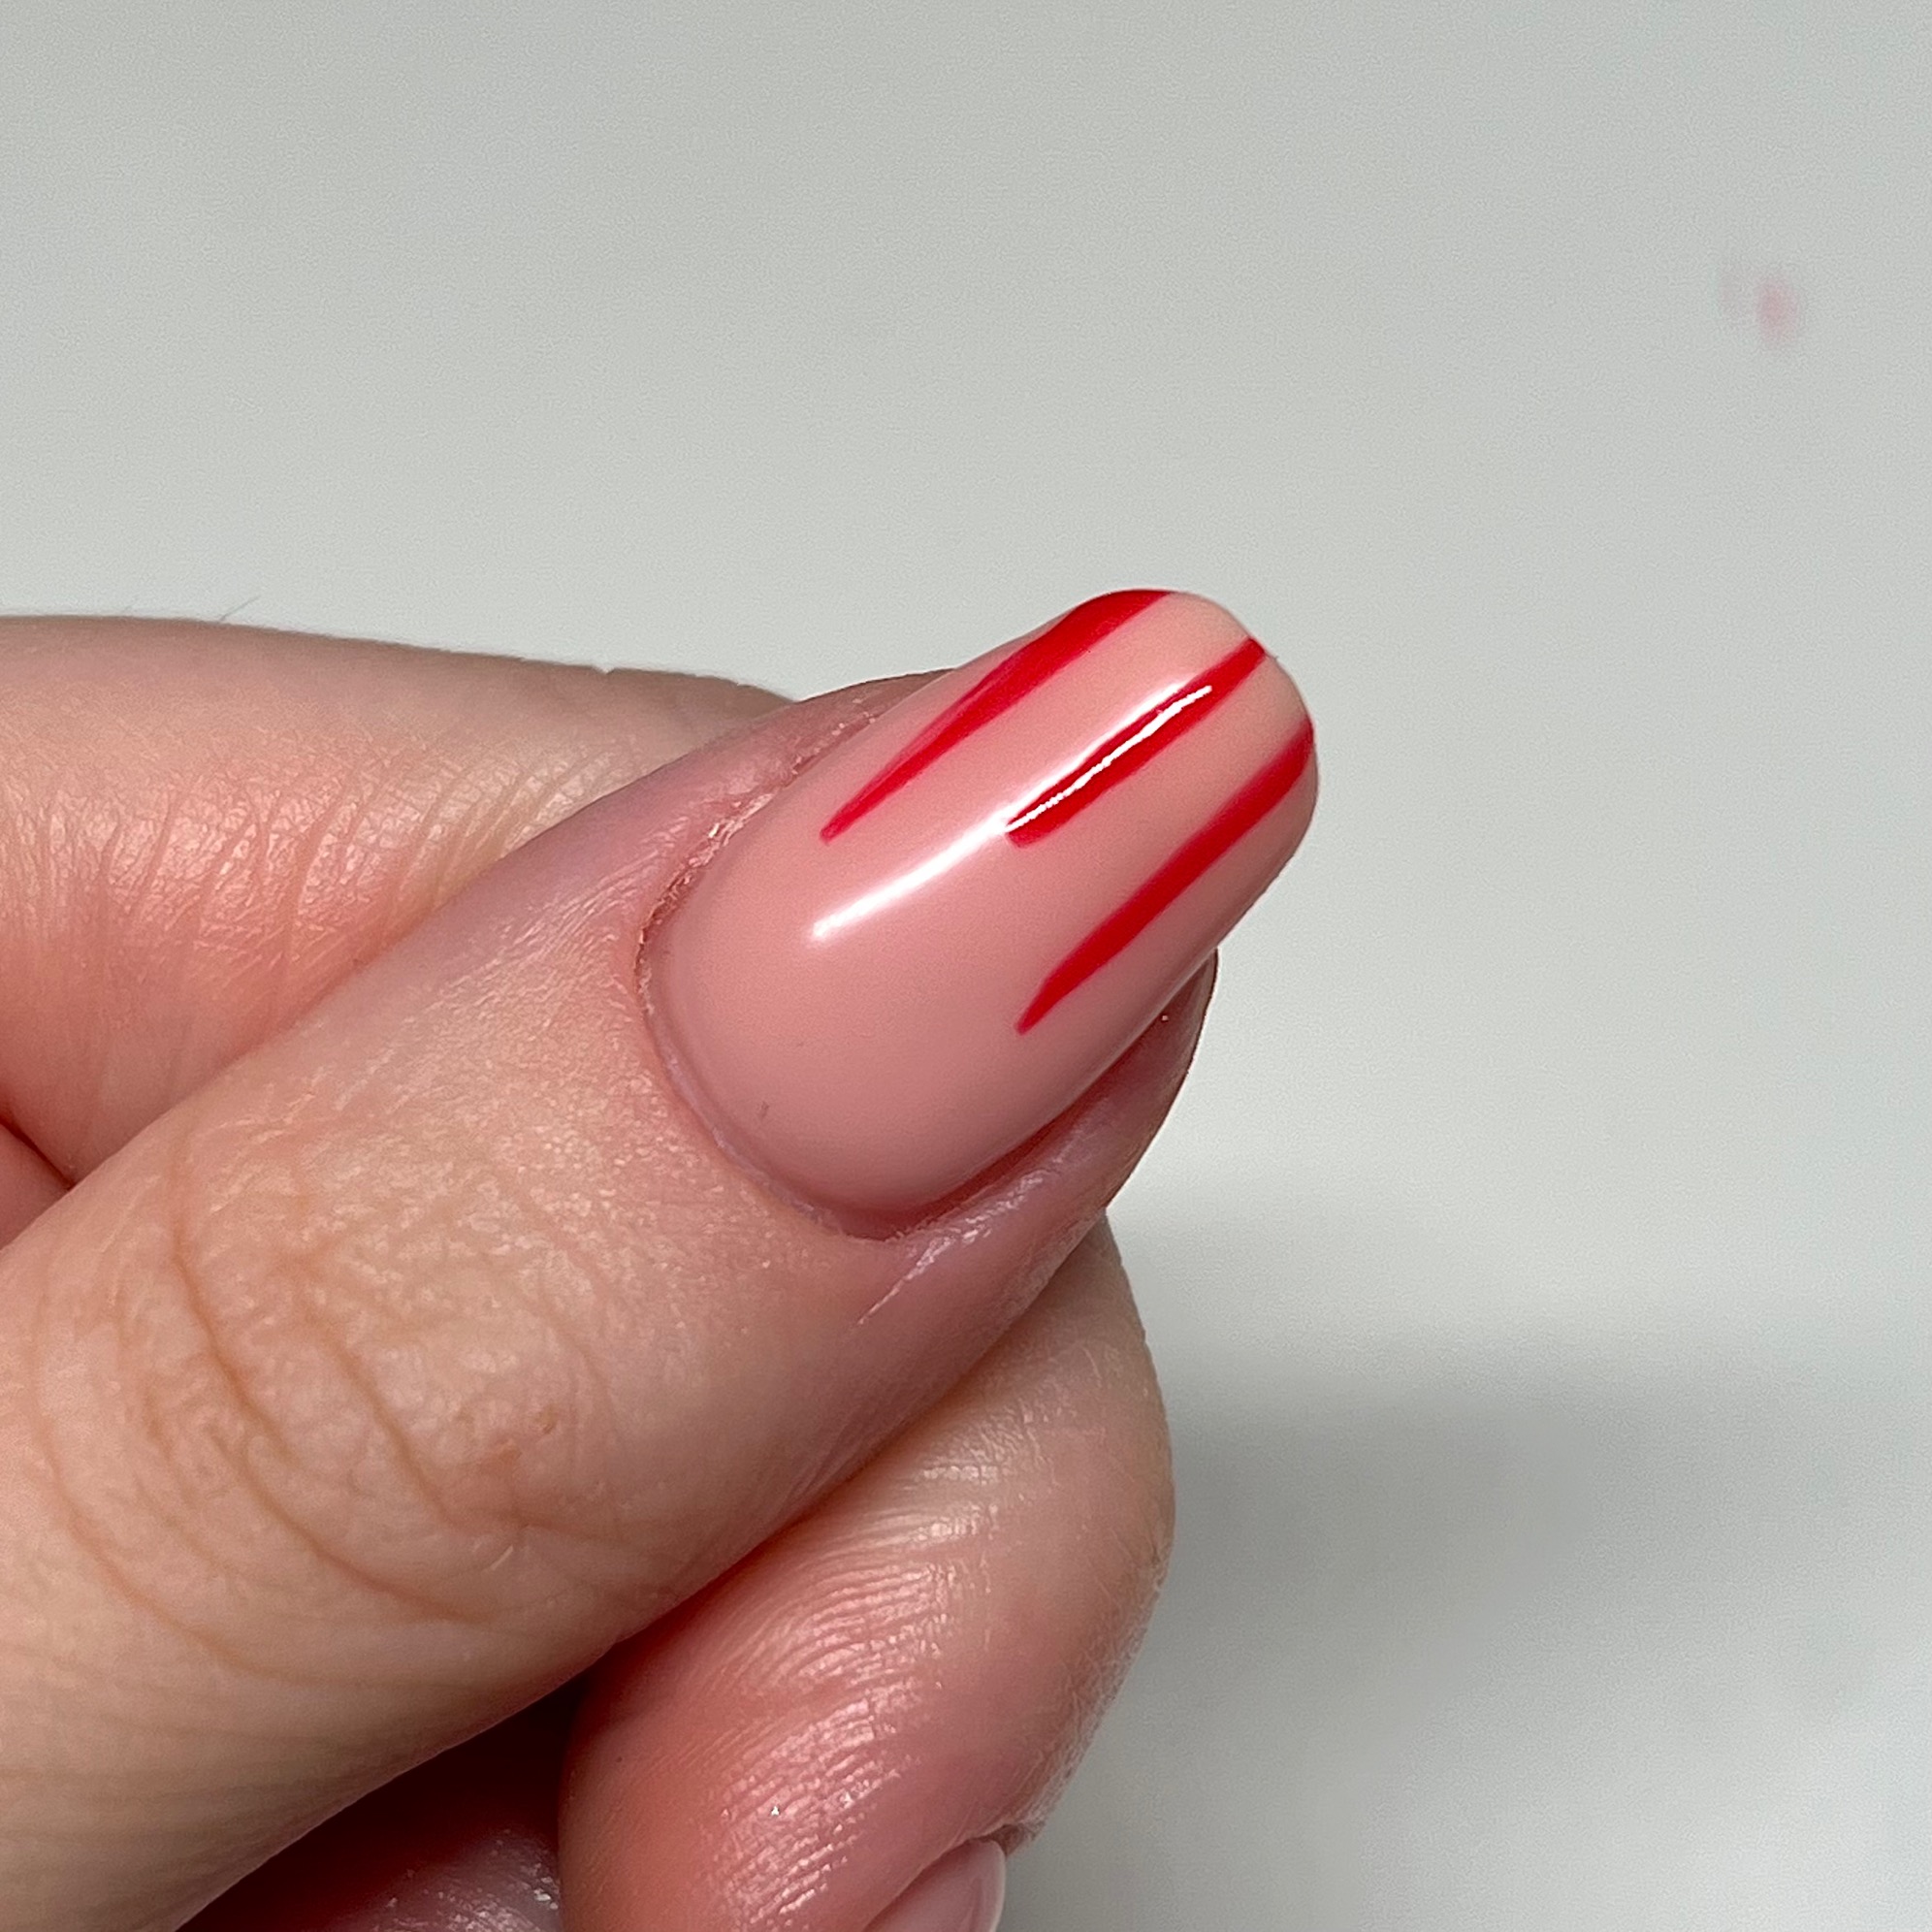
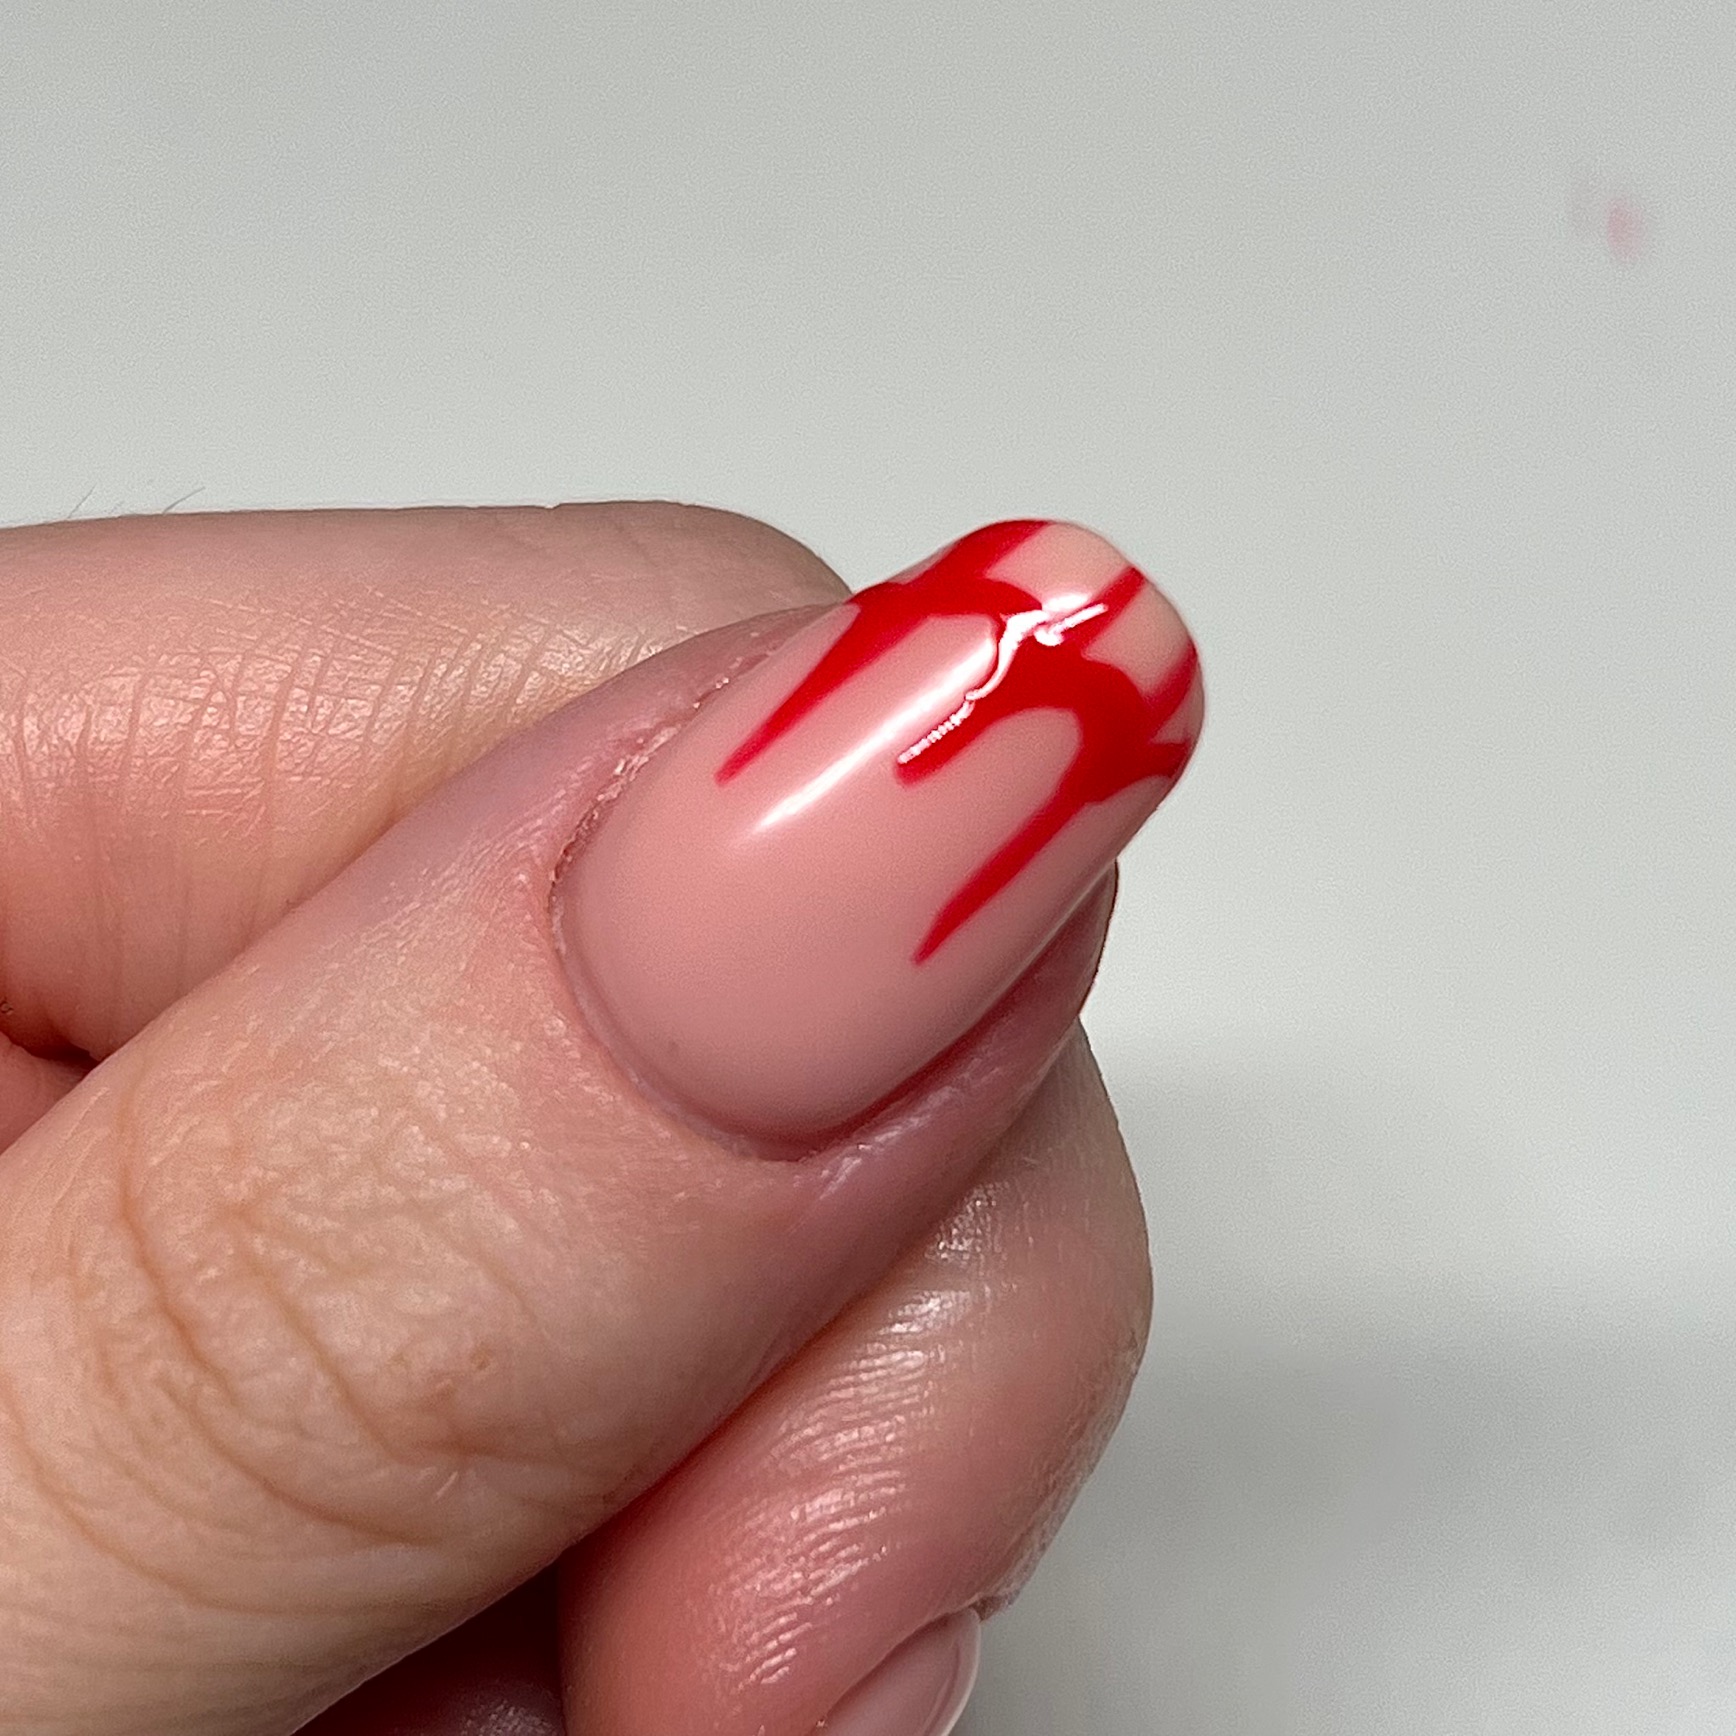
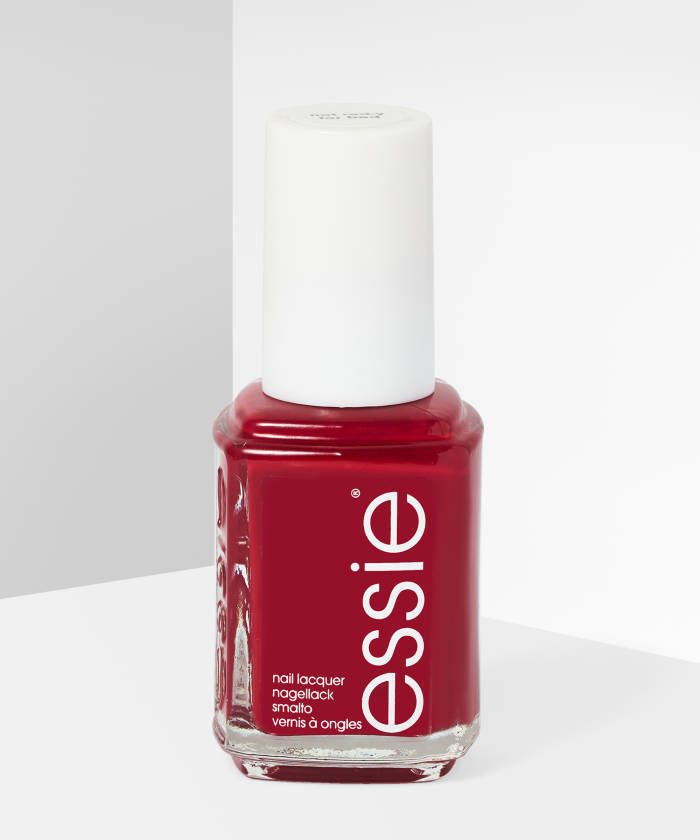
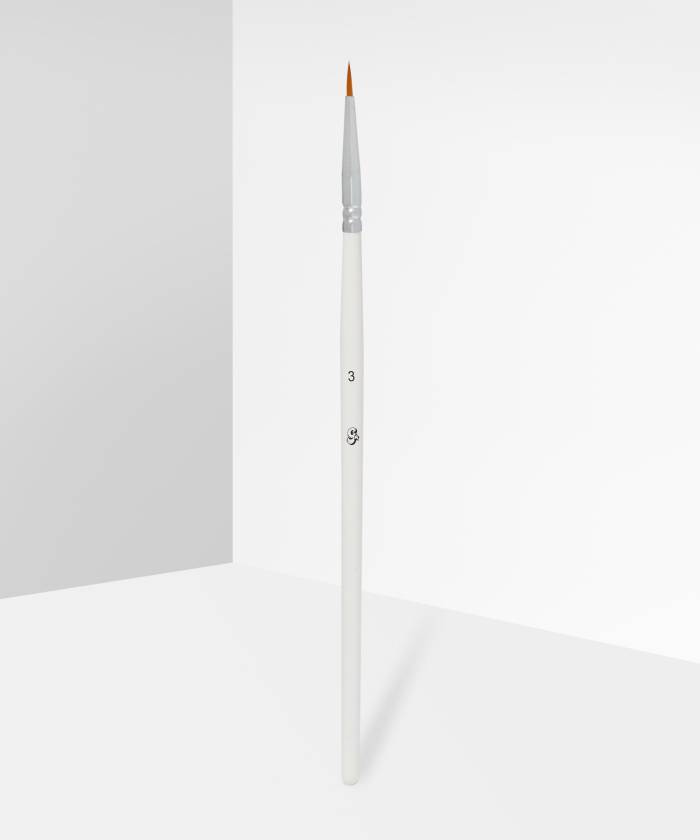
Using a fine line detailer brush and Essie red nail polish, start by drawing three lines vertically down the nail, in varying lengths.
Step Four:
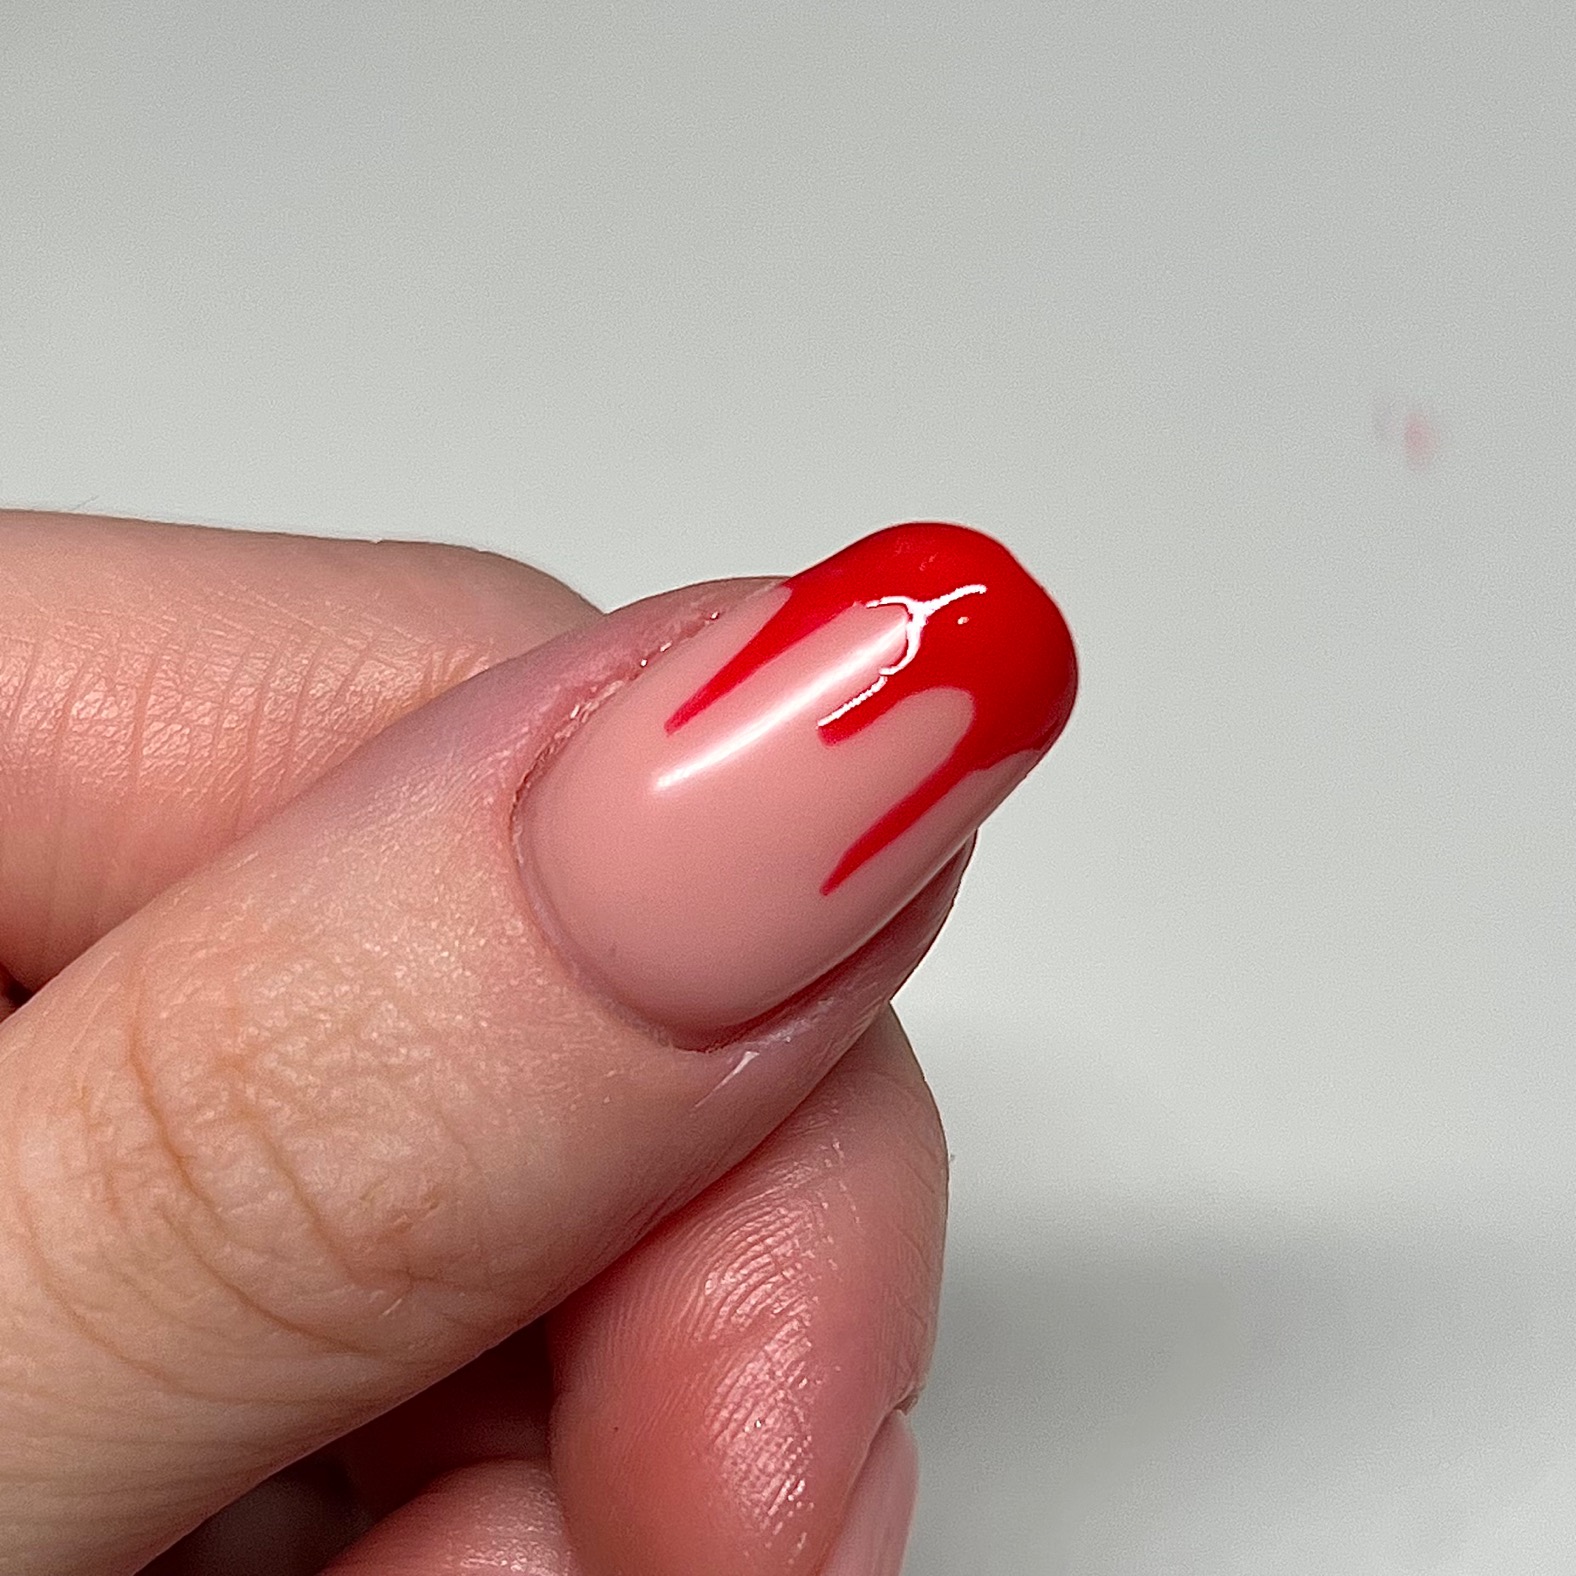
Fill in the gaps.
Step Six:
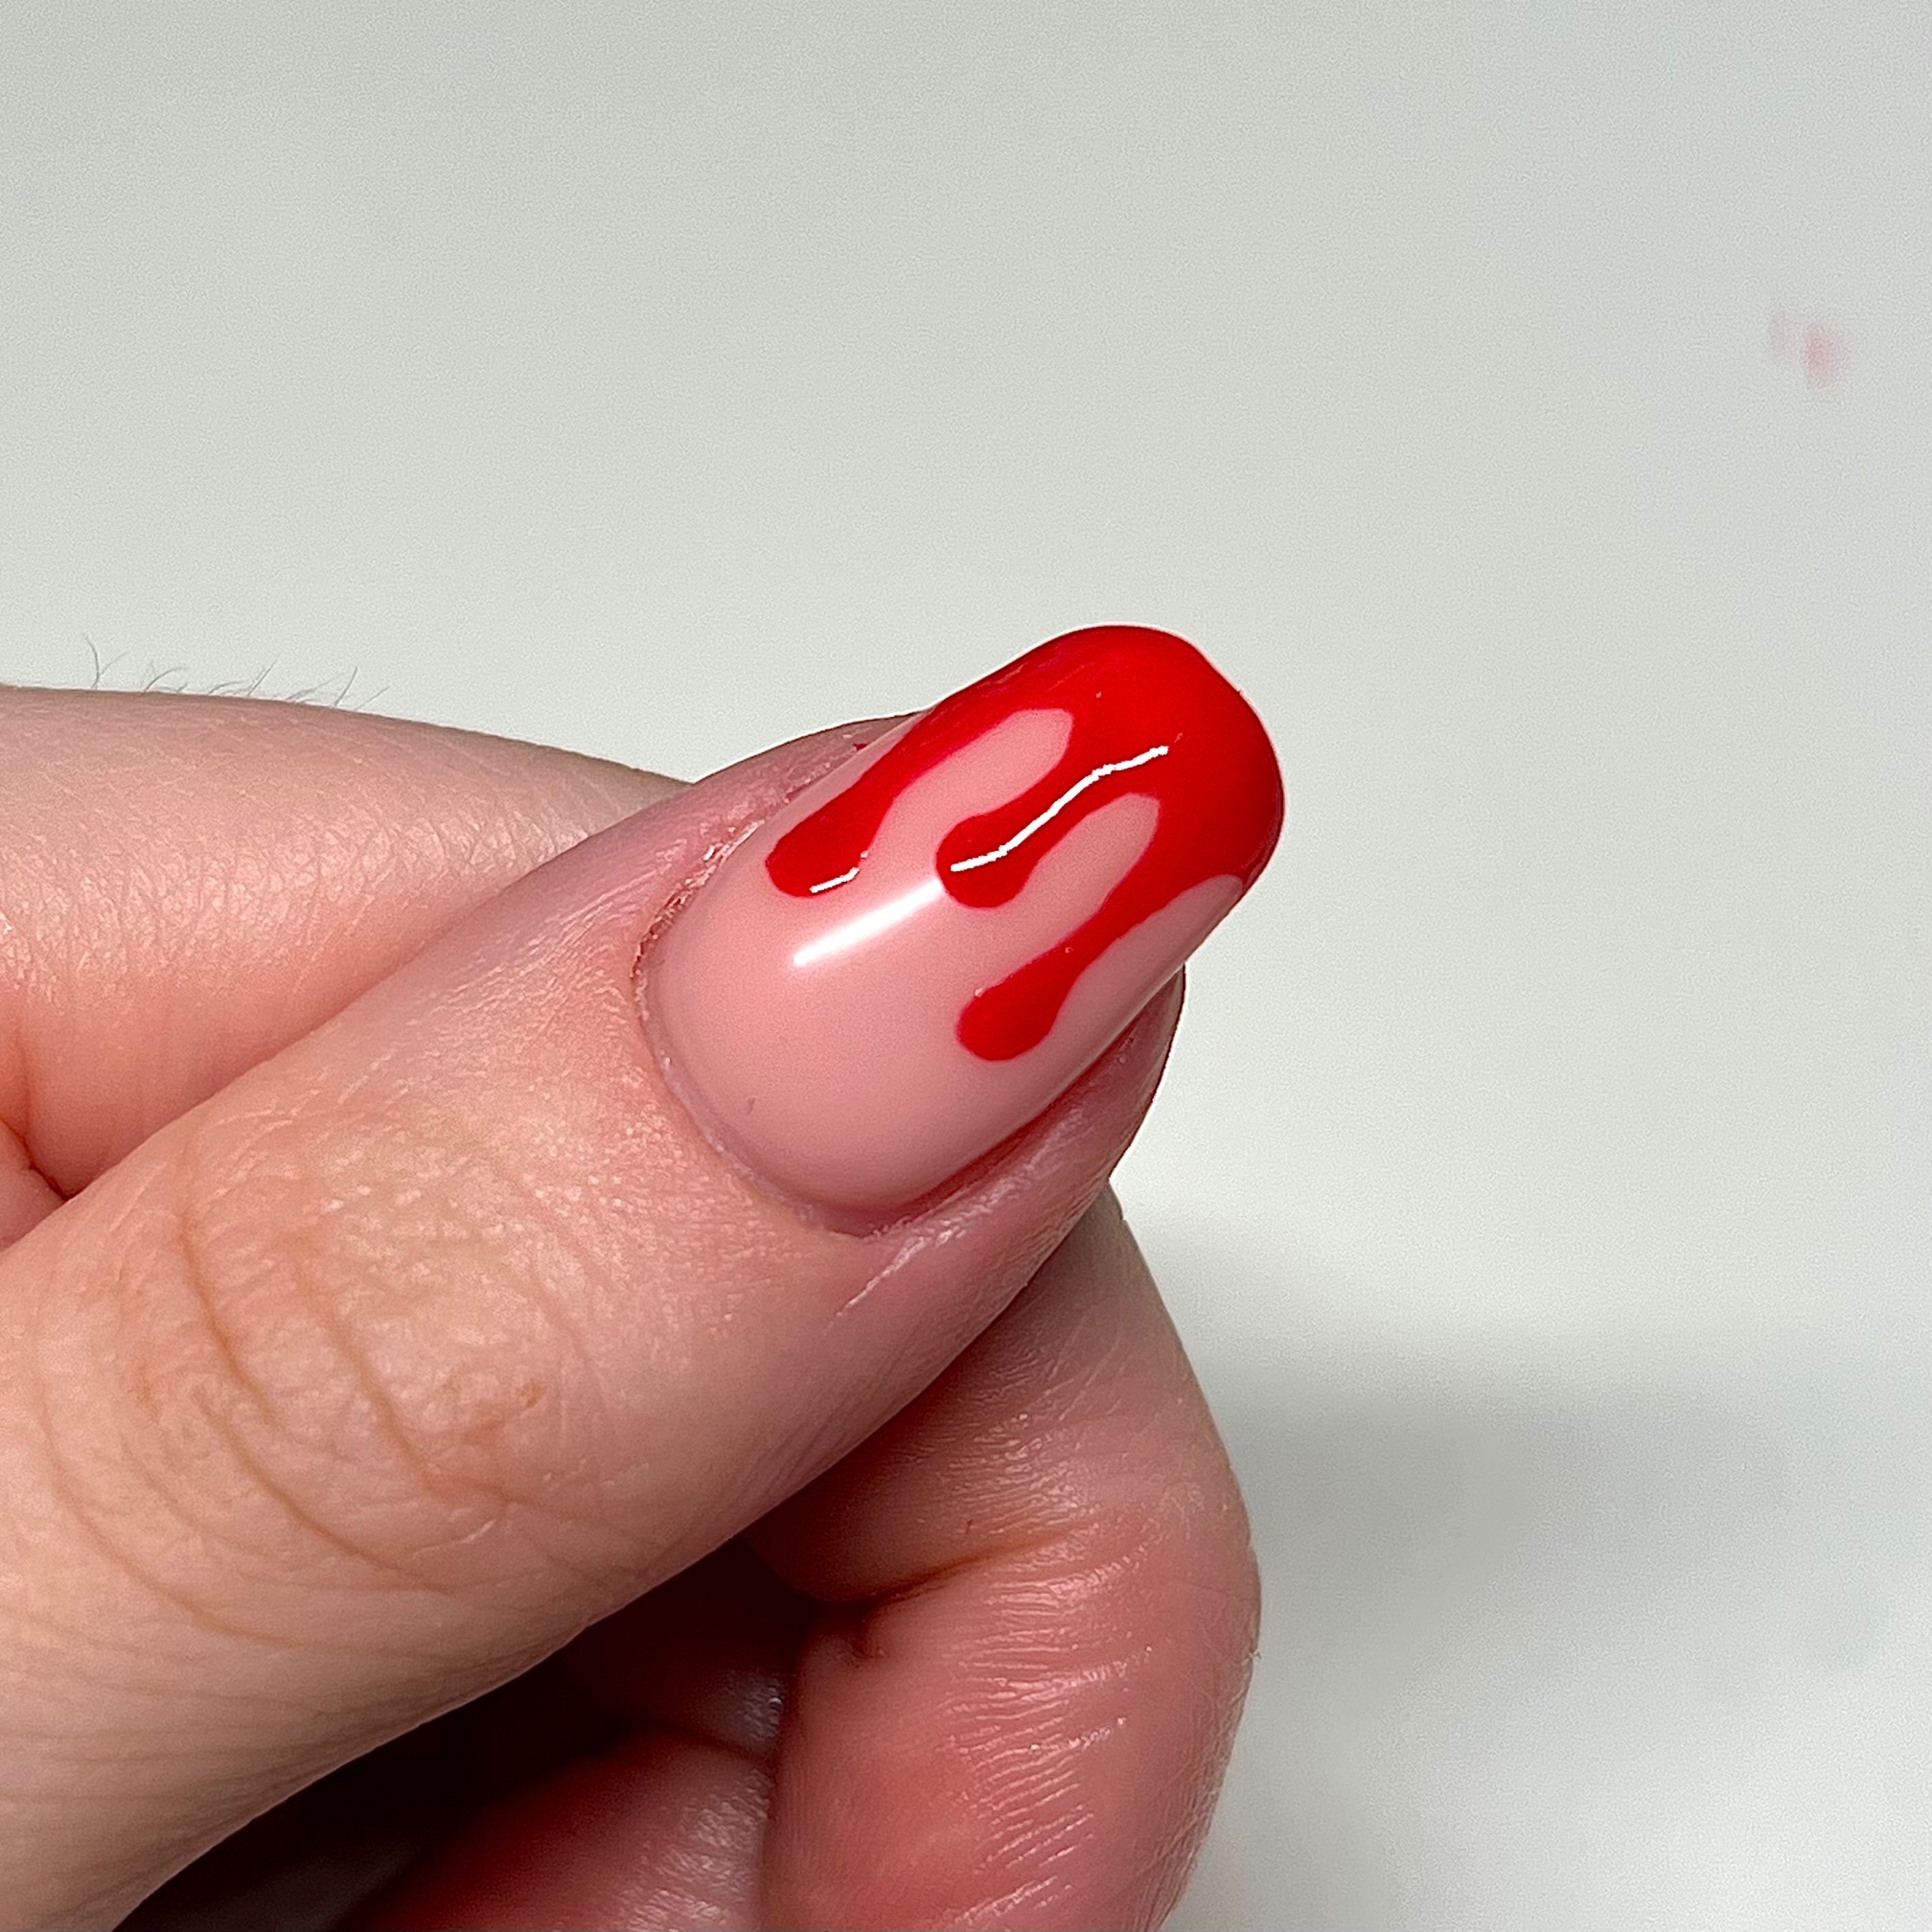
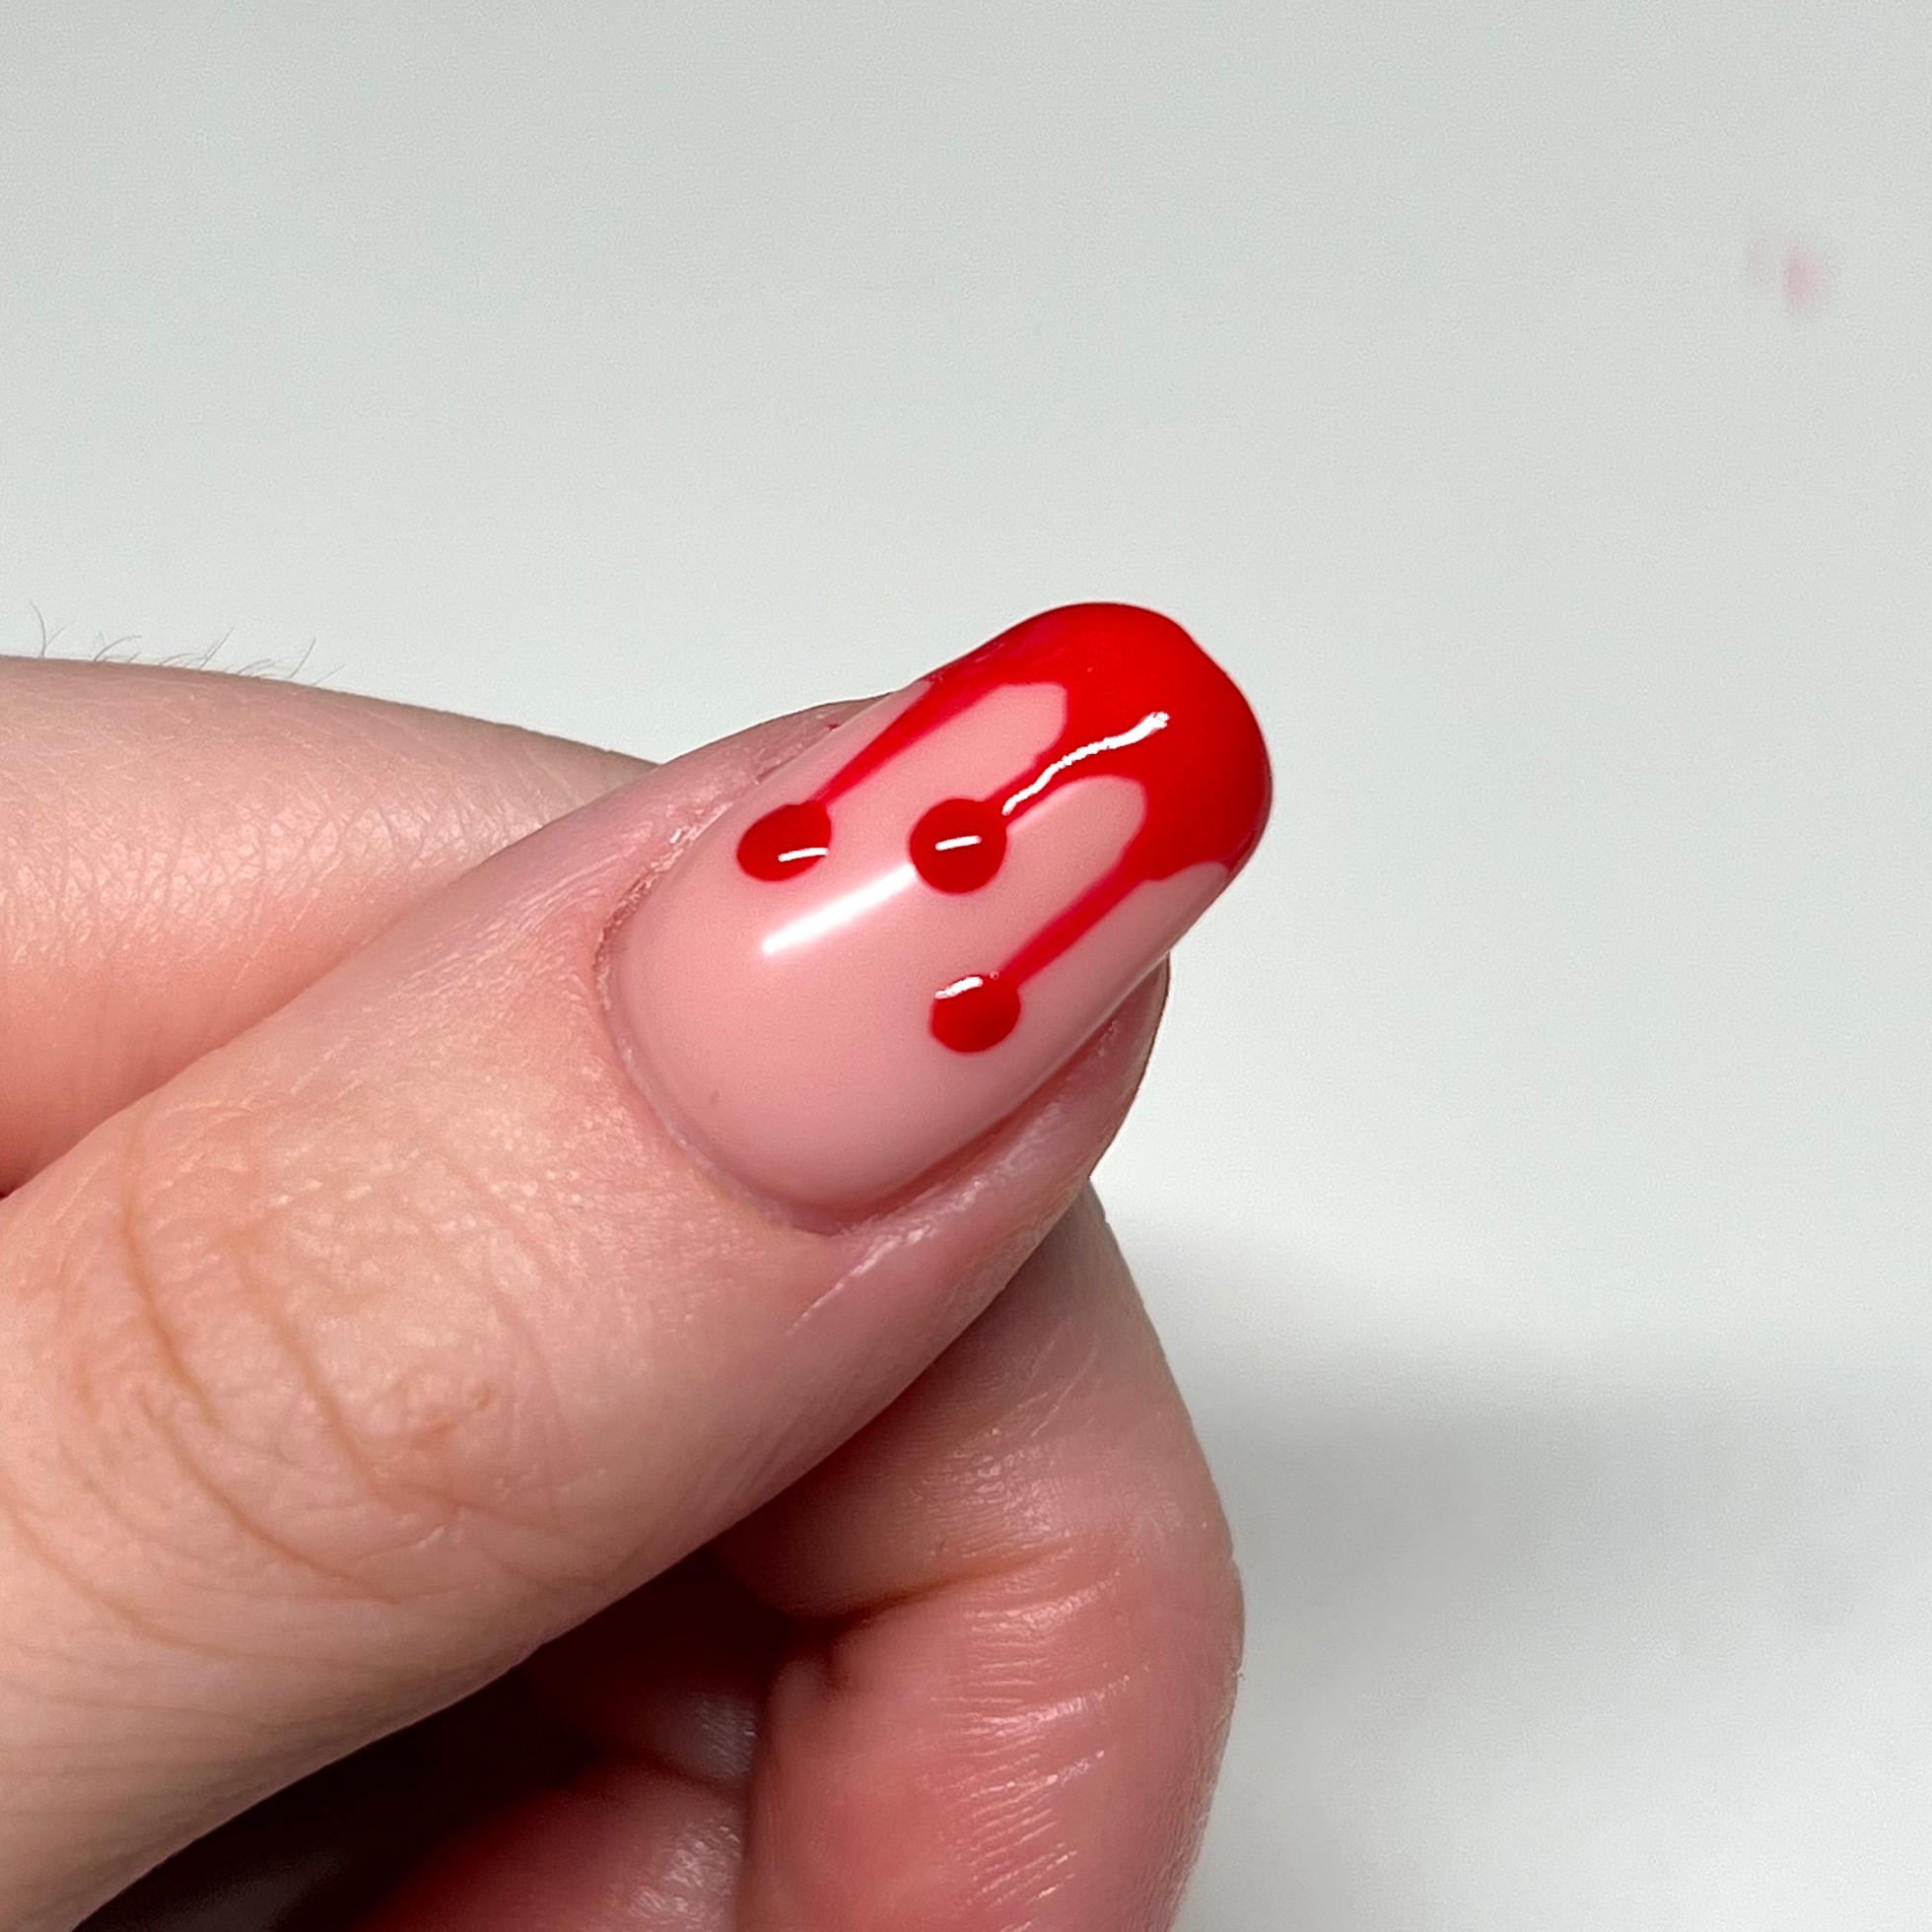
Connect the dots to the lines using small, precise strokes with your brush. Now is the perfect time to fix any sharp edges too, by rounding out your arches and lines.
Step Seven:
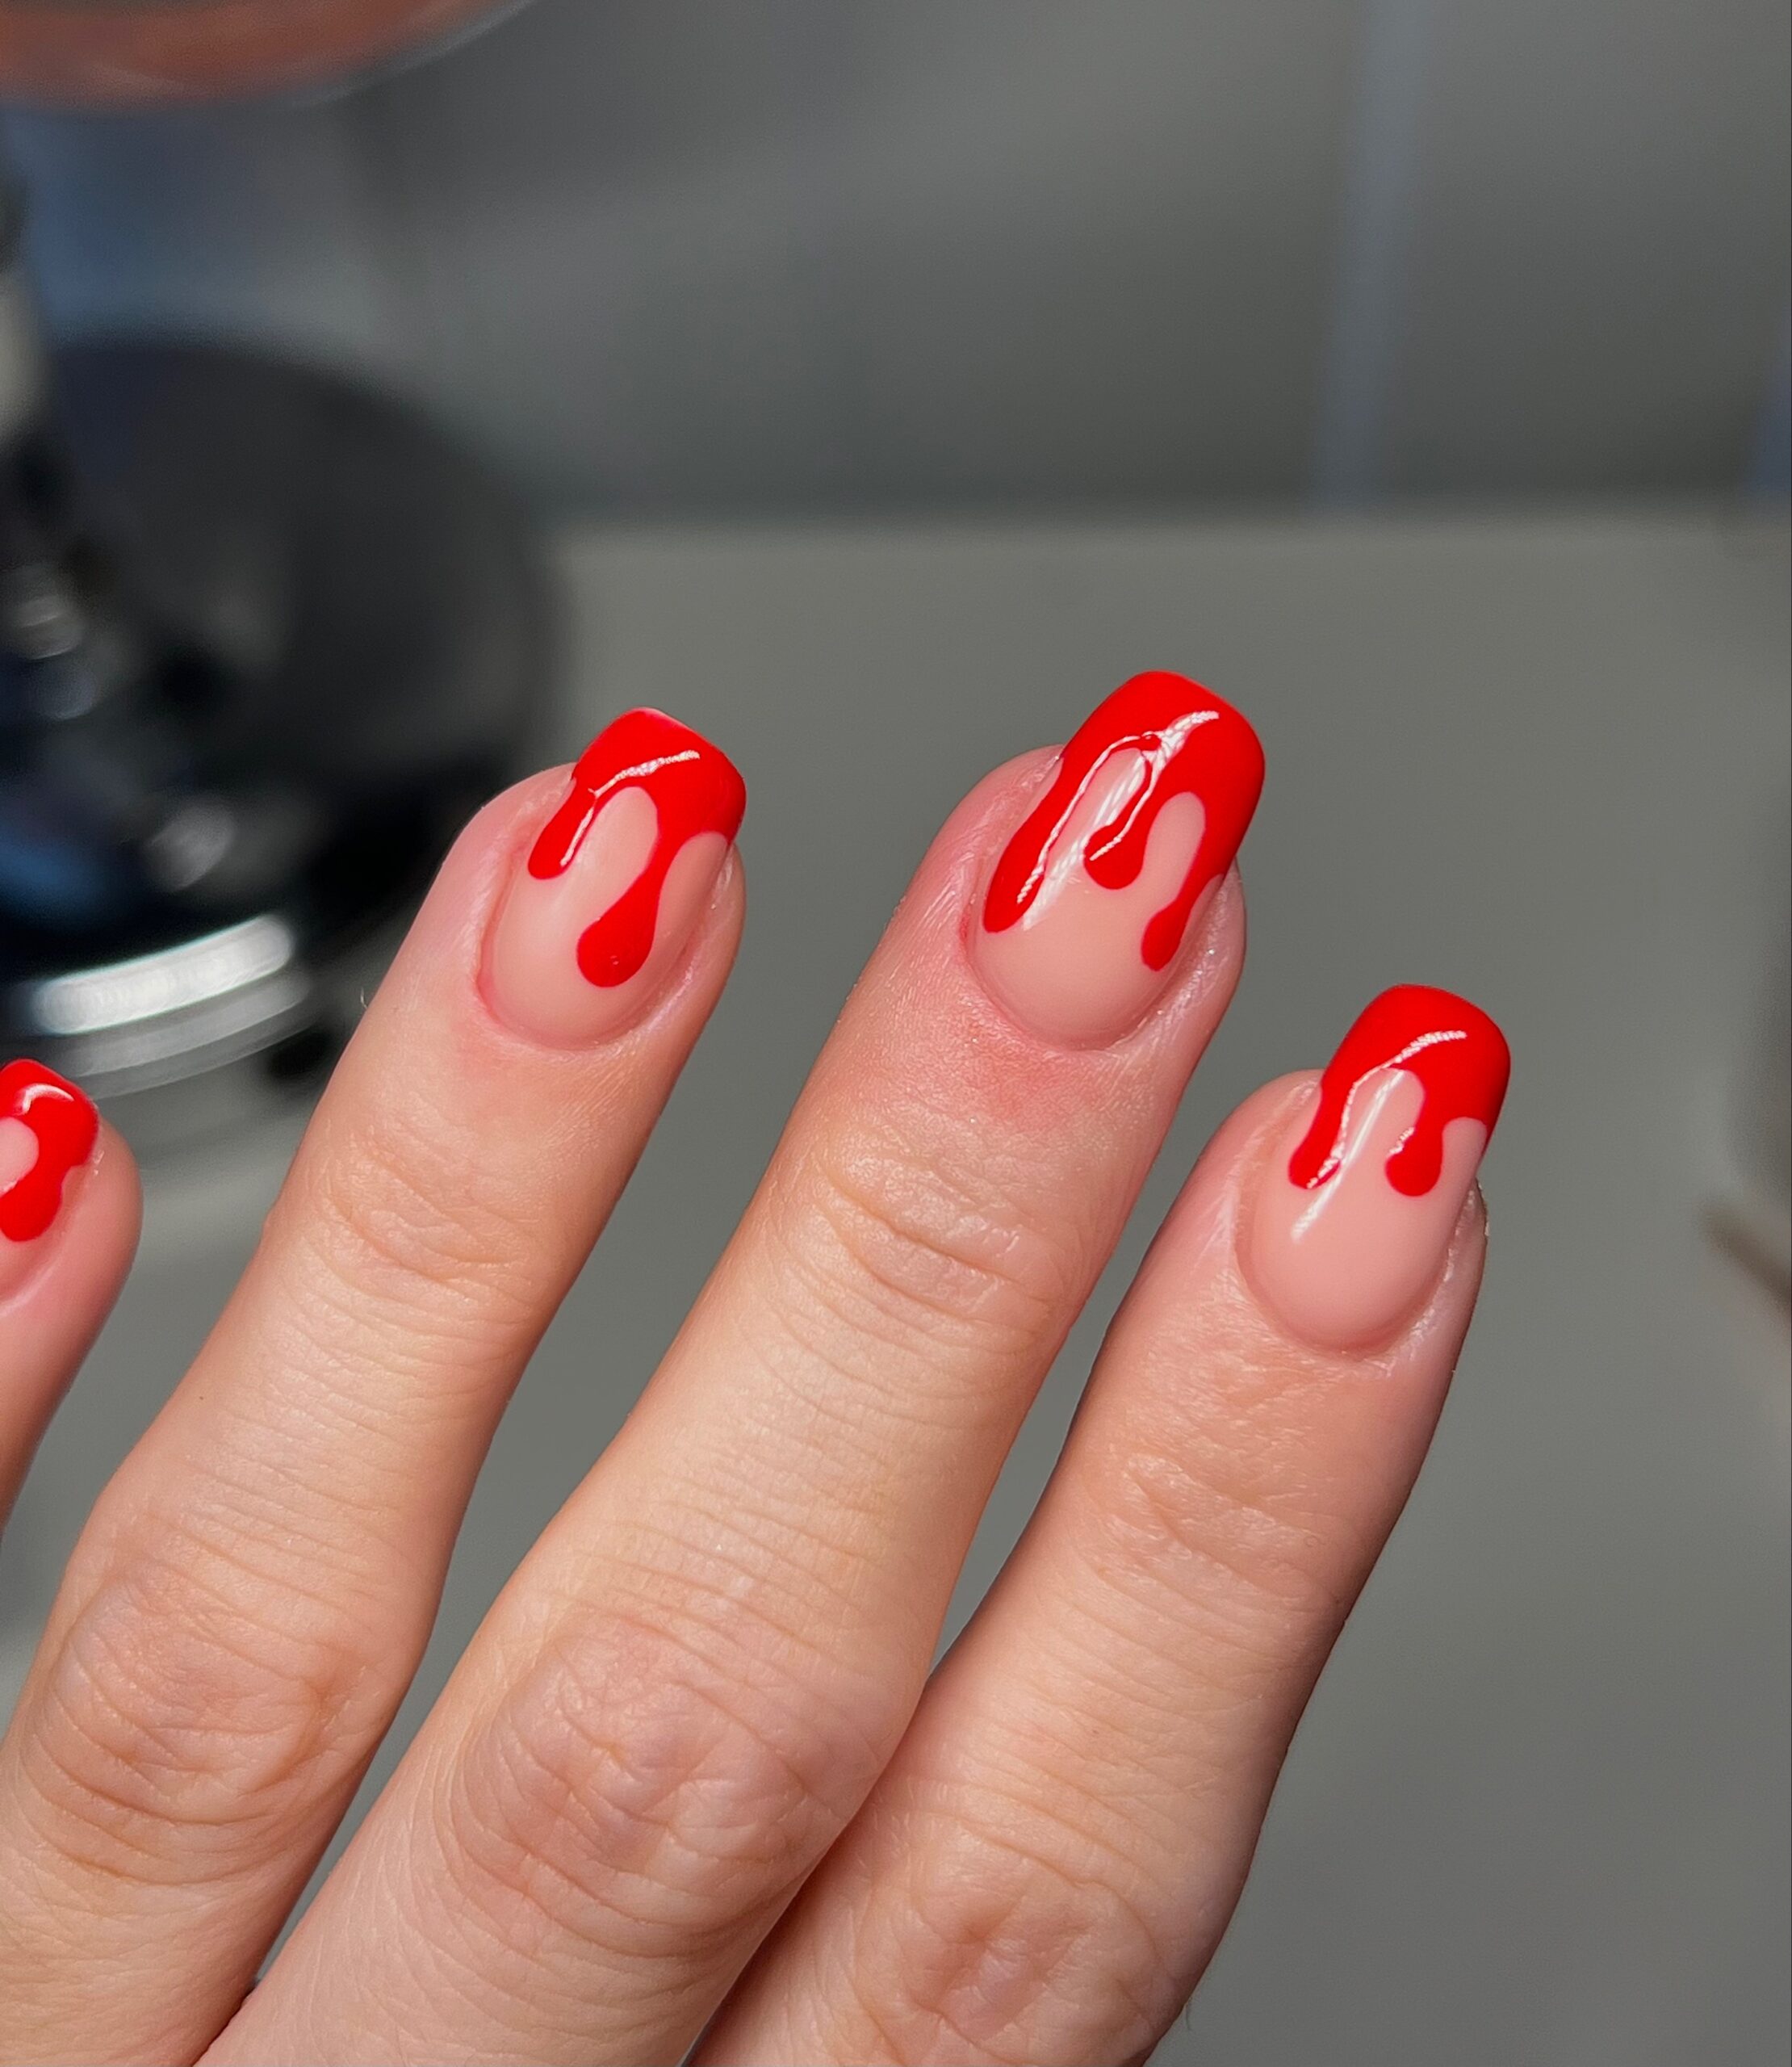
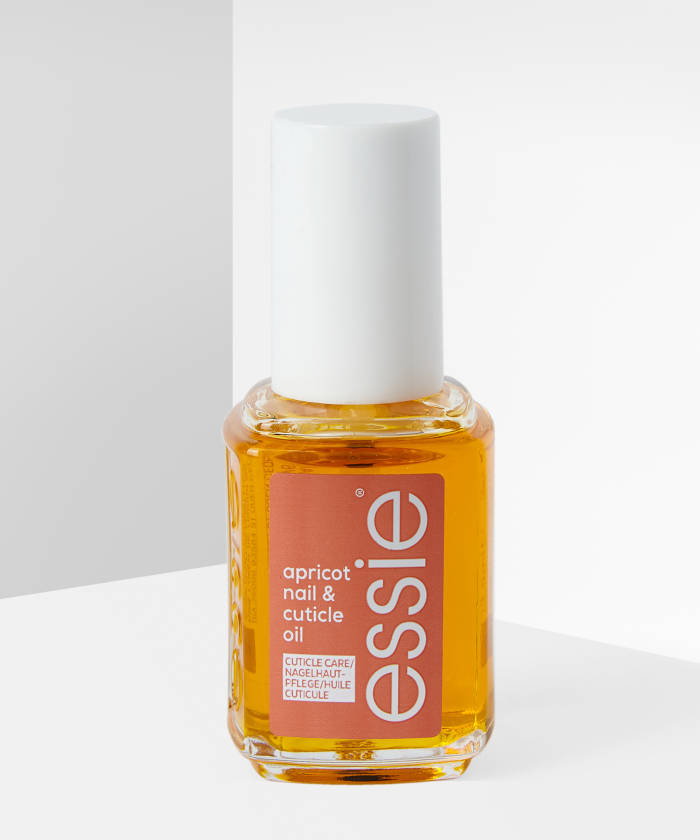
Once your polish is dry (or cured if you’re using gel), apply a top coat to lock your design in and prevent chipping. Then, once your top coat is completely dry (or cured), apply cuticle oil to the cuticles to keep your nails healthy and strong.
