Creating the perfect winged eyeliner is no easy feat. There are many factors at play: how much practice you put in, your technique, a steady hand, and most of all, a killer eyeliner that won’t leave your winged creation looking smudged one hour after you leave the house.
But we have the tutorial that can help. @neutraltiger is here to show you how to master your technique and By BEAUTY BAY’s Felt Tip Liquid Eyeliner is here to be the killer, smudge- and water-proof liner that your looks have been waiting for.
STEP ONE
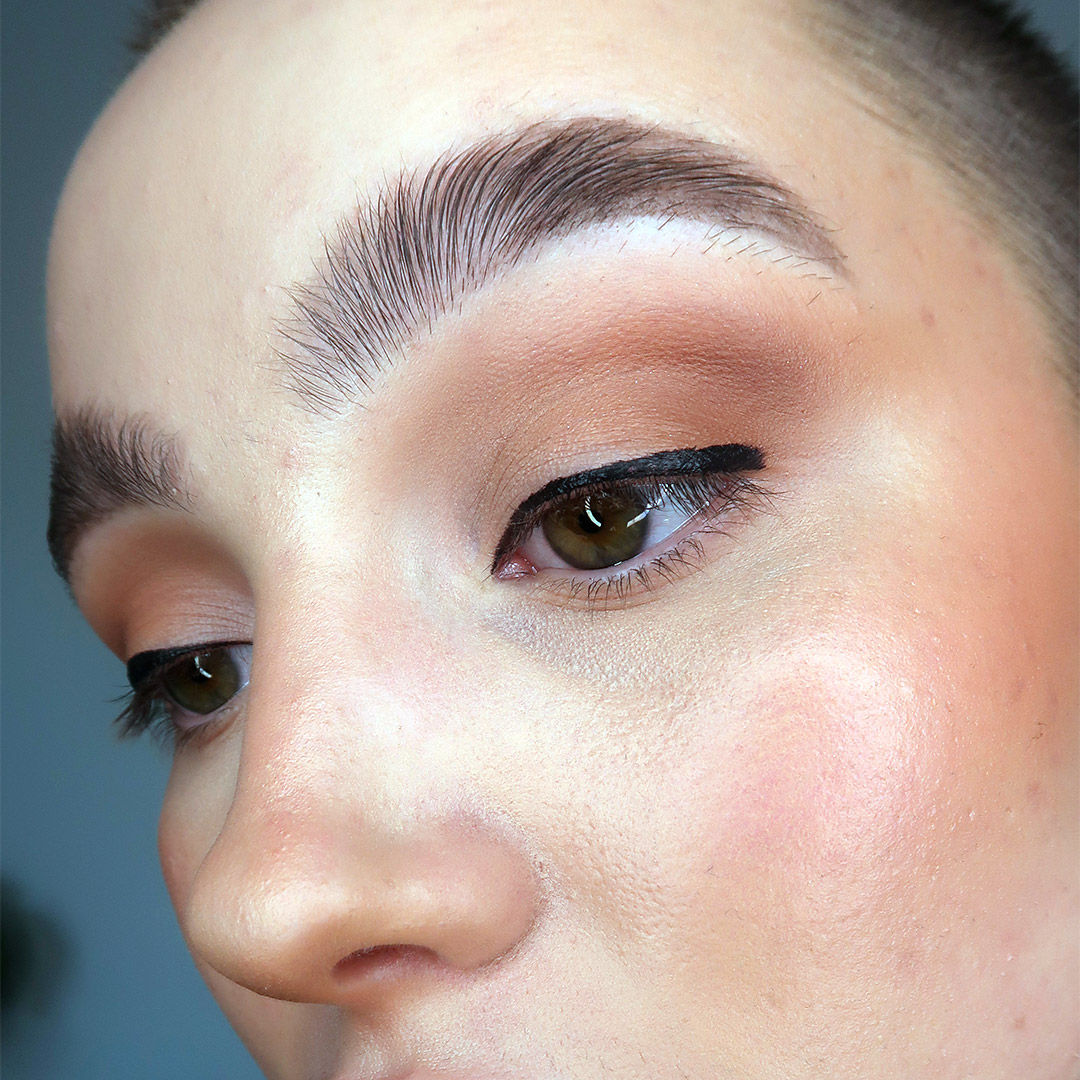
Create a thin line along the lash line. With the small tip of the By BEAUTY BAY Felt Tip Liquid Eyeliner pointing toward the inner eye pull the liner outwards following the shape of the eye.
When creating any liner look, use the shape of the eyeliner applicator to help you. Rather than pointing the eyeliner toward the skin like you are holding a pen, try placing the applicator on its side, laying the felt tip flat against your lash line and pull the eyeliner outwards.
STEP TWO
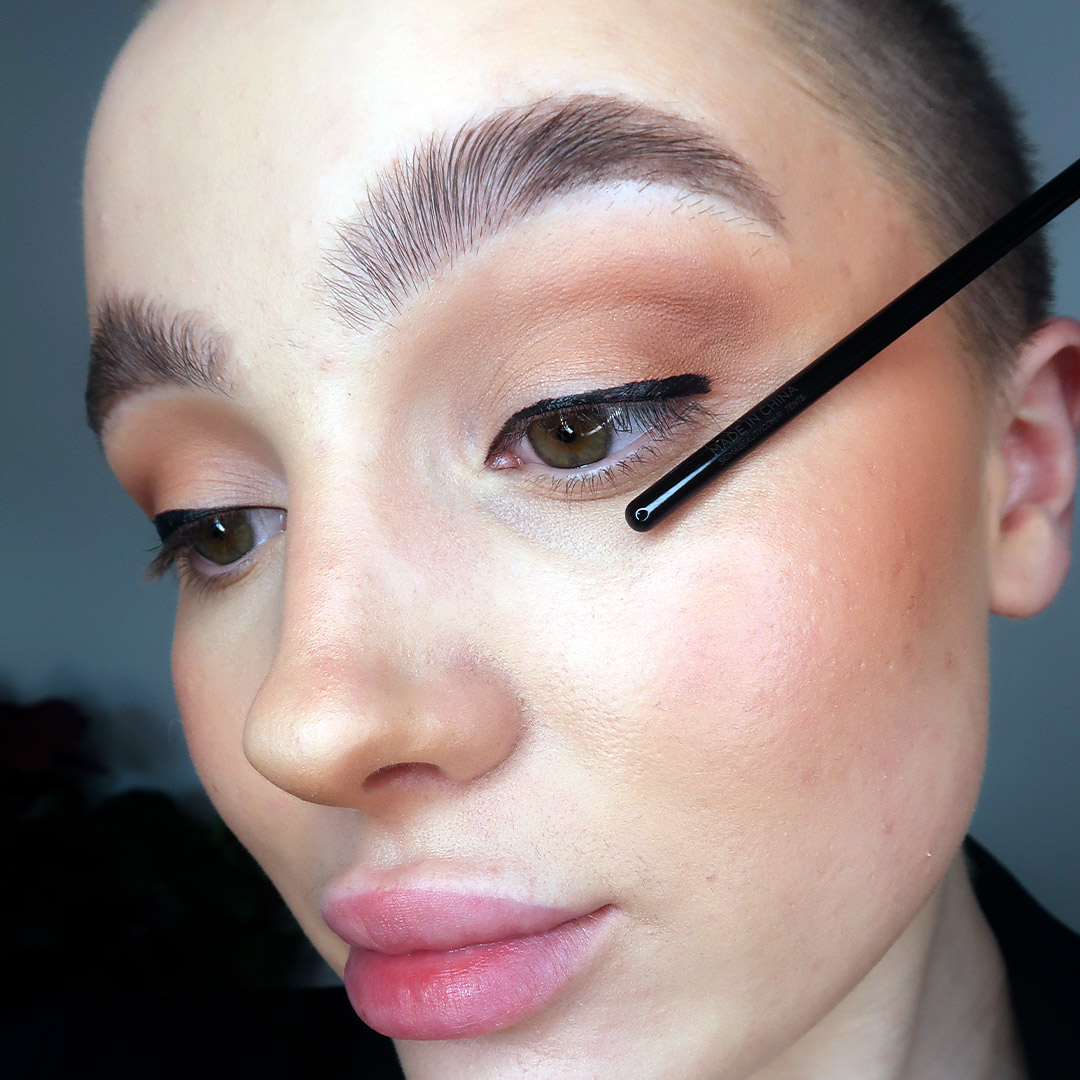
Eyeliner wings come in many shapes and sizes, pulling the wing out straight will elongate the eye whereas turning the wing upwards can create a lifting effect.
In this look we will be imagining the wing as an extension of the lower lash line. Use a tool such as the handle of an eyeshadow brush to help visualise which direction you will take the liner in.
STEP THREE
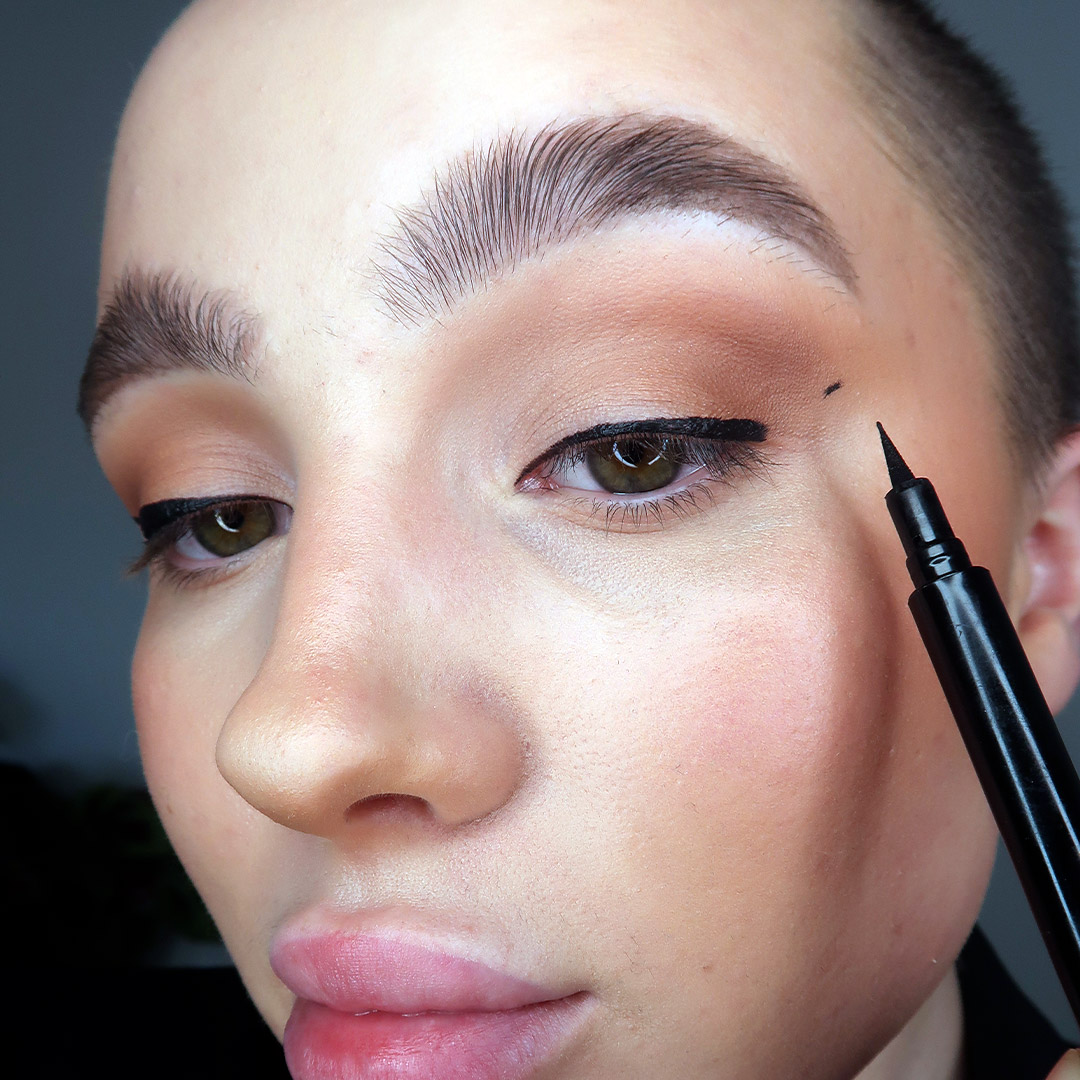
Imagining that extension of the lower lash line, create a very small dot with the tip of the By BEAUTY BAY Felt Tip Liquid Eyeliner close to the location you would like the wing to end. This guide will help build confidence when drawing on the wing.
Tip: Try looking straight ahead into a mirror with both eyes open, this will help you create a shape that is flattering when your eyes are open, after all you don’t walk around with your eyes closed all day!
STEP FOUR
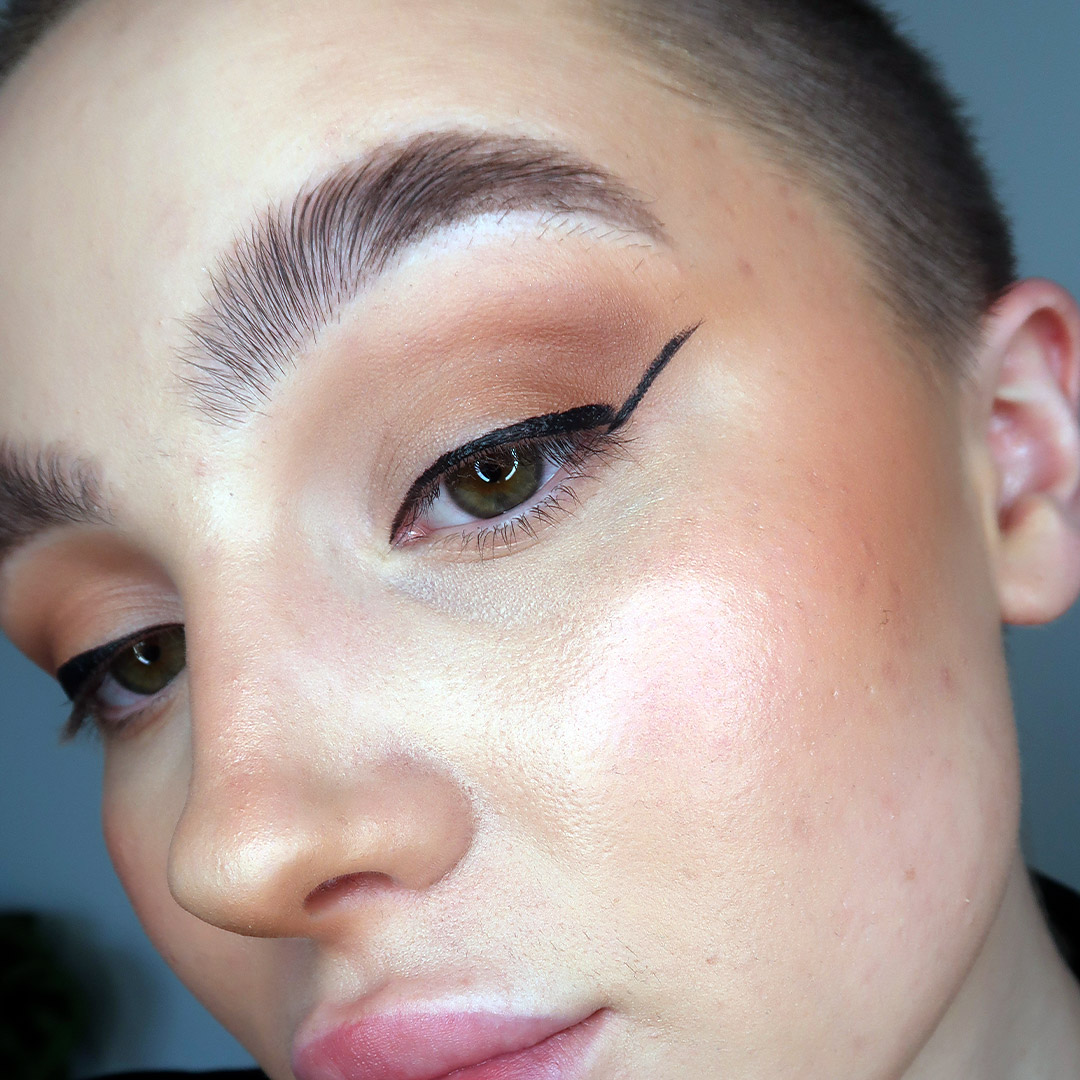
Next, join up the dot to the corner of the eye in a thin line, this will be the base of the wing. Copy this on the other eye before moving on to help with symmetry. Don’t worry if the line is not perfectly straight, you can always clean this line up with a touch of concealer on a flat brush if you need to.
STEP FIVE
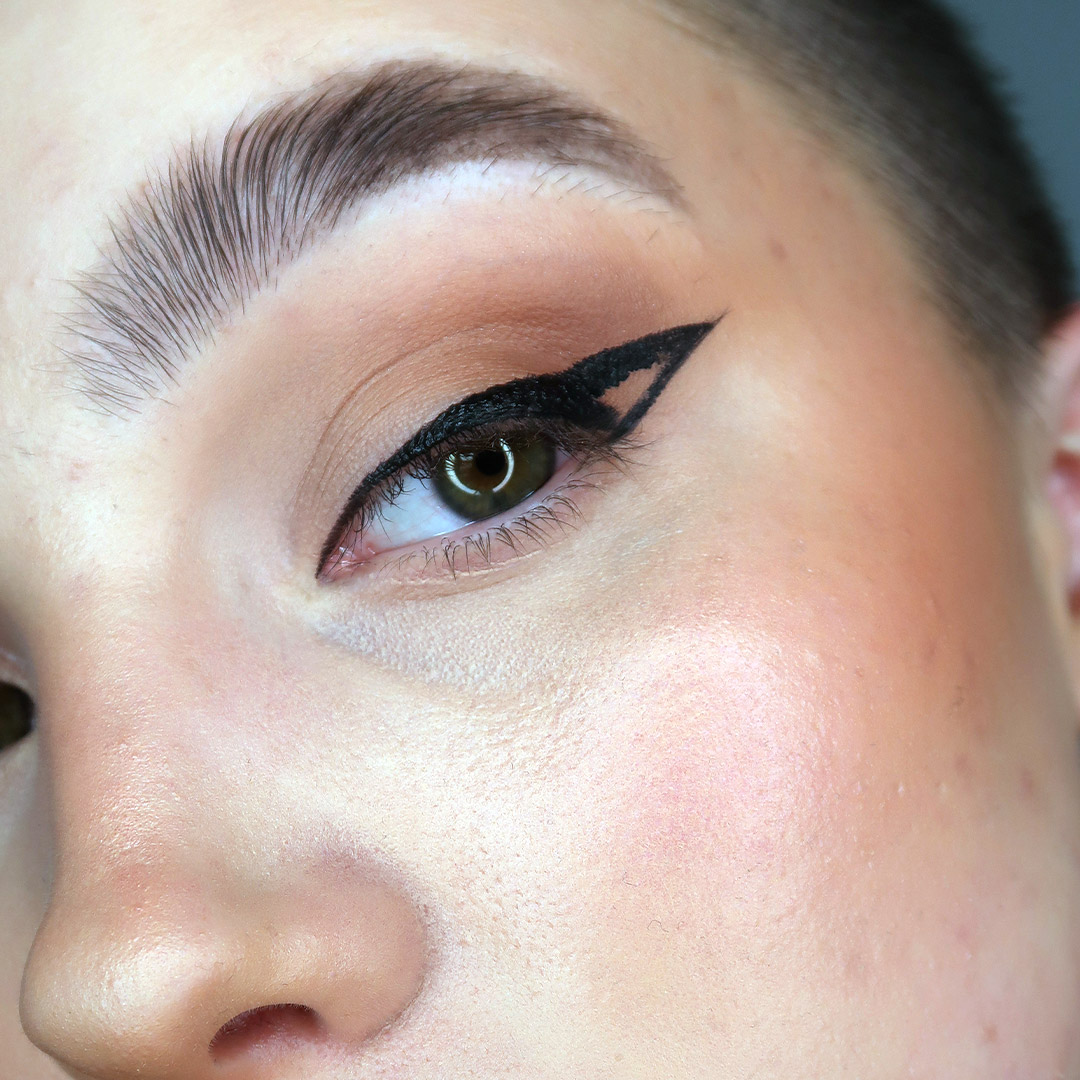
Join up the wing, aim to start almost at the end of the wing and pull the liner back, joining it to the middle of the lash line. Again, using the shape of the felt tip to aid this movement.
STEP SIX

Now it’s time to perfect the liner, thicken the line up if necessary and use the very tip of the eyeliner to perfect the flick. Use slow, steady, but confident strokes of the eyeliner to prevent getting a jagged edge.
STEP SEVEN
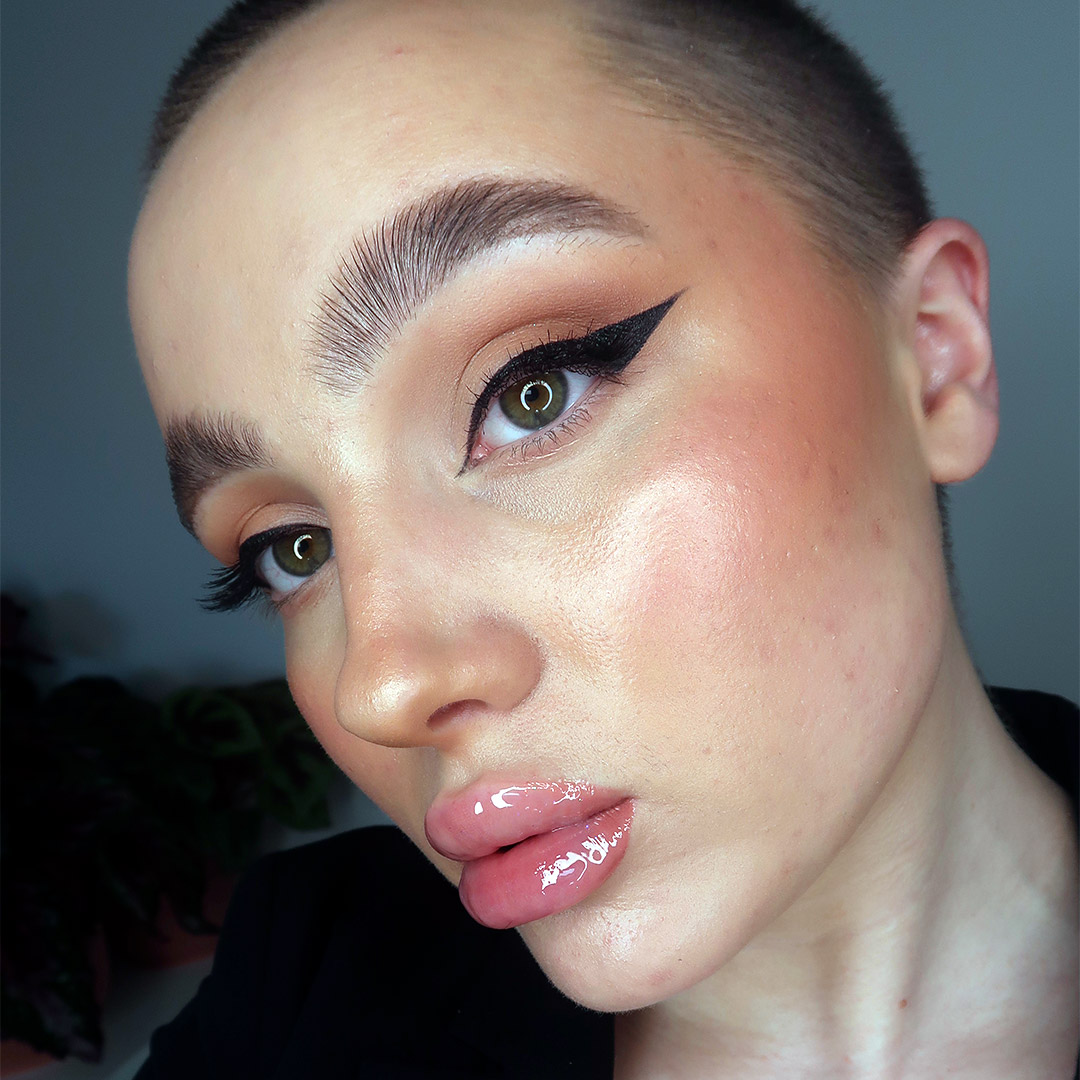
Finally finish off the eyes with mascara or lashes.