Facials are one of the best treatments to make part of your regular beauty maintenance routine. You can never underestimate the benefits of a professional facial, a deep cleanse, and letting someone else massage your face. But with that said, booking in with an esthetician or facialist might not be something you can afford (or find the time for) on a regular basis. In that case, you can still experience the benefits by taking a DIY approach and giving yourself an at-home facial. It might not feel as relaxing or luxurious as a professional facial, but it will certainly help you to hit ‘reset’ on your skin and do something more than your regular skincare routine.
If you’re curious about the best way to DIY a facial at home, we’ve planned out a simple facial routine below – that works for everyone, no matter what your skin type or skin concerns. If you follow the below steps and sub in products that are best for your skin type (we’e made some suggestions), you can’t go wrong.
1. Cleanse
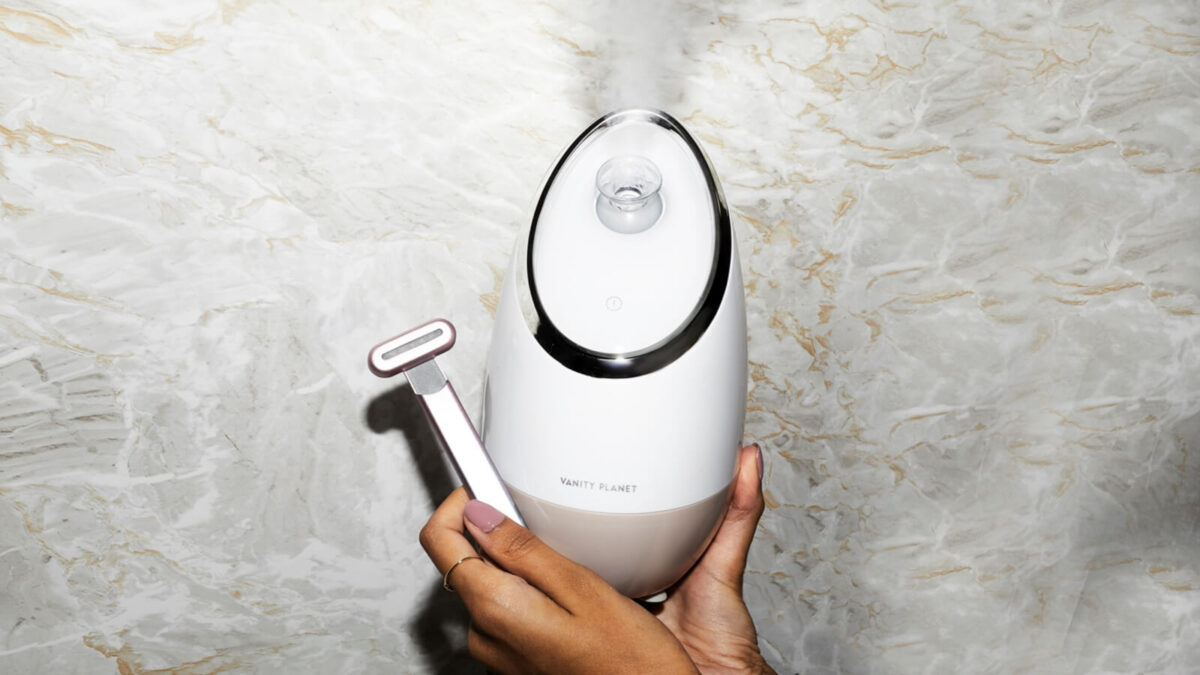
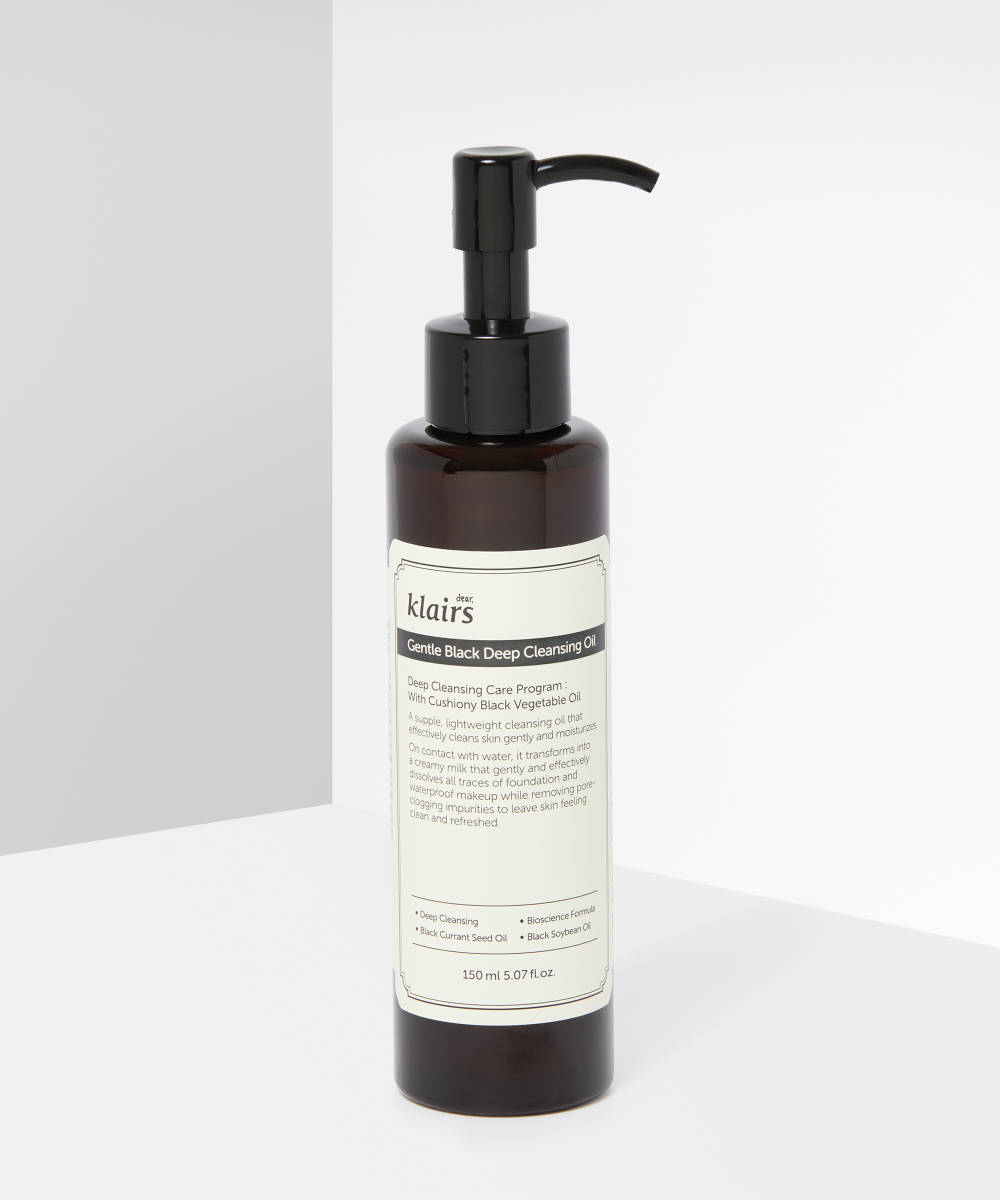
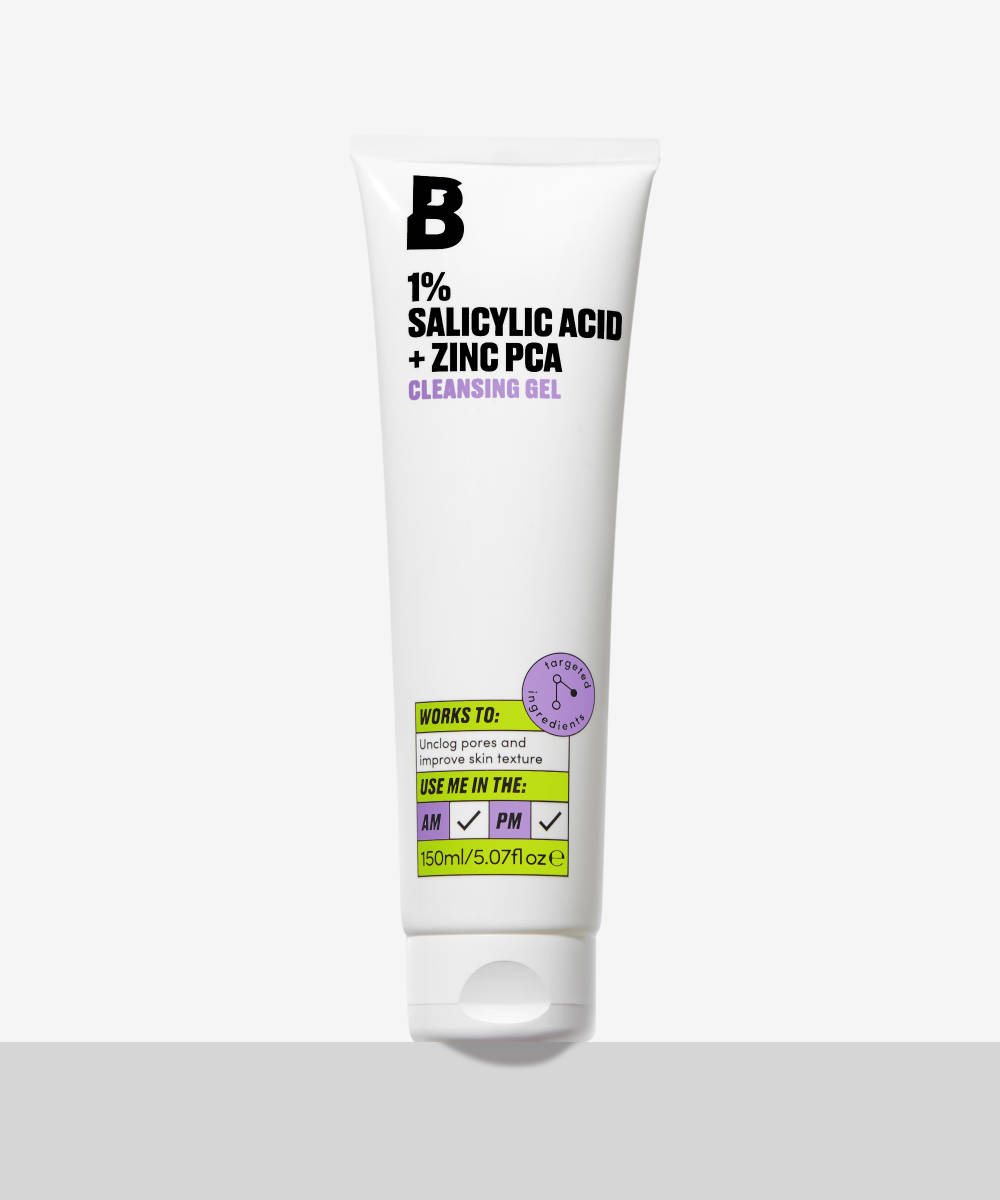
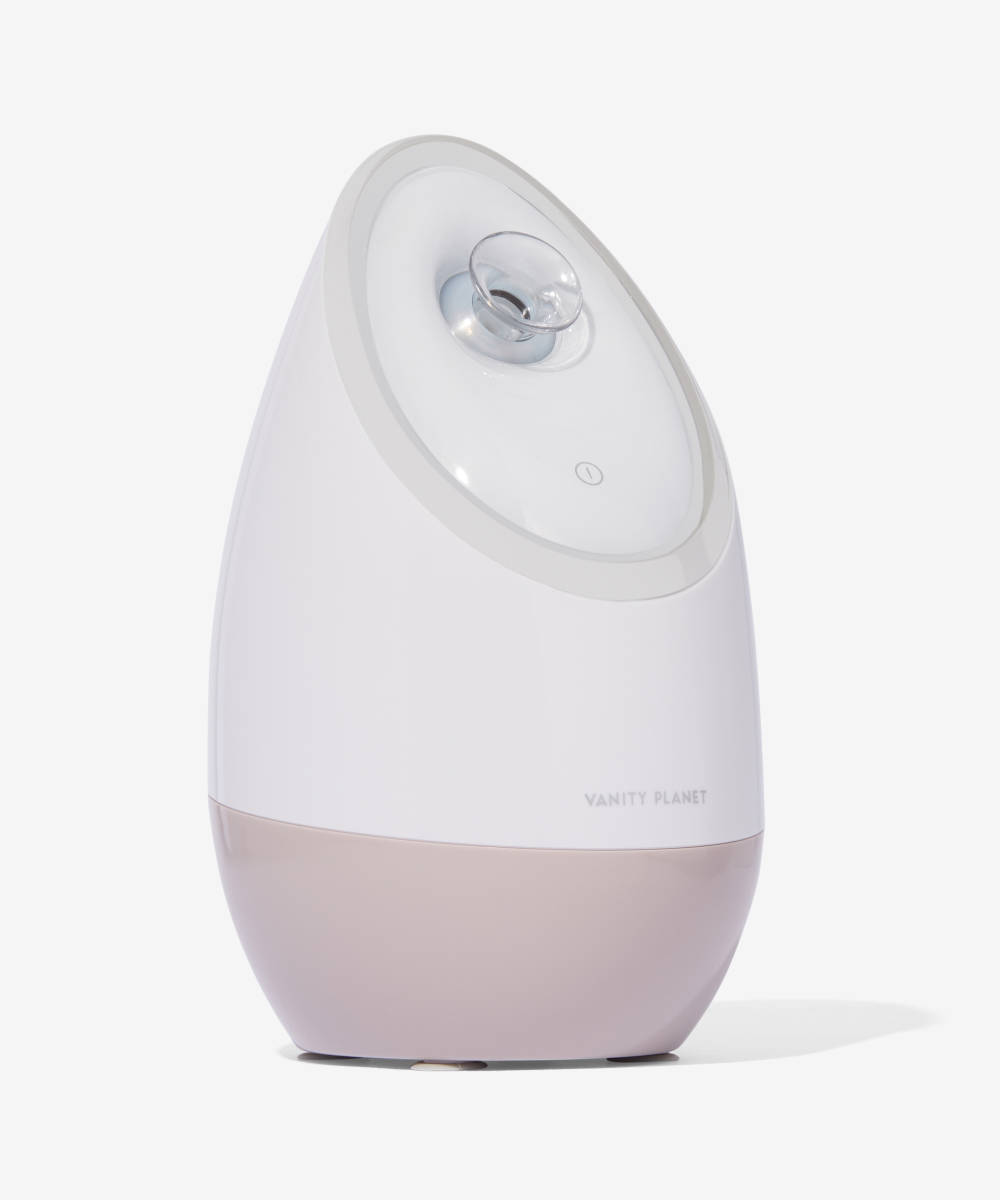
Start by double cleansing your skin, since this is the most efficient way to prep your skin for the steps that are to come. Double cleansing ensures that makeup, impurities, sweat, oil, and SPF are thoroughly removed from pores. Spend time massaging an oil or balm cleanser into your skin to begin with – you can use this time to give yourself a face massage. Remove the oil cleanser with a warm flannel, then use a gel cleanser to give your skin a second, deeper cleanse. This time, focus on massaging your skin with your fingertips in small circular motions and concentrate on areas where you notice excess oiliness or enlarged pores, such as your T-zone. Again, remove this cleanser using a warm flannel. If you have a facial steamer, allow this to steam throughout your cleansing steps. The steam helps to loosen any deep-rooted buildup trapped in your pores.
2. Exfoliate
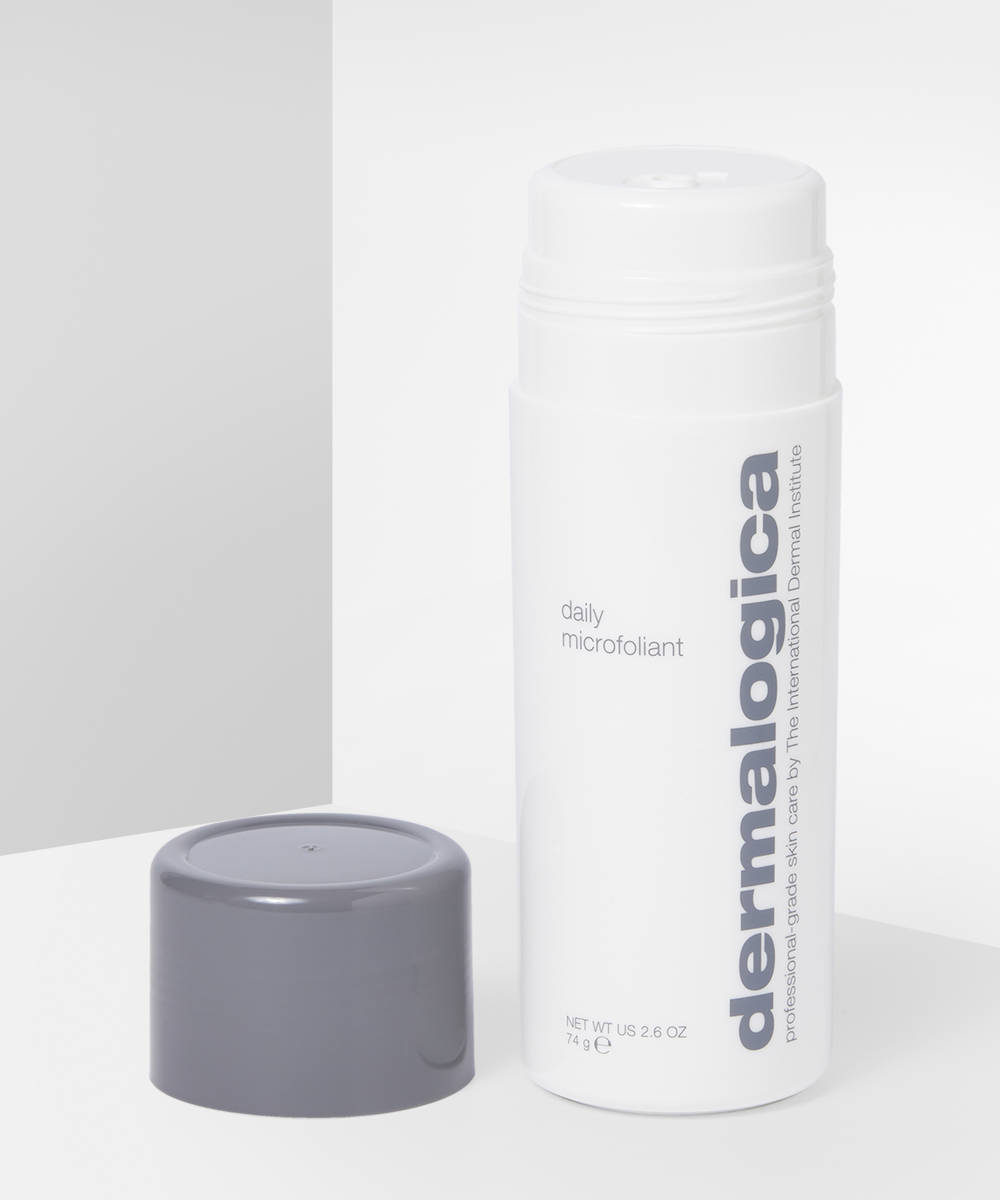
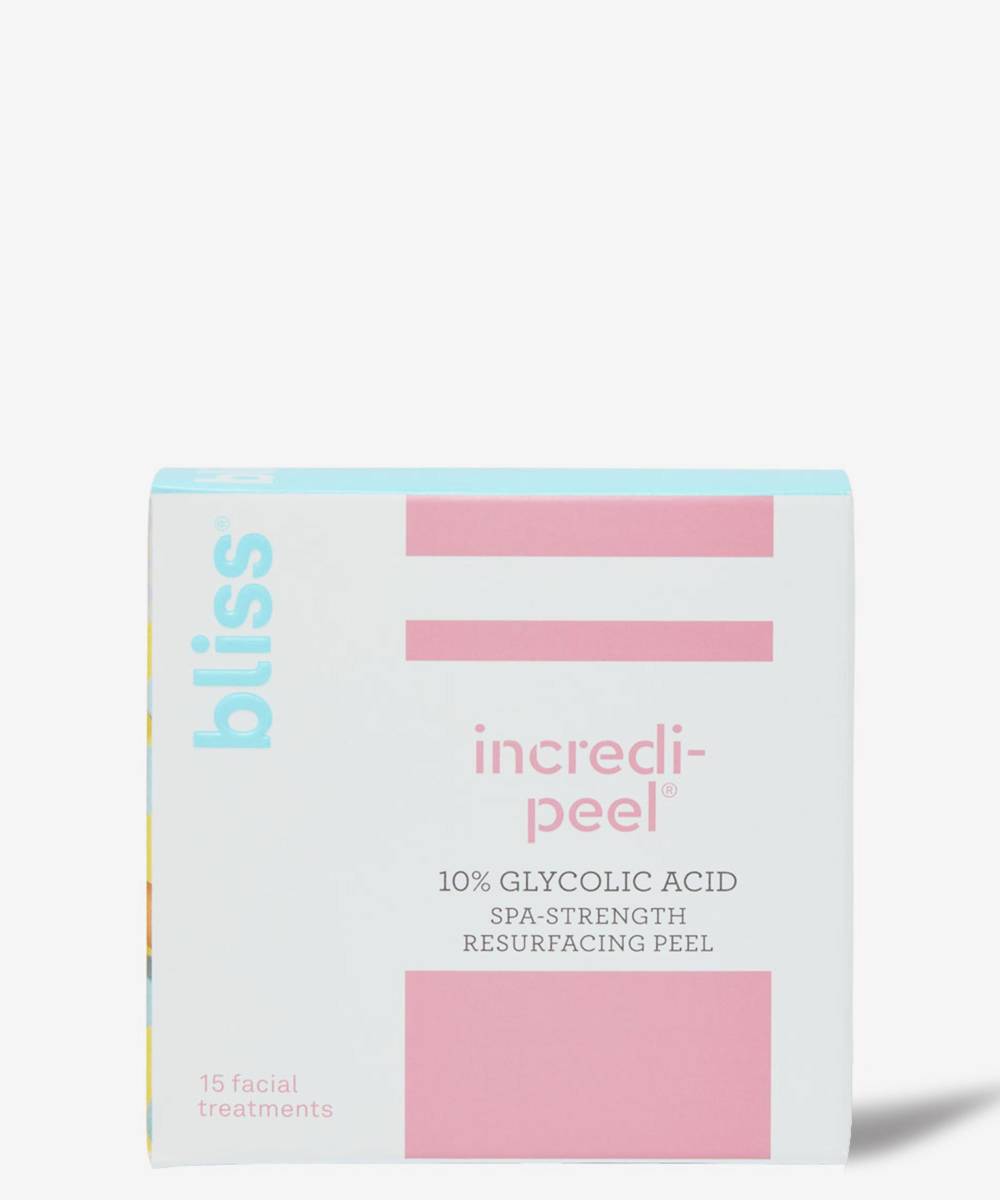
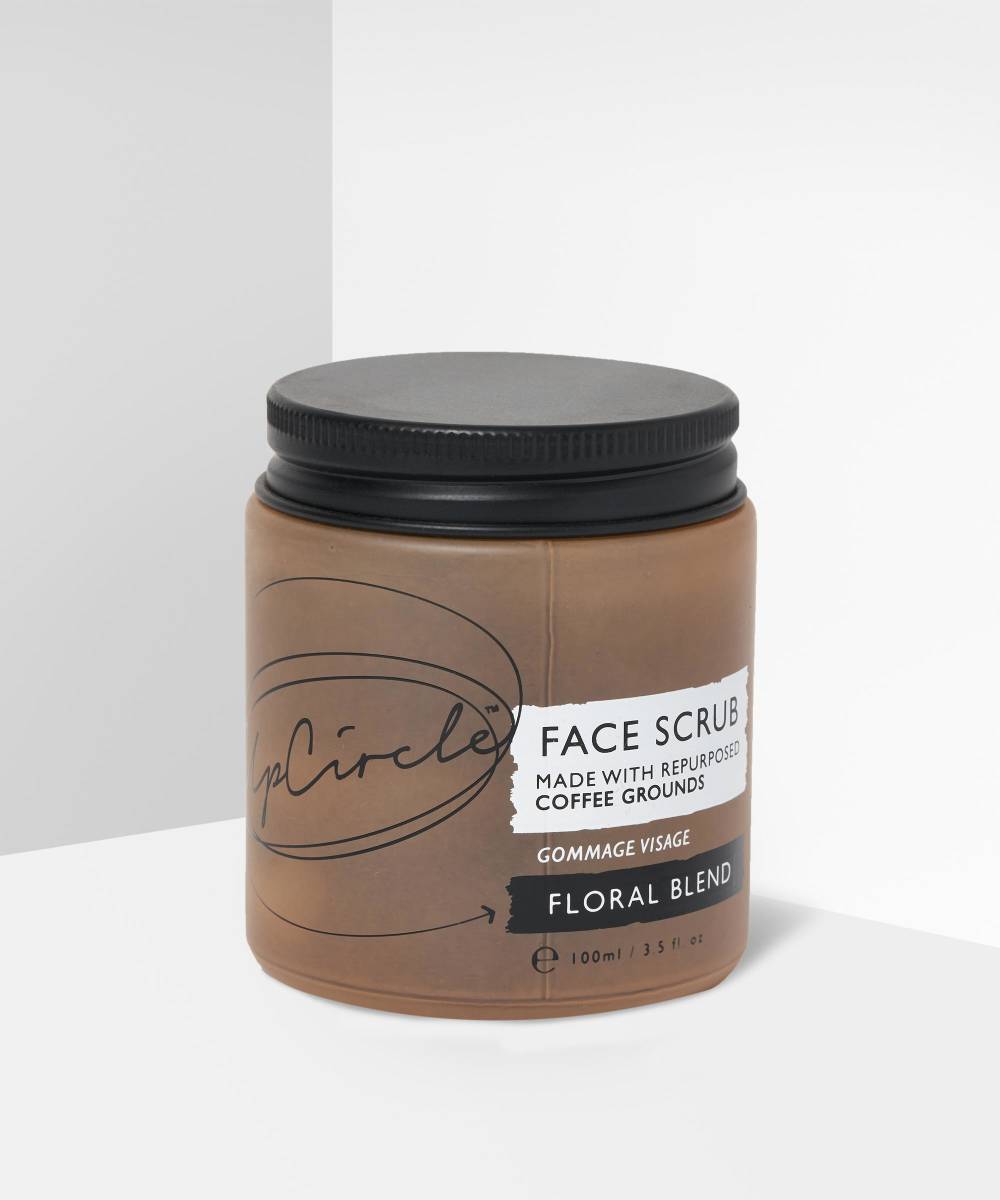
Keep the steamer going while you exfoliate your skin – if you’re using an enzyme-based exfoliant, the steam will activate and boost the enzymes. Whether you use an enzyme, a chemical exfoliant, or an physical exfoliant, this step helps to give your pores a super deep clean and will also remove dead and dry skin buildup, leaving skin appearing brighter and feeling smoother and softer. If you’re using a physical scrub, be gentle when you massage it into your skin as you don’t want to cause tears to the skin.
3. Mask
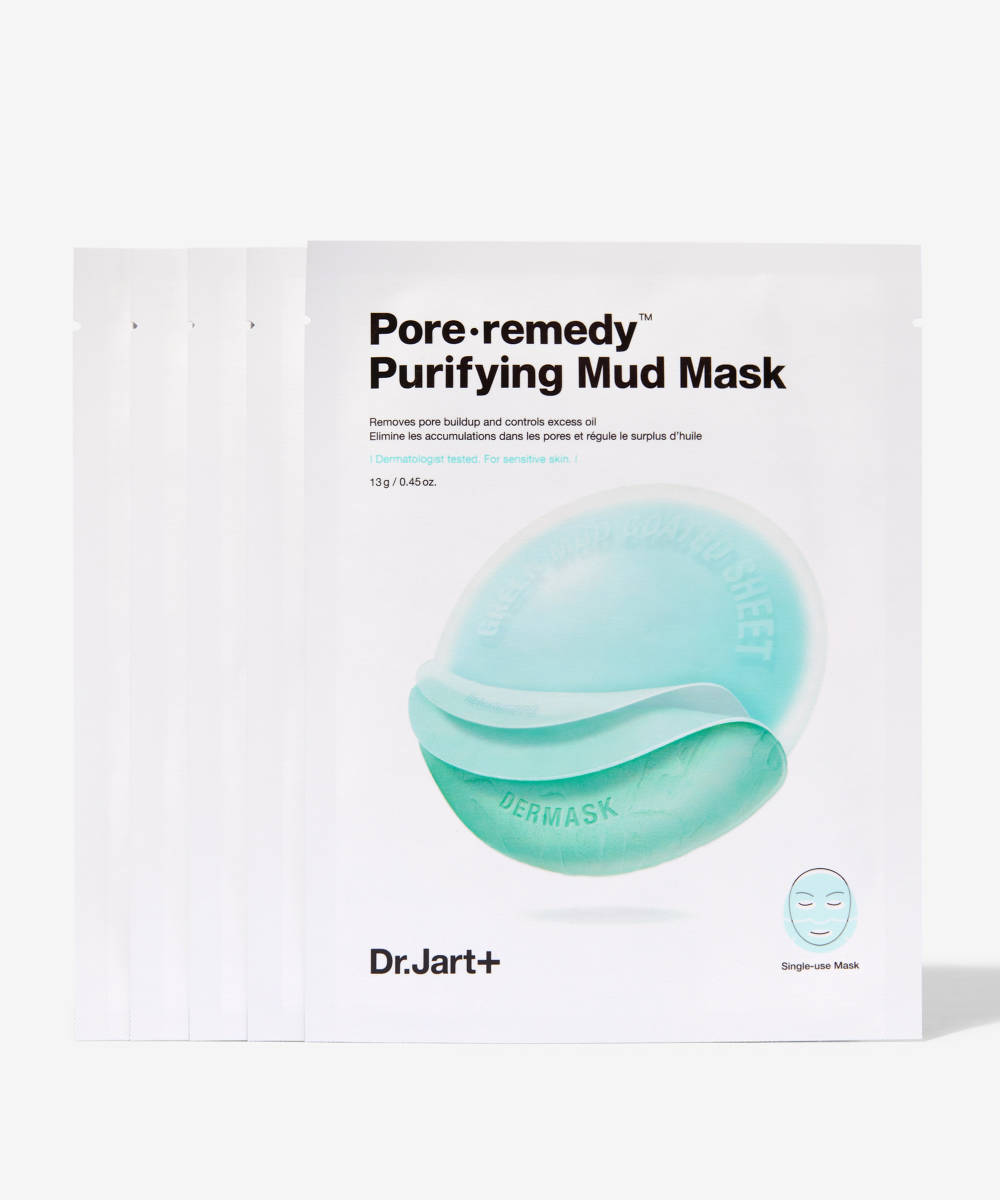
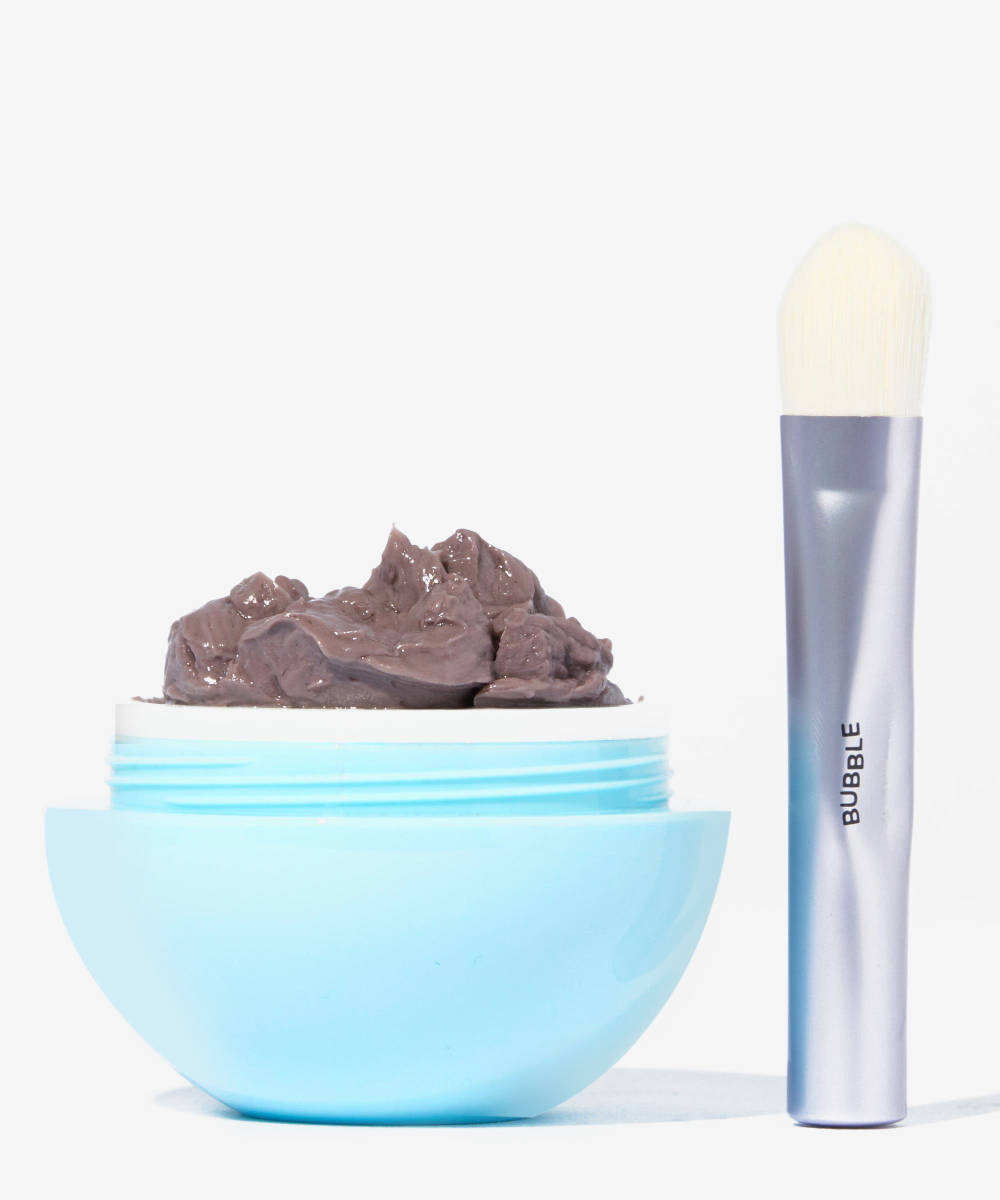
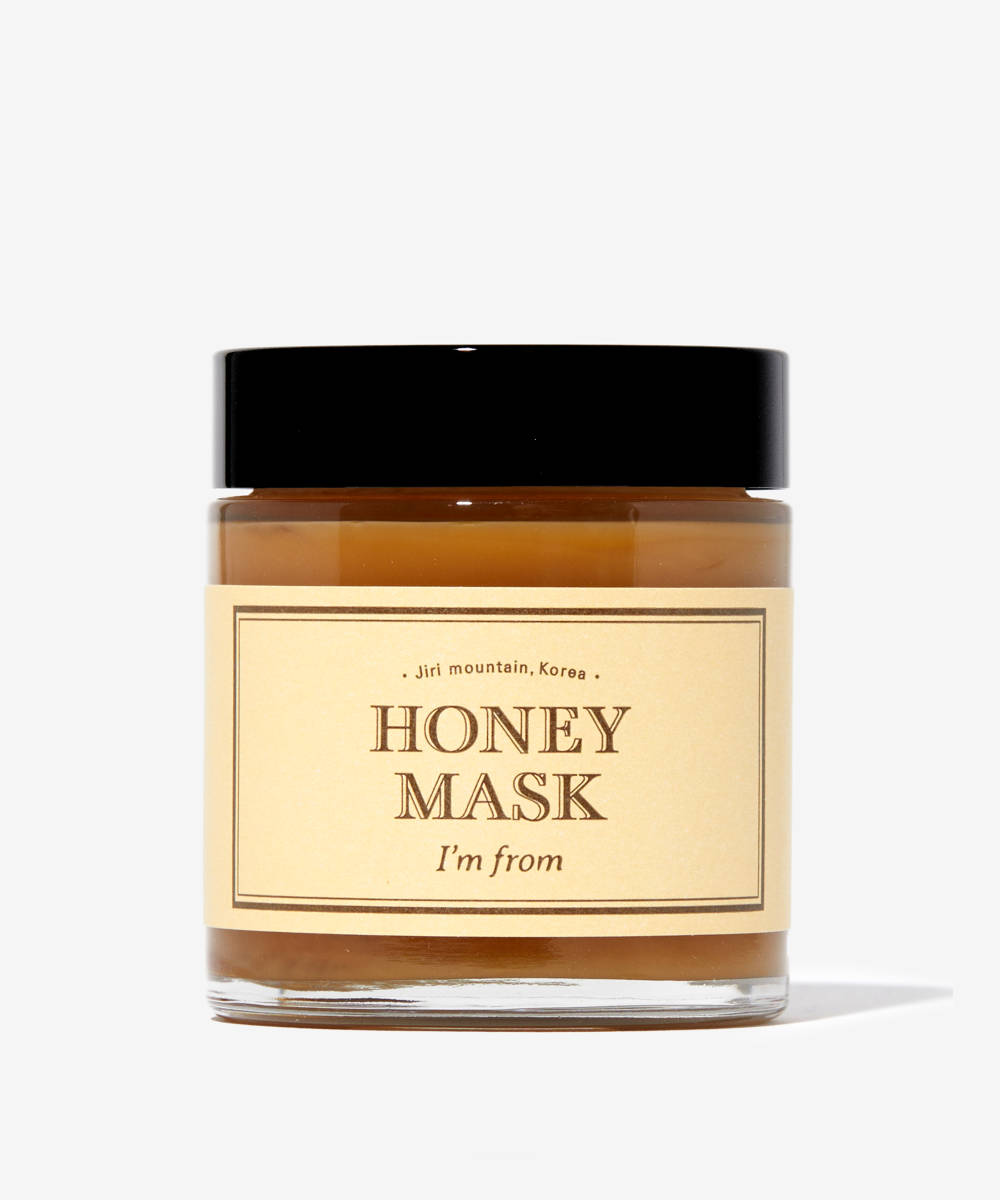
Choose a mask based on your main skin concern. If you have oily, congested, or acne-prone skin then opt for a clay or charcoal -based mask to help remove impurities. Use an exfoliating mask if you want to focus on smoothing and brightening your skin, or a hydrating mask to nourish and soothe skin that’s feeling dry and dehydrated. Apply the mask using a brush and don’t forget to apply it to your neck and chest if needed. Leave the mask for around 15-20 minutes before removing with a warm flannel.
4. Treat
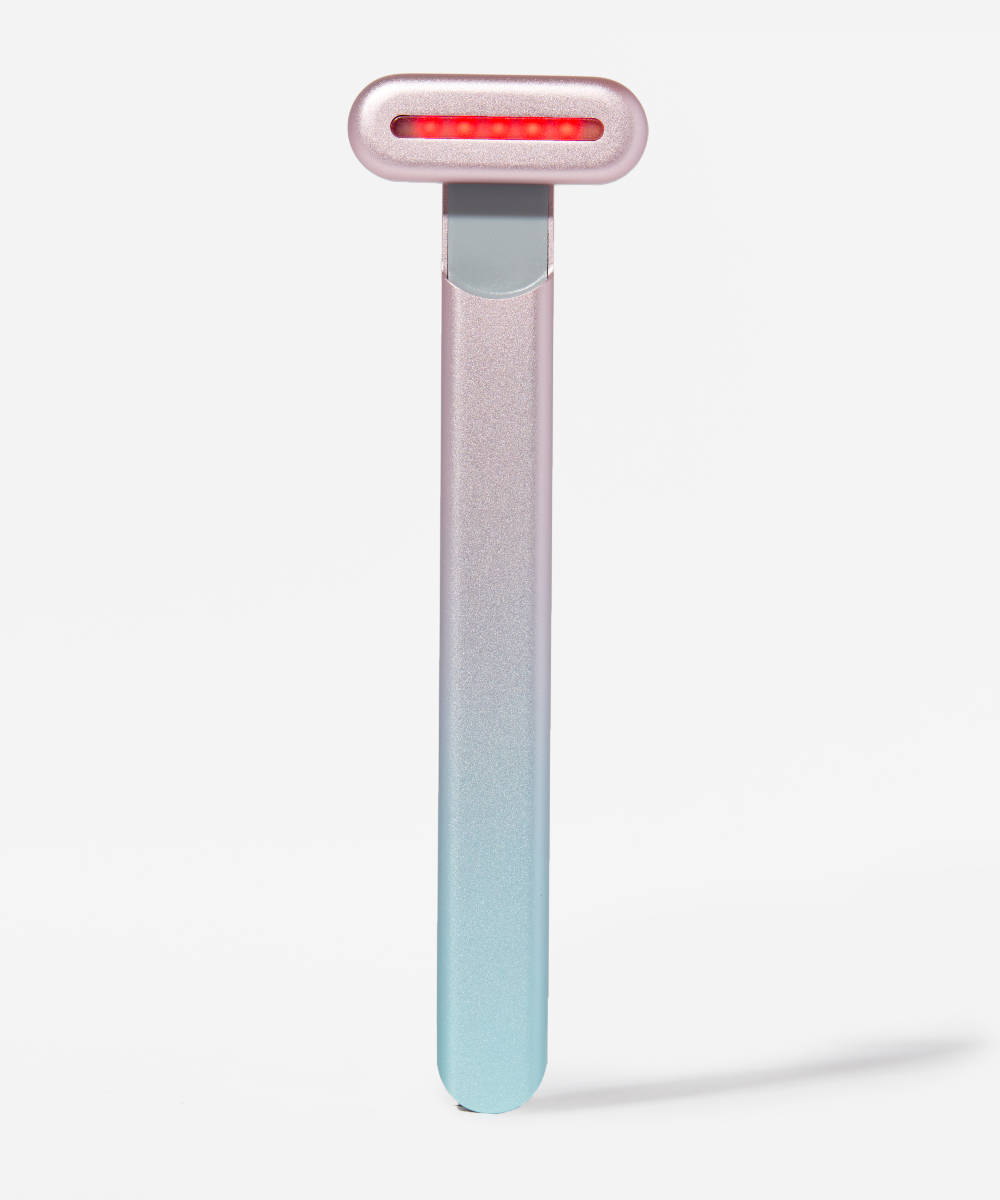
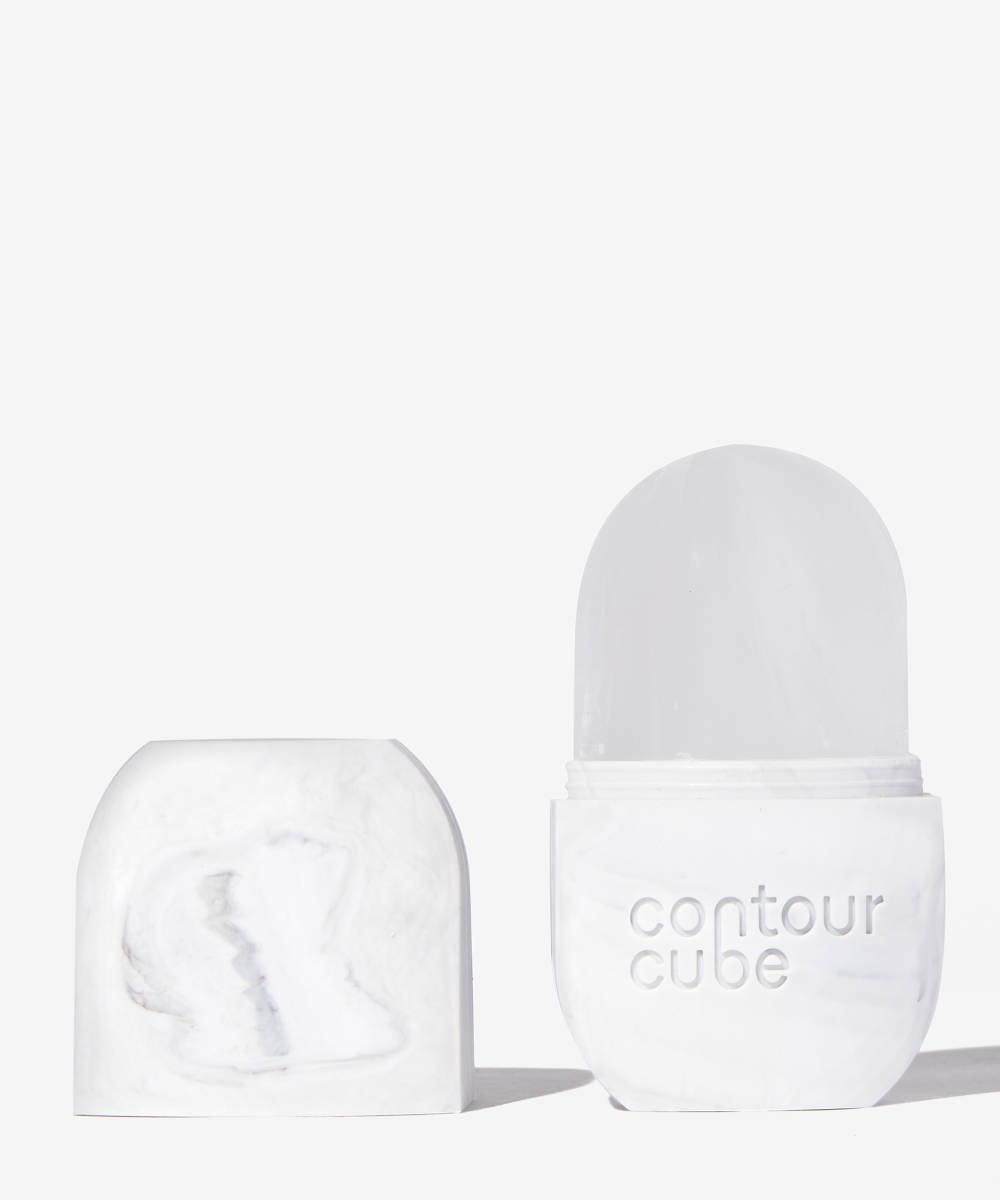
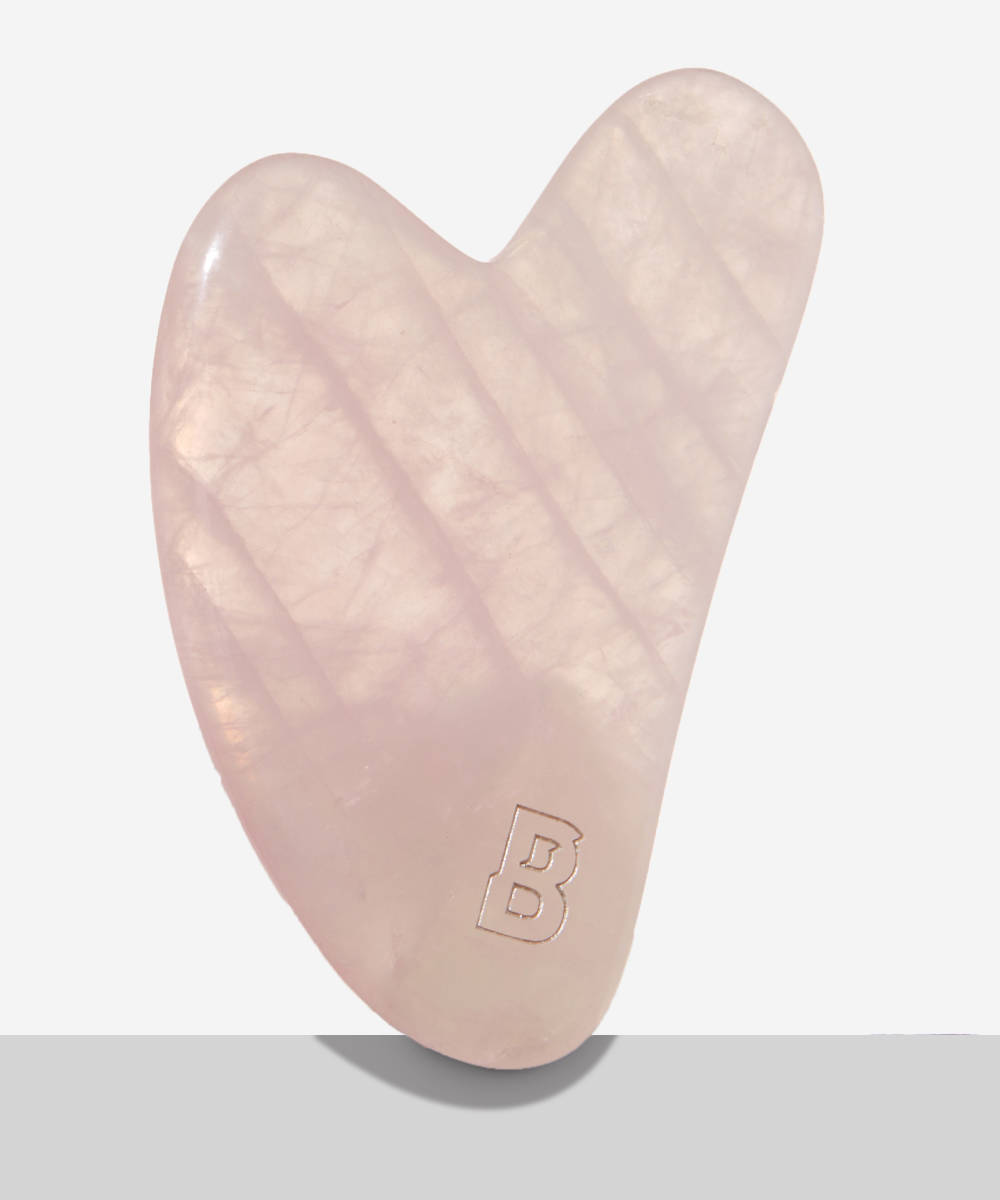
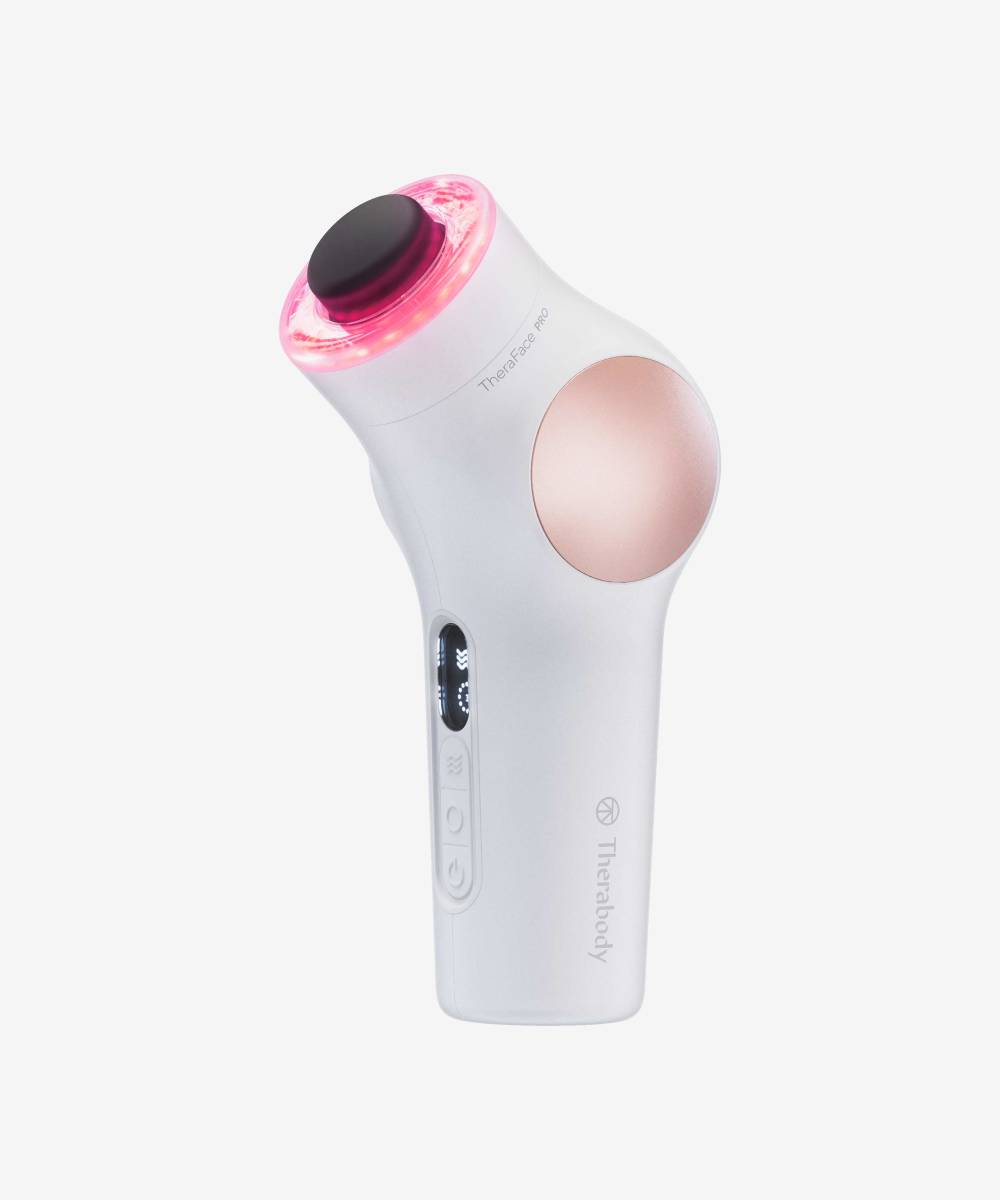
Now’s the time to incorporate your skincare tech and tools. Designed to replicate the treatments used by estheticians in professional facials, these devices can help you to achieve instant and lasting results for your more stubborn skin concerns. If you want to address loose or sagging skin then consider a microcurrent device, which can help to lift, tone and sculpt, and if you have breaouts or pigmentation then you may want to try an LED light therapy device. Alternatively consider using tools like a facial roller to reduce puffiness, or an ice-based tool to reduce inflammation if you have painful, active breakouts.
5. Massage
Massage is one of the best parts of a professional facial – it has benefits for all skin types and concerns sinc it stimulates blood flow and improves lymphatic drainage. Both of which contribute to overall skin health. You may want to incorporate a device or tool such as a gua sha into your massage routine, but you can also use your ginfers and knuckles to do a more traditional massage. Before you begin massaging, apply an oil to your skin – this gives ‘slip’ which means your fingers or tools can glide easily across your skin, without pulling or tugging. WHen massaging, move in upwards and outwards movements, and try not to pull your skin downwards. Don’t be tempted to press too hard either – when it comes to facial massage, a light touch is still just as effective. Once you’ve finished massaing, remove the oil from your skin.
6. Hydrate
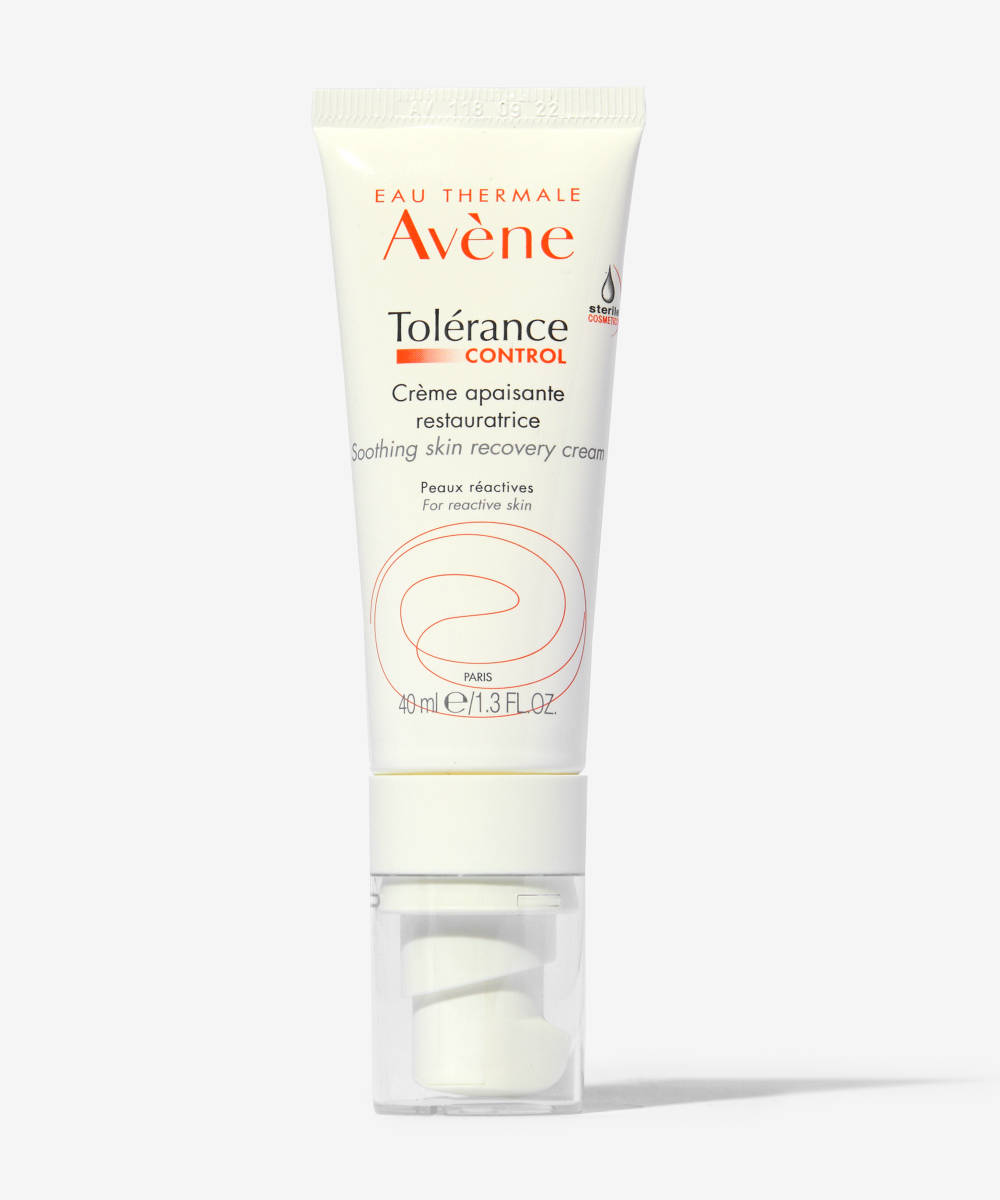
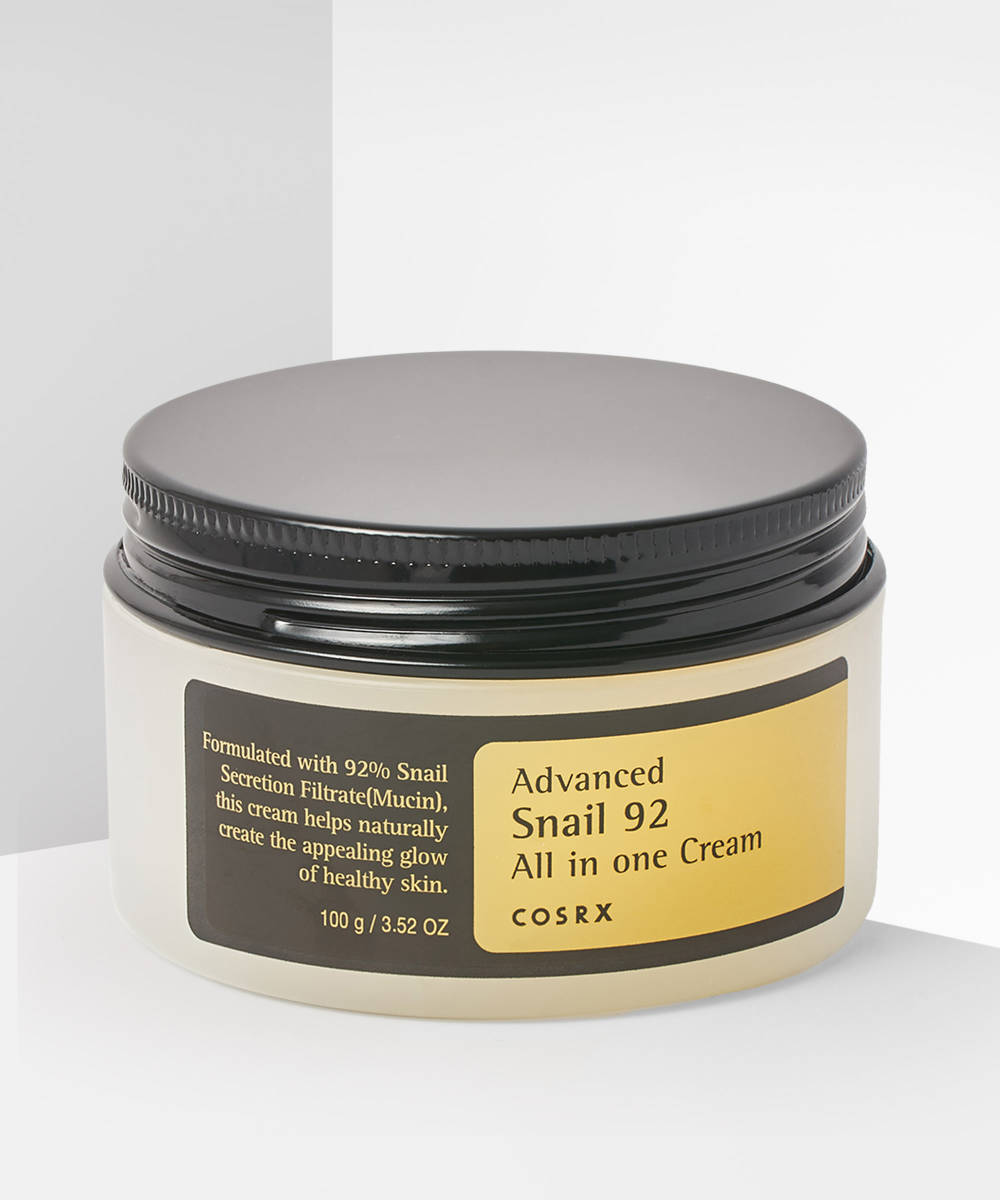
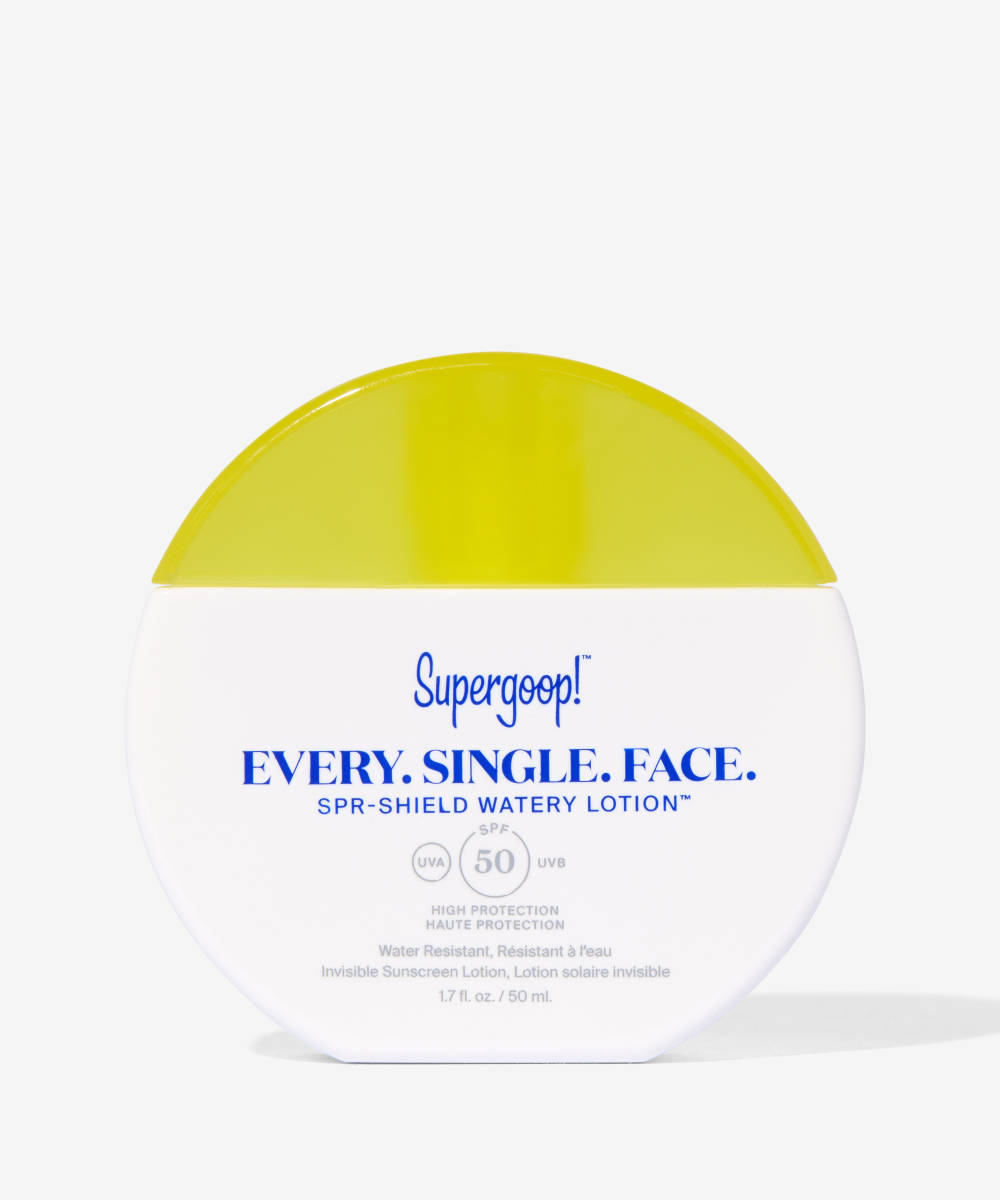
Finish off by ensuring your skin is left well hydrated. Apply a face mist, then a hydrating serum, and then a moisturiser to your skin to build and seal in layers of moisture. And unless it’s the evening and you’re going to bed, don’t forget to finish off with a generous layer of SPF.
