Smoky liner is the look that says, ‘I’ve made an effort but not too much of an effort.’ It’s simple, classic, and always looks the part. Whether you’re looking to add edge to a cute look or go full grunge, a smoky eye is the easy way to add definition and style.
But how do you achieve that perfect smoky eyeliner? Is it easier said than done? @laureneddymakeupartist is here with a tutorial to show you how to create the ultimate chic smoky eye in minutes.
STEP ONE
Apply By BEAUTY BAY’s Powder Bronzer in your fave shade (Lauren is using Caramel) over the lid. This will be the base for your smoky liner.
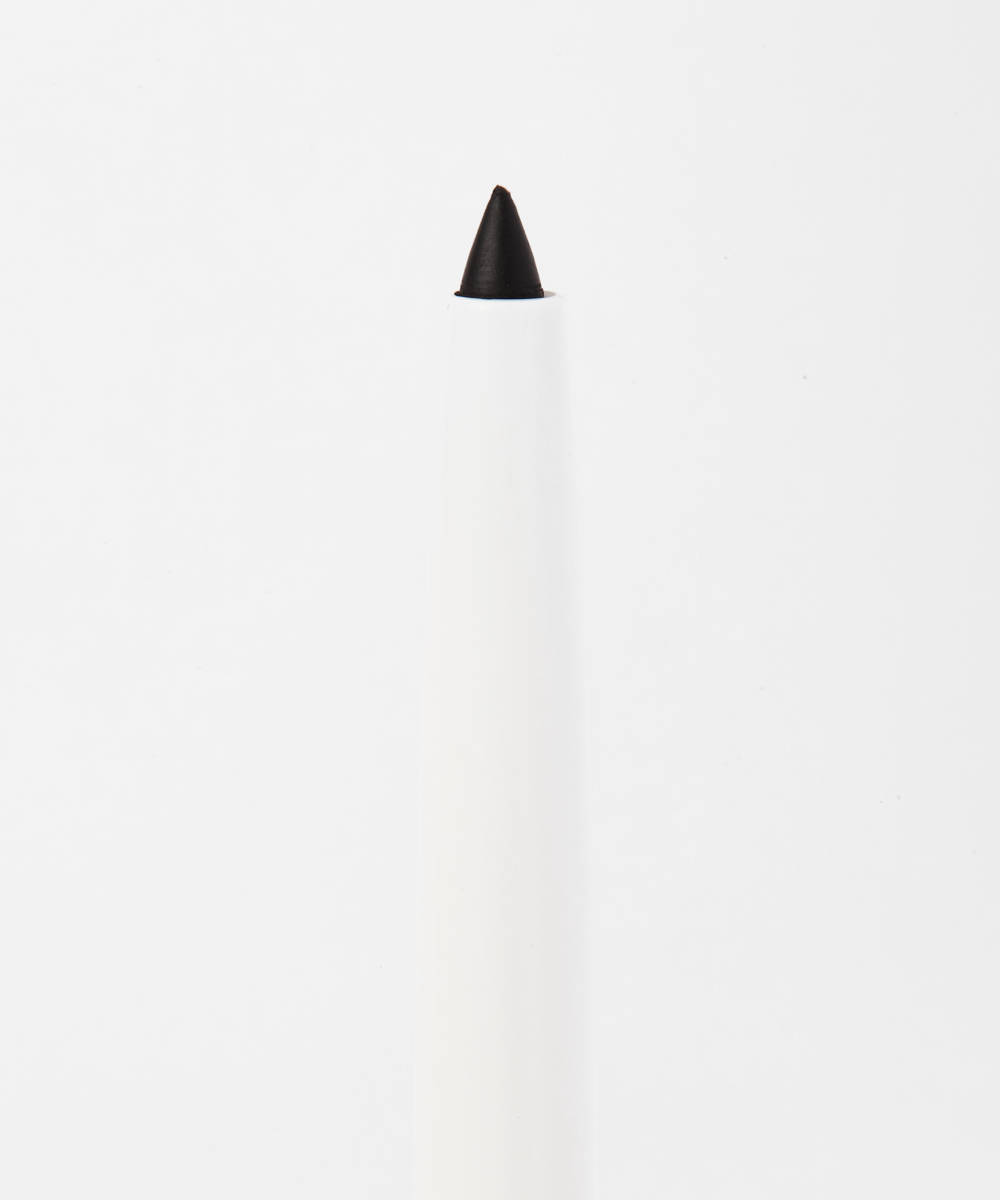
STEP TWO
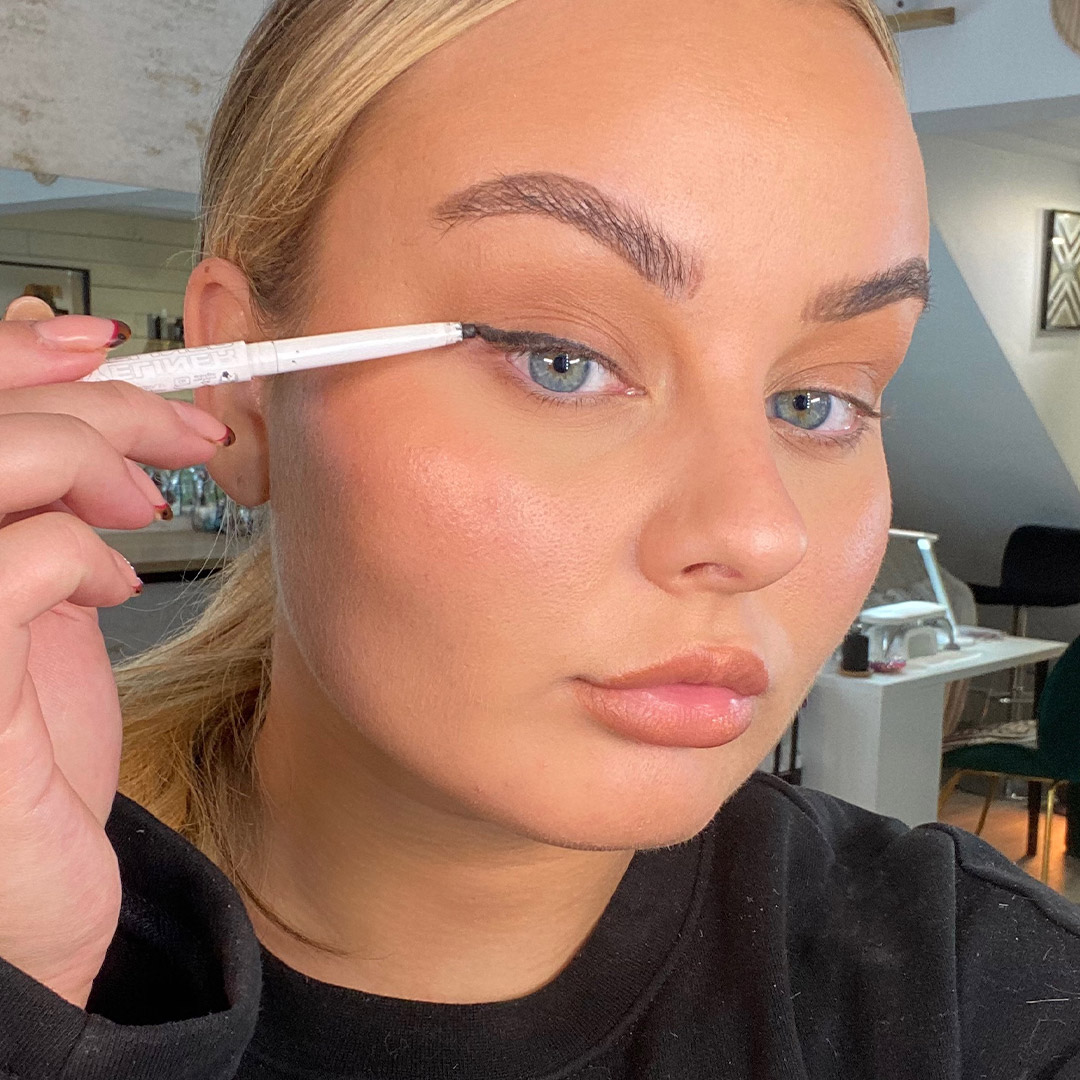
Line your upper lash line with By BEAUTY BAY’s Crayon Eyeliner in Ink. Don’t worry about keeping this super neat as you’re going to blend it out, so the messier the better!
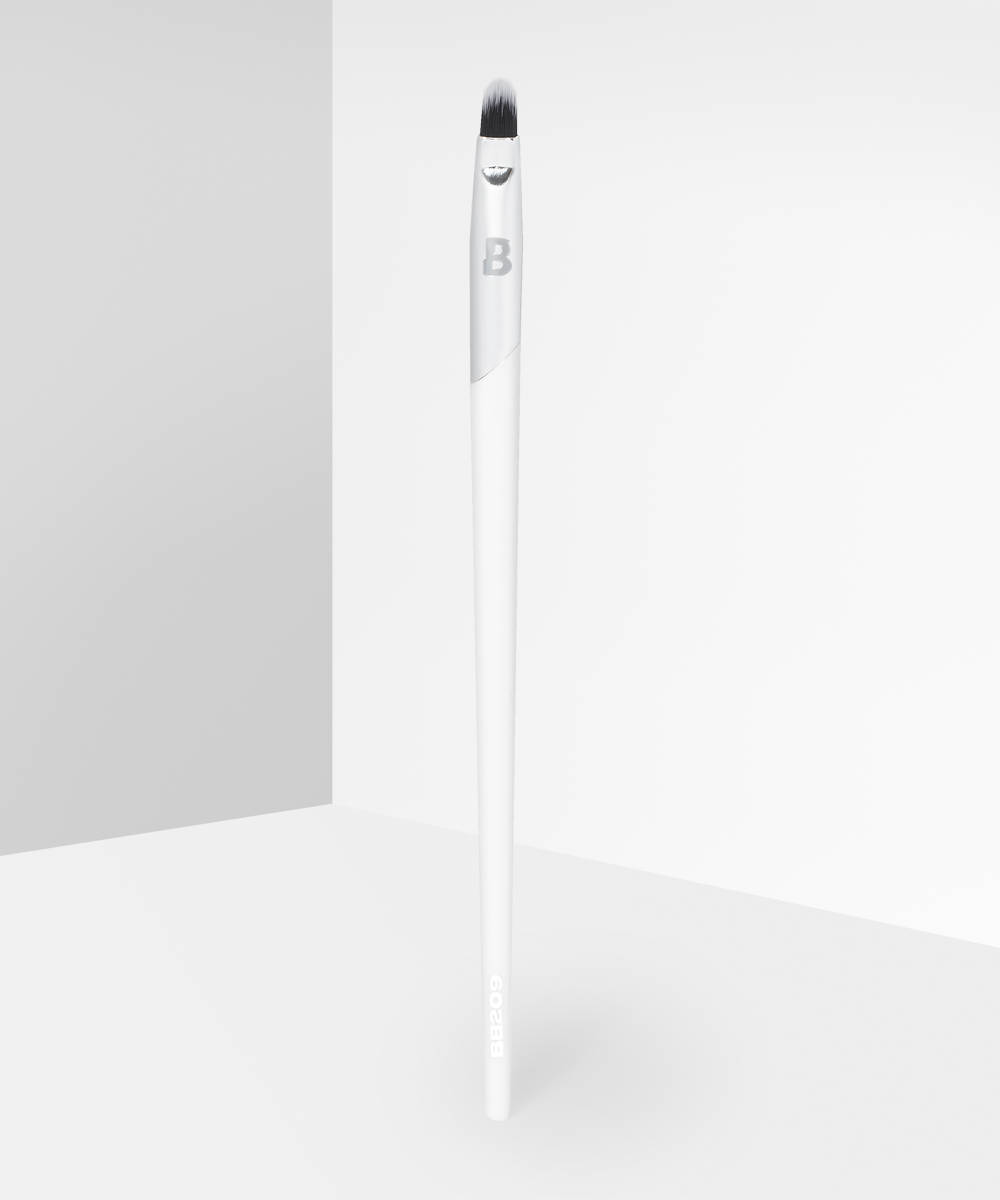
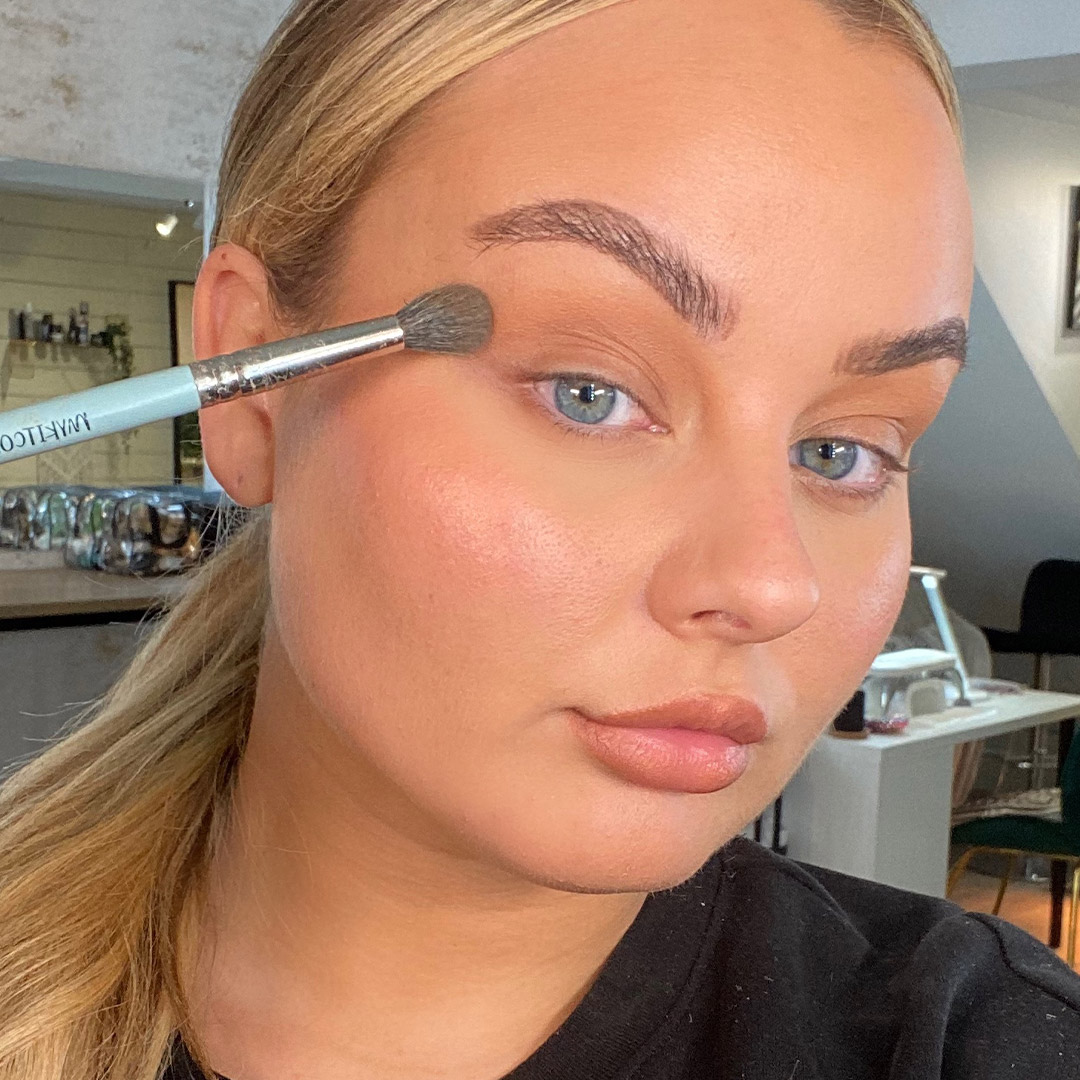
STEP THREE
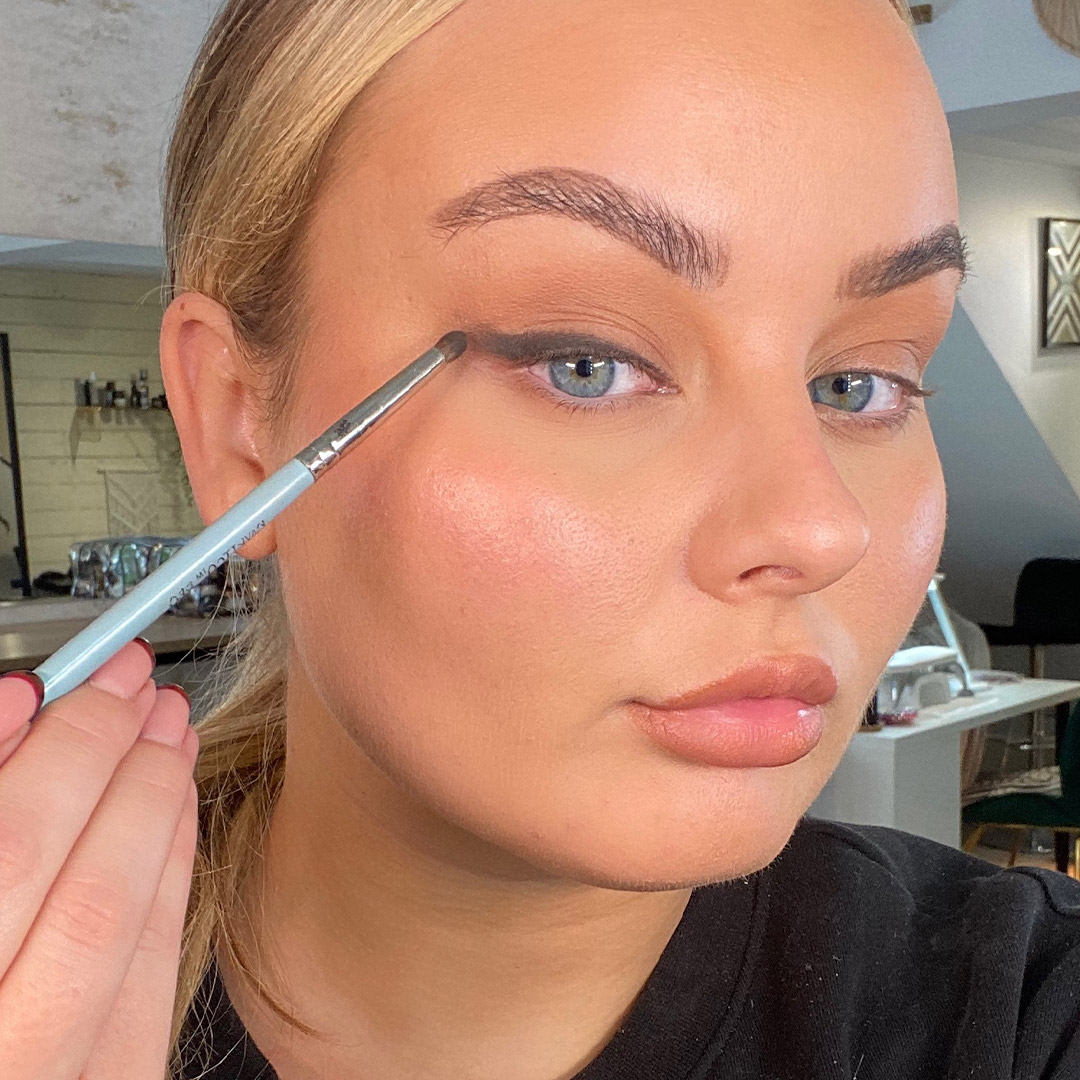
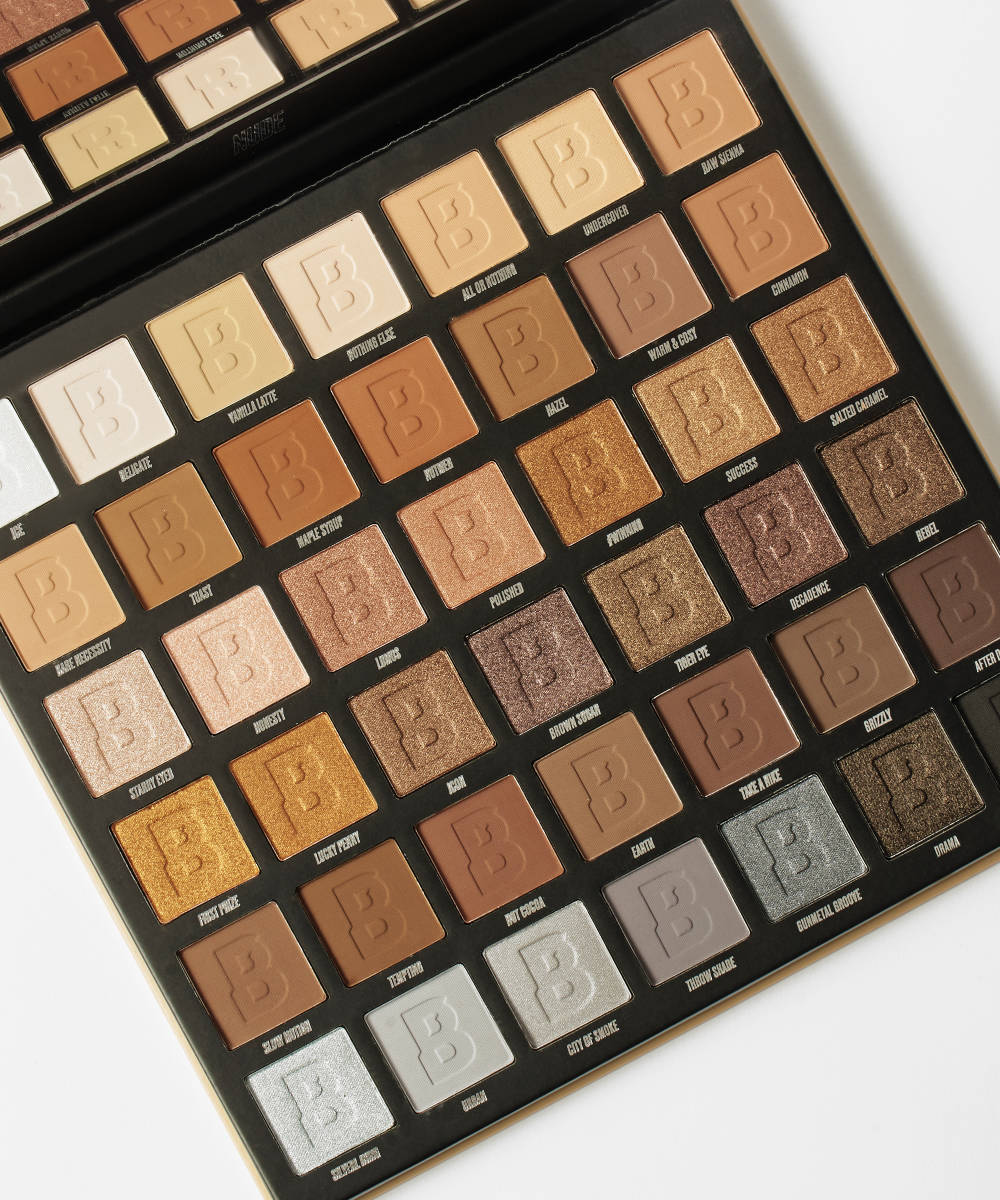
Use a small smudger brush to blend out the eyeliner with a dark brown shadow (Lauren is using shade After Dark from By BEAUTY BAY’s Nude 42 Colour Palette).
Try to keep the shadow close to the lash line, smudging it lightly back and forth, and winging it out slightly if you want to.
STEP FOUR
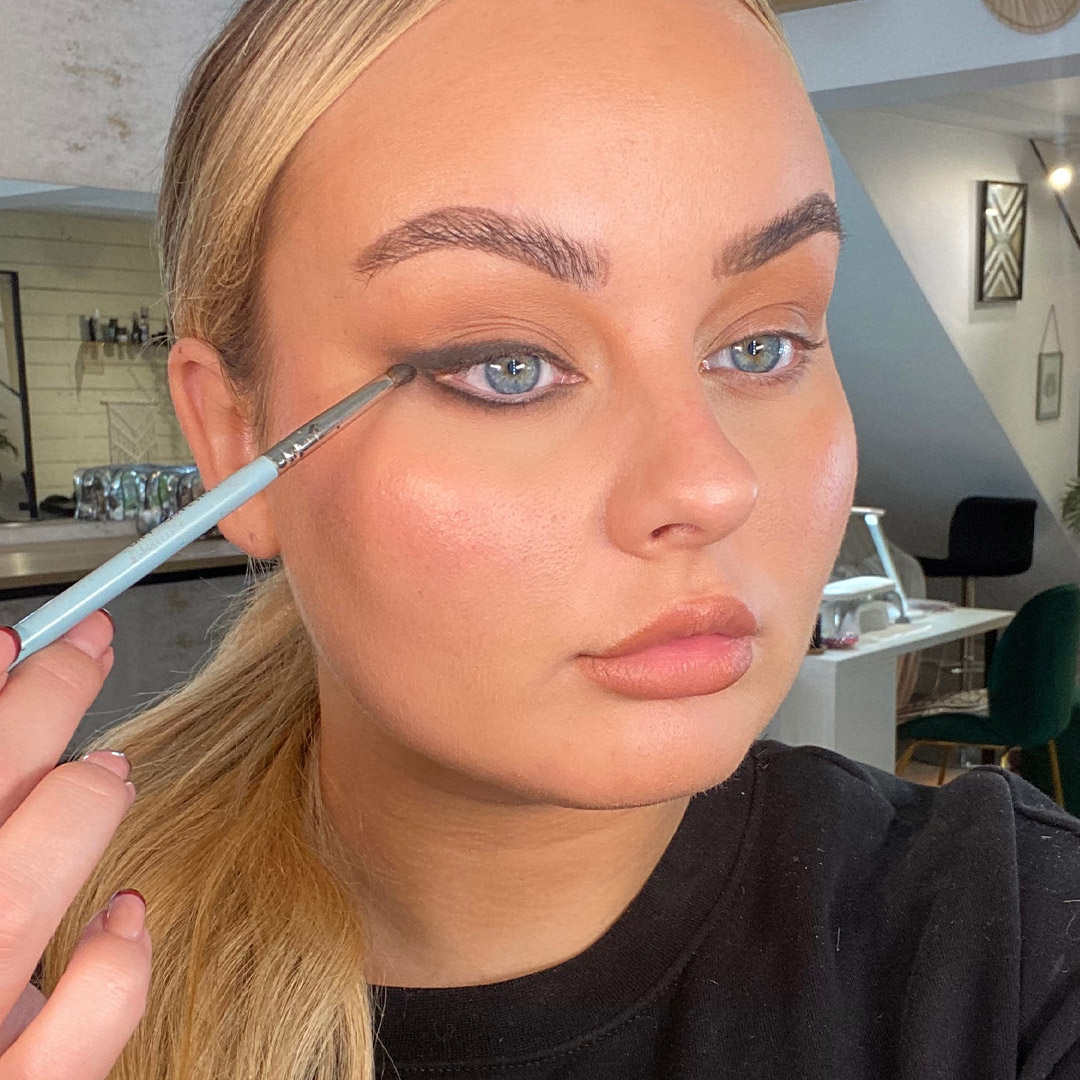
Repeat the same technique on your lower lash line. For a really smoky effect, apply the liner directly onto your waterline.
STEP FIVE
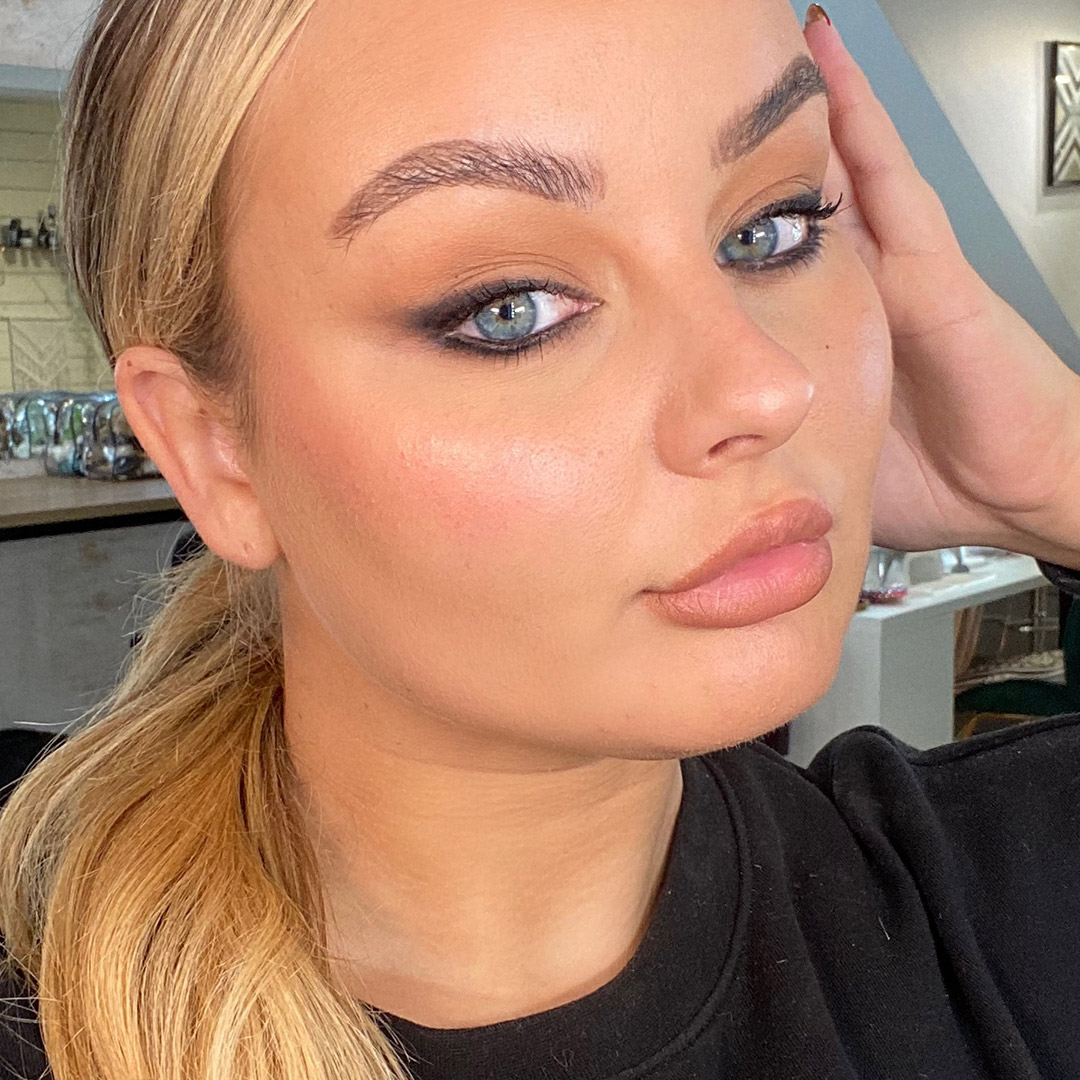
Finish the look with your favourite mascara.