Just when we thought we’d tried every ombré nail art hack under the sun – sponges, blending brushes, layering… you name it, we’ve tried it – along came eyeshadow pigment. Yep, you read that correctly. The secret to achieving flawless ombré nails has been sat in your makeup bag this entire time. Luckily for us, we have nail pro Millie Horton on hand to show us just how easy ombré nails can be. If you’ve tried (and failed) all other options, look no further than this step-by-step DIY ombré nail art tutorial.
Step One
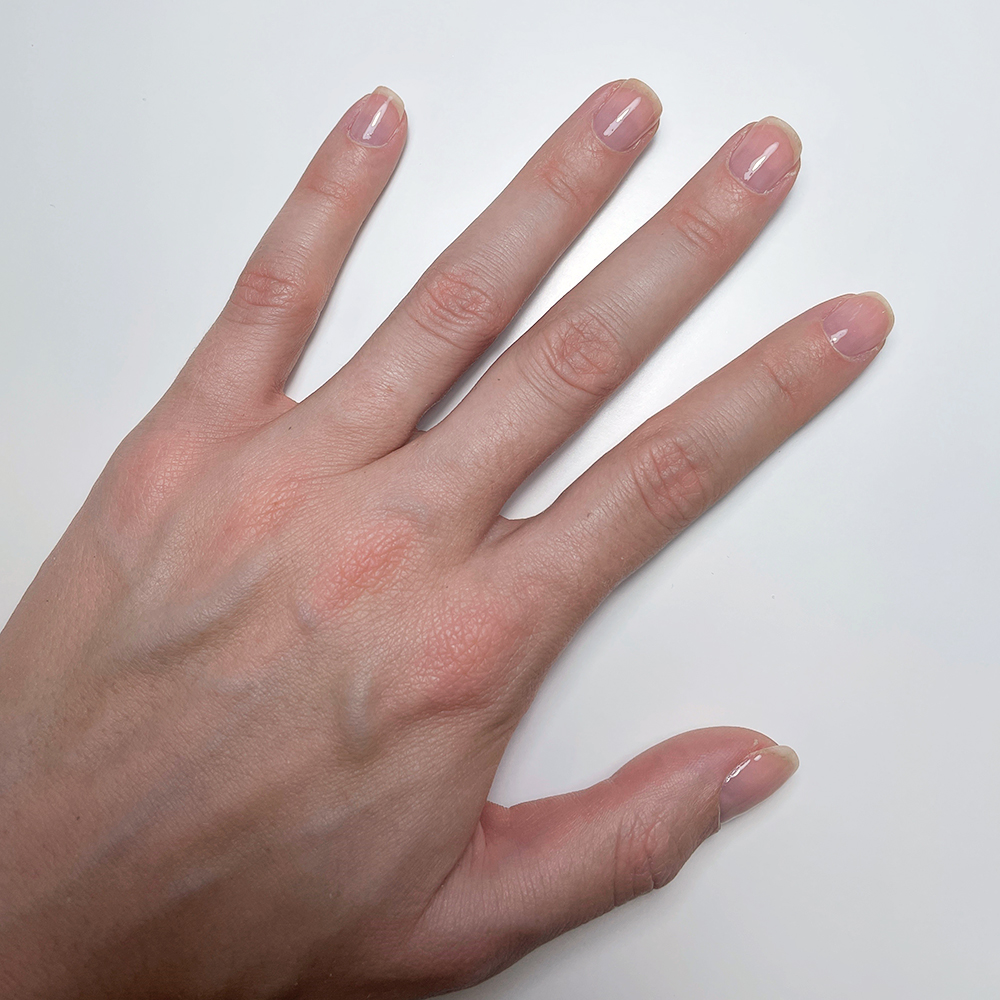
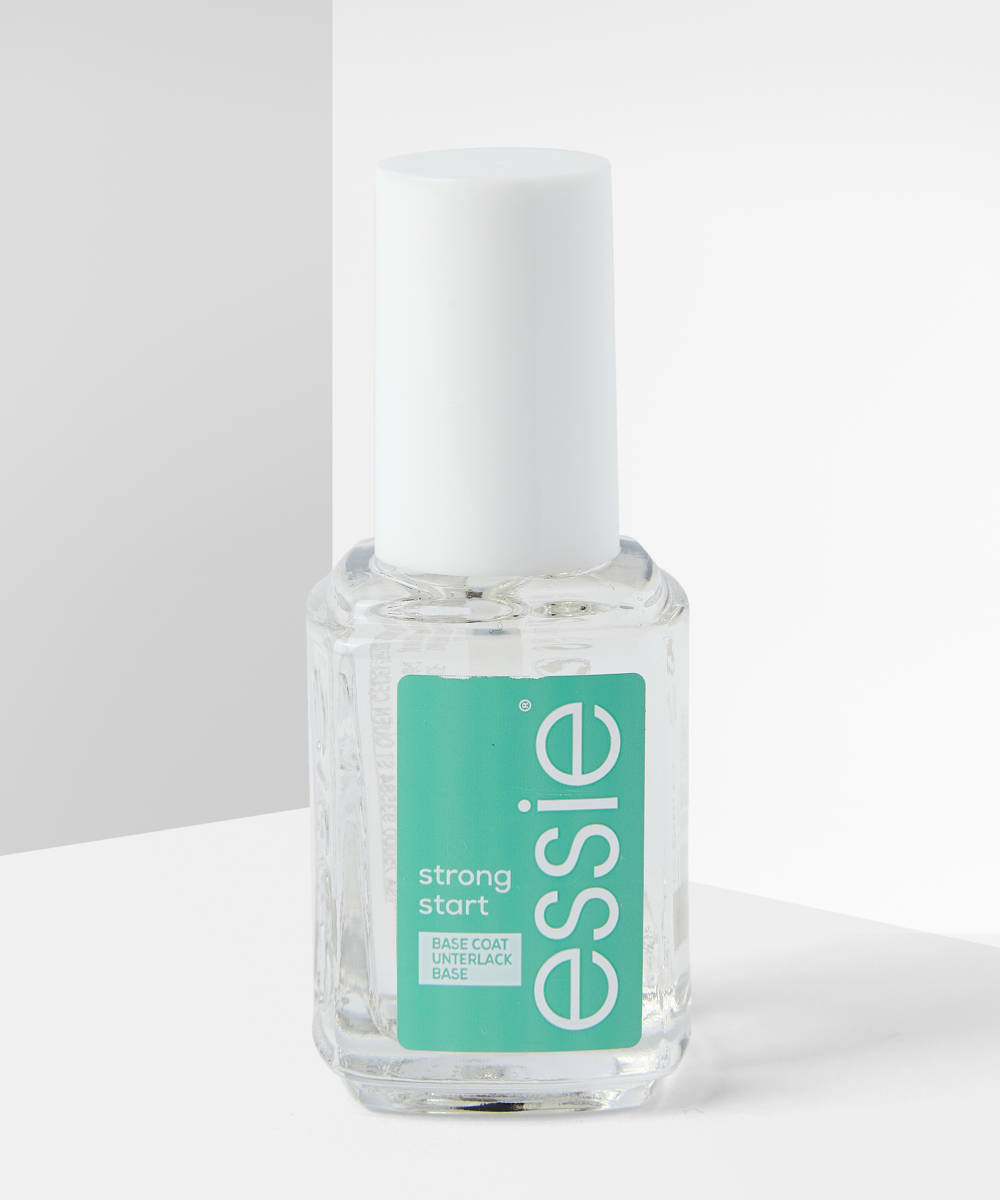
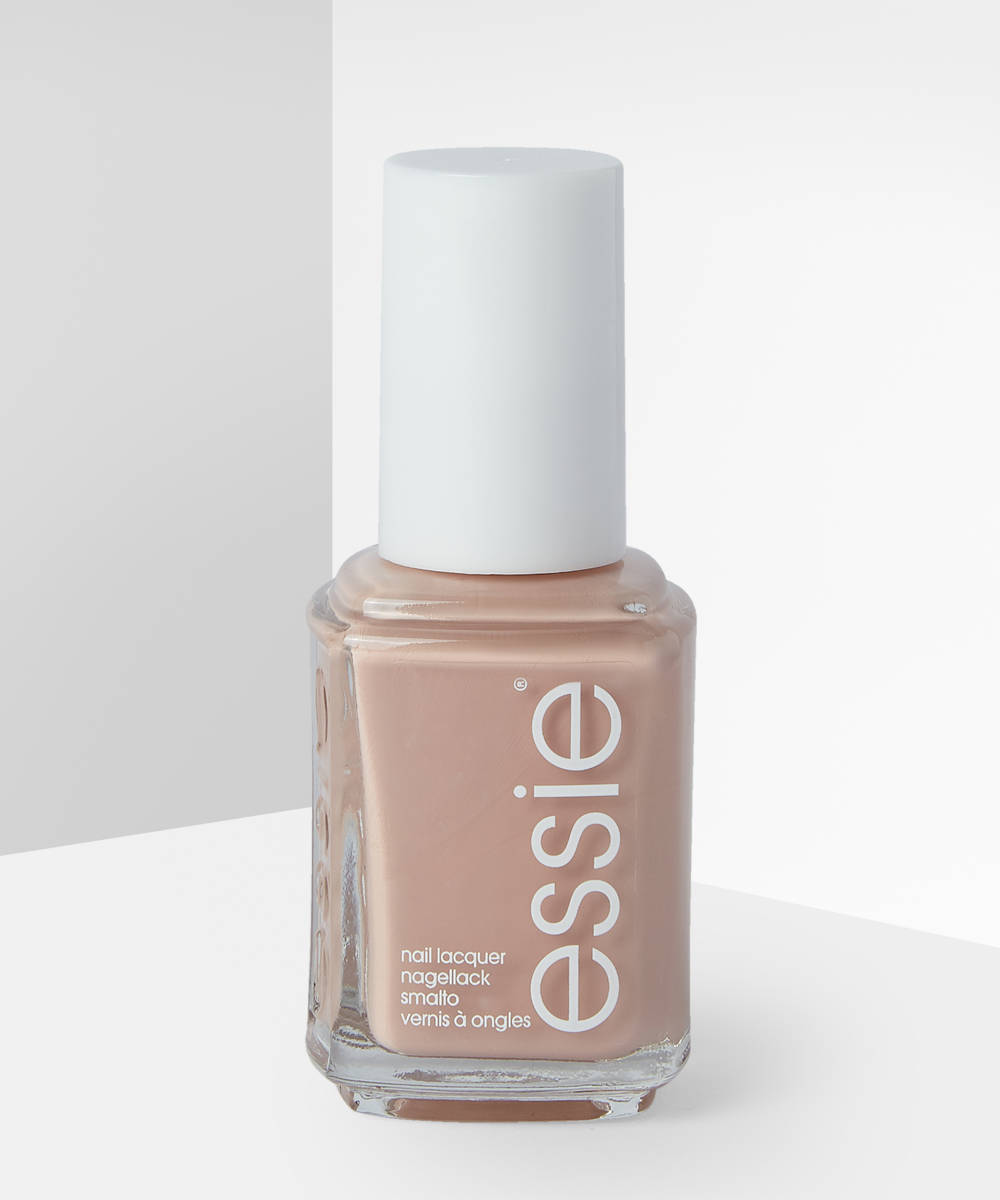
Once you’ve manicured your nails and cuticles, apply a clear base coat and allow it to dry (or cure if you’re using gel). Then apply the base polish colour. Let it dry/cure and repeat until you’re satisfied with the finish. If you’re not using a polish colour that matches your natural nails, choose a shade that will blend well with the colour of the pigment you’ve chosen. This will make it much easier to achieve the ombré effect.
Step Two

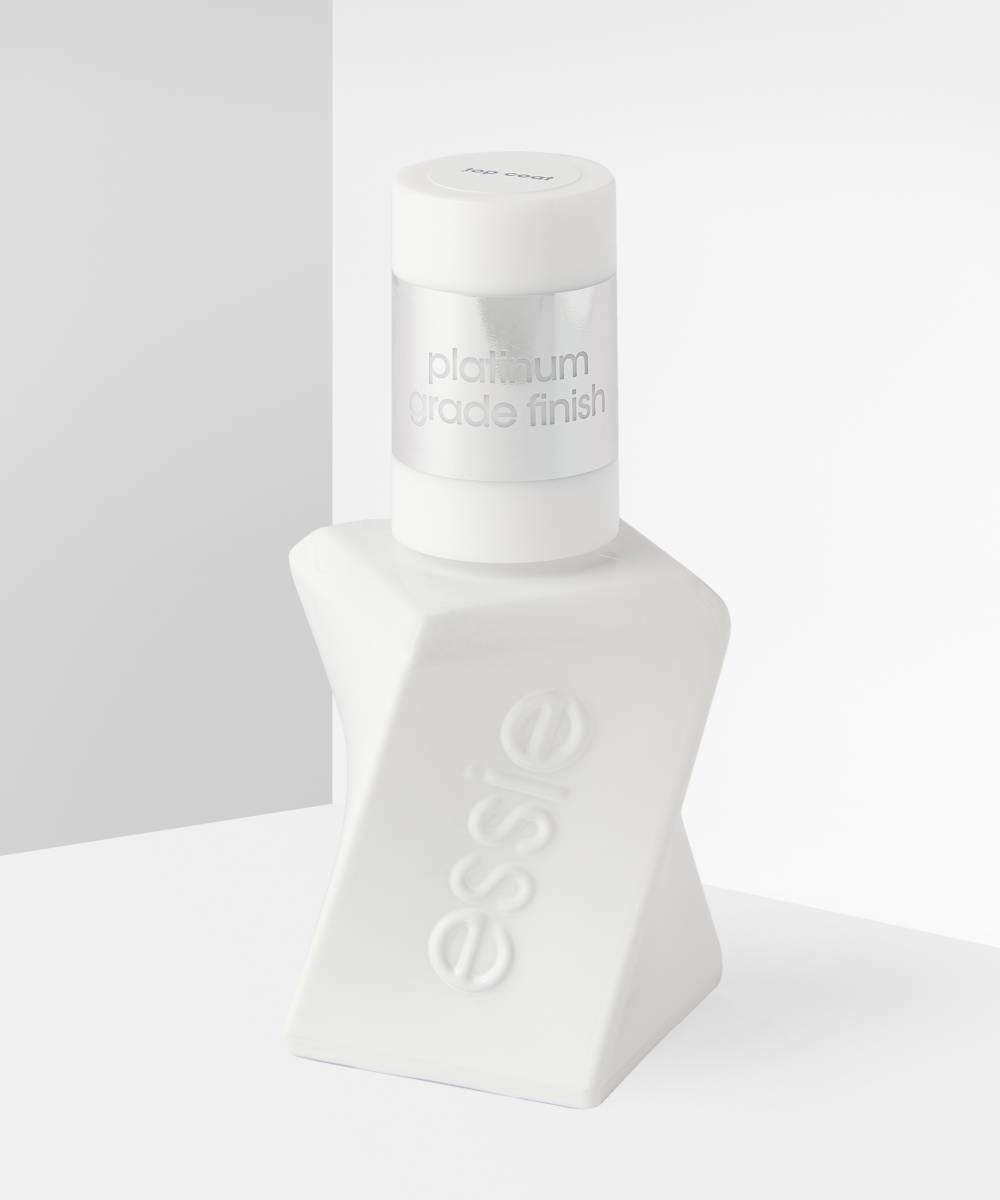
Apply the matte topcoat and let it fully dry. This adds friction to the nail surface so that the pigment adheres easily and stays put.
Step Three

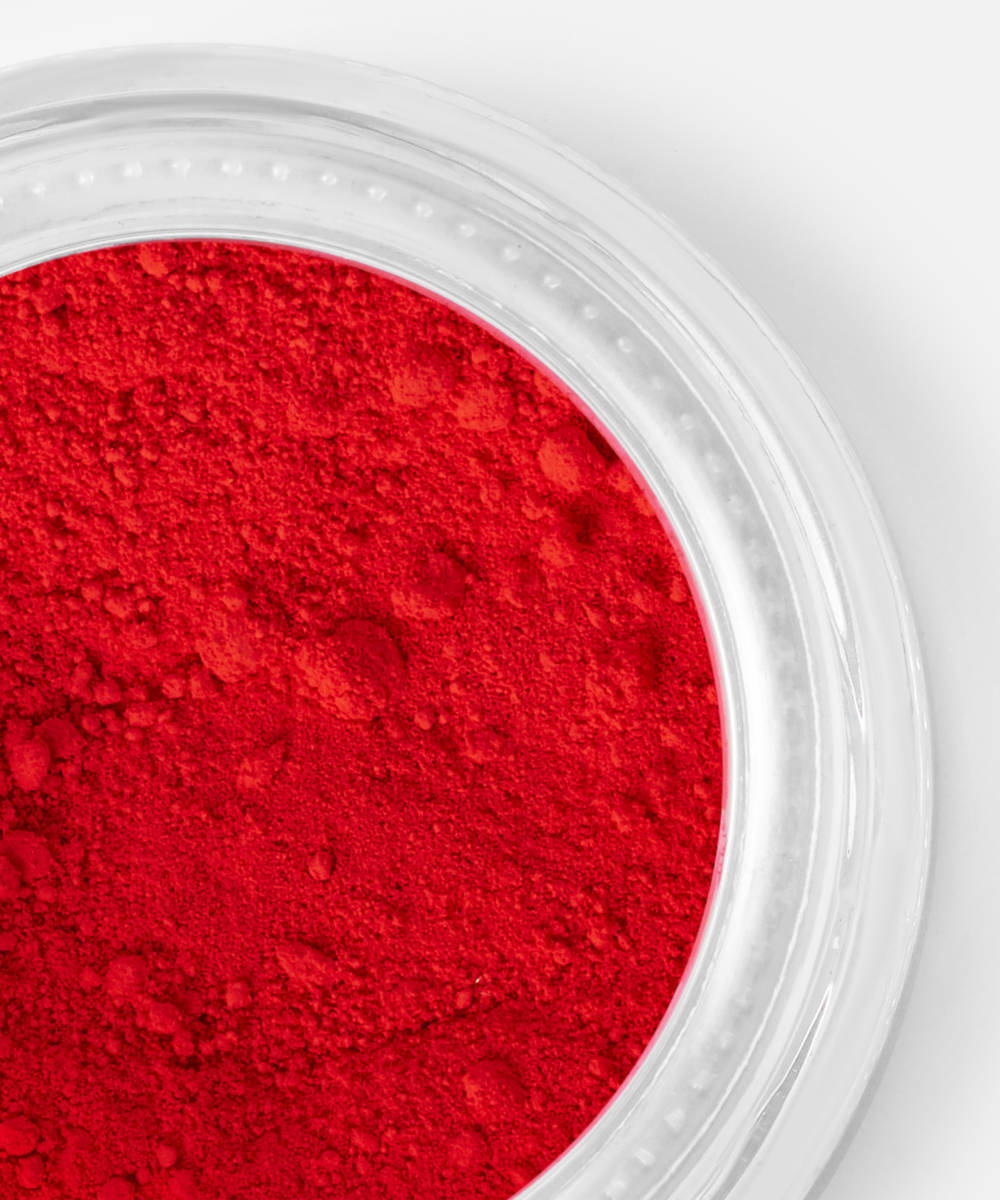
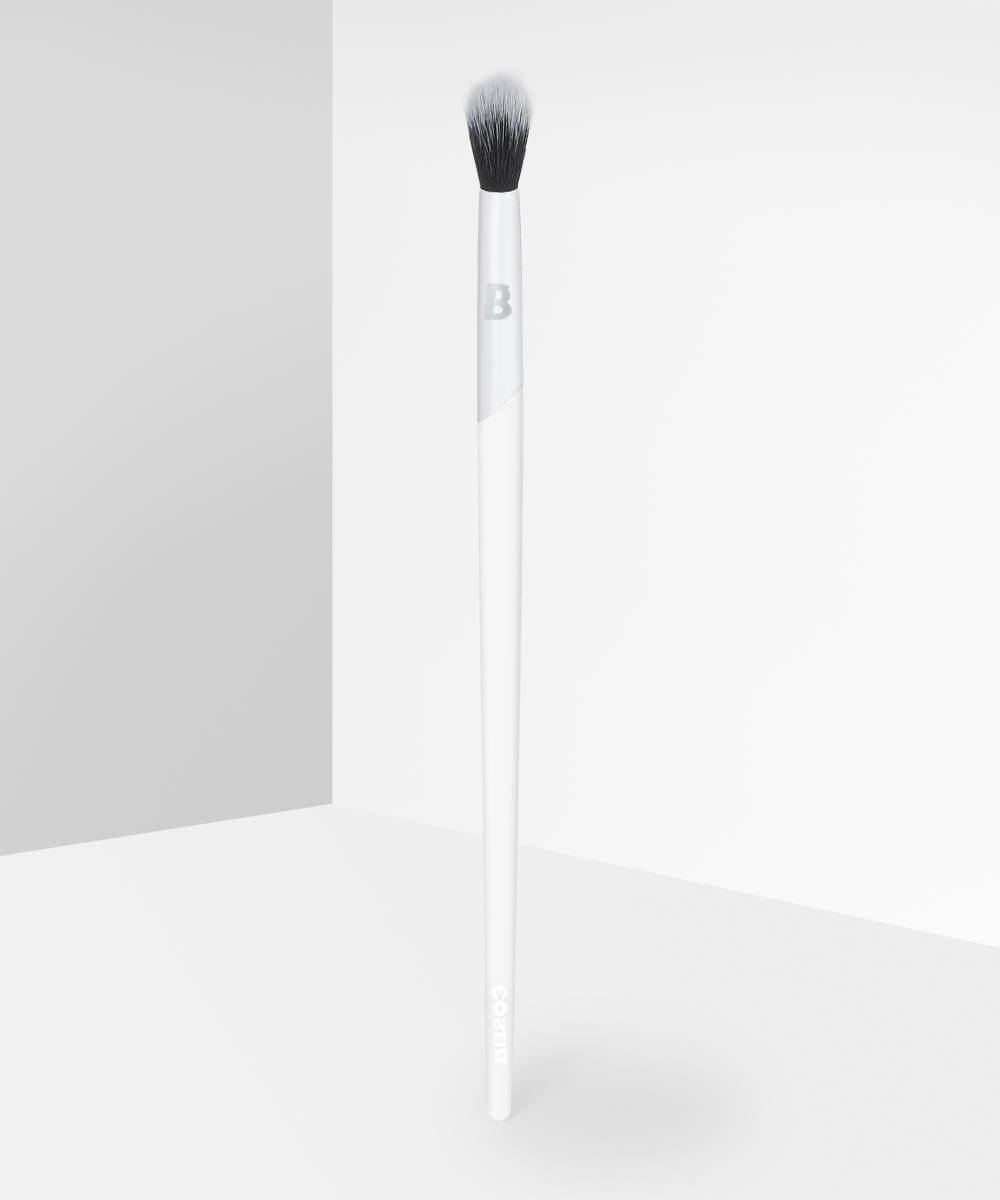
Once the matte topcoat is fully dry, it’s time to apply the pigment. Dip your eyeshadow brush into the pigment and lightly sweep onto the free edge of the nail. Concentrate the pigment at the edge and gently blend it away to create the ombré effect. It’s important to use light strokes as you want to create a subtle blend.
Step Four
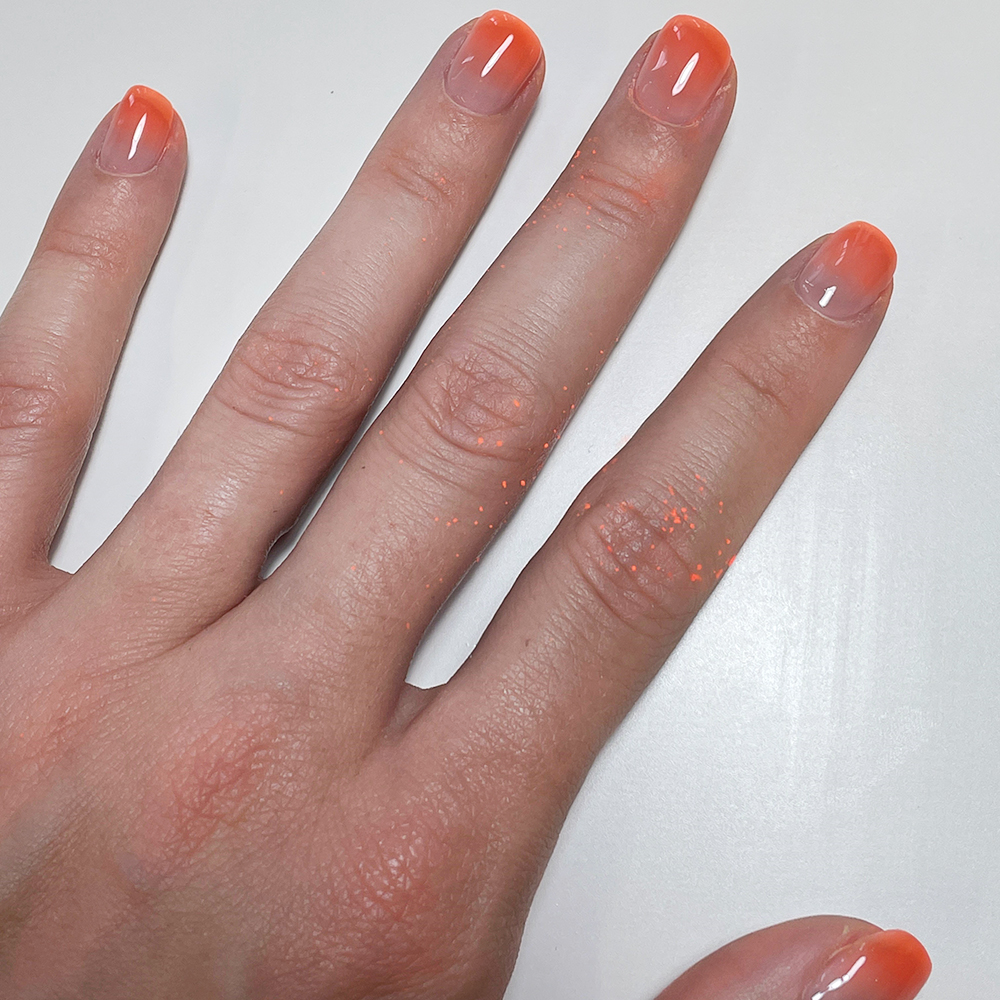
Once you’re happy with the blend, apply a clear topcoat over all of the nails and let them fully dry. Take some nail polish remover on either a small, flat brush or a nail wipe and carefully clean up any pigment that’s ended up on the skin surrounding the nail. Be careful not to remove any polish from your nail during this process. Finish with a generous slick of cuticle oil and hand cream.