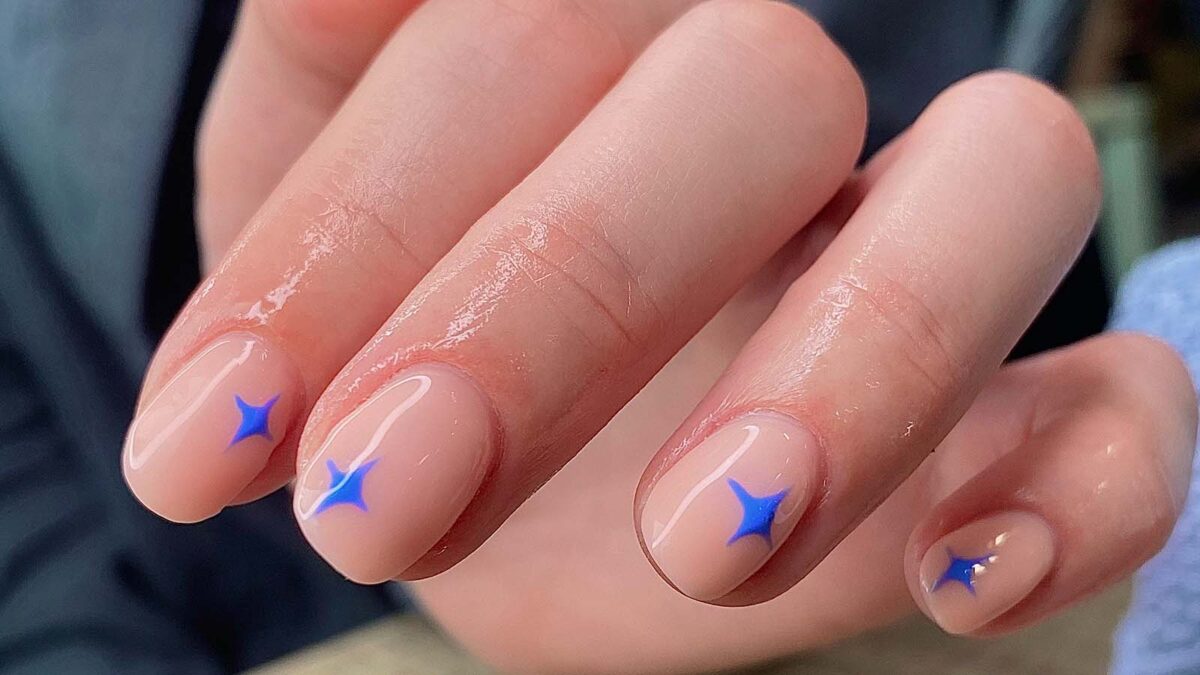
Minimal nail art designs are a big vibe right now. As basic (and easy) as they look, a lot of effort actually goes into pulling off a super clean, neutral nail with simple details. And we’re here to prove that minimal does not(!) mean boring.
Scroll to find out how to achieve this accent blue star design, that’s super clean and perfect for all the minimal lovers.
STEP ONE:
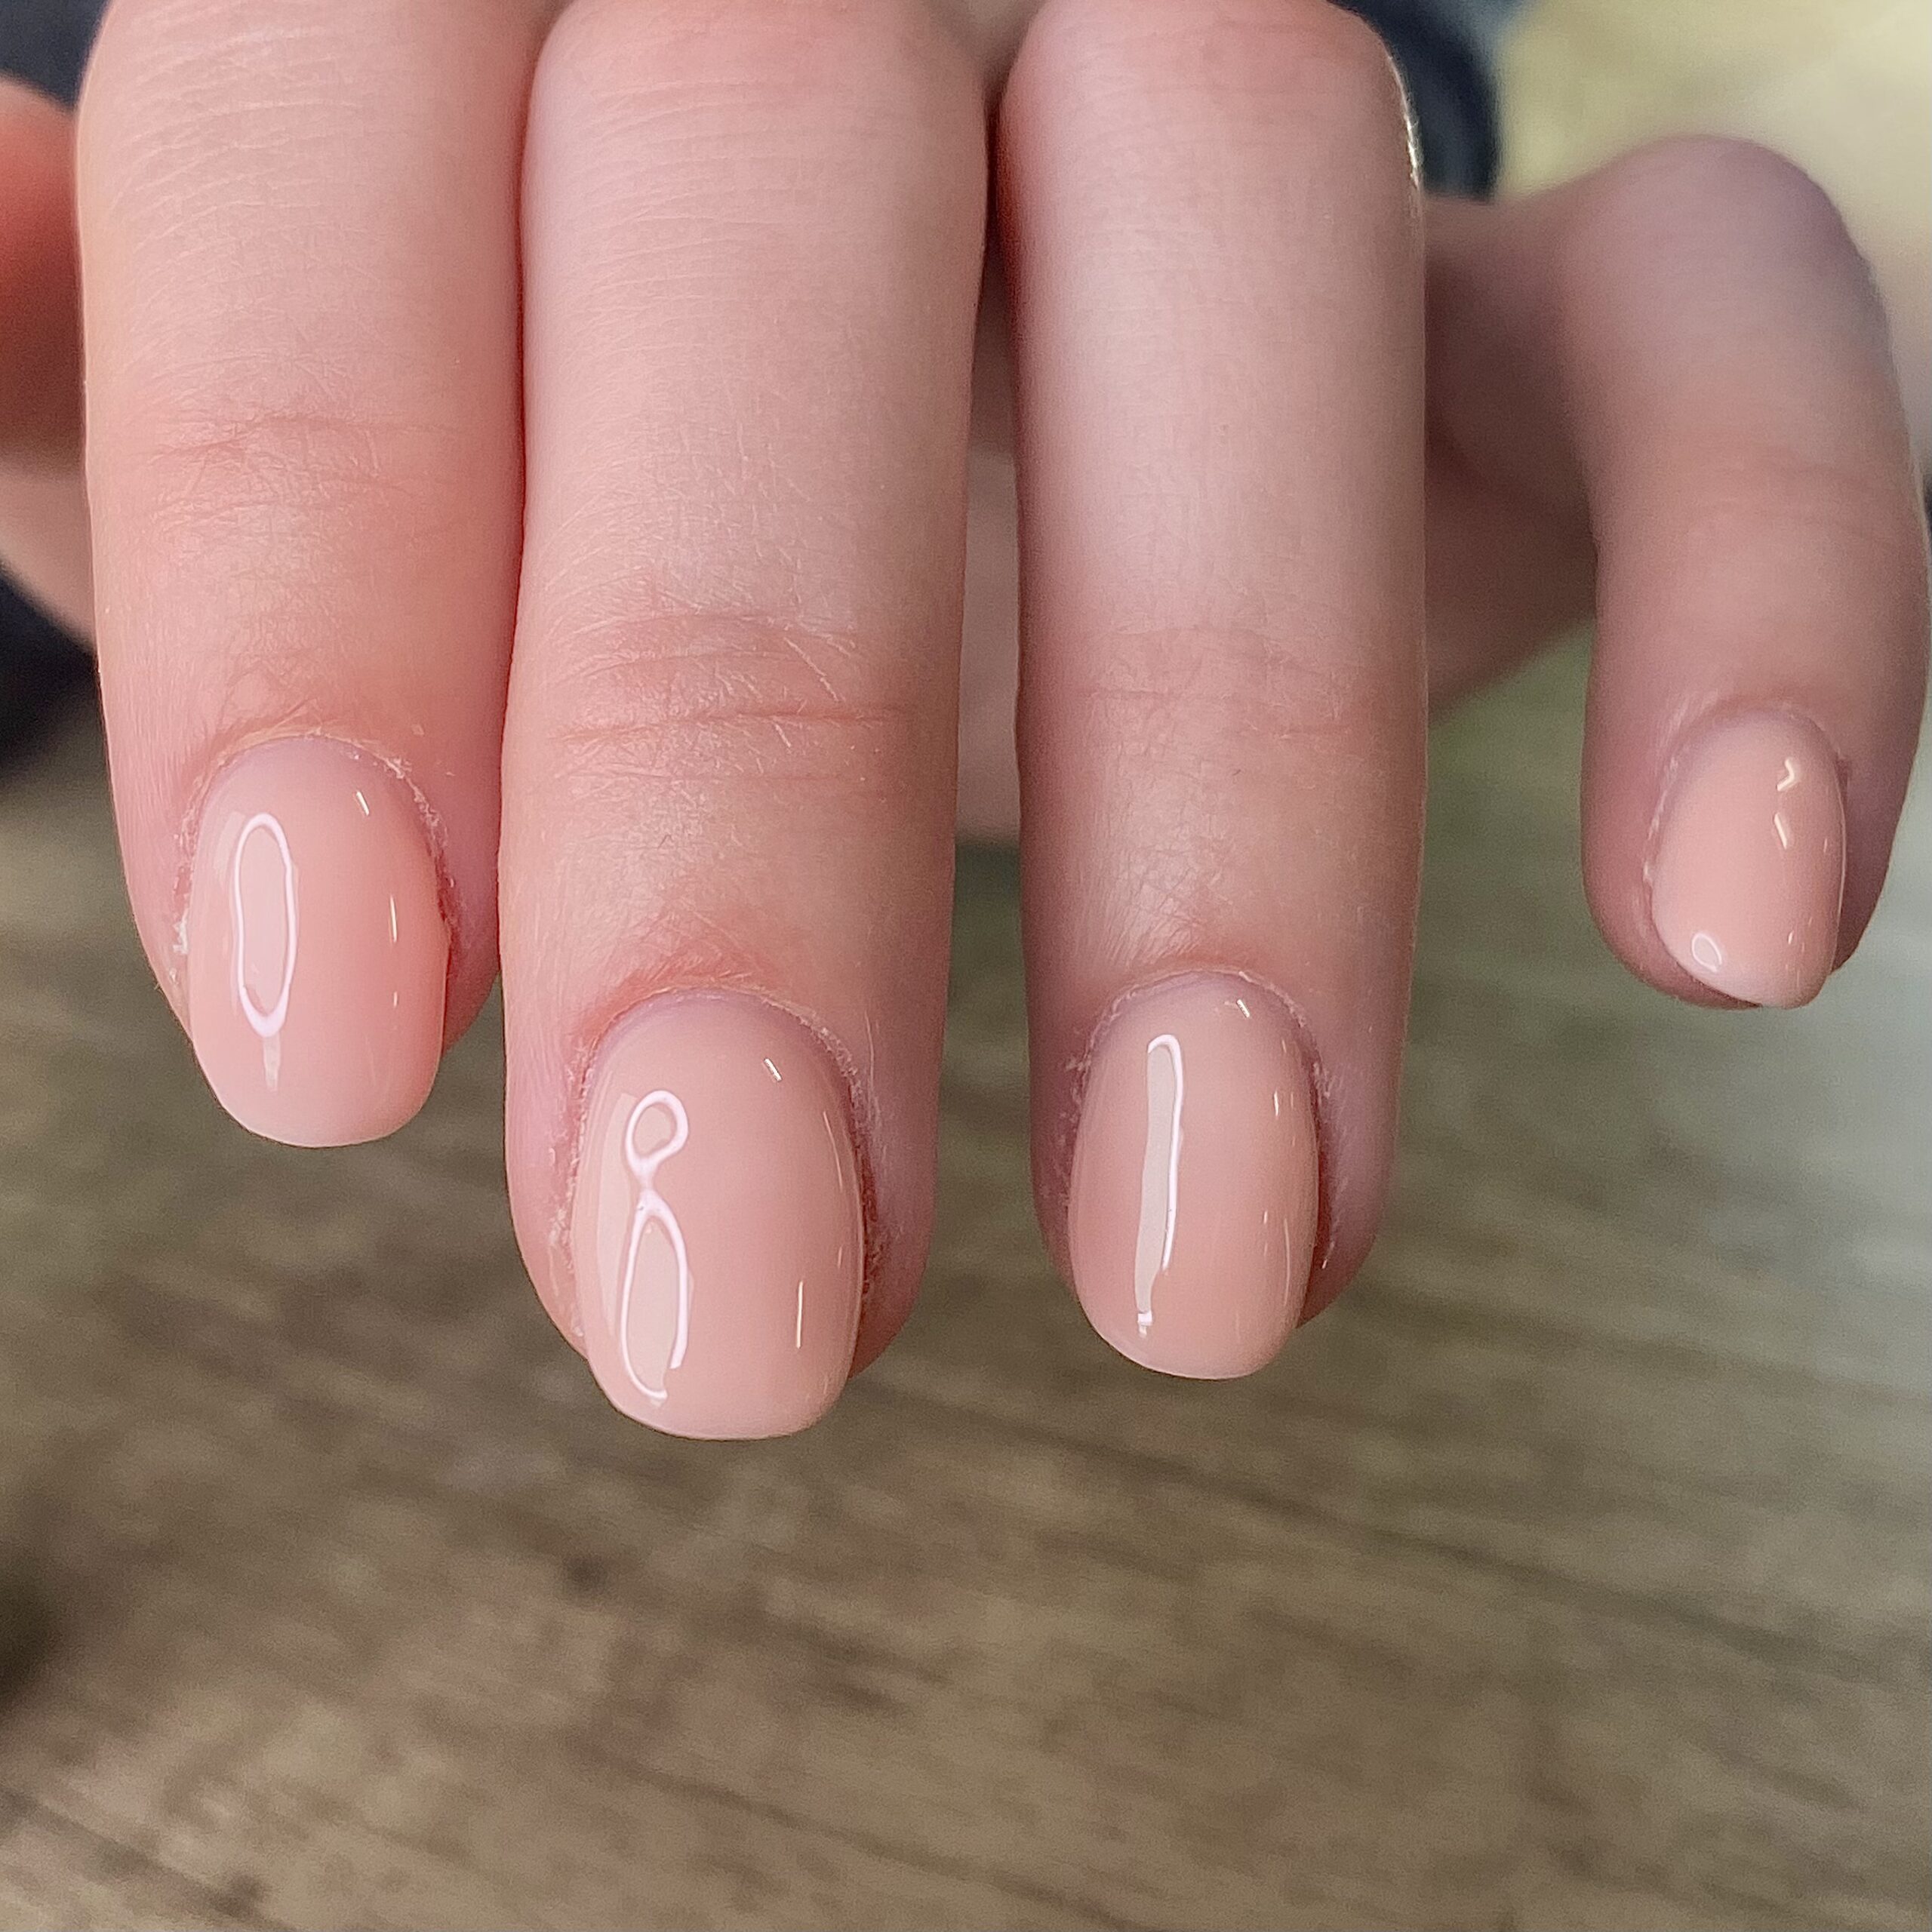
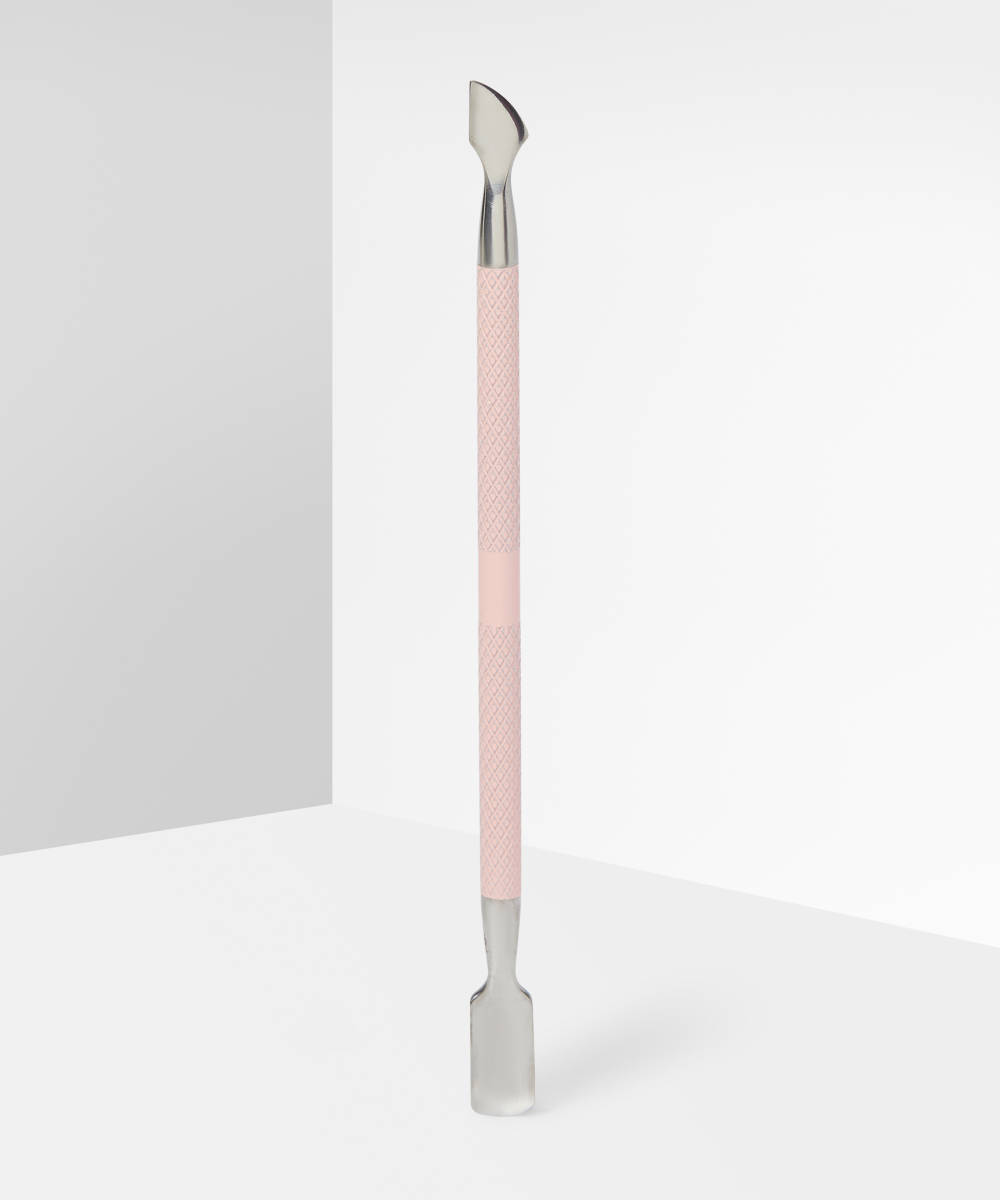
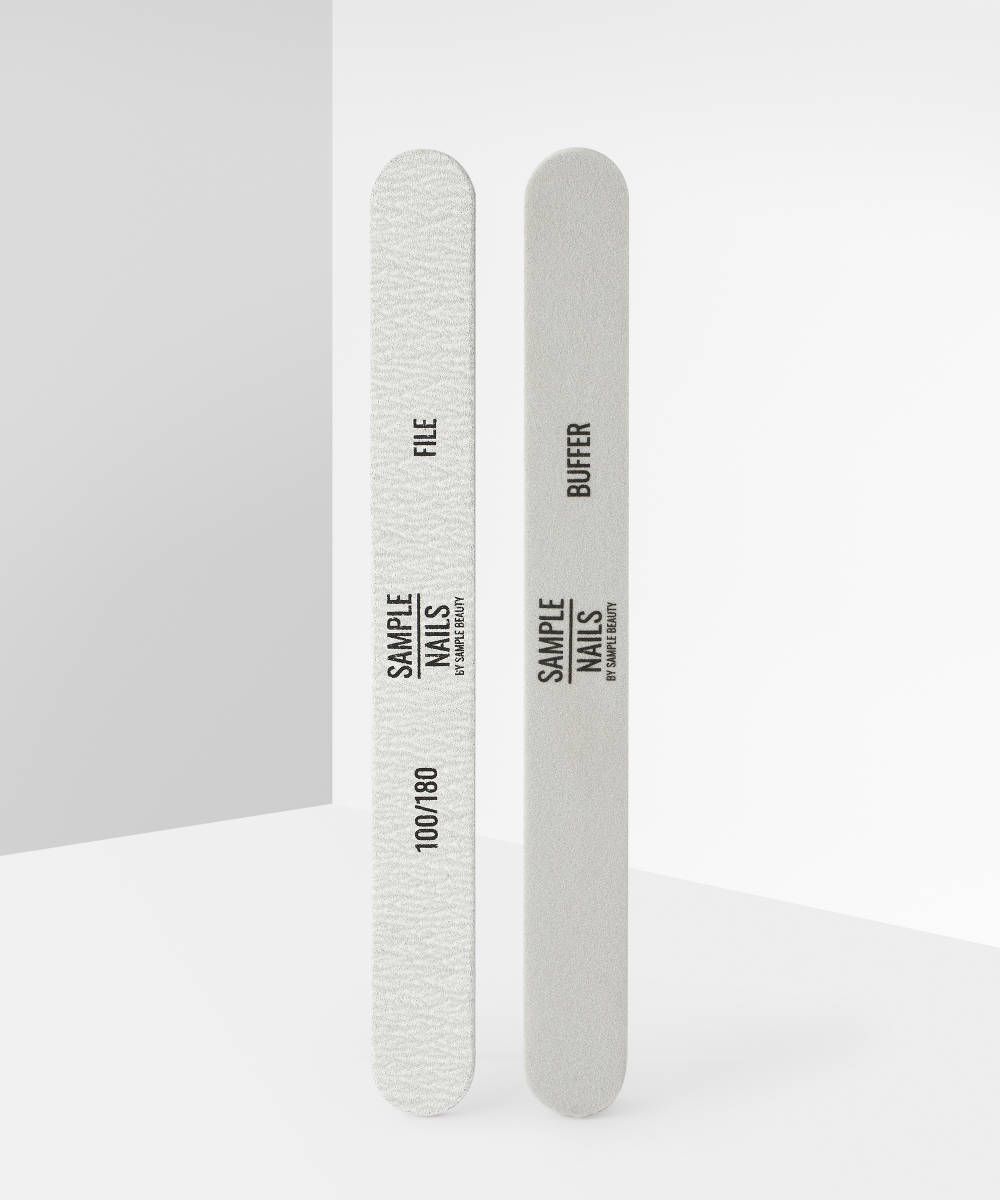
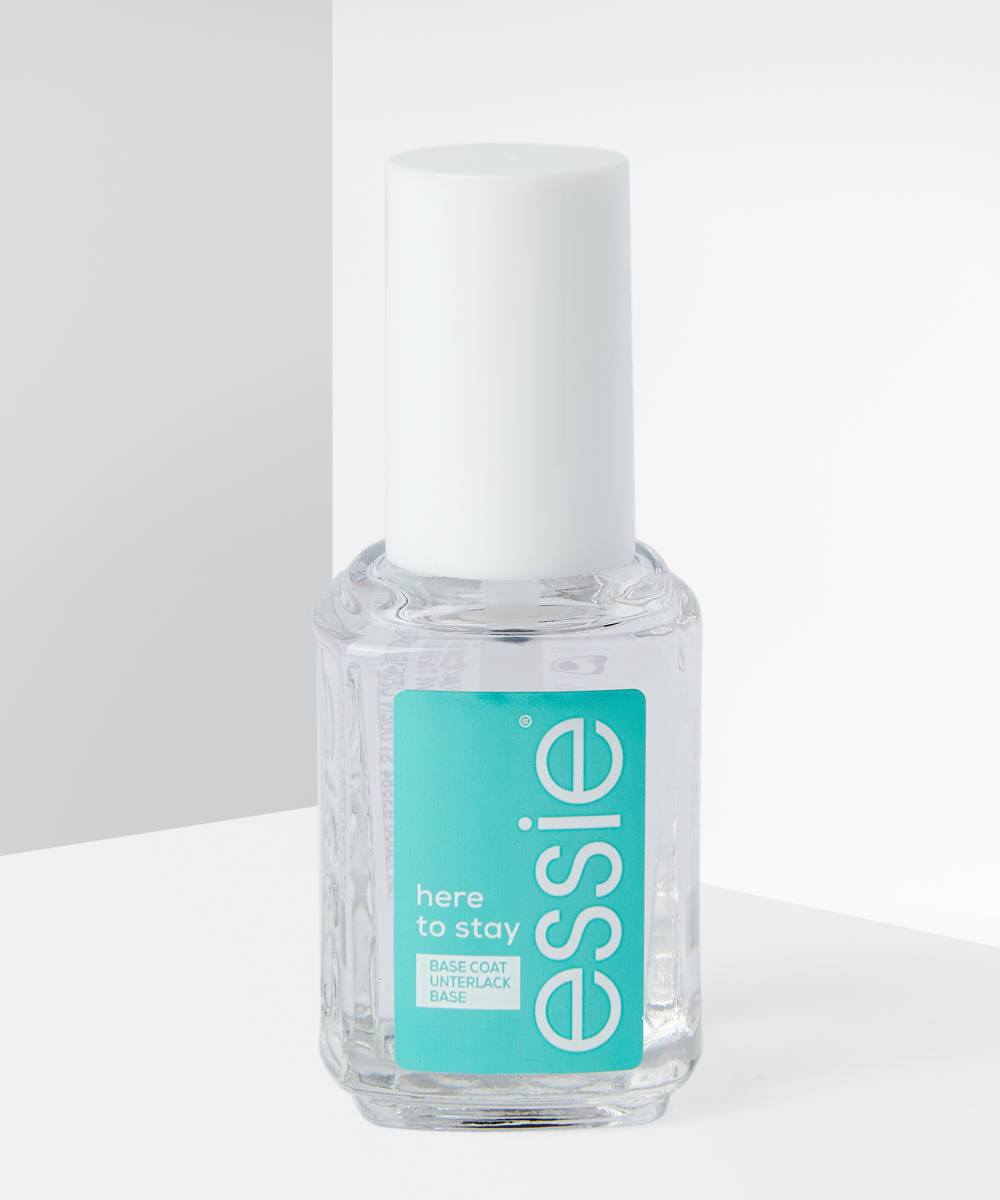
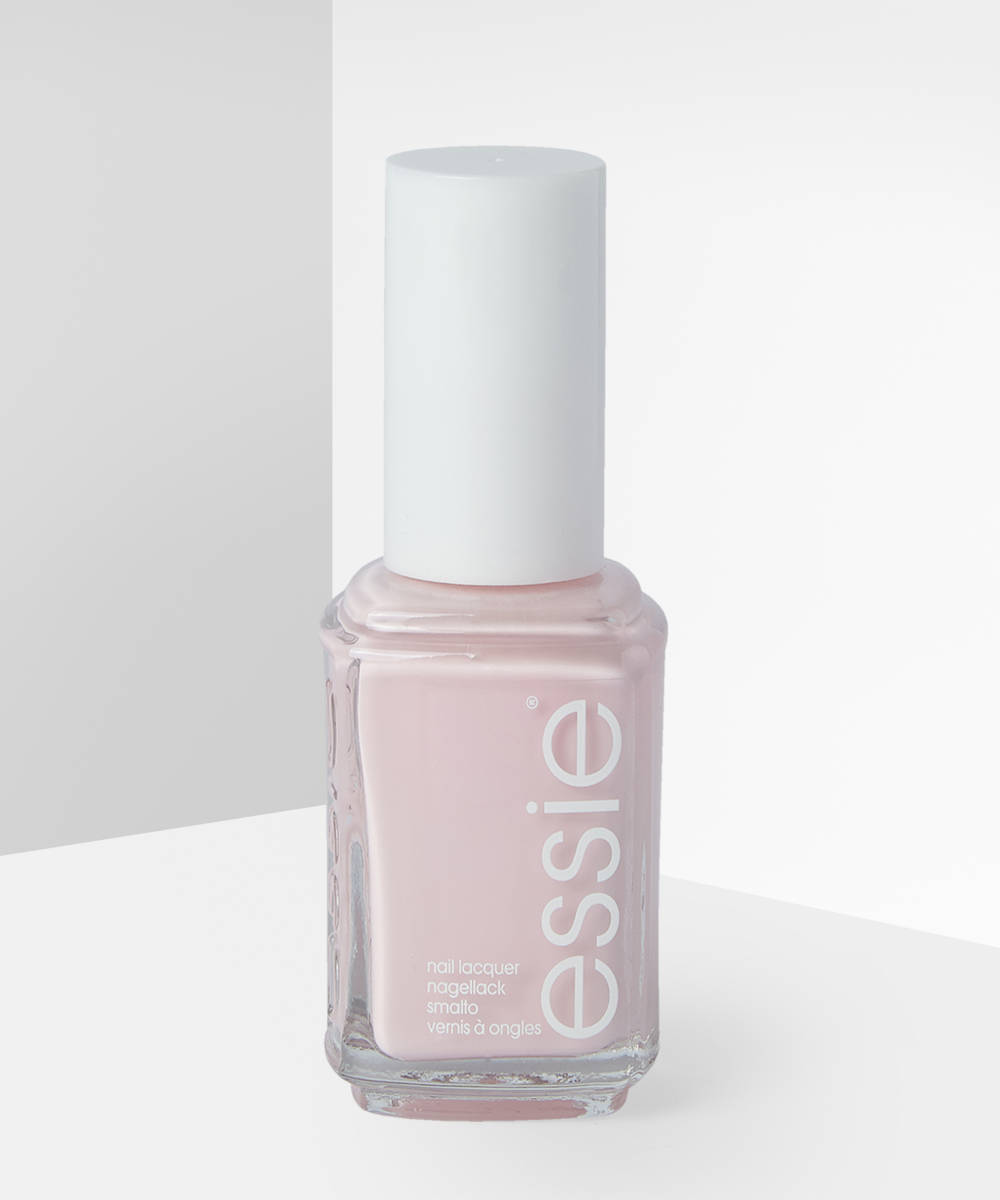
As always, start out by prepping and filing your nails into shape with a nail file and cuticle pusher. We’ve opted for a slightly rounded edge, but feel free to go for a square tip if you wish. Then apply a base coat and a pinky nude base (remember to use thin coats and let them dry in between).
STEP TWO:
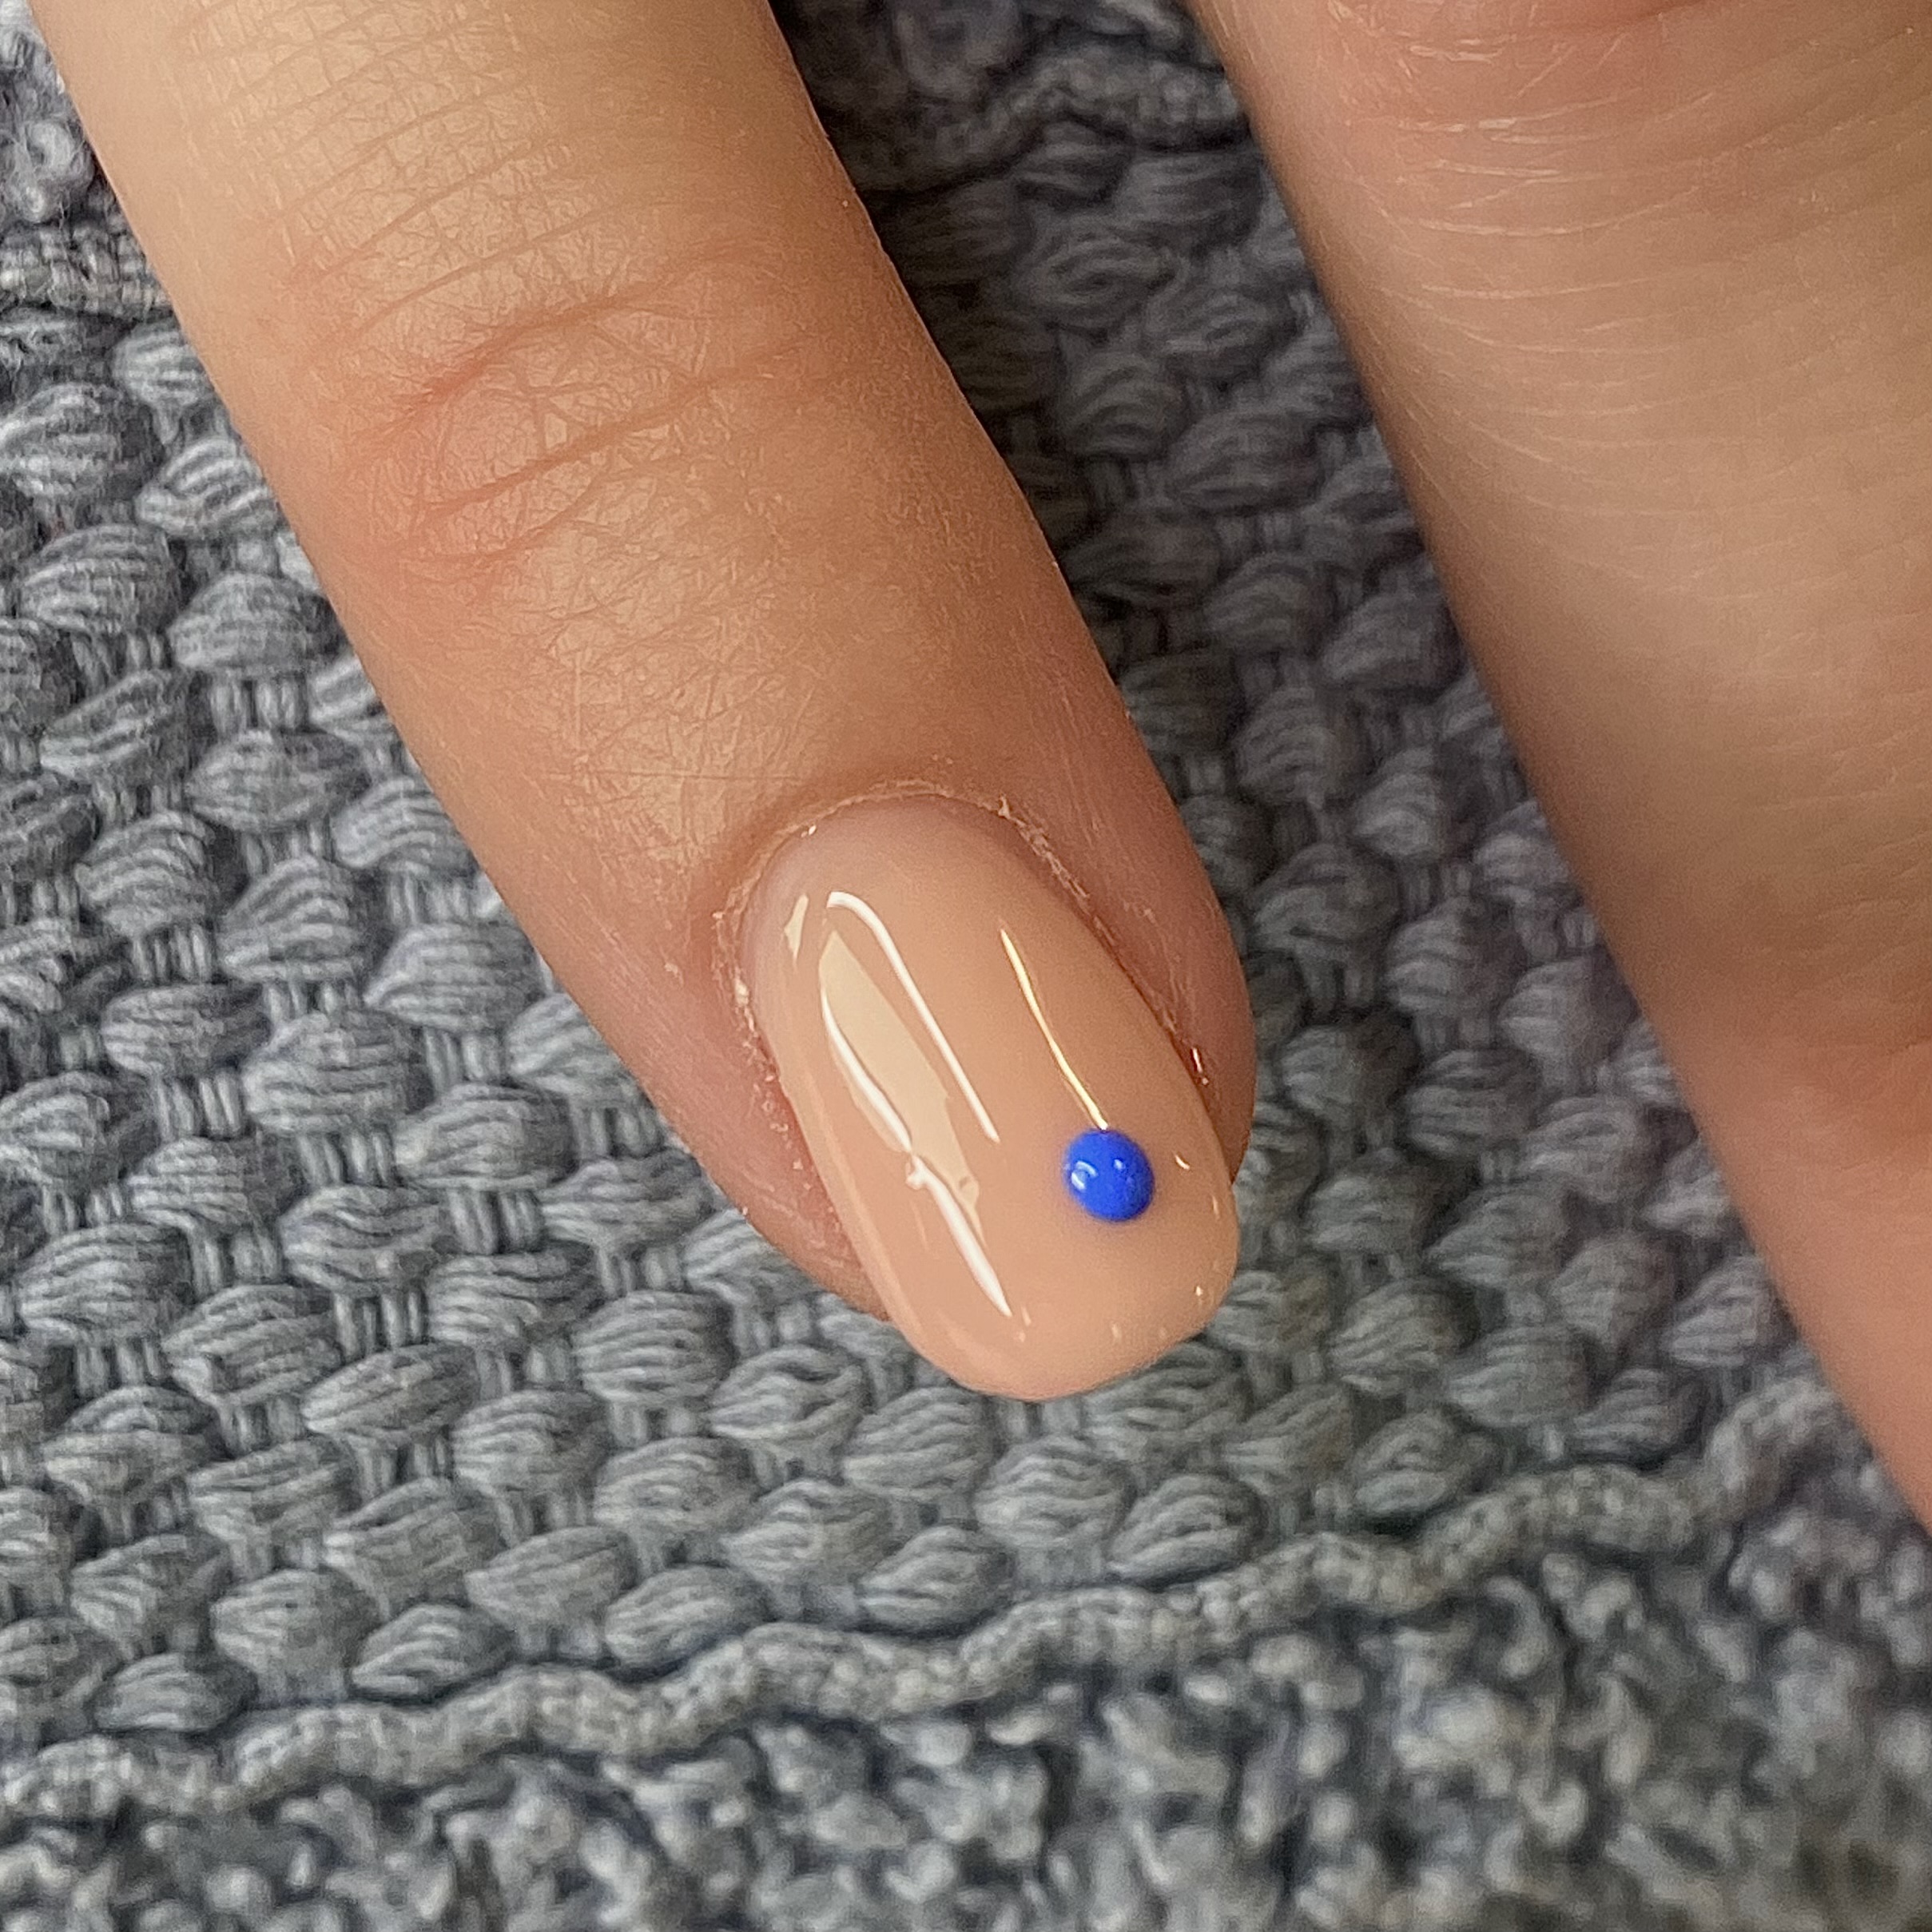
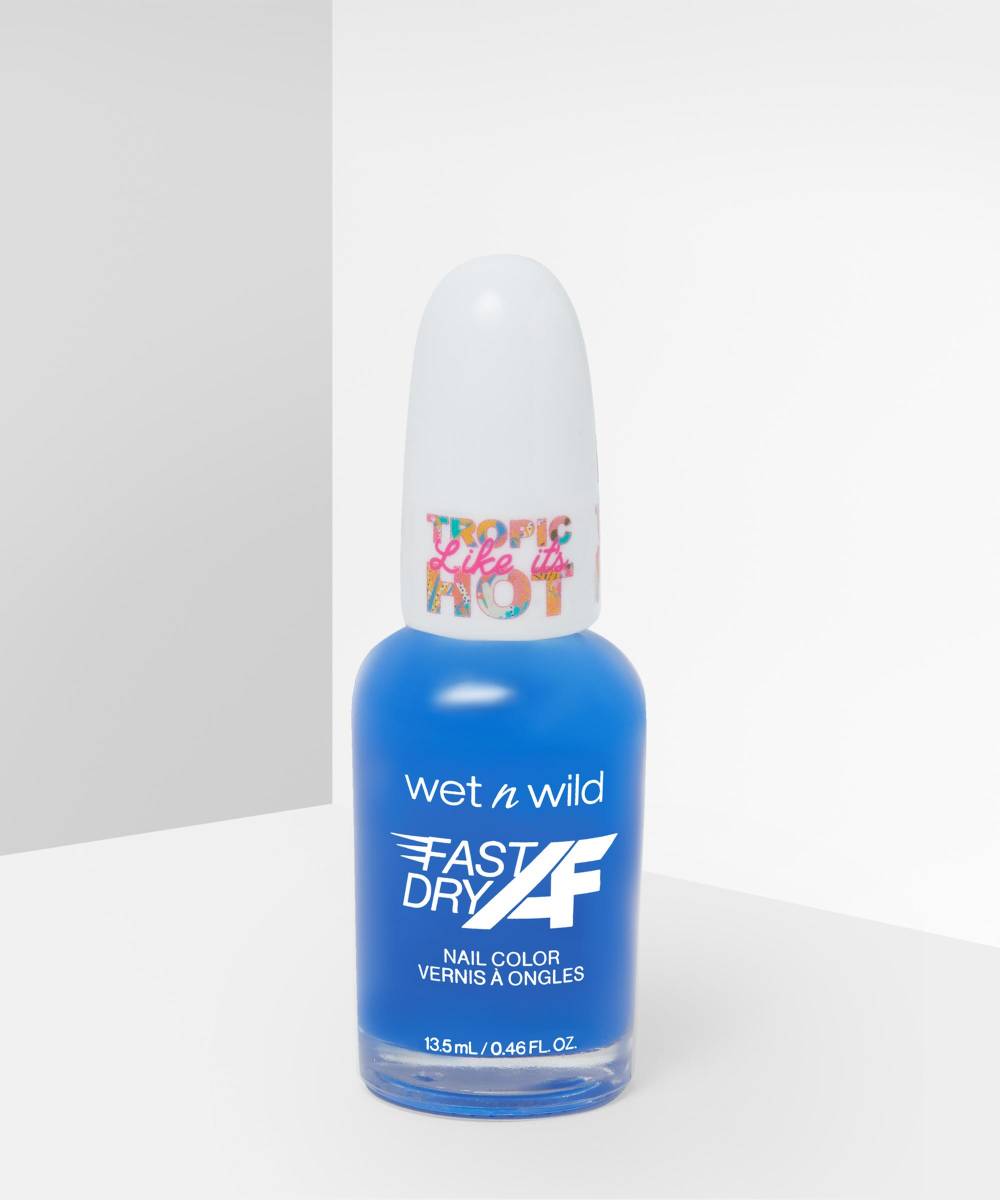
Using a dotting tool (a bobby pin works well for this step) start by applying a dot of blue polish onto the nail.
STEP THREE:
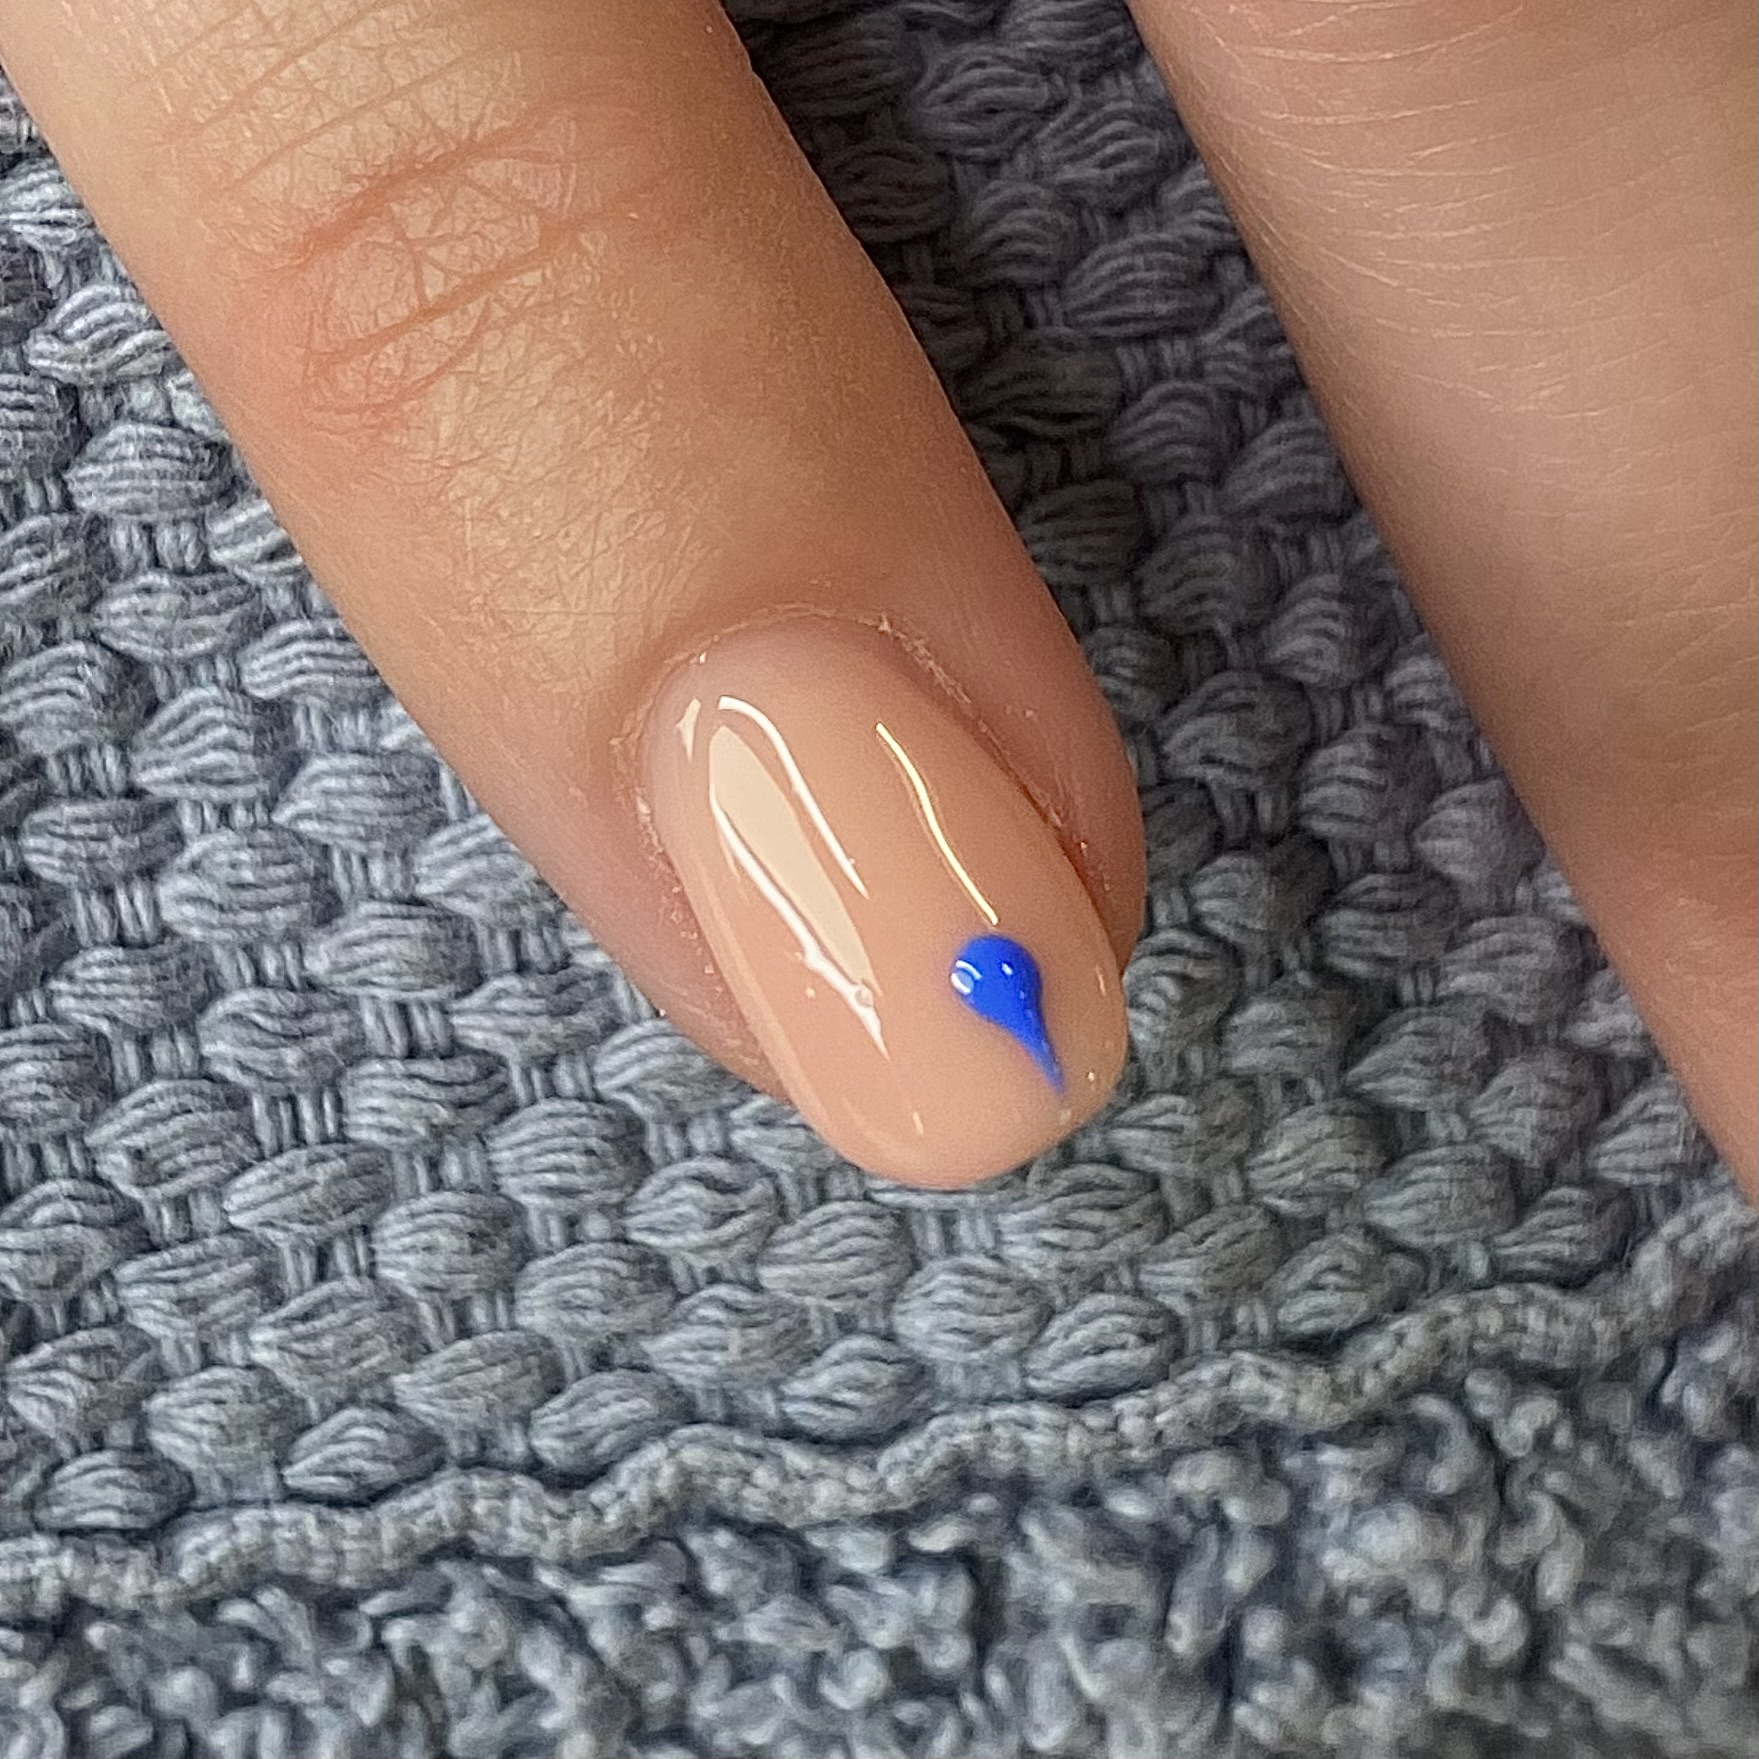
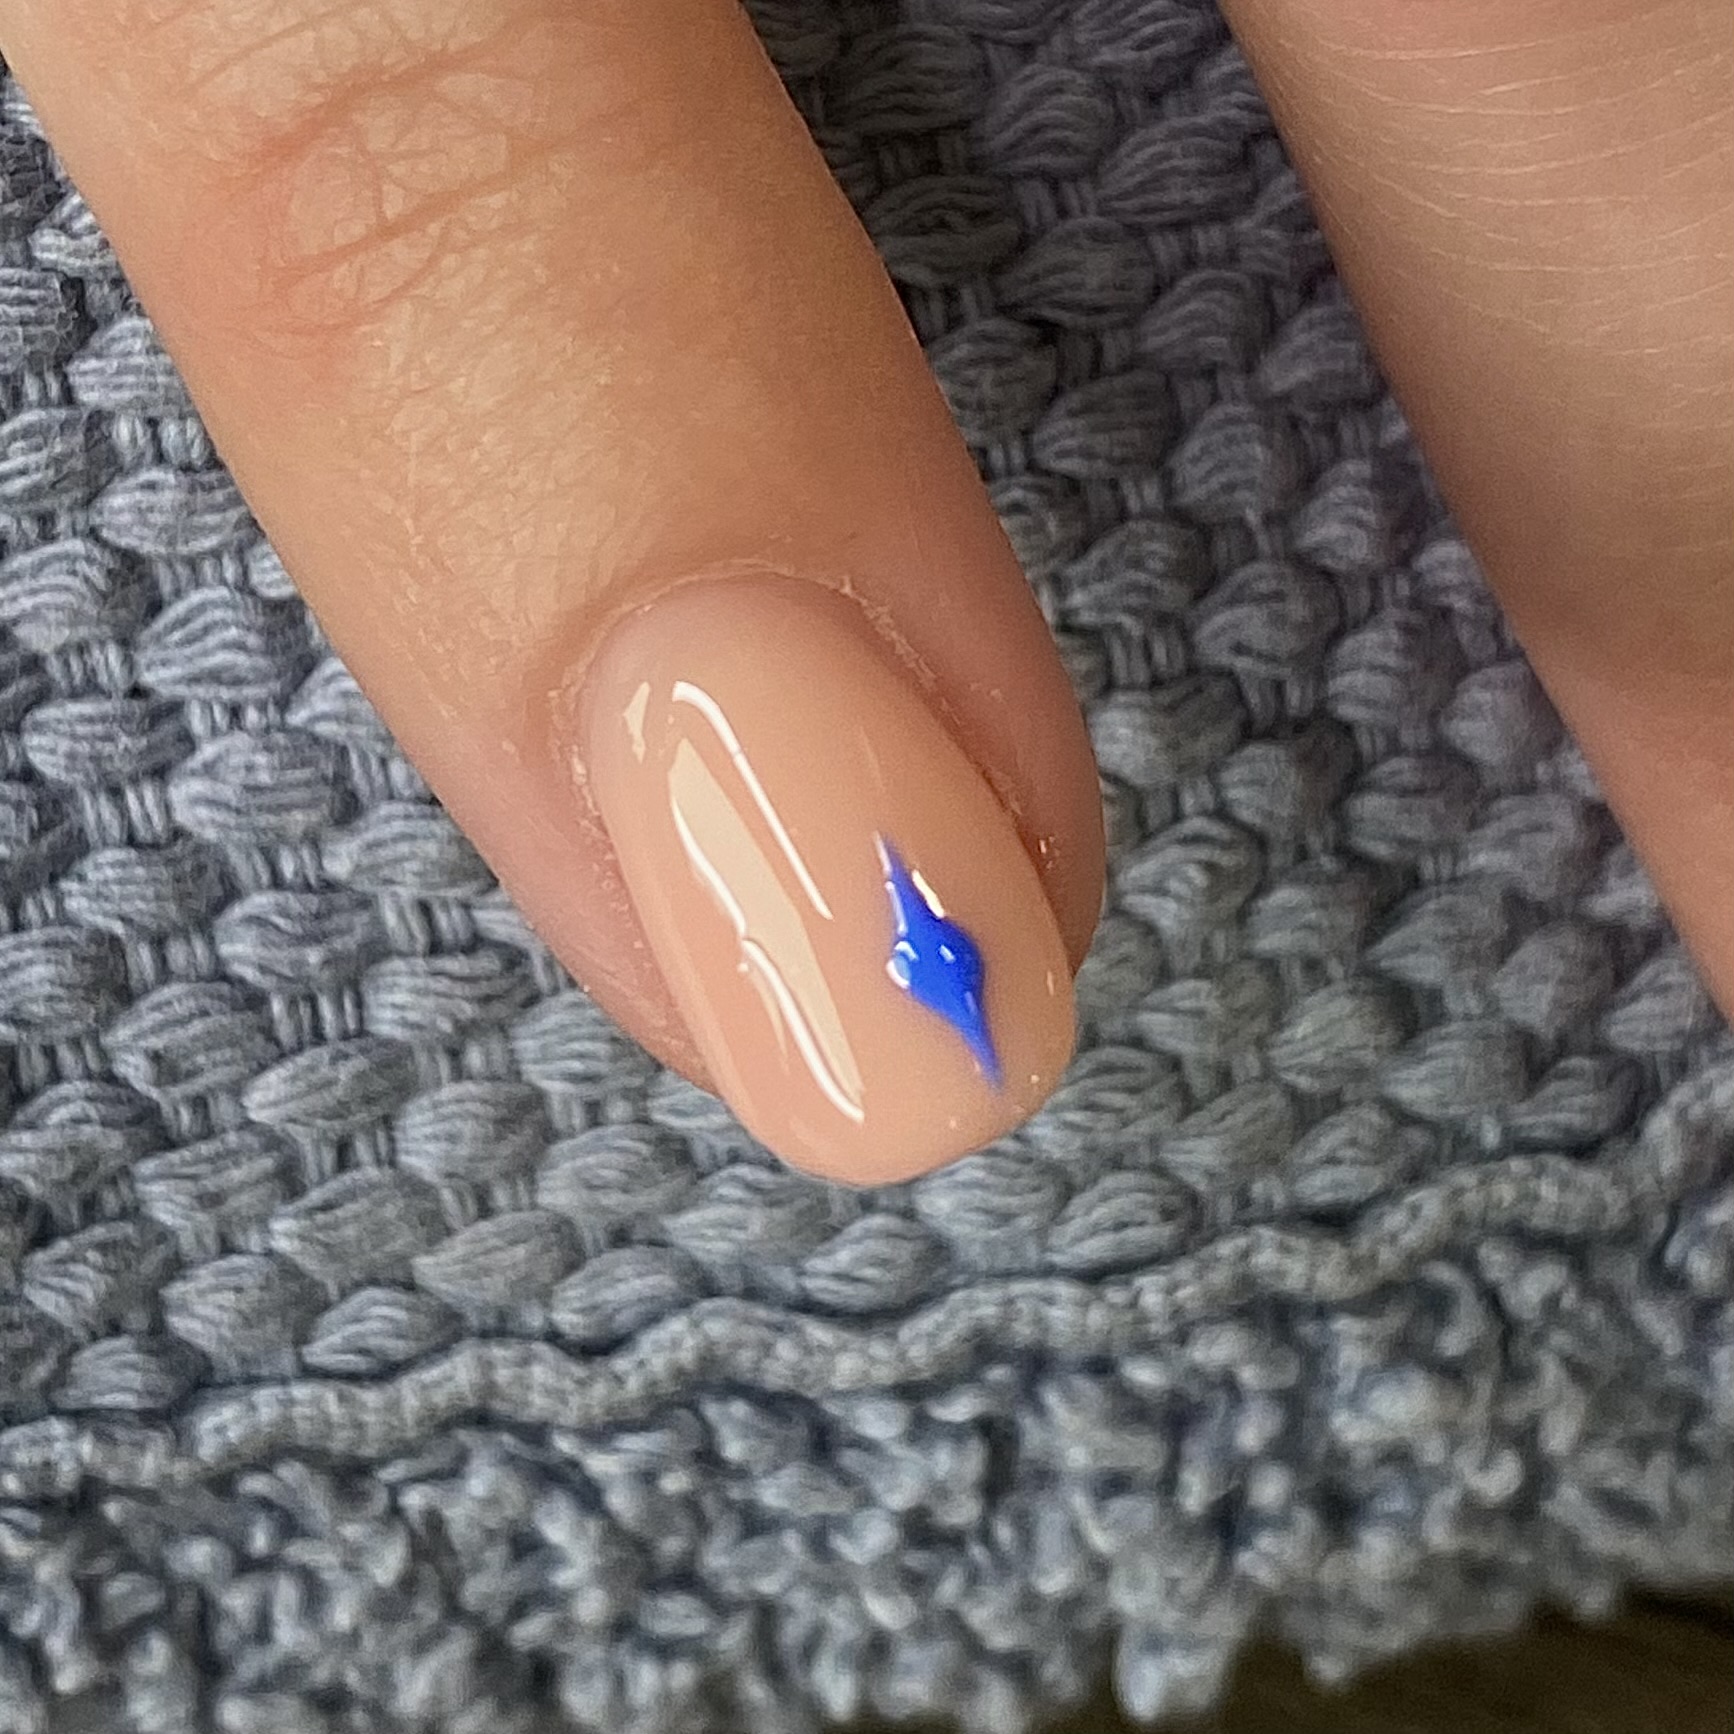
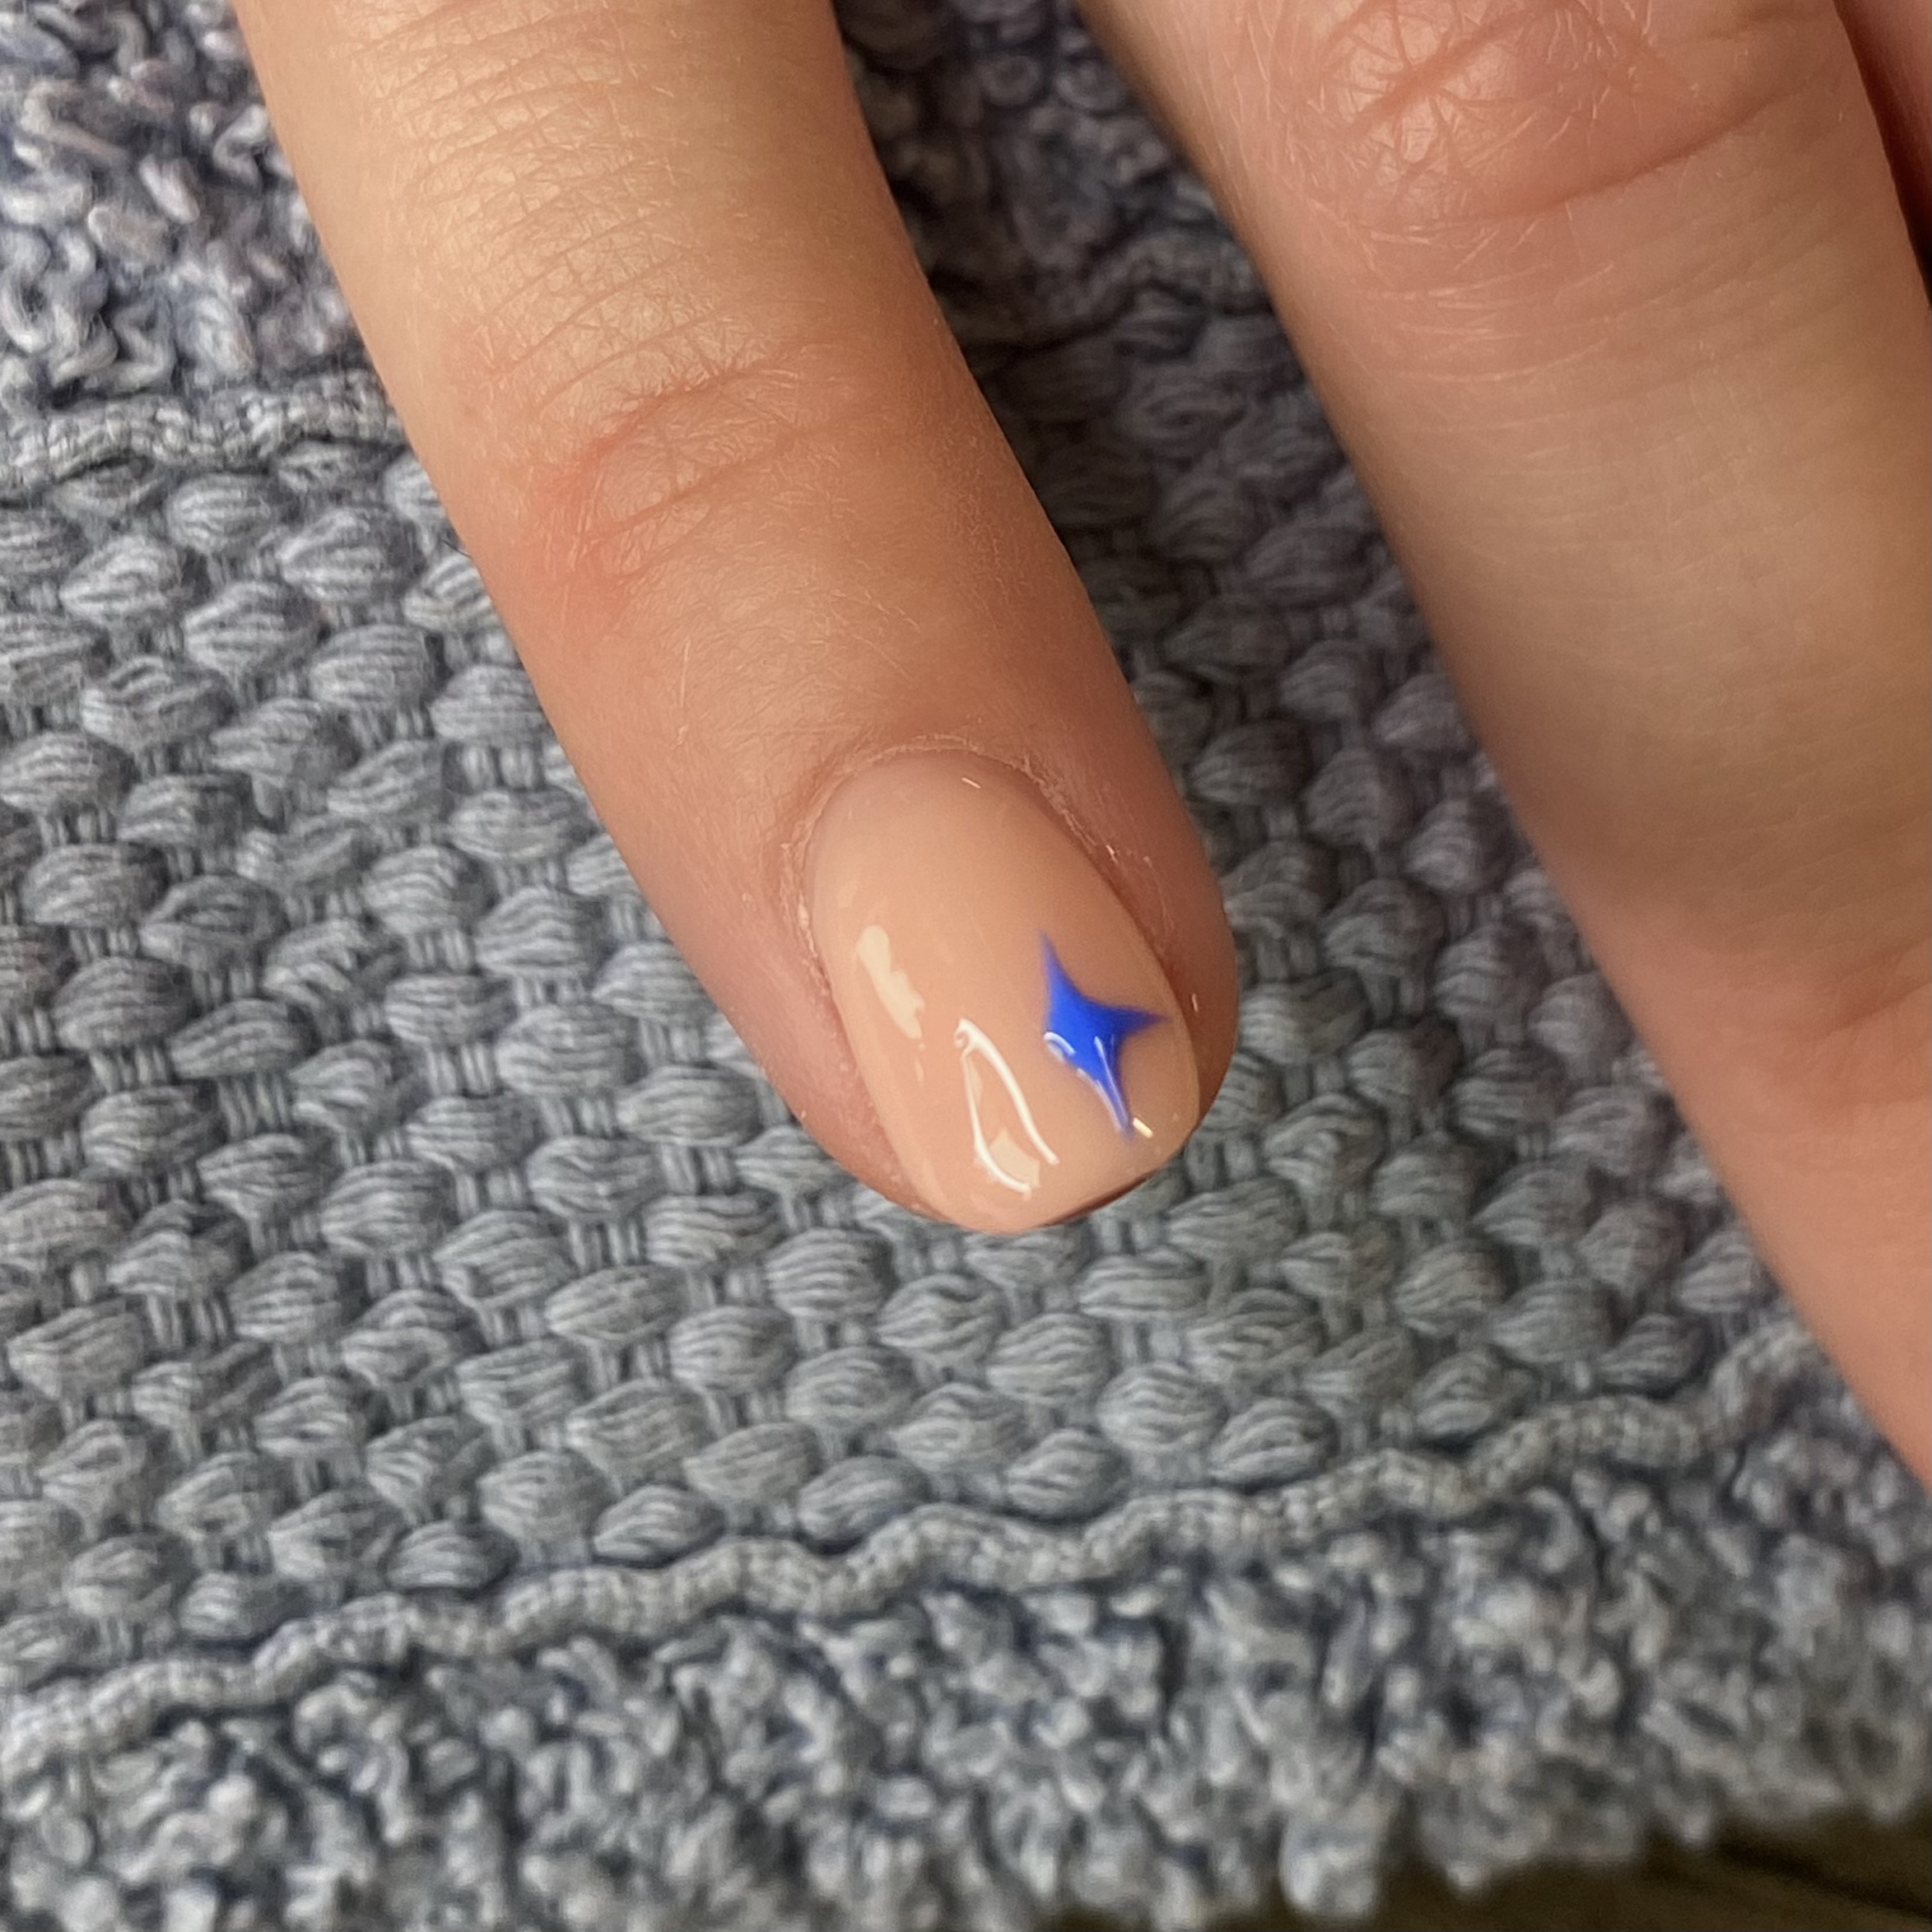
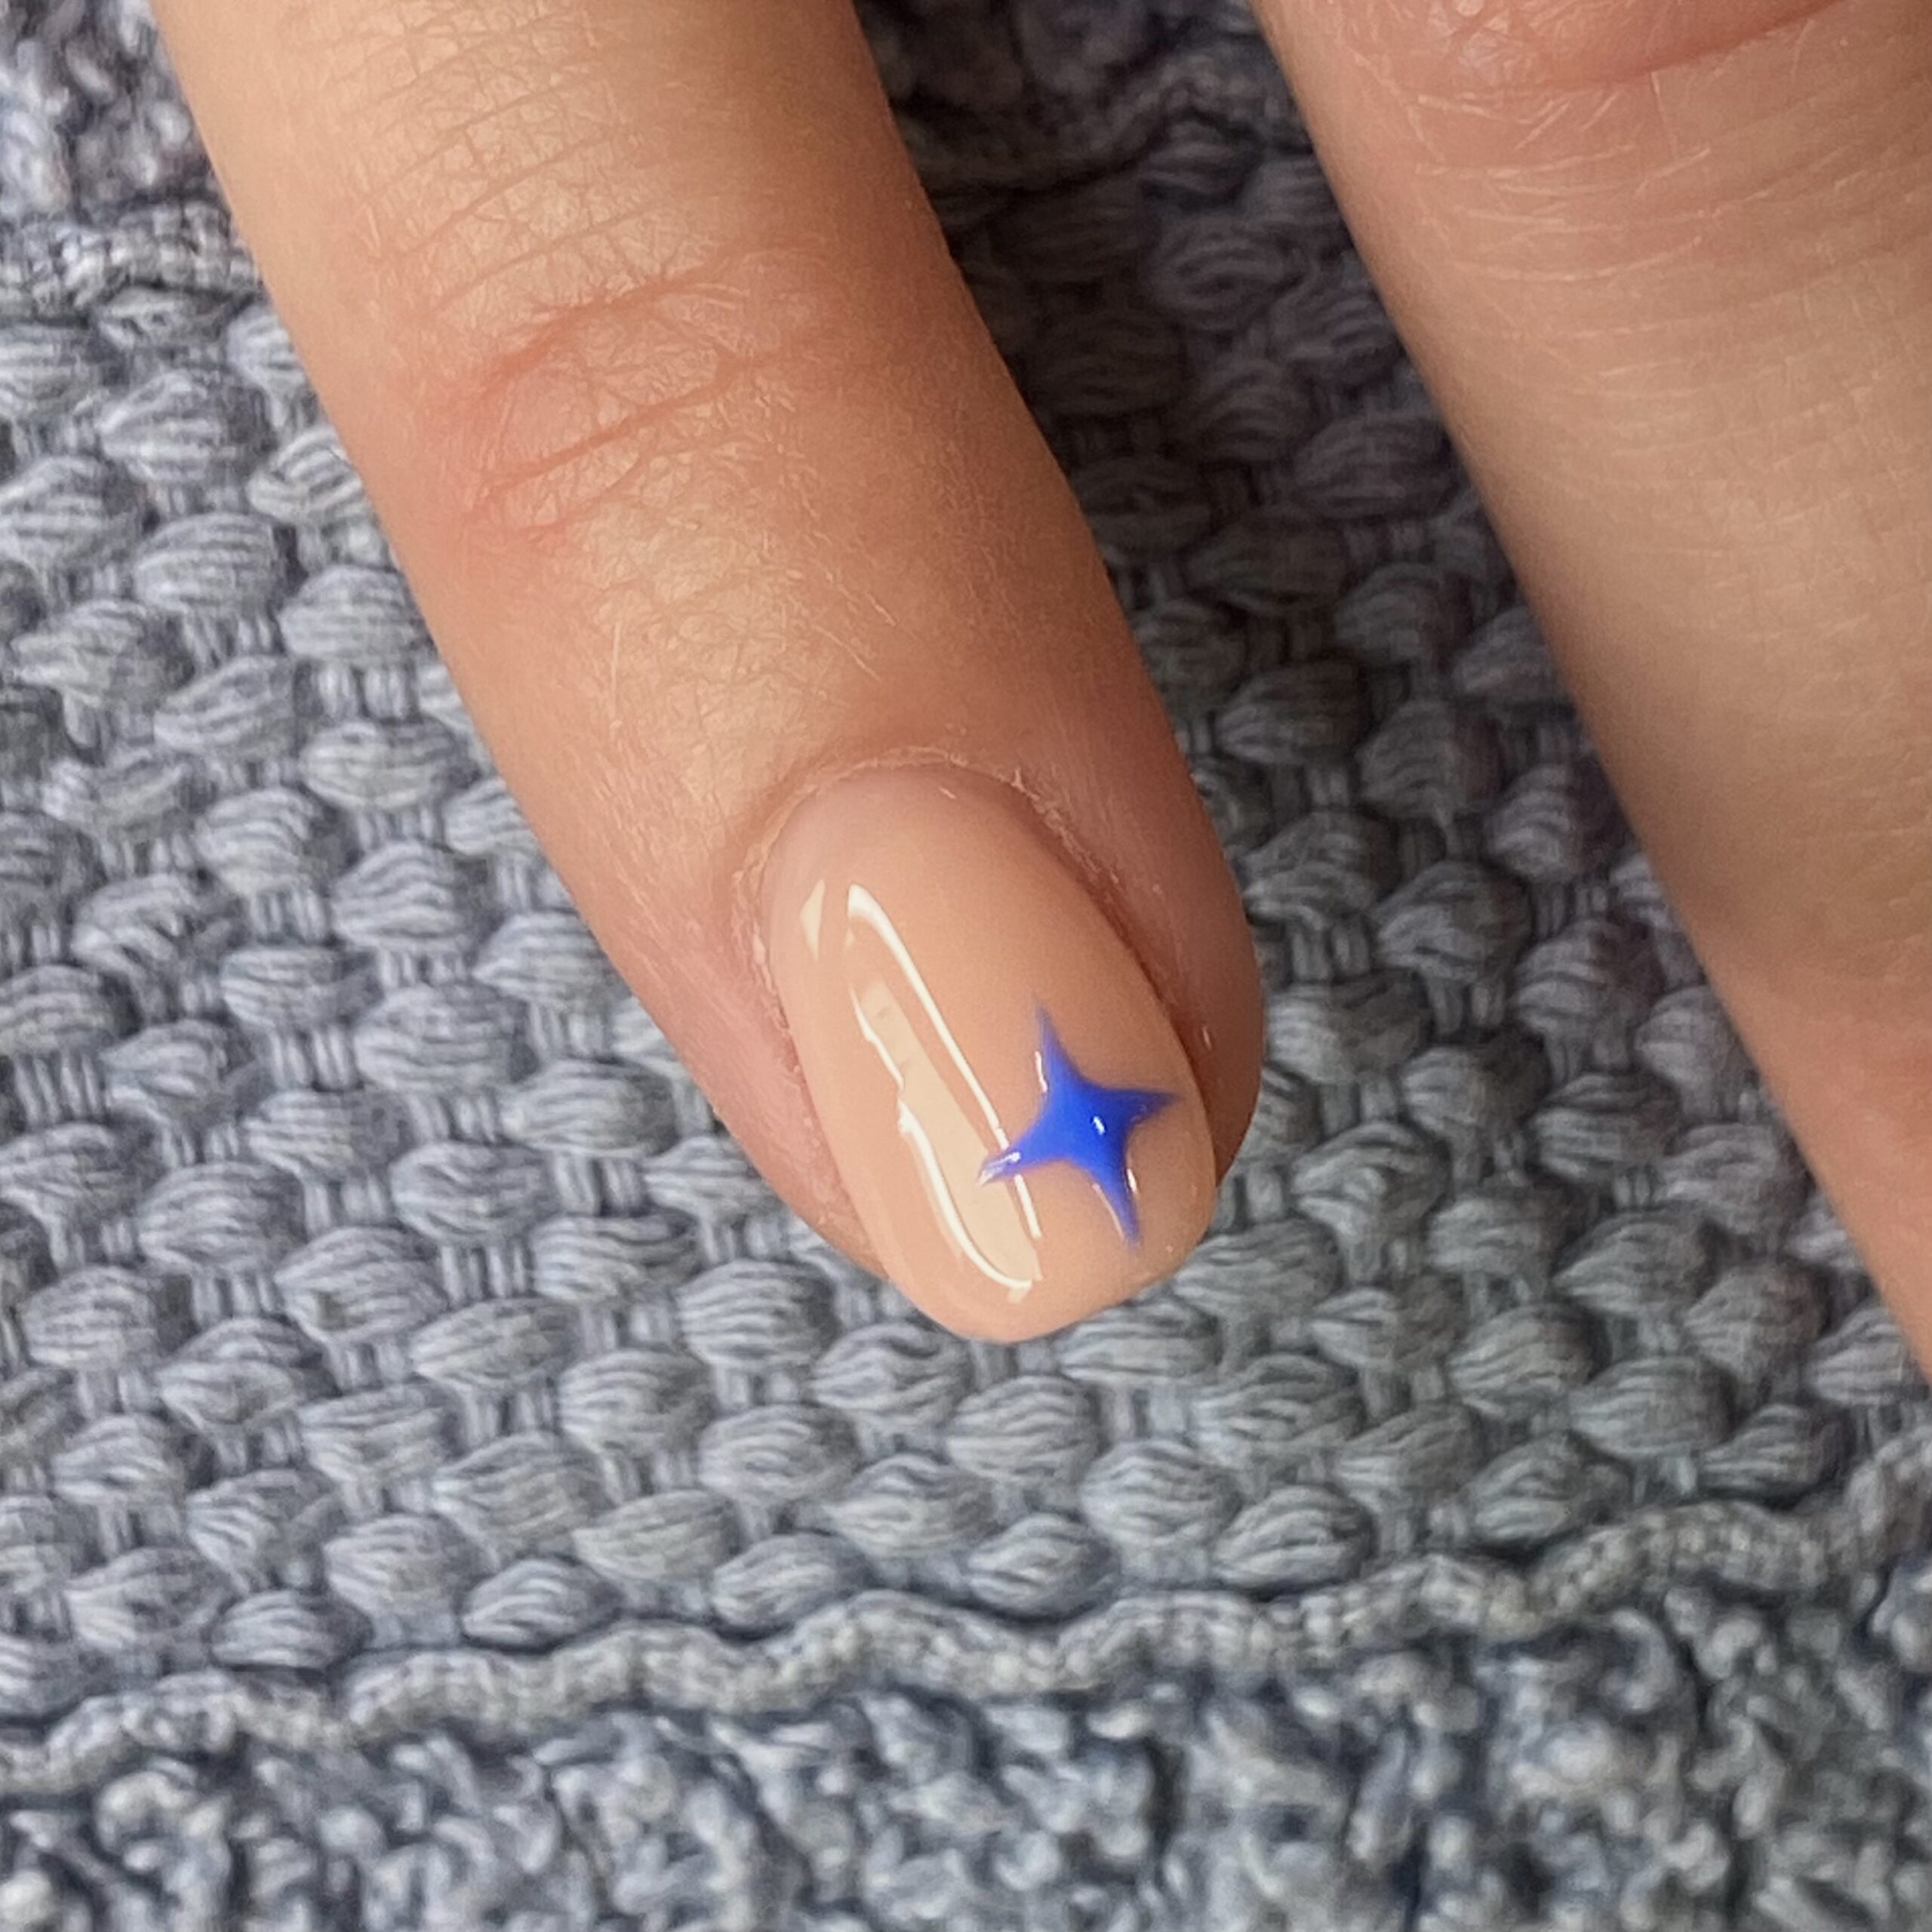
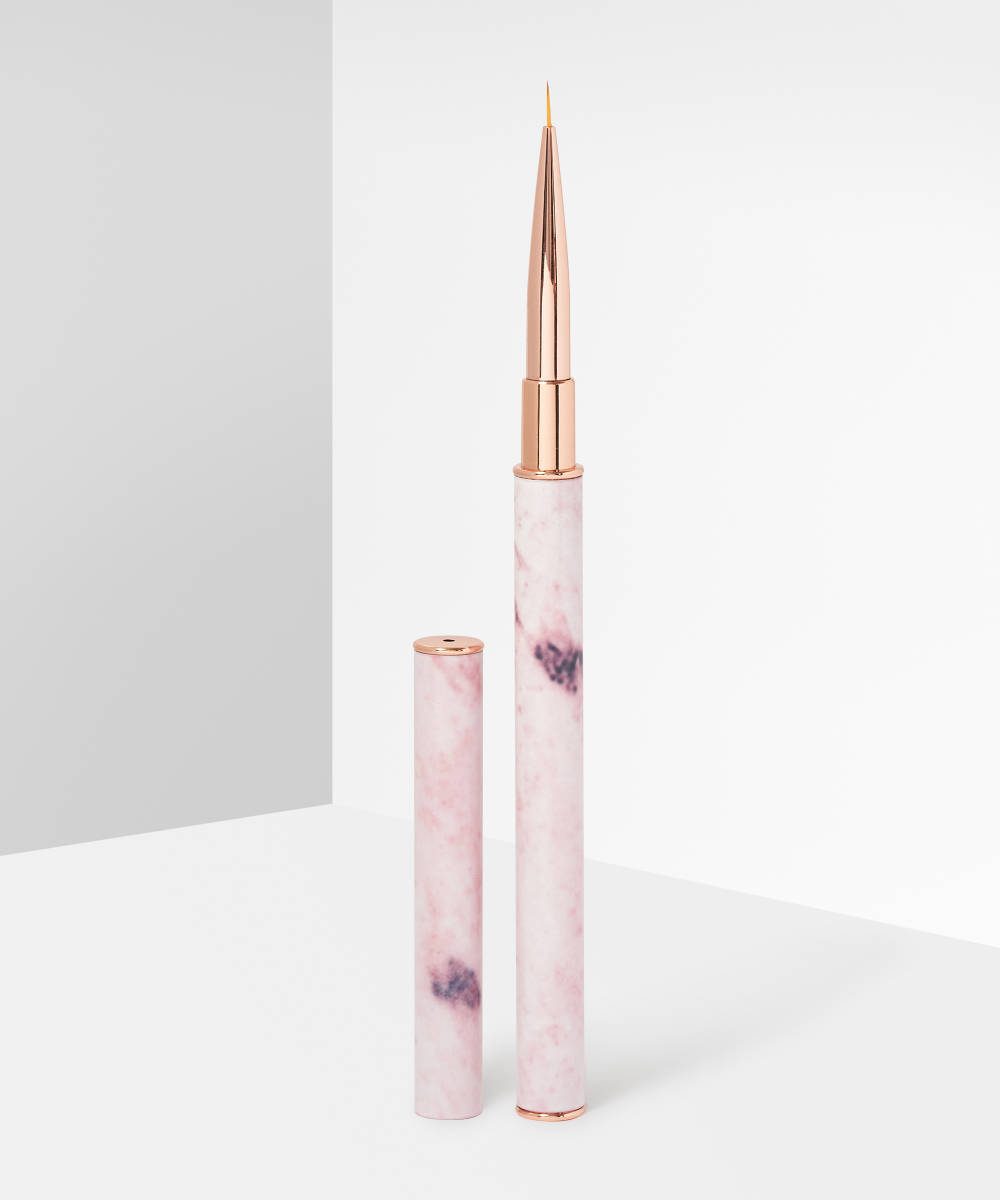
Using a small detailer brush, pull the side of your dot of polish out sideways, to create a thin tapered end. Repeat this on all four sides.
STEP FOUR:
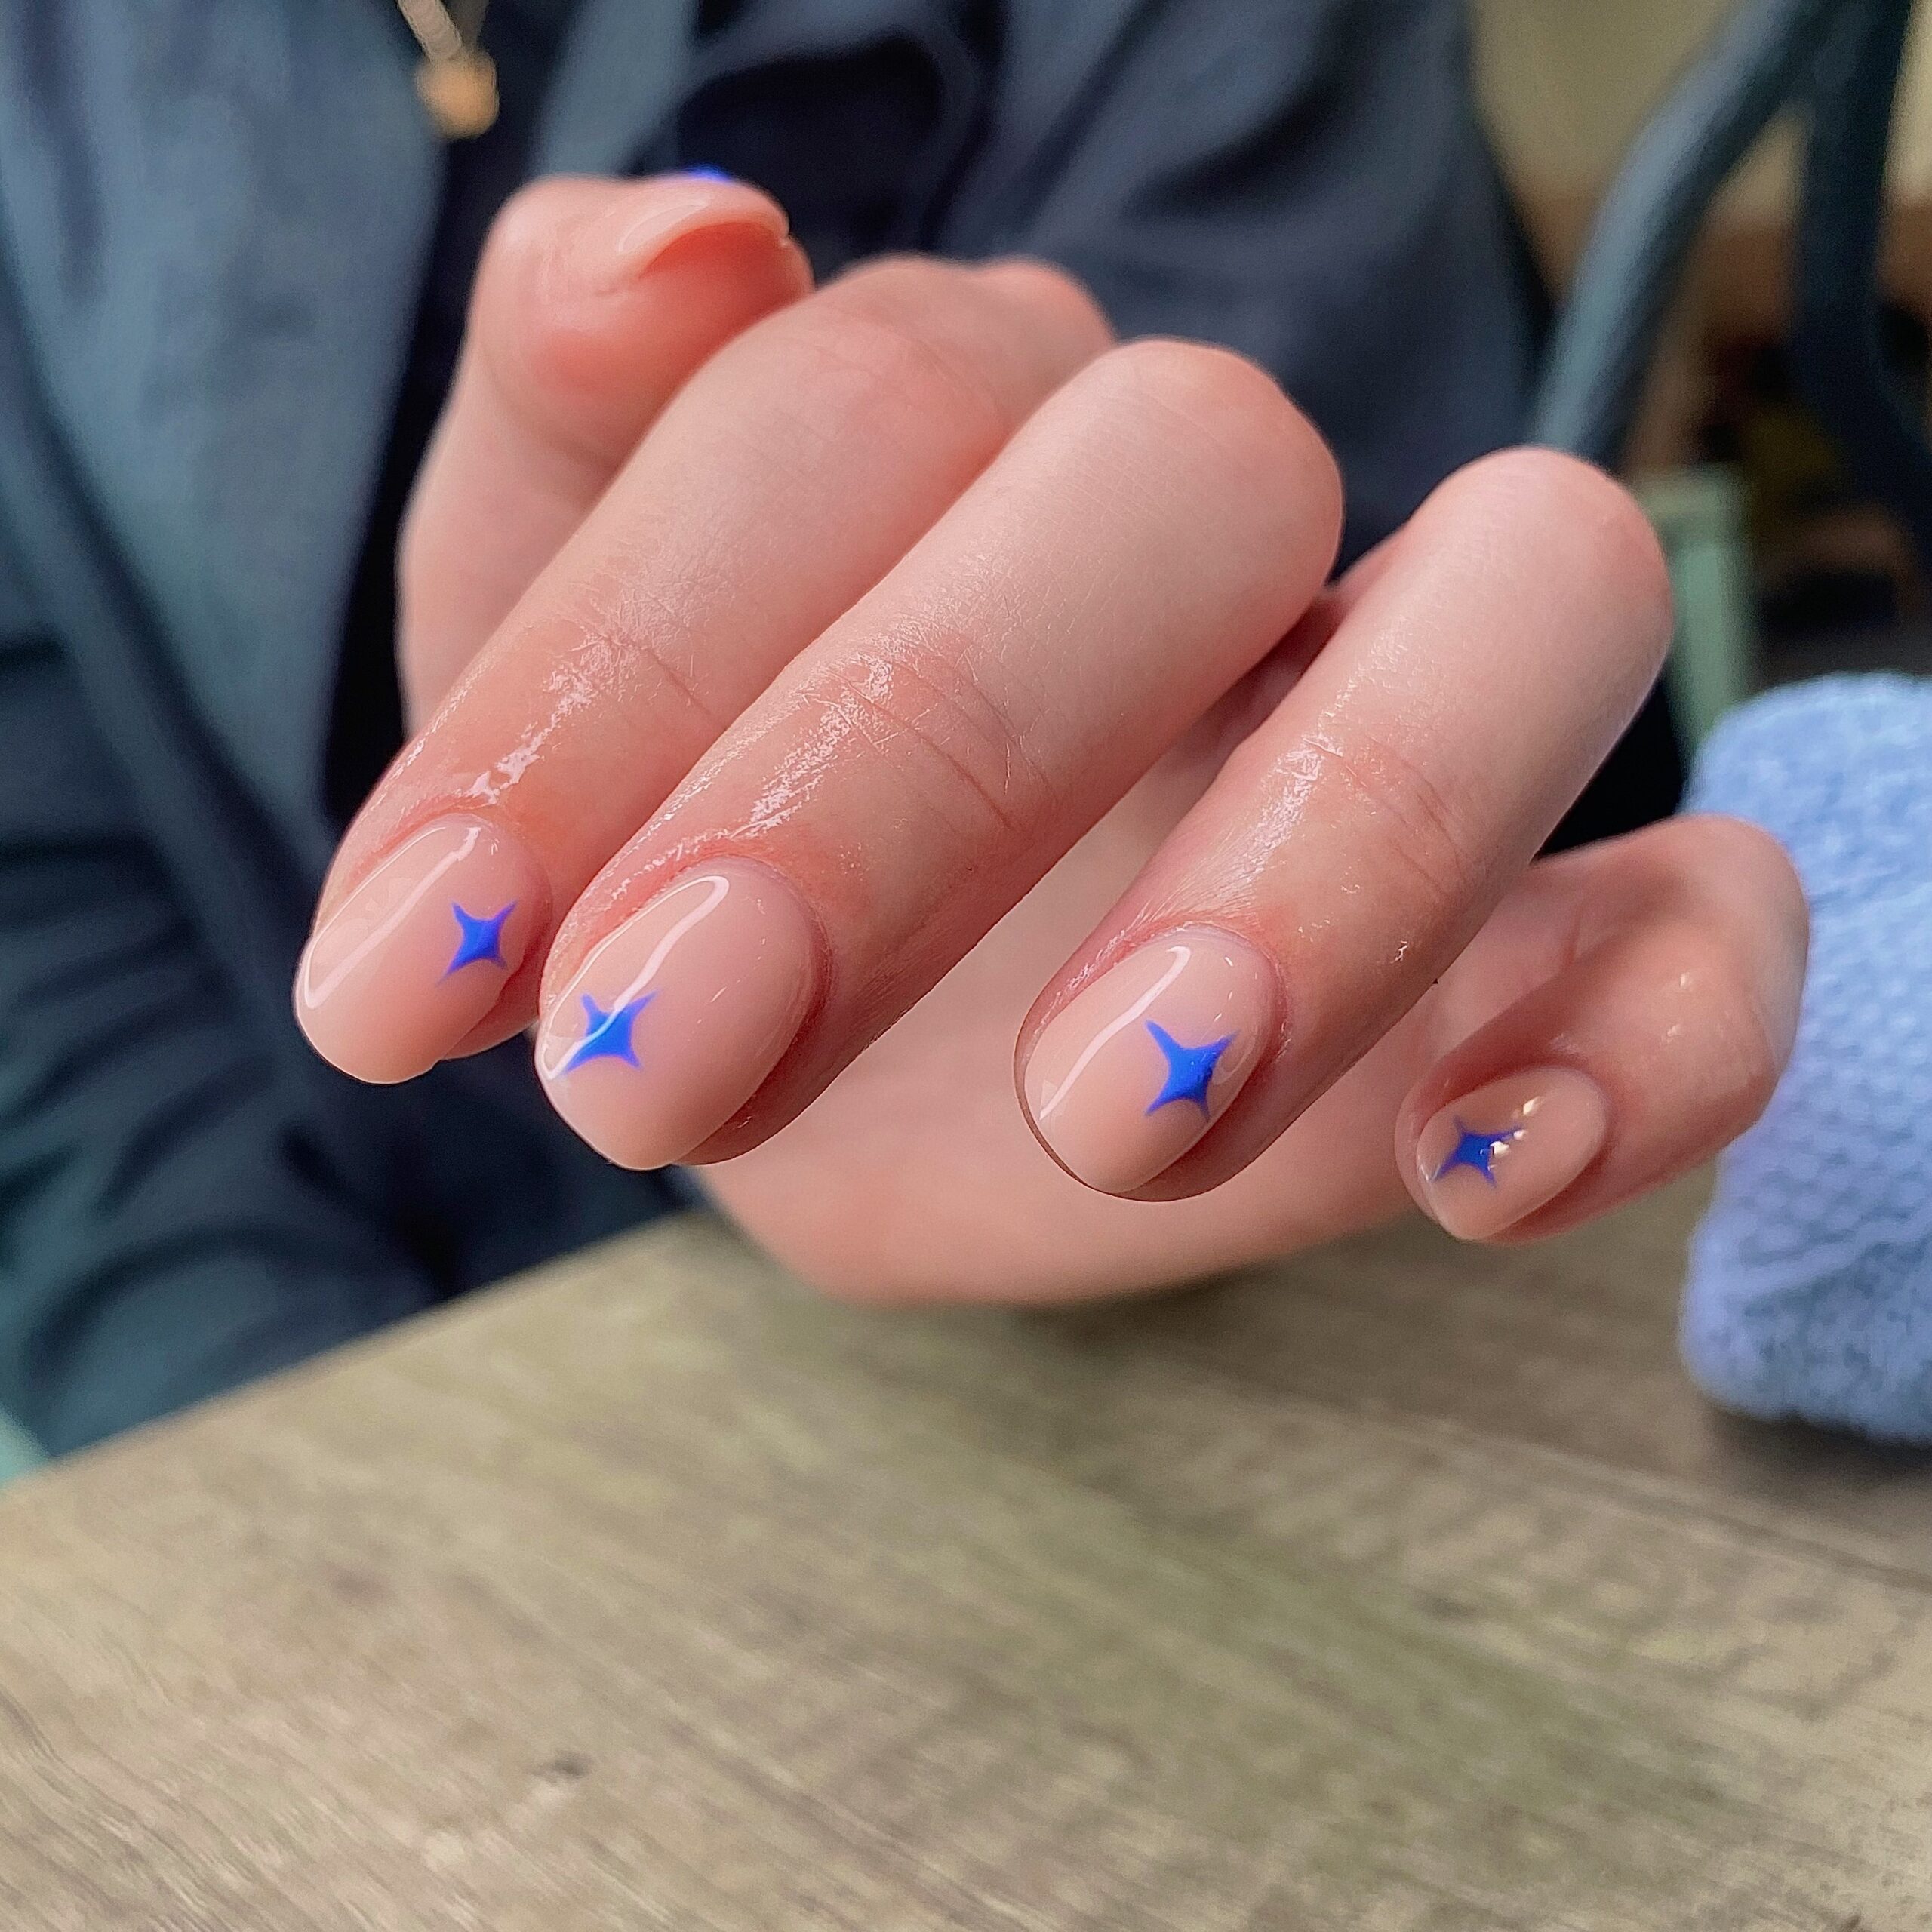
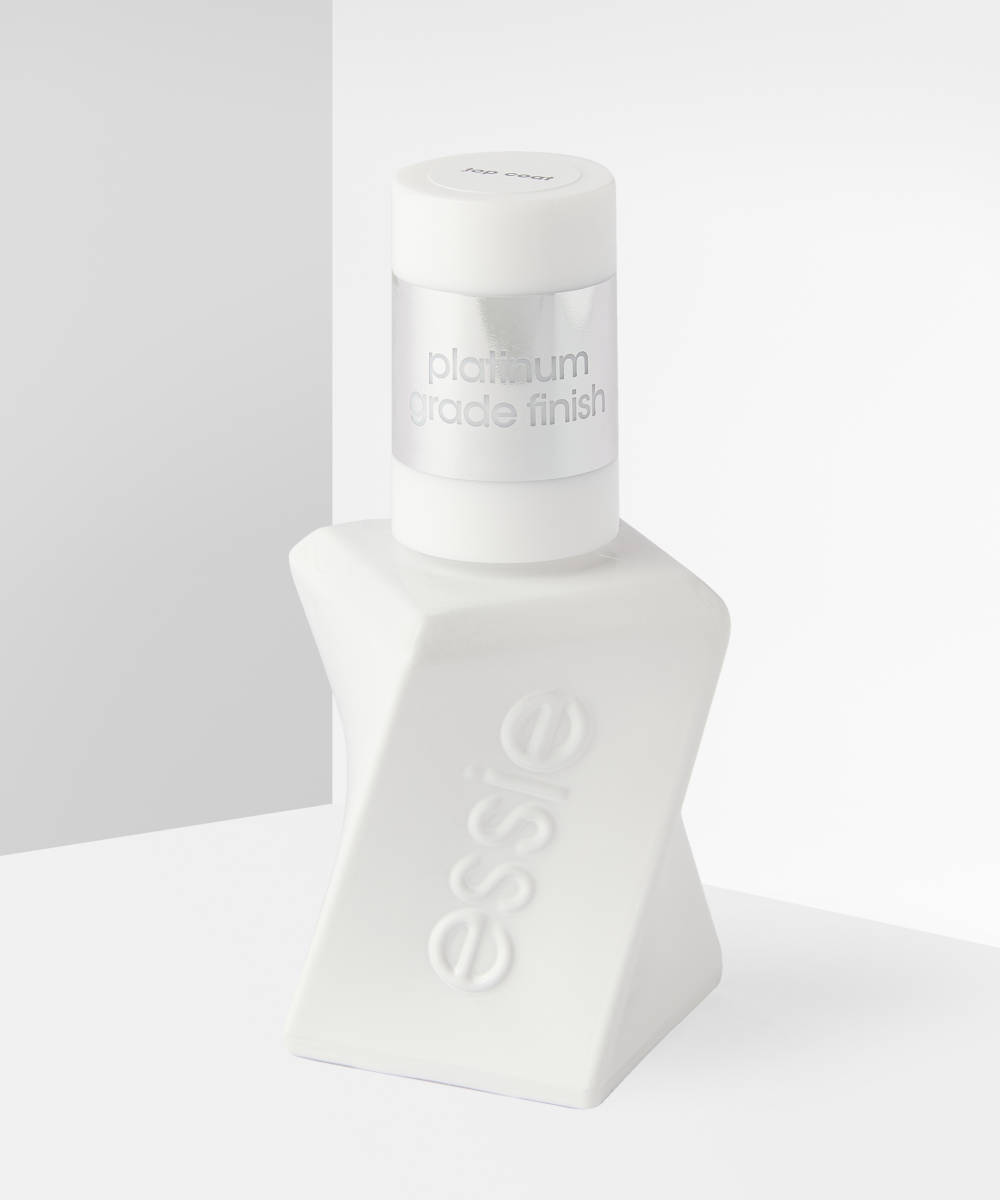
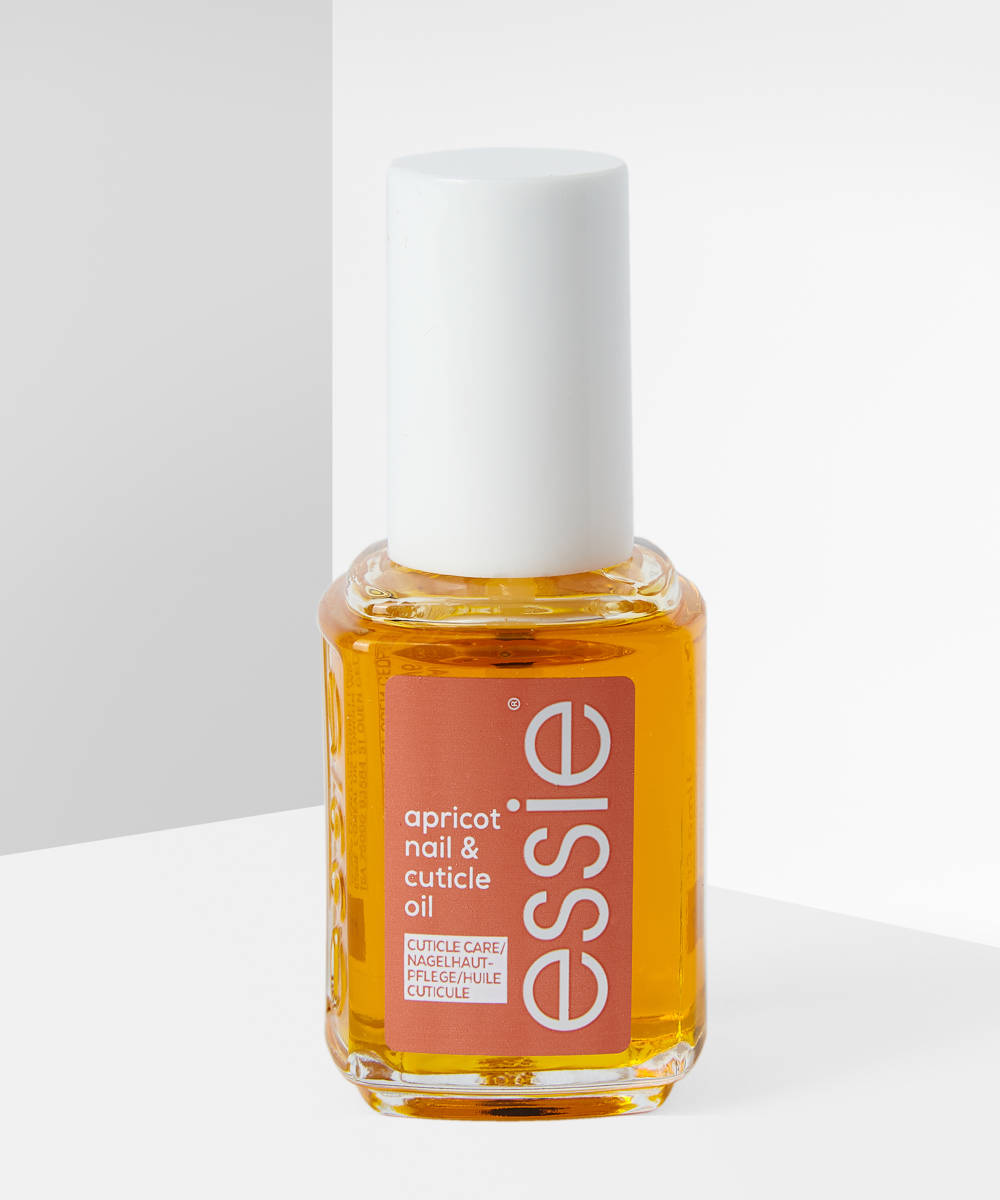
Once your polish is dry, apply a top coat to lock your design in and prevent chipping. And once your top coat is completely dry, apply cuticle oil to the cuticles to keep your nails healthy and strong.
