When it comes to nail art, the brighter the better, right? Whether you’re looking for an eyecatching manicure that’s easy to DIY or just want to have some inspiration for your next nail appoinment, try our abstract neon waves design.
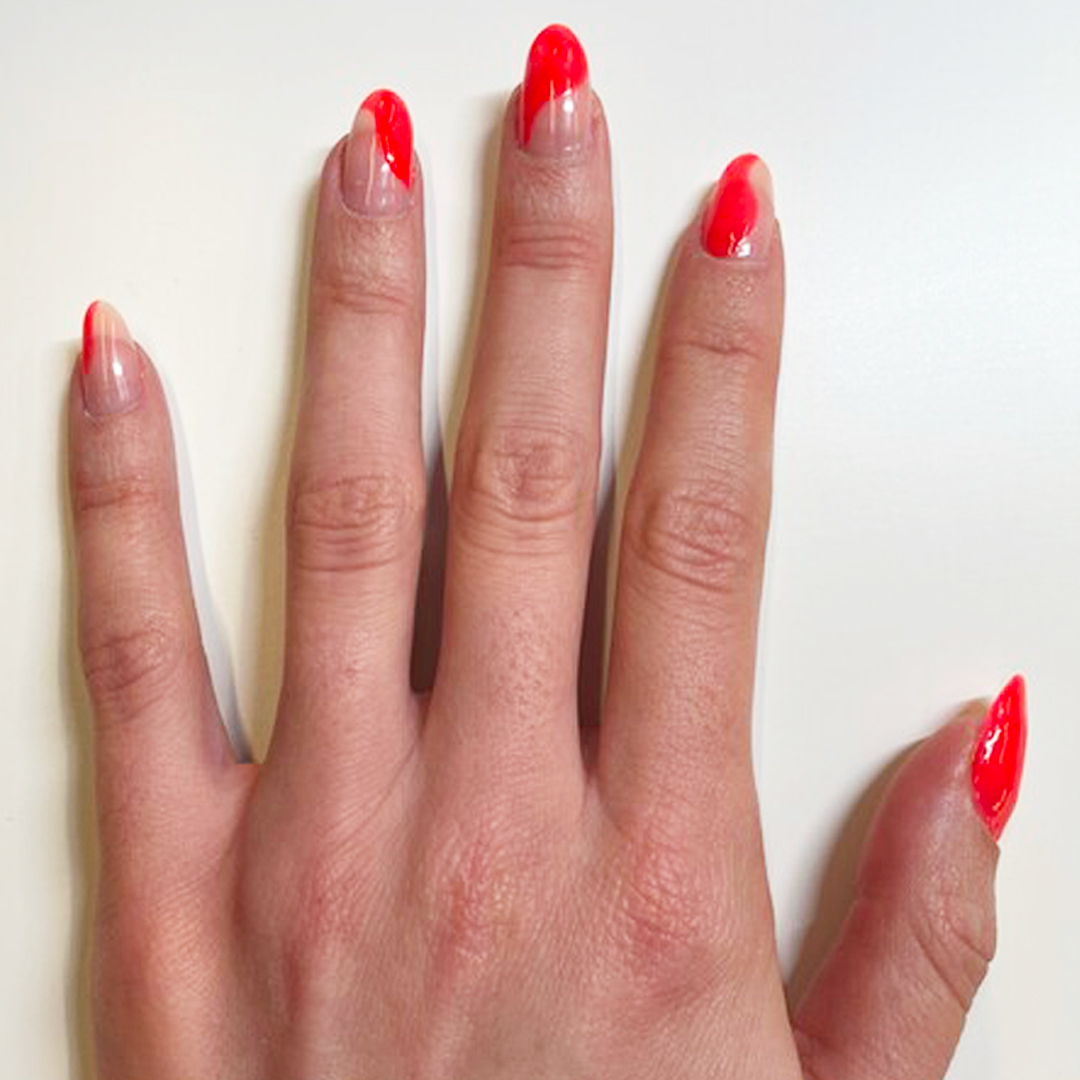
Step 1
Begin by filing your nails into shape, tidying your cuticles, and applying a layer of clear base coat. We think this design looks best with a long oval-pointed nail shape.
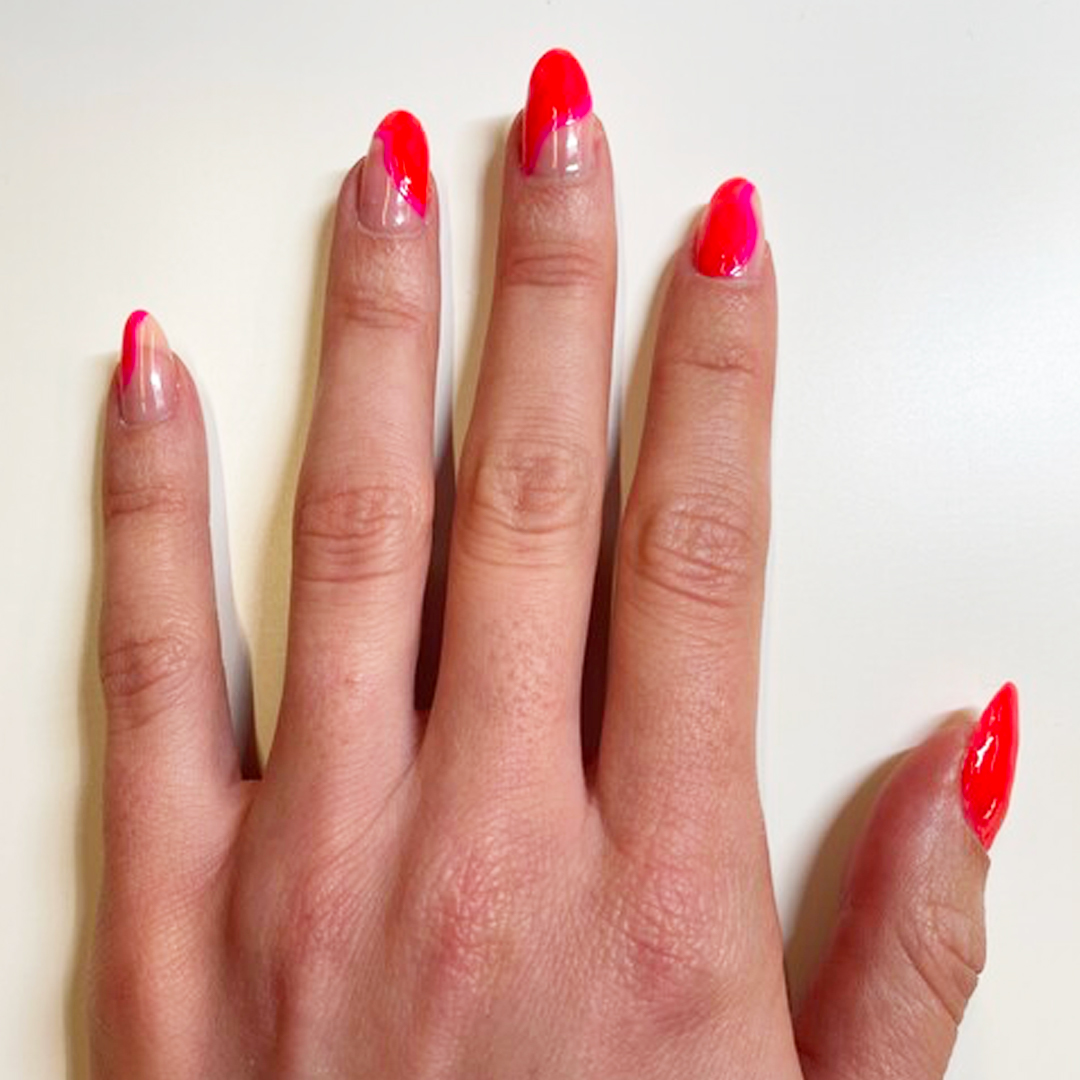
Step 2
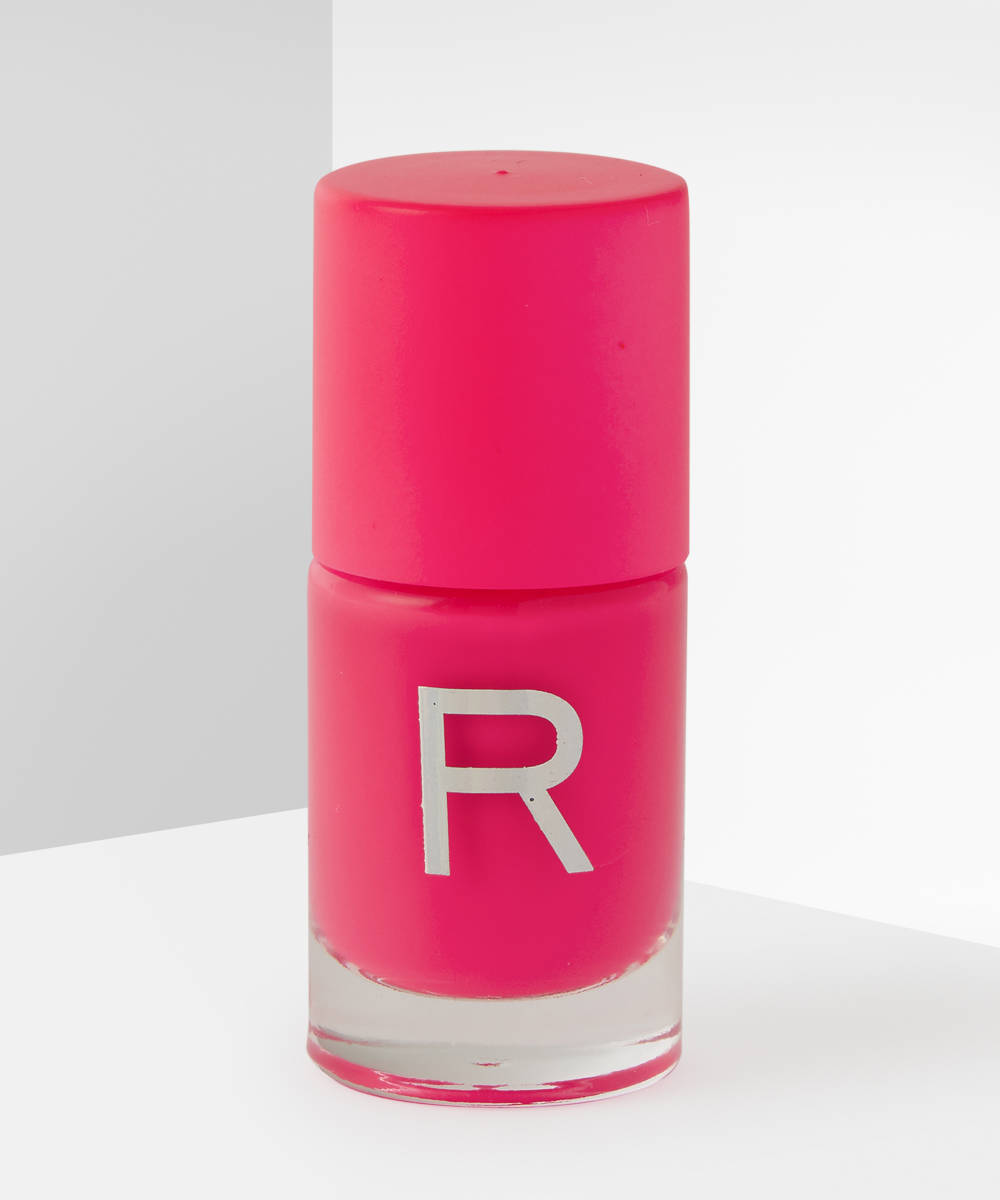
Choose three bright colours (we’ve gone with pink, red, and orange). Select the colour that you want to have the most impact and using a thin-tipped brush, sketch a wavy line across your nail. Use the nail varnish applicator to fill in the block of colour. Feeling creative? Try a different shape on each nail to mix it up.
Step 3
Using a clean thin-tipped brush, take your second nail varnish colour and sketch a second line following the shape of the first, with a narrow gap between them. Fill in the space between.
Step 4
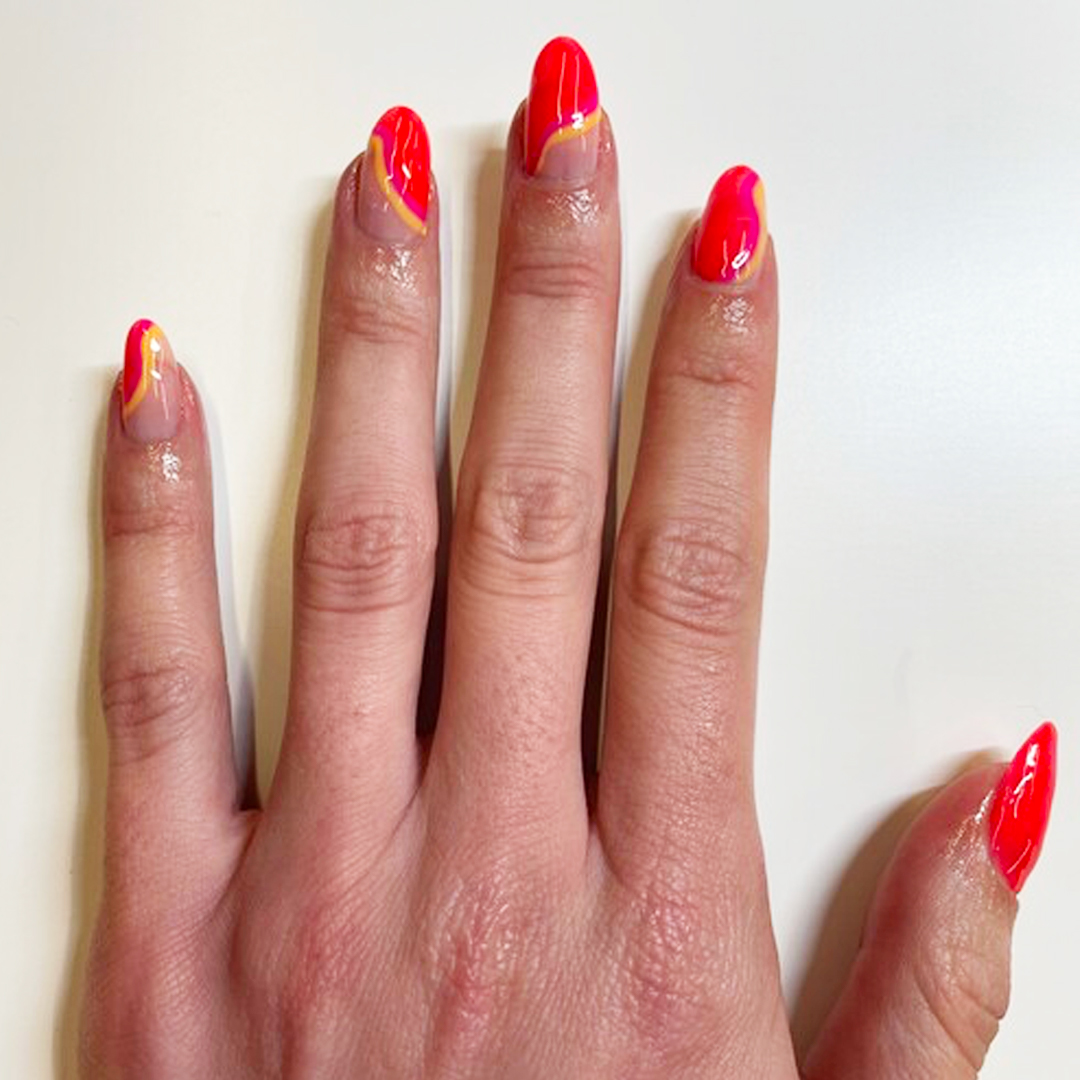
Clean your brush once again and repeat the step above with the third and final shade of polish. Finish with a layer of clear topcoat.
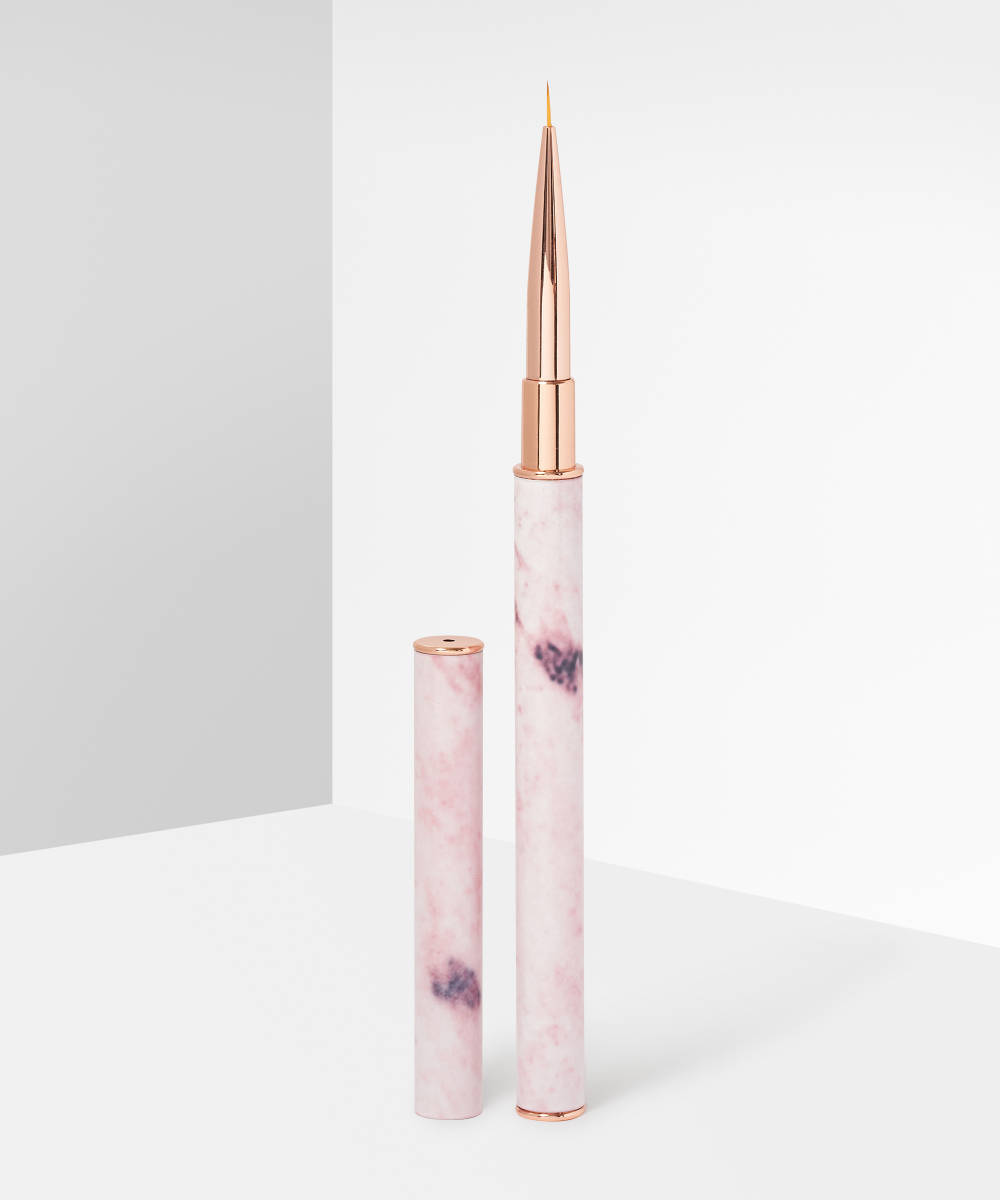
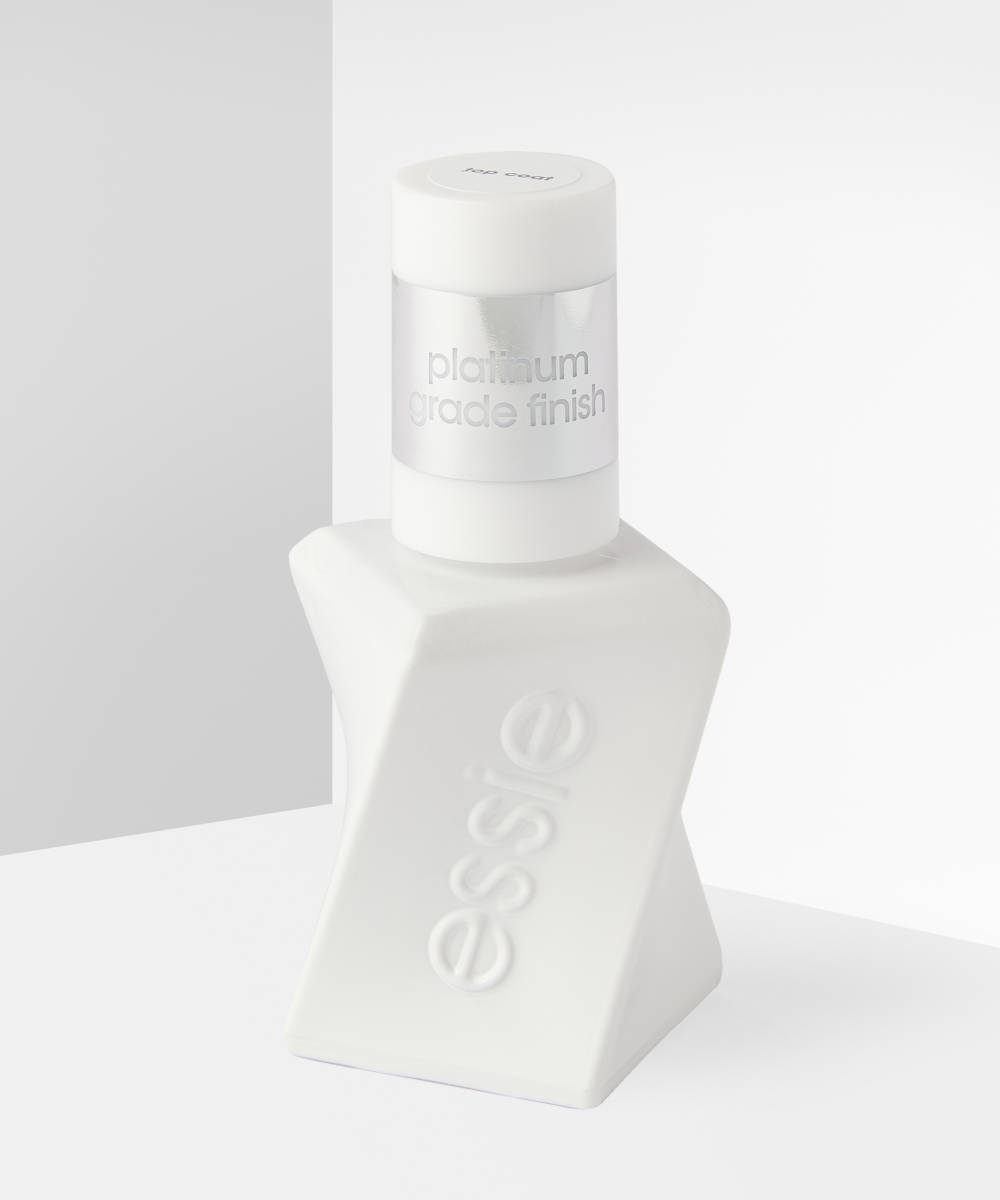
You will need
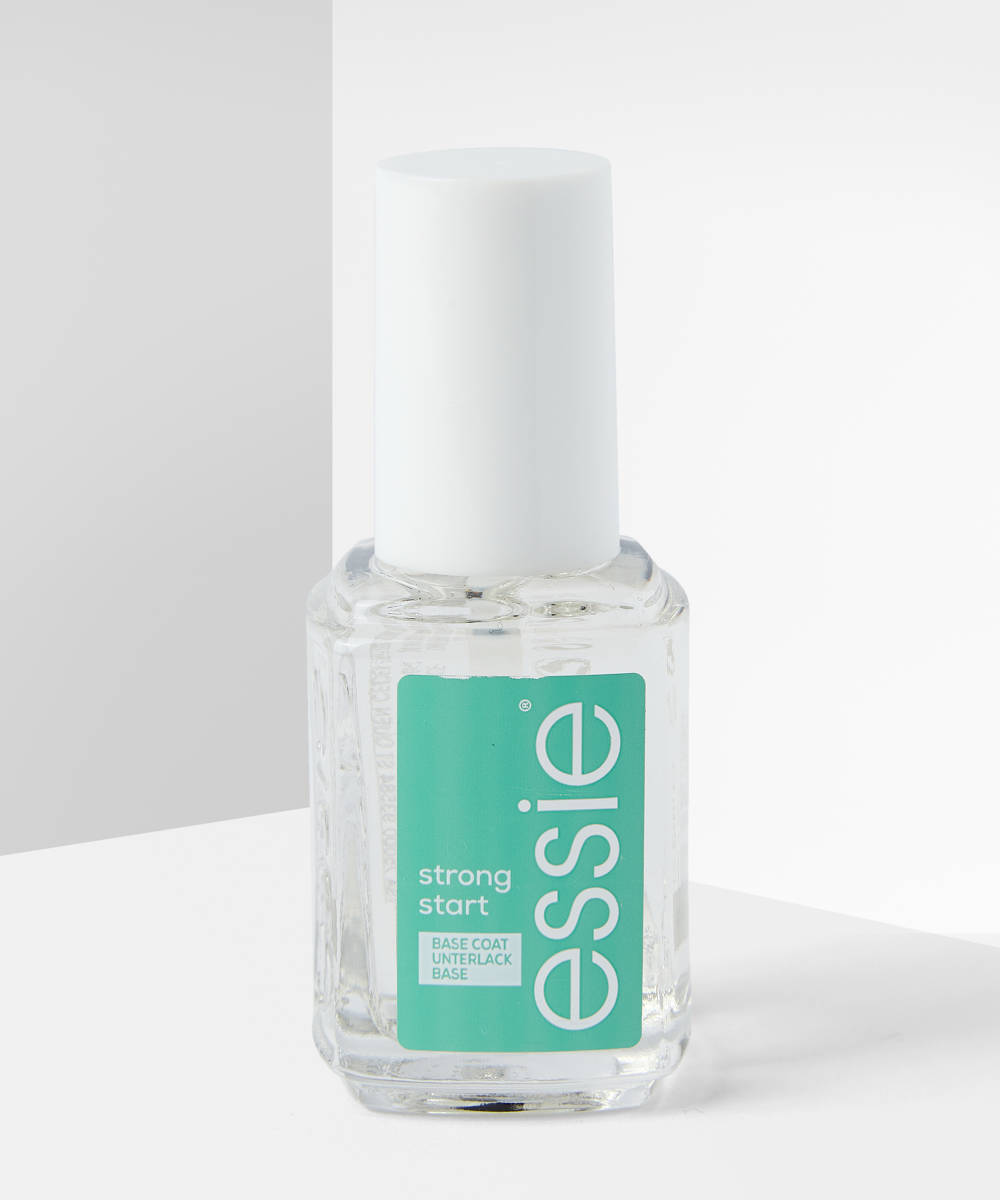
Essie Strong Start Base Coat