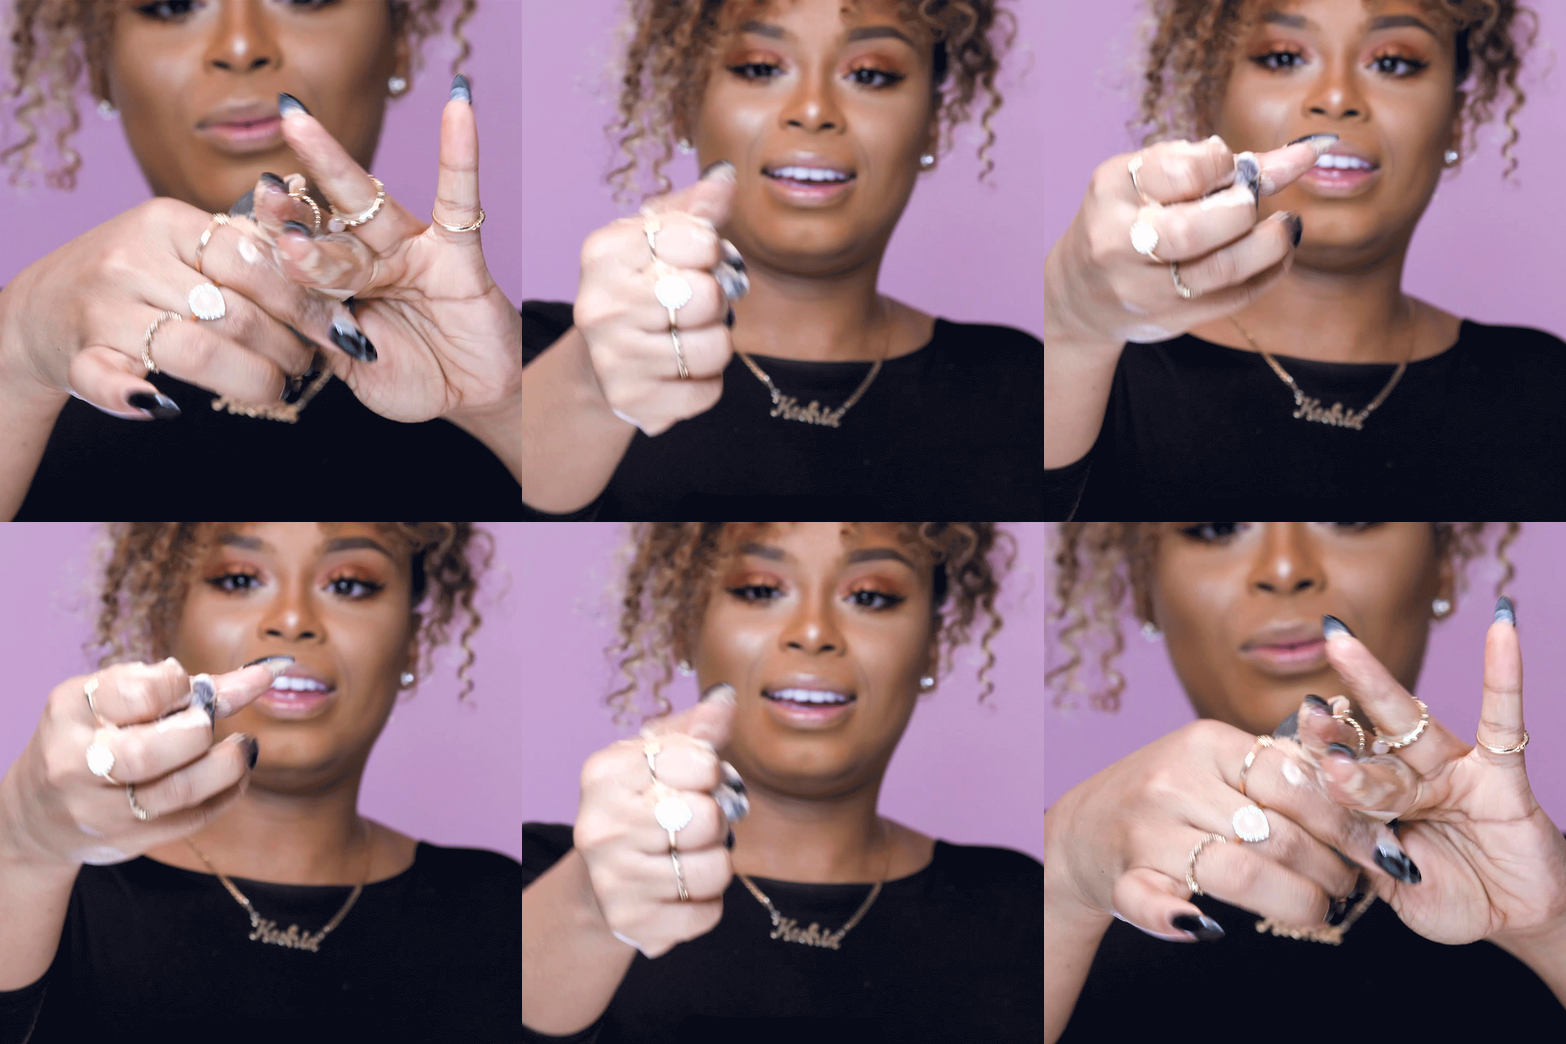
It’s official, we’re obsessed with Beautyblenders, the nifty little egg-shaped sponges that have become essential to base makeup application. Unlike brushes, they blend makeup to a seamless and streak-free finish every time. But exactly how do you go about cleaning your Beautyblender? These are no ordinary makeup sponges – you can’t throw them away after using. So, to keep your makeup application flawless and to prevent the spread of bacteria (which leads to unwanted breakouts!), it’s essential to thoroughly clean your Beautyblender on a regular basis…
For an easy-to-follow tutorial and our top tips on how to clean a Beautyblender, keep scrolling!
Step 1

Pour approximately four teaspoons of Liquid Blendercleanser onto the sponge, leave it to absorb for a three minutes. Submerge in water and leave to soak for another three minutes.
Step 2

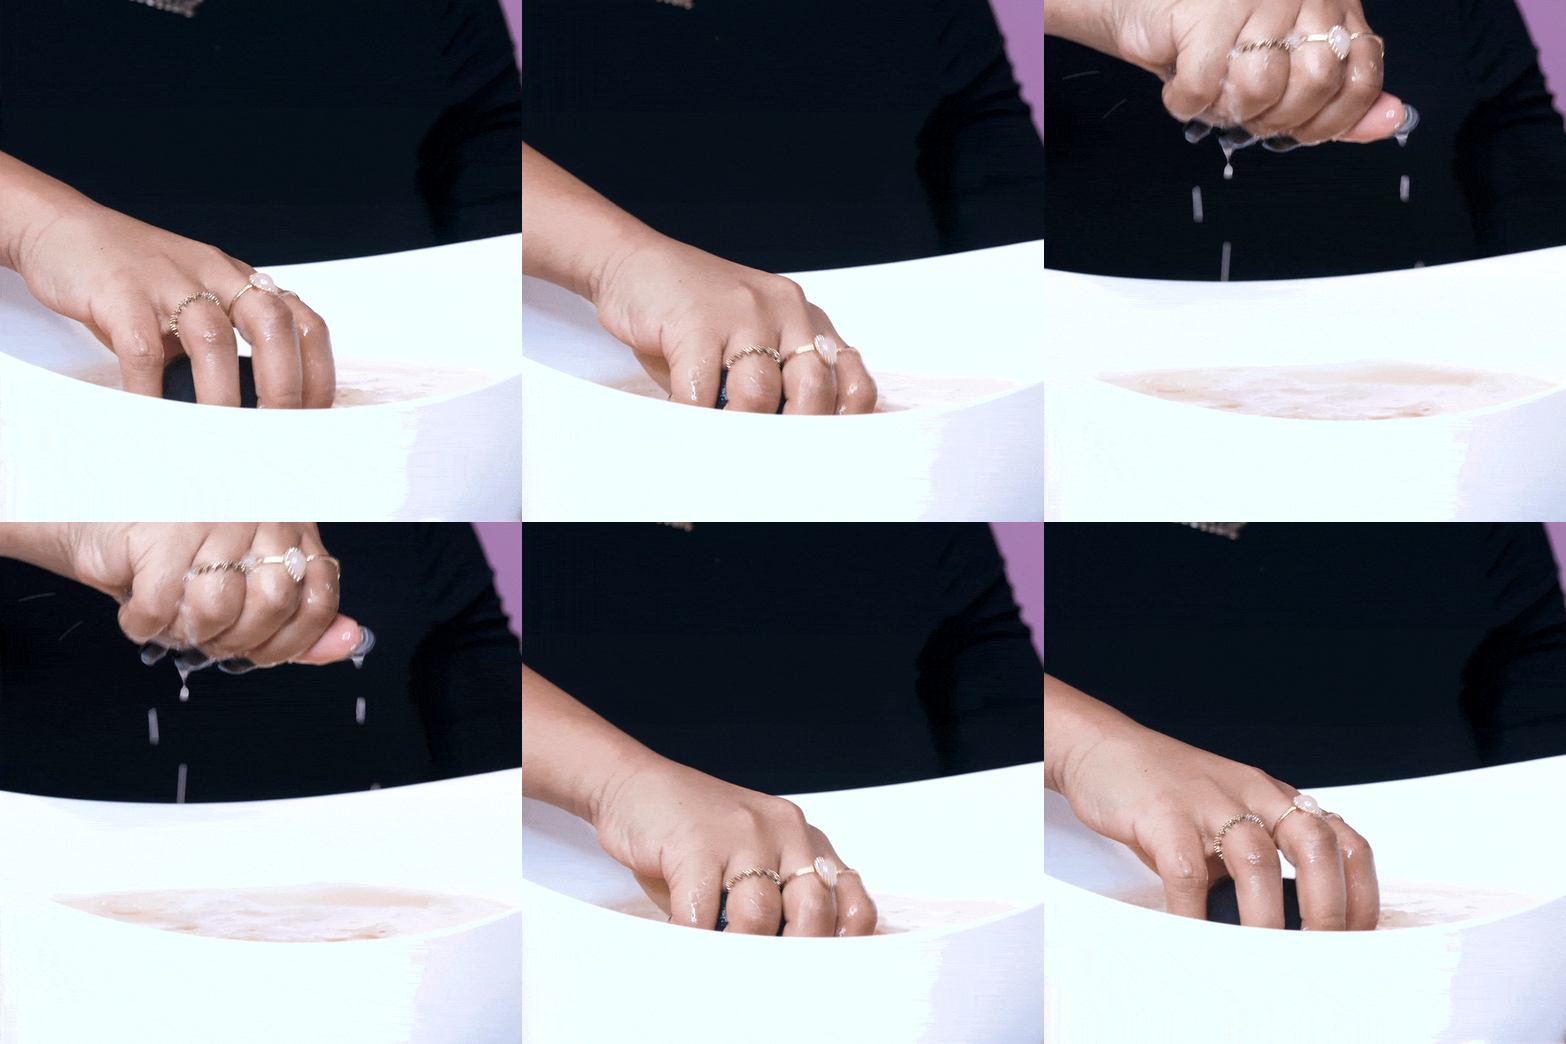
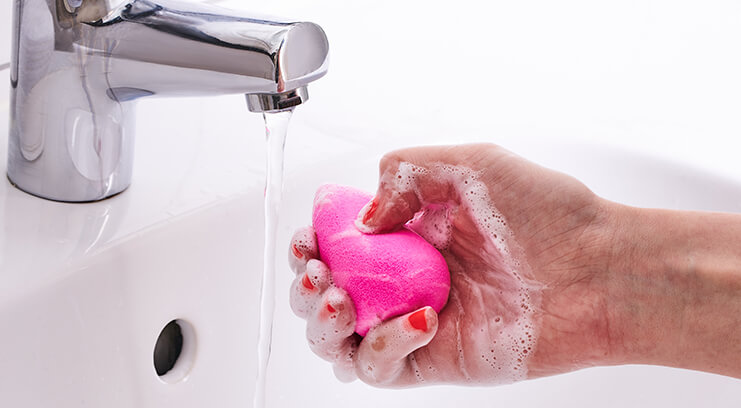
Gently squeeze and massage the Beautyblender under running water until the water runs clean. To remove stubborn stains, rub the Beautyblender into the Blendercleanser Solid and work into a lather (pressing the sponge releases oxygen which allows the cleanser in).
Step 3

Rinse the Beautyblender under running cold water until the water runs clear and bubble-free. Squeeze away excess water with a towel and leave the Beautyblender to dry in a well ventilated area.
5 Top Tips for Cleaning A Beautyblender
– Avoid twisting or pinching your Beautyblender too hard as this causes tears and rips.
– Because Liquid Blendercleanser and Blendercleanser Solid are formulated specifically for Beautyblenders, using them will extend the life of your sponge to three months.
– Your Beautyblender can be used immediately after it’s been washed.
– Wash your Beautyblender as soon after use as possible – the longer that product sits on the sponge, the more it will stain.
– Ideally you should wash your Beautyblender every day.
This story was previously published at an earlier date and has since been updated.

