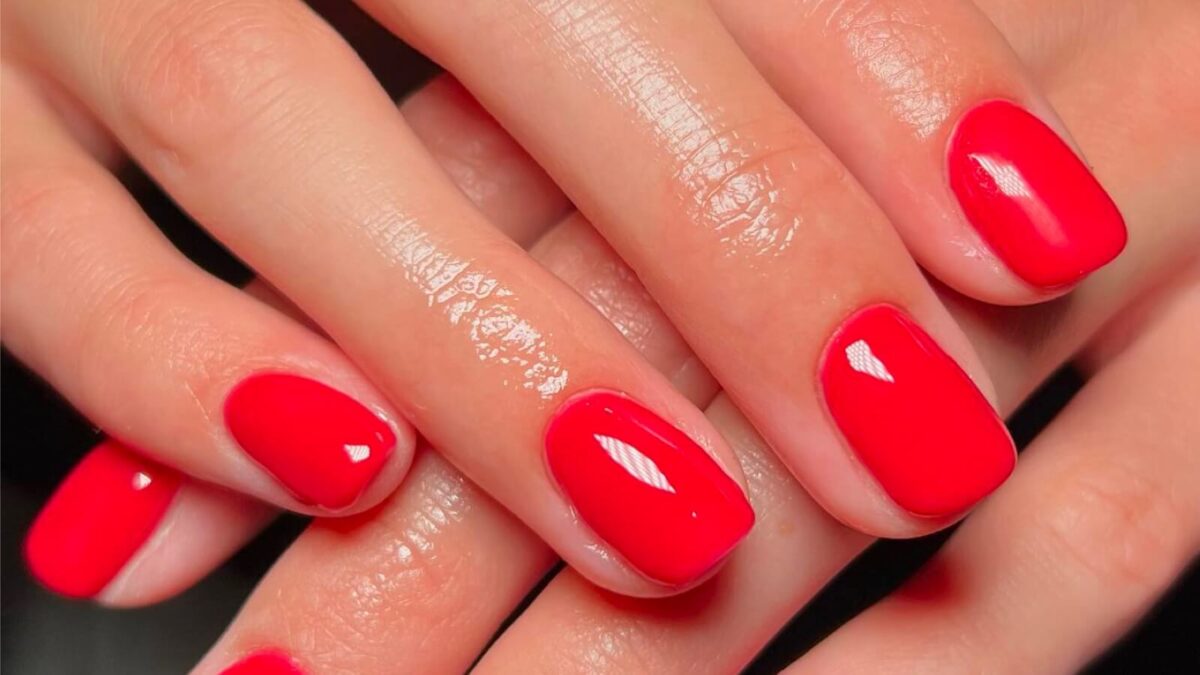
Fed up with your nail polish looking messy, unfinished, and streaky? Do you want to nail your next DIY application and convince your friends that you trained as a nail tech overnight? Want to try all the nail trends without leaving the house? Frantically googling, how to paint nails? Don’t worry, we’ve all been there.
The good news is that this is all possible, but you’ll need to master the basics first. We’ve got all the beginner-friendly tips and tricks for an at-home salon-worthy manicure, that won’t break the bank or end in frustrated tears.
Whether you’re using regular nail polish, dabbling in gel application, love a short manicure or want to keep things minimal, these tips will take you through every possibility.
Keep scrolling for our foolproof tutorial on how to paint your nails perfectly like a professional, every single time.
What products should I use to paint my nails?
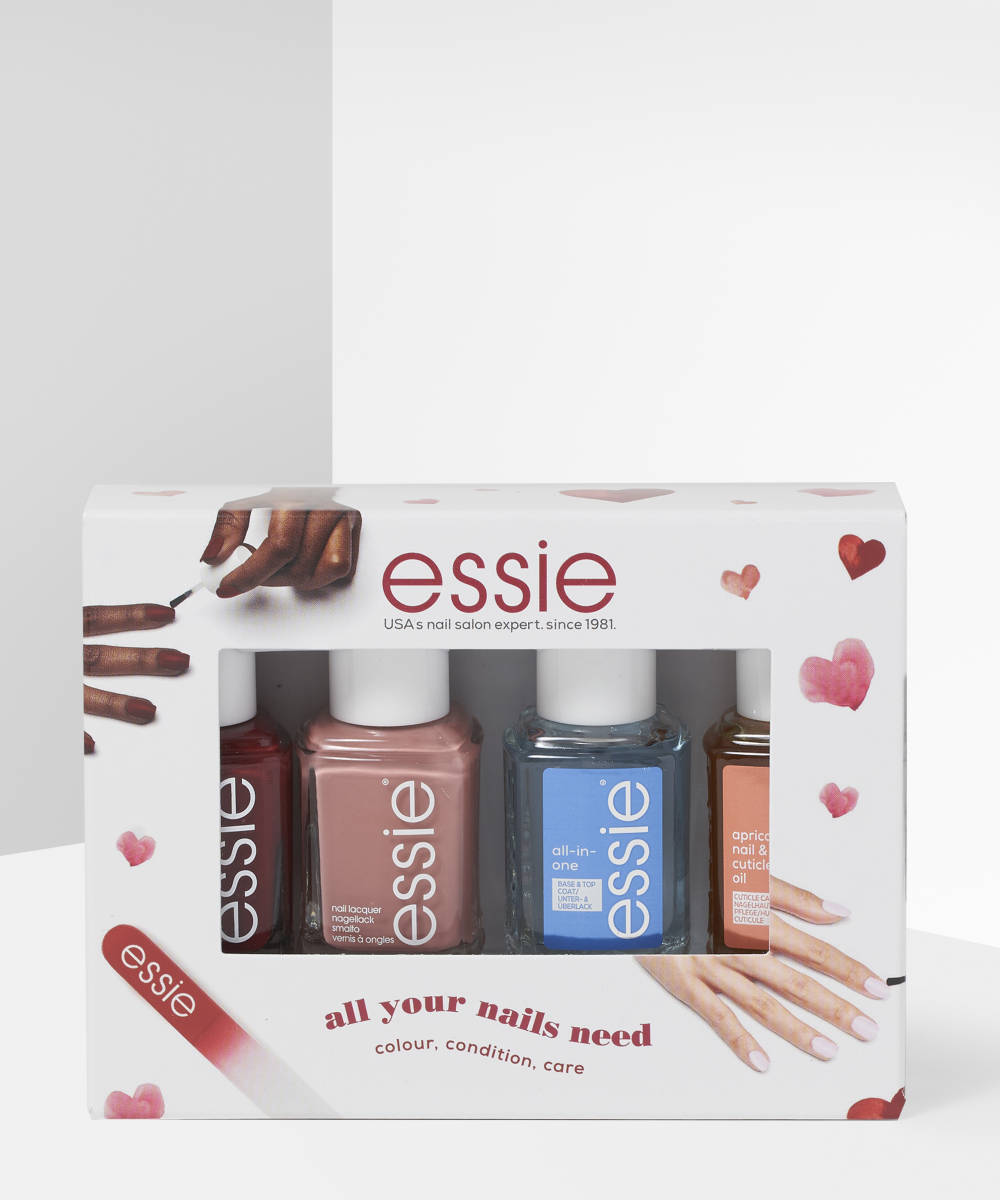
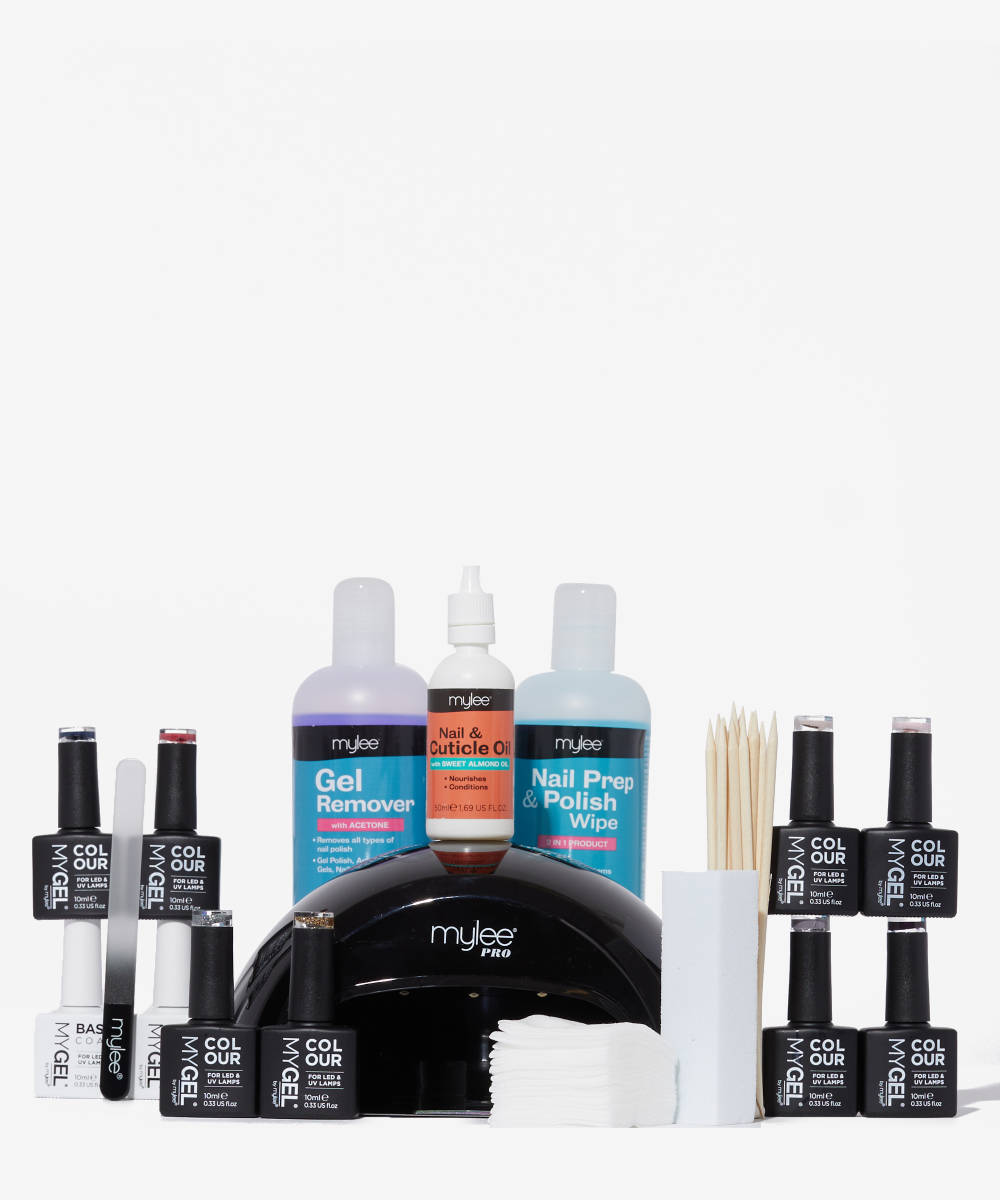
When deciding the perfect products to use, it’s important to understand what you want out of your manicure. If you want something long-lasting and sturdy, we recommend opting for gel polish, but if you want something more interchangeable that will last around a week, regular nail polish is your best bet. The amount you invest in your products will usually reflect in the quality of them, so with nails- cheaper is not always better.
Should I file my nails before I paint them?
Yes absolutely! Prepping and therefore filing your nails should always be done before painting them. Why? Because when we come onto the actual nail painting part of the process, the nail needs to be free of the all dead skin, dust, and debris that can be on the nail after filing. Filing your nails after painting them will only cause them to lift and chip prematurely. So trust us, always file your nails before painting them.
How do I paint with my non-dominant hand?
Painting your dominant hand with your non-dominant hand may seem like a totally impossible task, but we promise it is possible. Annoyingly, this skill comes with a lot of practice and patience, so there is no secret to it. When painting with your non-dominant hand, take things slow. Use thin layers to avoid nail polish getting on your skin, keep a steady hand and just take your time. No rushing allowed! Use a fine liner brush to properly get into the corners, sides and around the cuticle to help you achieve that super neat and clean look.
STEP ONE: prep

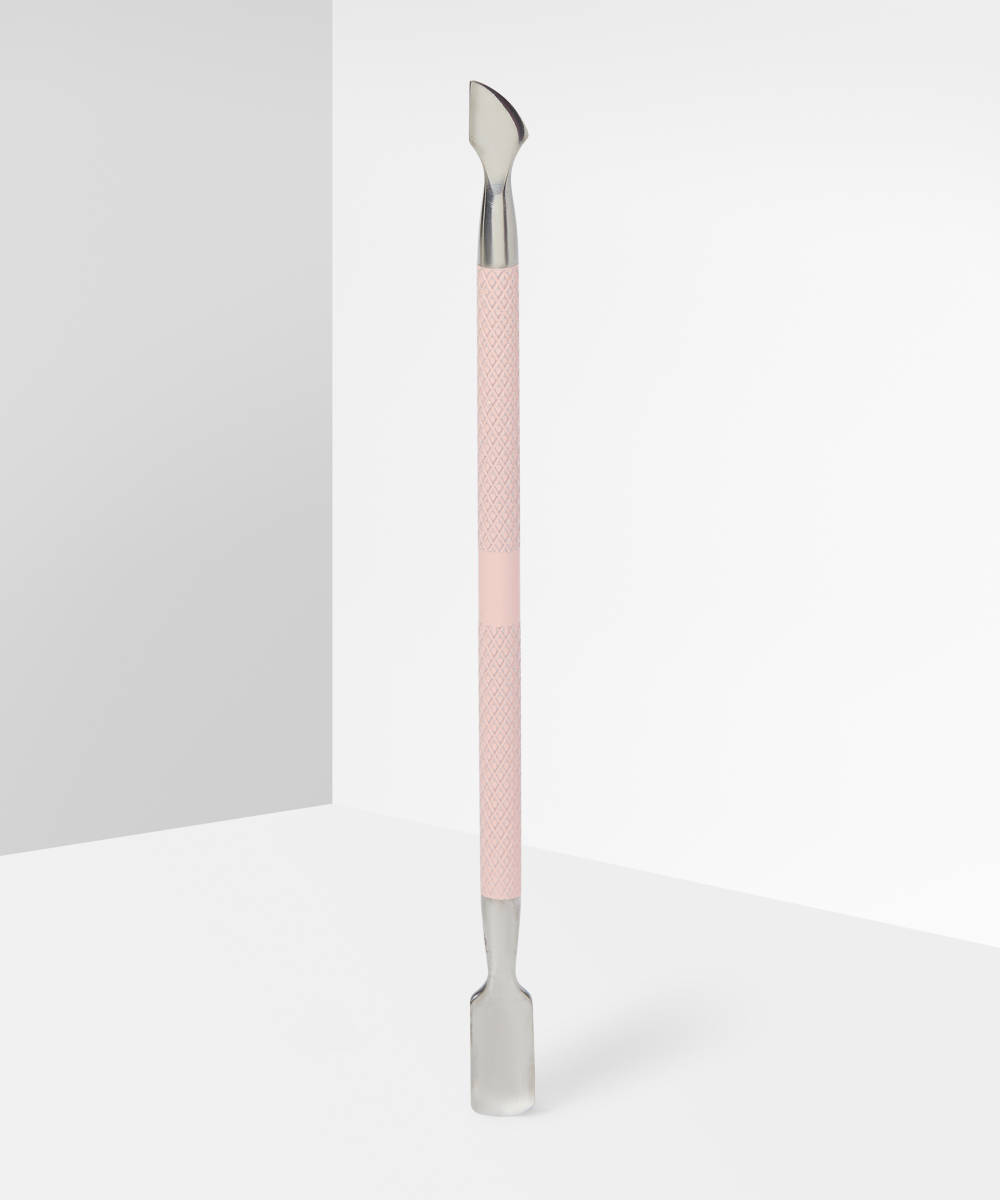
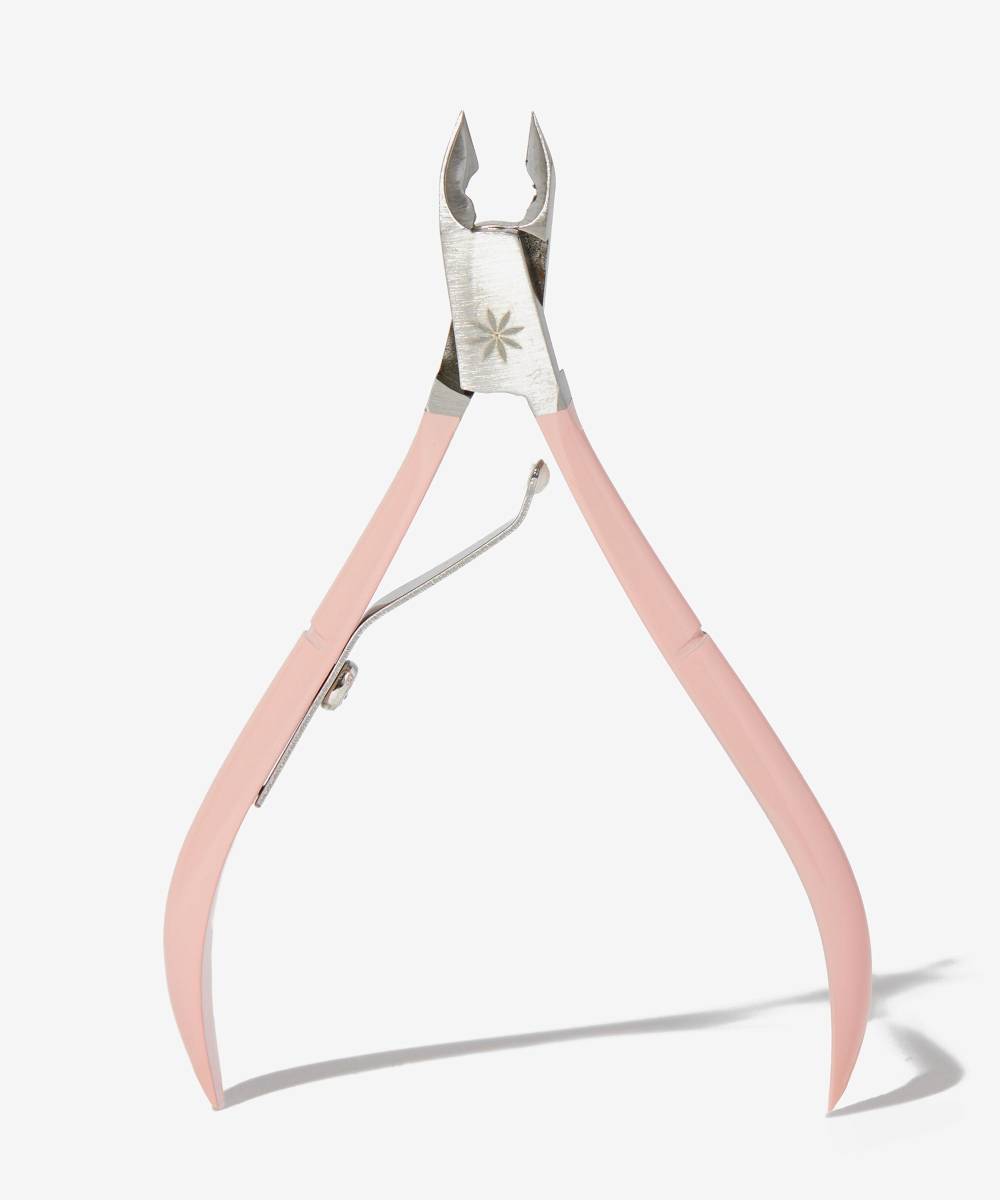
Start out by pushing back your cuticle with a cuticle pusher. The cuticle is the dead skin on the nail plate, so make sure you’re gently scraping off the dead skin. This step should not hurt. If you find that your cuticles are quite rough and hard, try using a cuticle softener before hand. If necessary, nip off any dead skin around the nail plate with a pair of cuticle nippers.
STEP two: filing

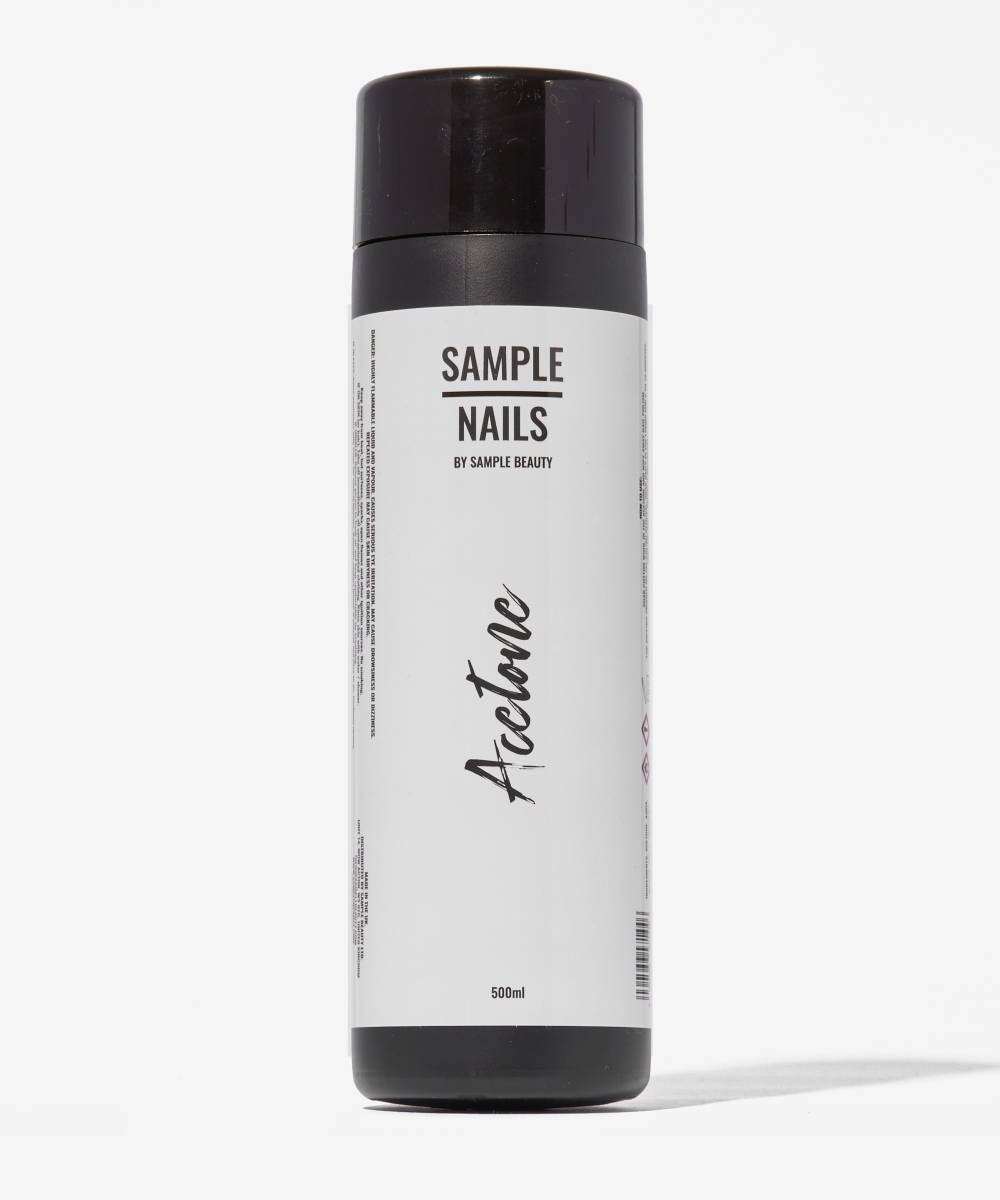
File your nails to your desired shape with the a nail file. Make sure to buff off any debris that might curl up on the end of your nail. This will avoid lumps and bumps in your application. Always file in one direction and avoid back and forth movements with your file as this can cause damage to the nail. At this stage you can lightly buff the nail with your buffer to help your polish adhere. Then, wipe the nails clear of all dust and debrid with an acetone-soaked, lint free pad.
STEP three: base

Apply a base coat to the nails, this gives a smooth surface for the polish to stick to, making it last longer and helps to protect your nails from stains. Allow the base coat to dry fully or cure if you’re using gel.
STEP four:

Apply your nail polish using the brush that it comes with, pressing it against the cuticle to form a super neat line at the edge. Apply in the three stripe rule, one for the middle and one on either side. Don’t forget to cap the edge of the nail for a super clean look that makes the manicure last longer. If painting multiple layers, make sure to use thin layers, letting them dry fully inbetween, or cure if you’re using gel.
STEP five: fix any mistakes

If you feel like your nail polish brush is too large and not getting in the side walls neatly, just use a thin nail brush to paint the outline, getting as close as the edge as possible without getting it on your skin. Don’t stress if you mess up or get polish on your skin, just soak a cotton bud or small brush in nail polish remover and gently remove it.
STEP six: top coat

Apply your top coat after your colour, working in the same three stripe motion (middle, left, and right). This locks in the colour, prevents chipping, and adds extra shine.
After letting your top coat dry or cure, apply a cuticle oil to help keep your nails hydrated and healthy. Using cuticle oil daily also helps your manicure last longer.
