Feeling the effects of the January Blues? We’ve all been there, and sometimes a little pep talk and pamper night just doesn’t cut it. Luckily, we’ve got a fun solution to brighten up the start of your year, that will follow you around all day long.
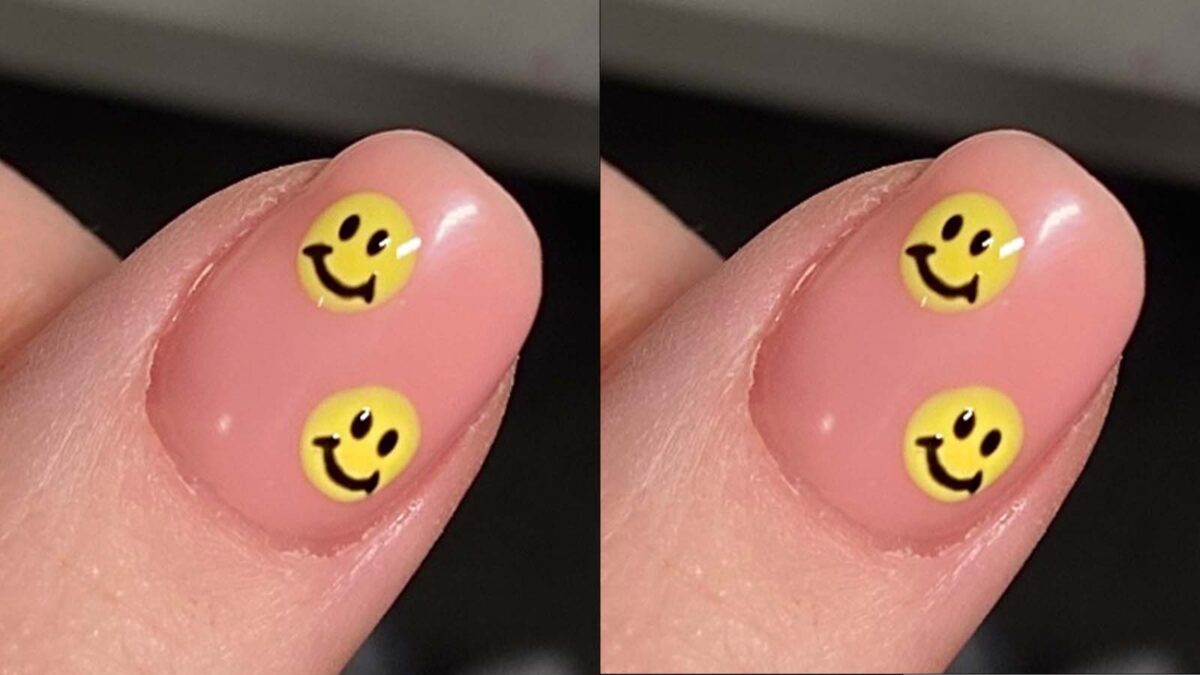
Scroll to find out how to achieve this smiley face nail design, that’s easy-peasy, full of positive vibes and most importantly- perfect for all skill levels.
STEP ONE:
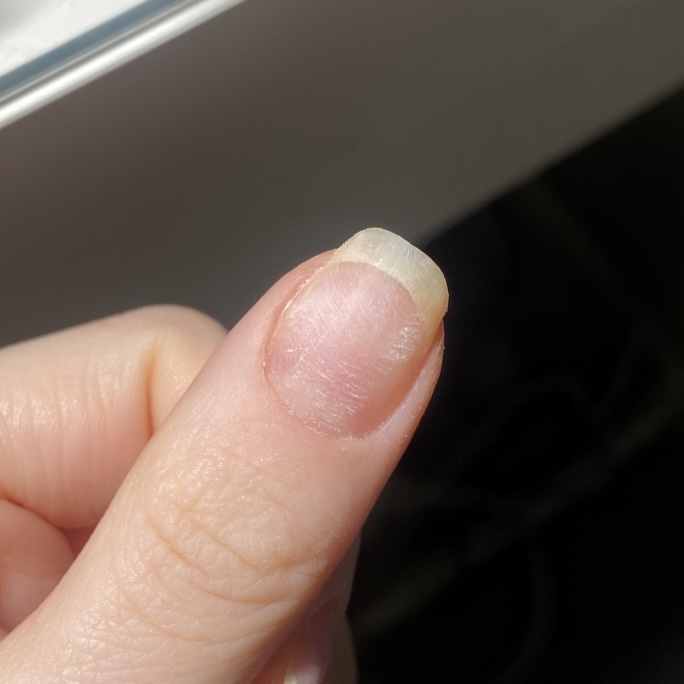
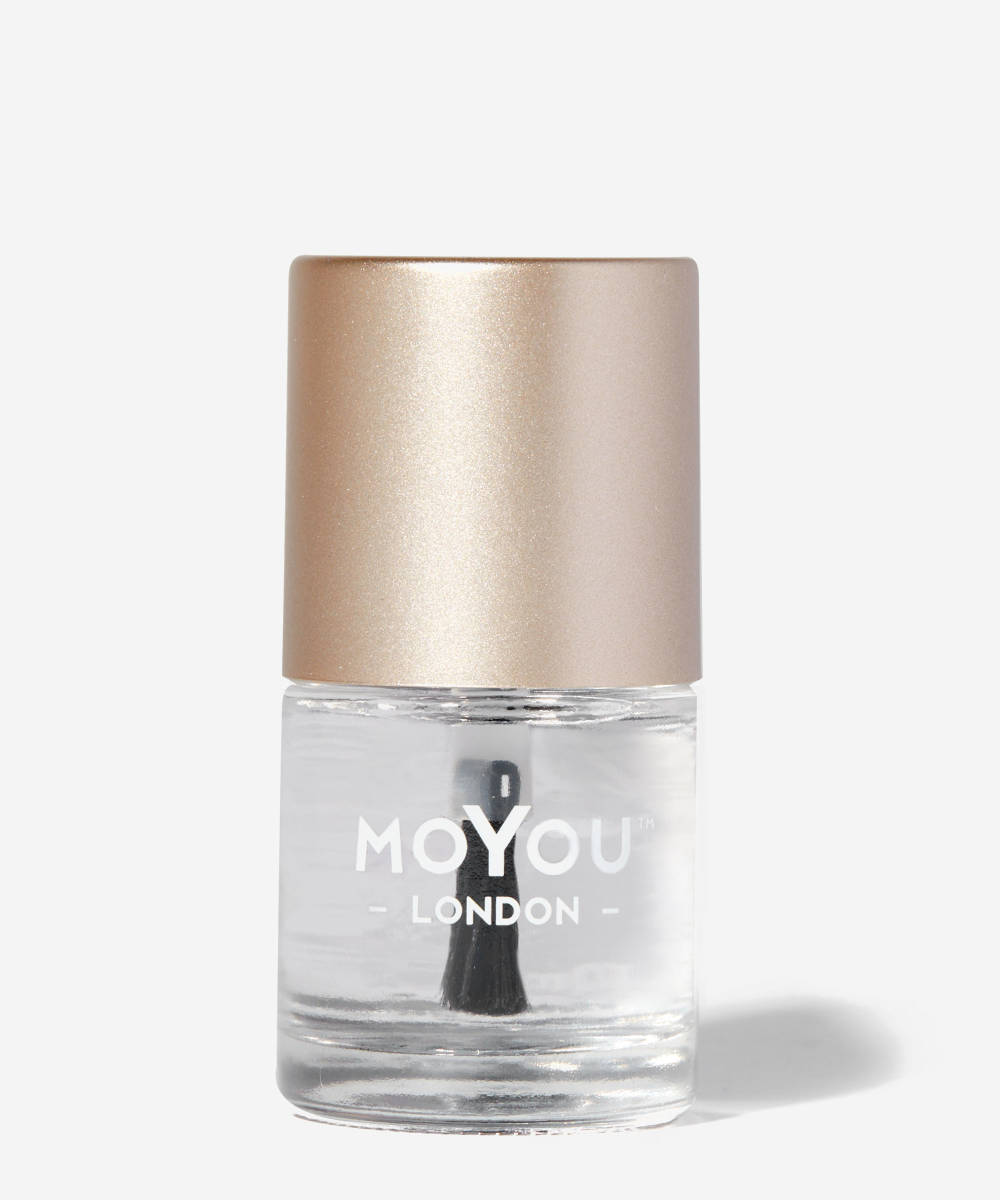
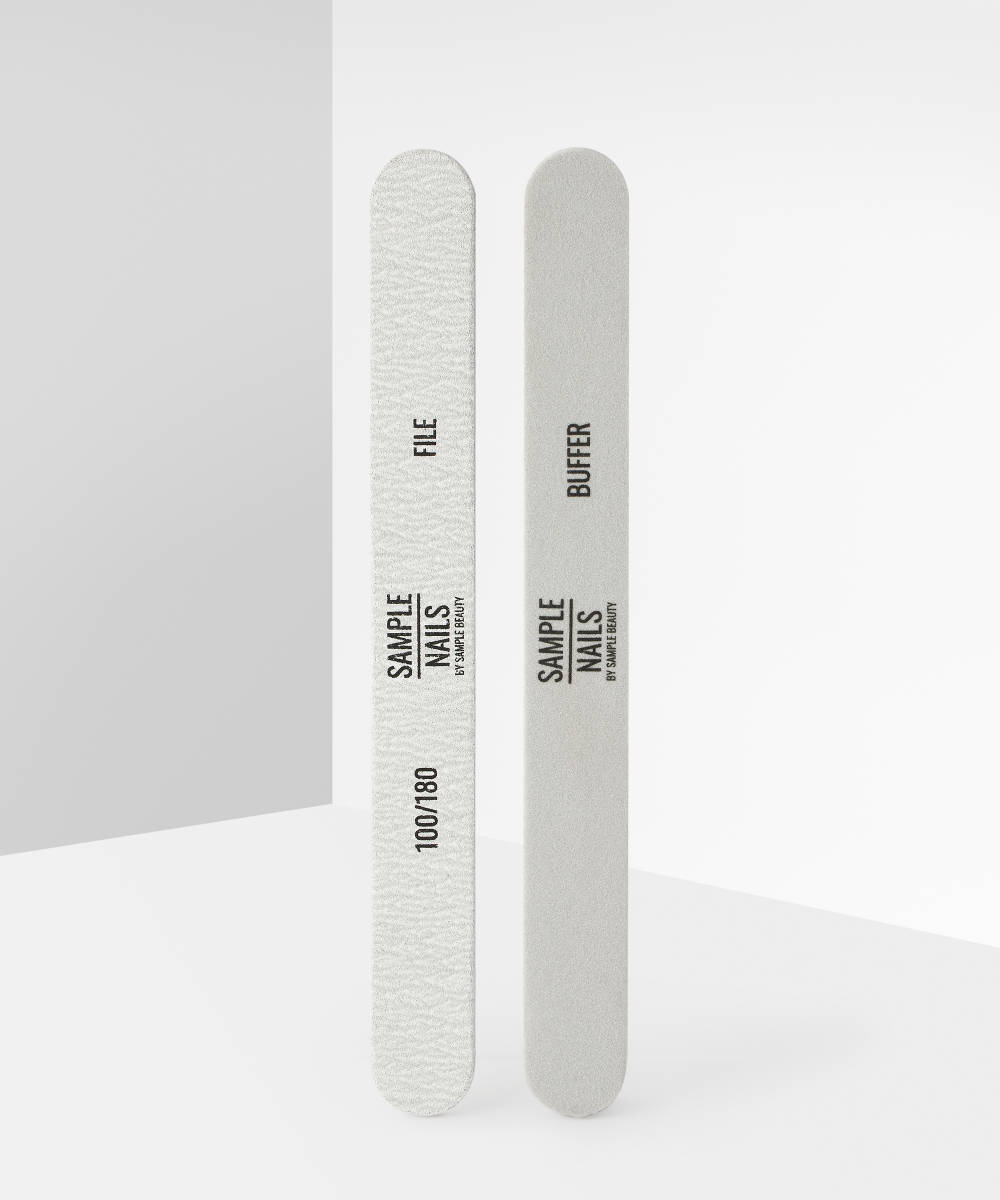
Prep your nails by cutting and filing them to your desired shape with the Sample Beauty Nail File And Buffer Set. Wipe your nails dust free with an acetone-soaked cotton pad and apply a base coat.
STEP TWO:
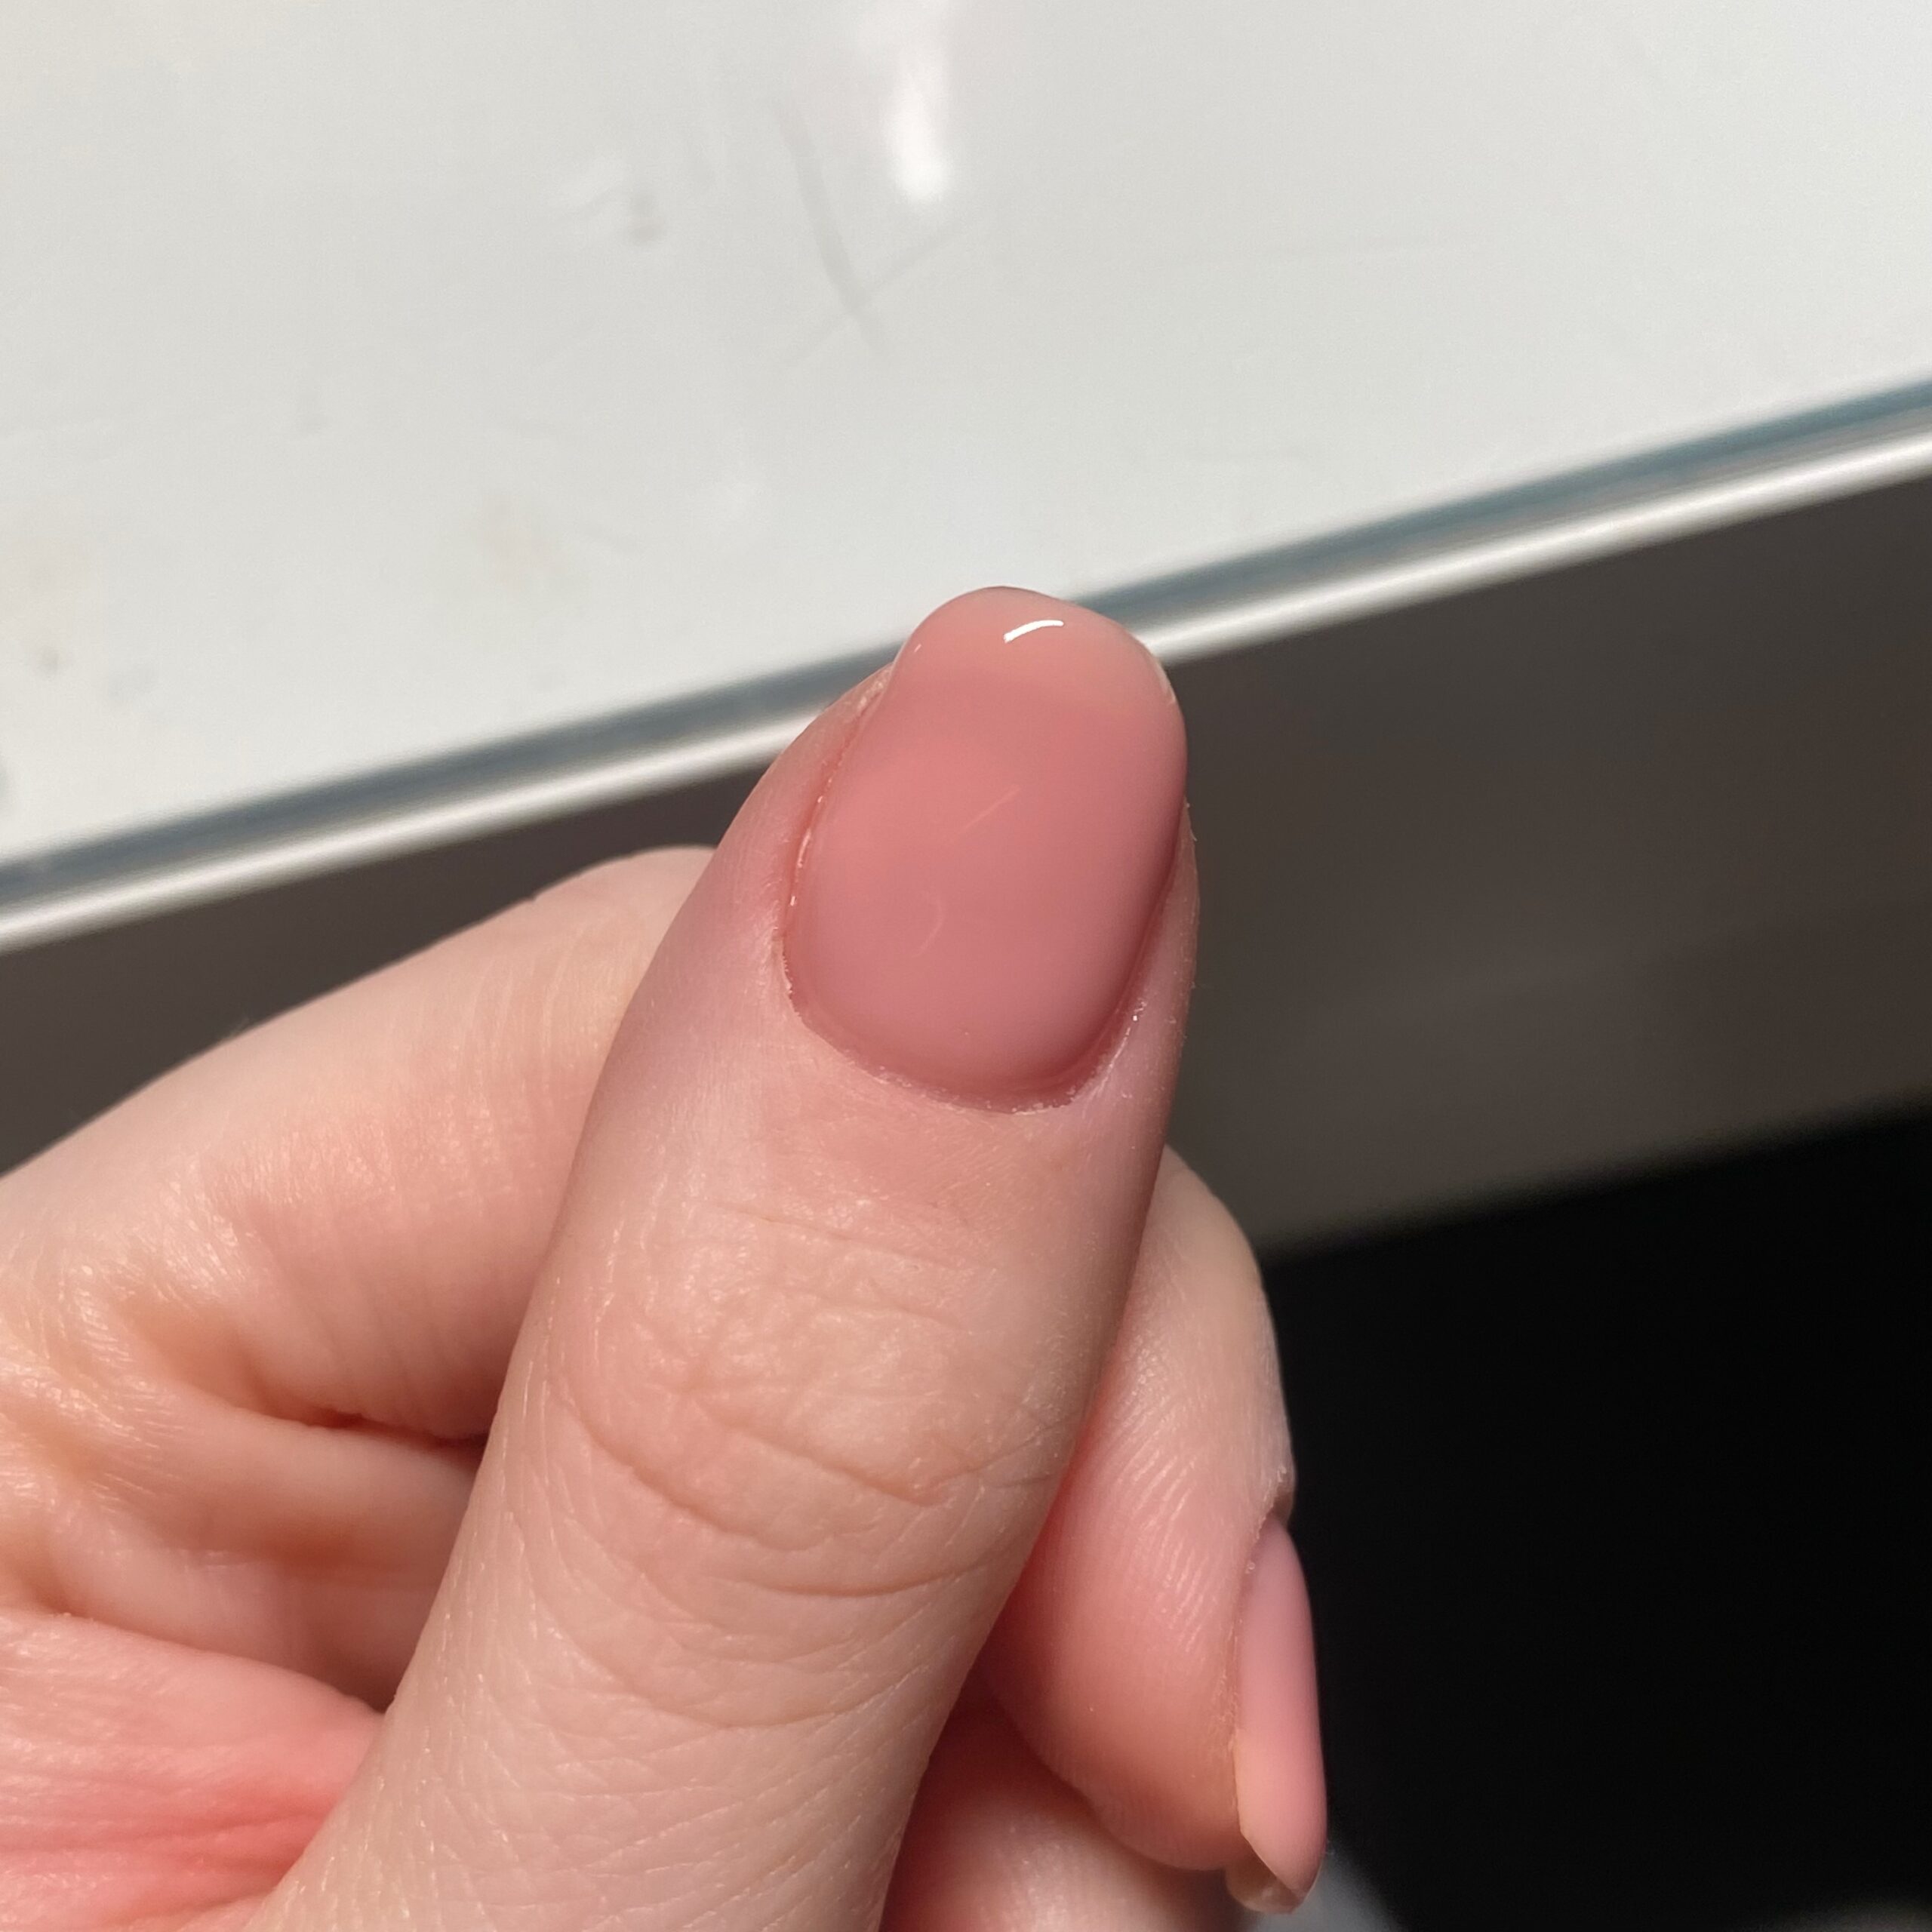
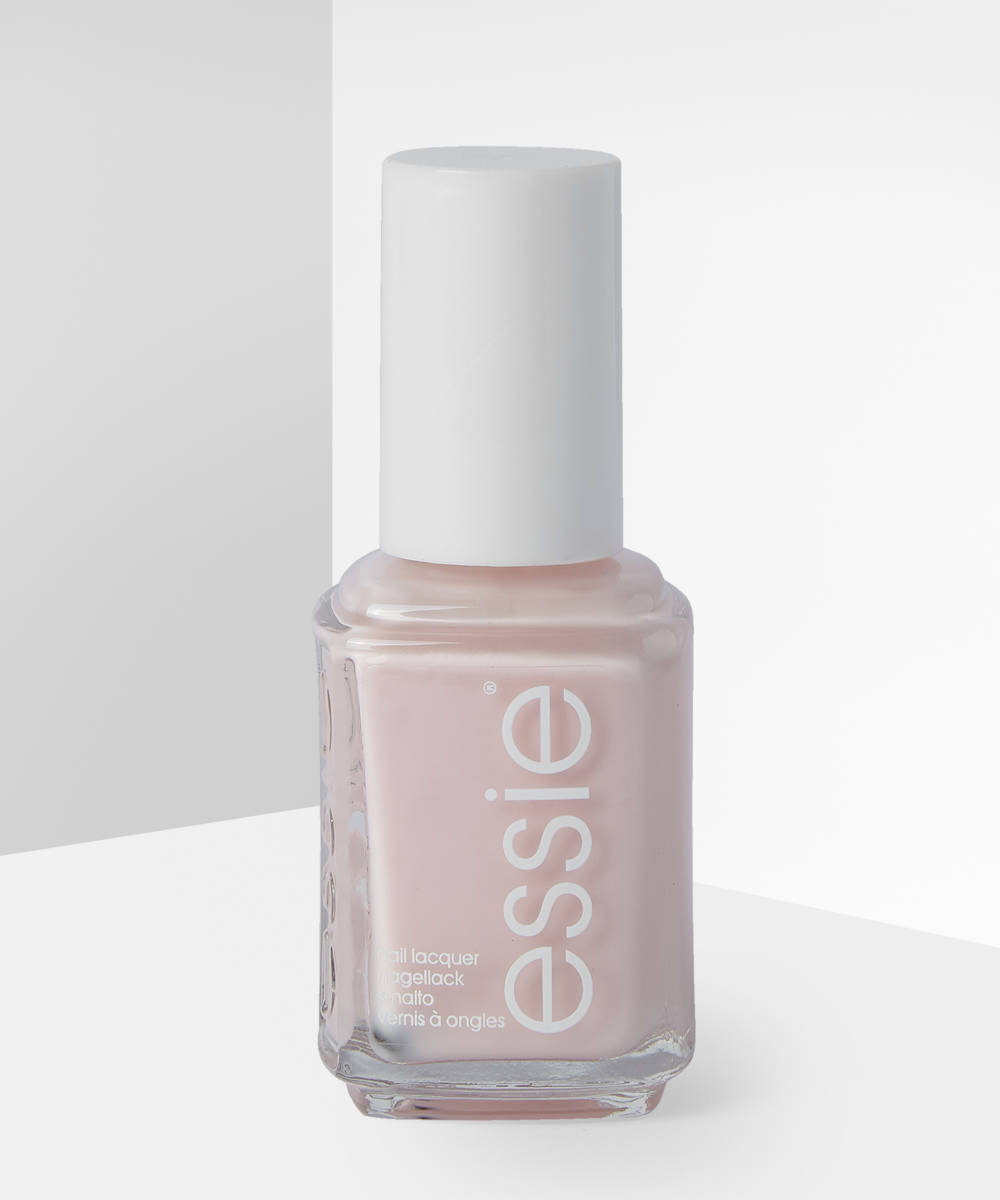
Paint your nails a sheer nude colour, to create the perfect base for your design.
STEP THREE:
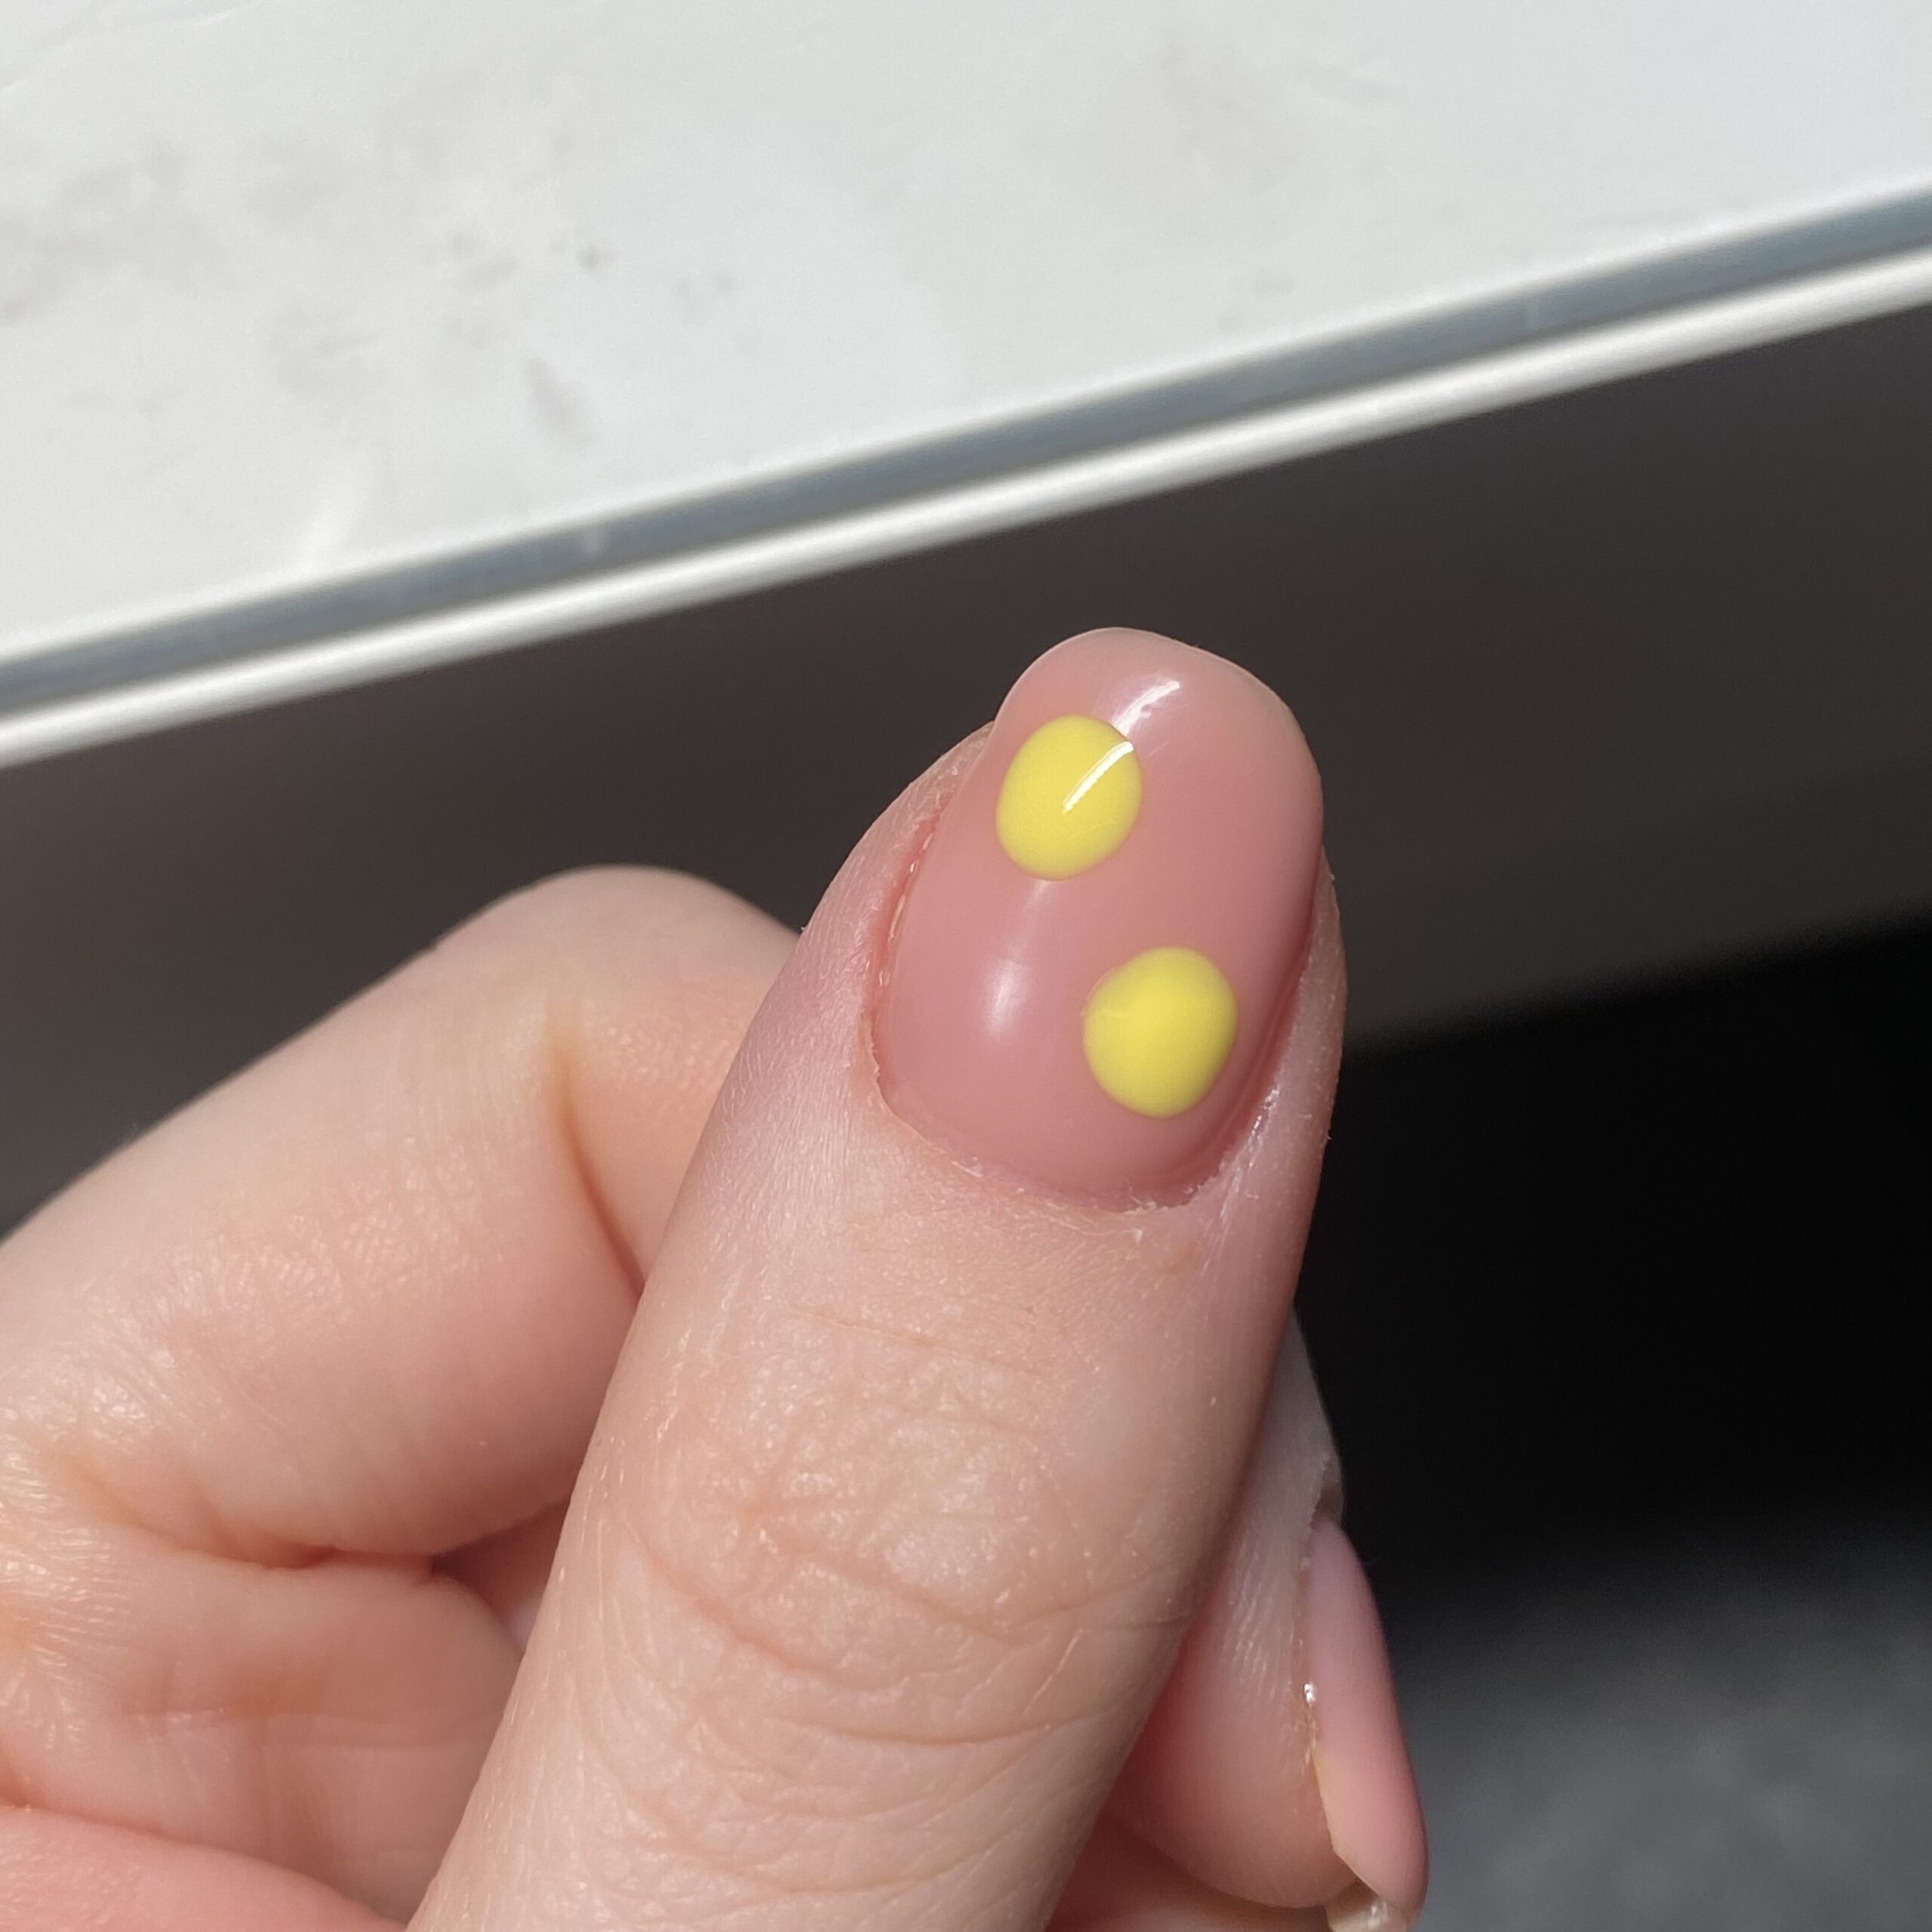
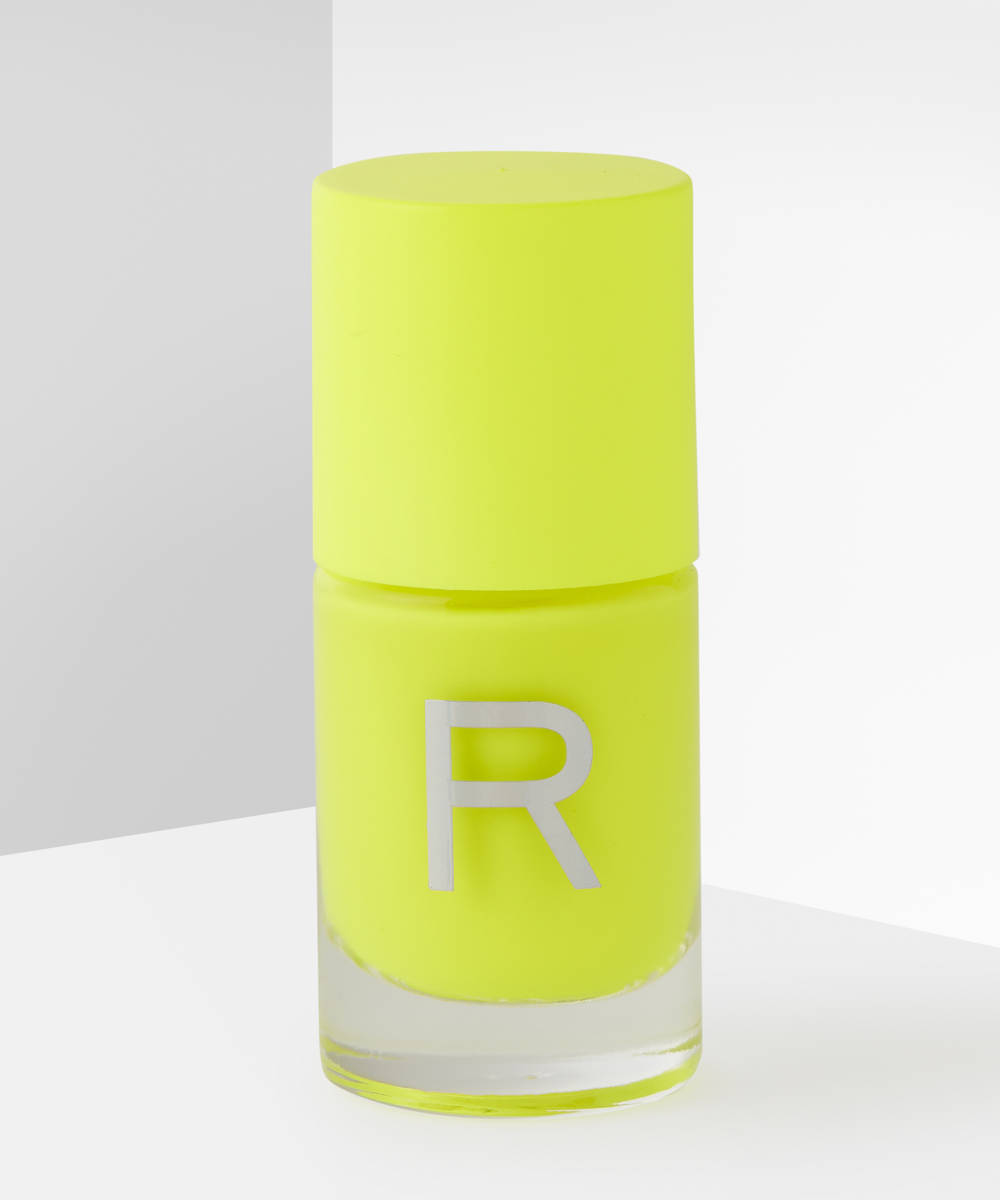
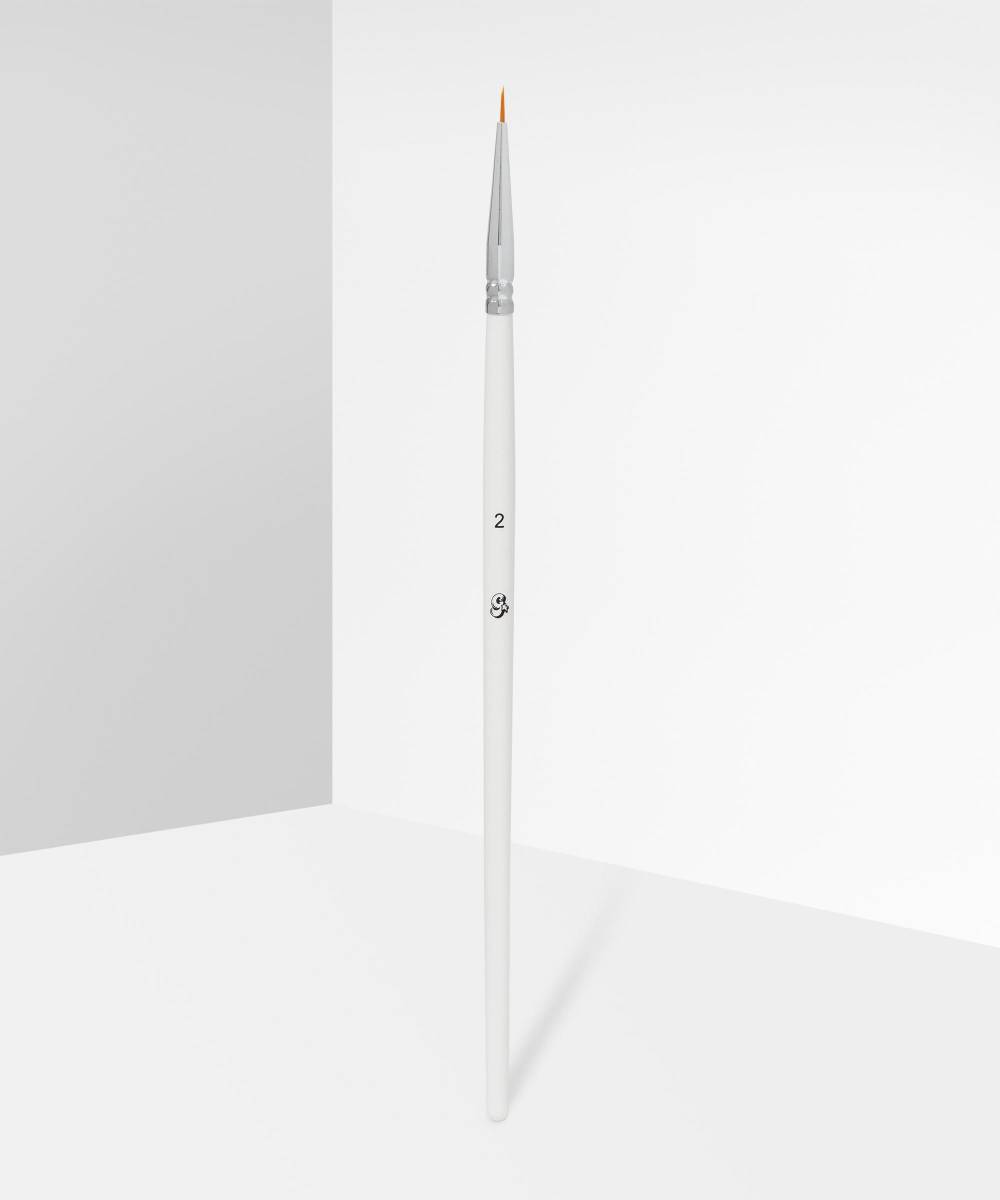
Using a small brush (or the end of a bobby pin is great for this step), start to create your smiley design with a yellow circle. Repeat until the colour is opaque, letting each layer dry completely in between.
STEP FOUR:
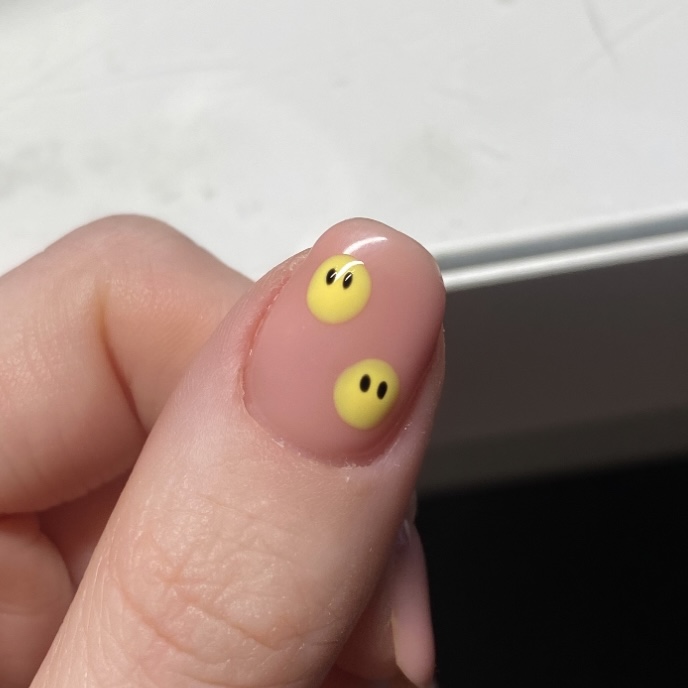

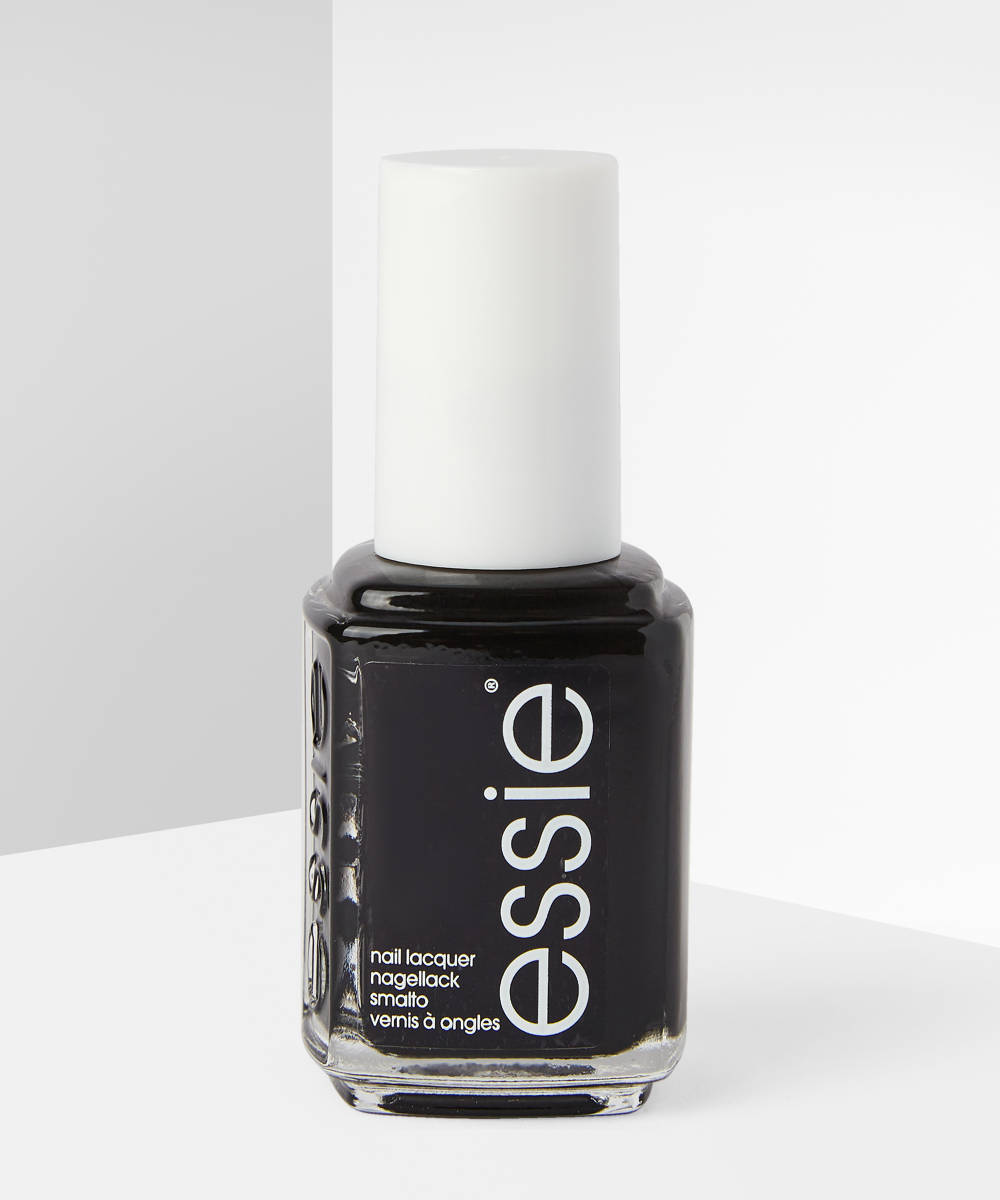
Using a small brush again, paint on two small eyes and the mouth. Always use thin layers so your design doesn’t smudge. Repeat until the features are opaque.
STEP FIVE:
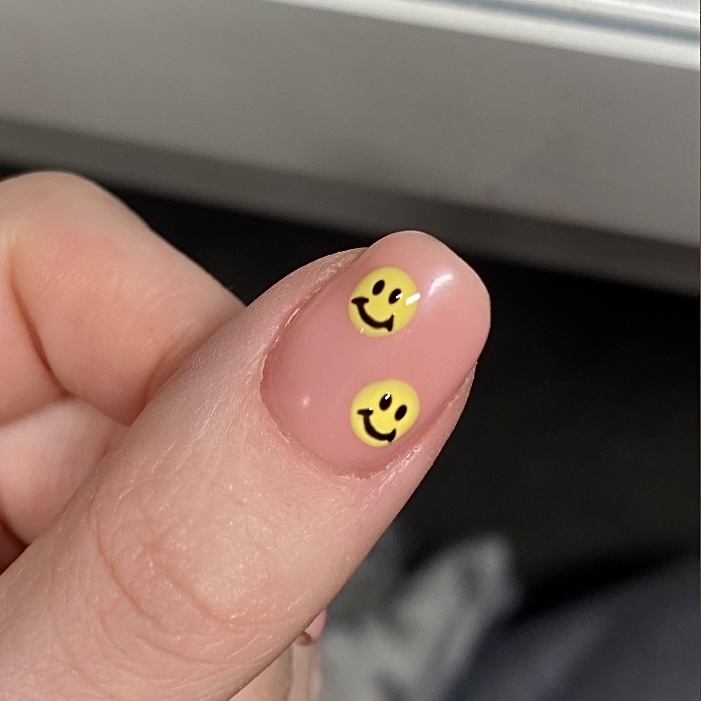
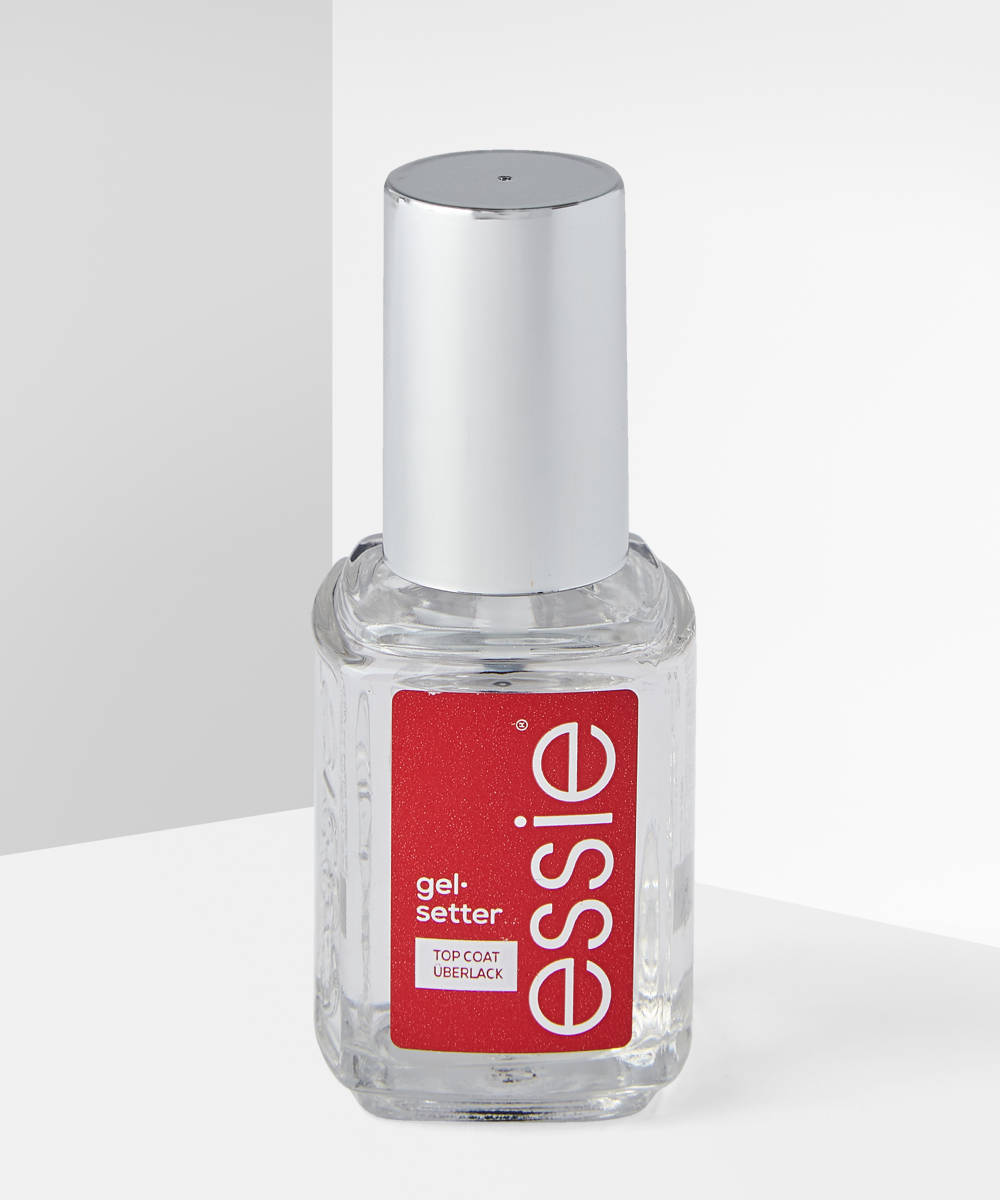
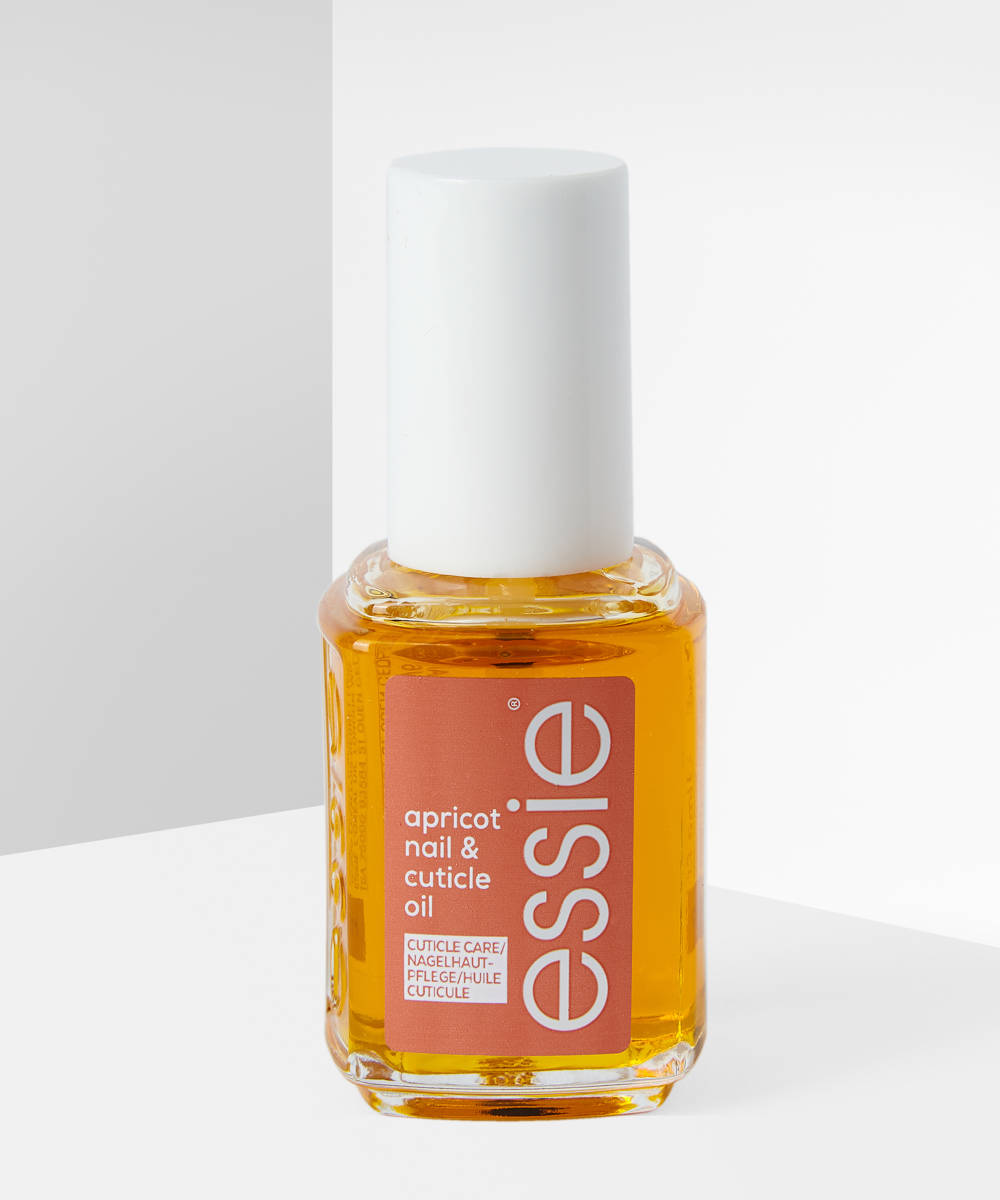
Top off your masterpiece with a top coat, so that it doesn’t chip and stays glossy (we recommend the Essie Speed Setter Top Coat as it dries super-fast) and finish with a cuticle oil to keep your nails healthy and strong.
