As the days start to get brighter, lighter and warmer, it’s finally time for us to switch up our nail designs. The beauty of a colour block design is that you can literally customise it any way you want, match it to your outfits, mood or season and you’re good to go. If you’re like us and can never decide on just one colour to paint your nails, then this is the perfect tutorial for you.
Step One:
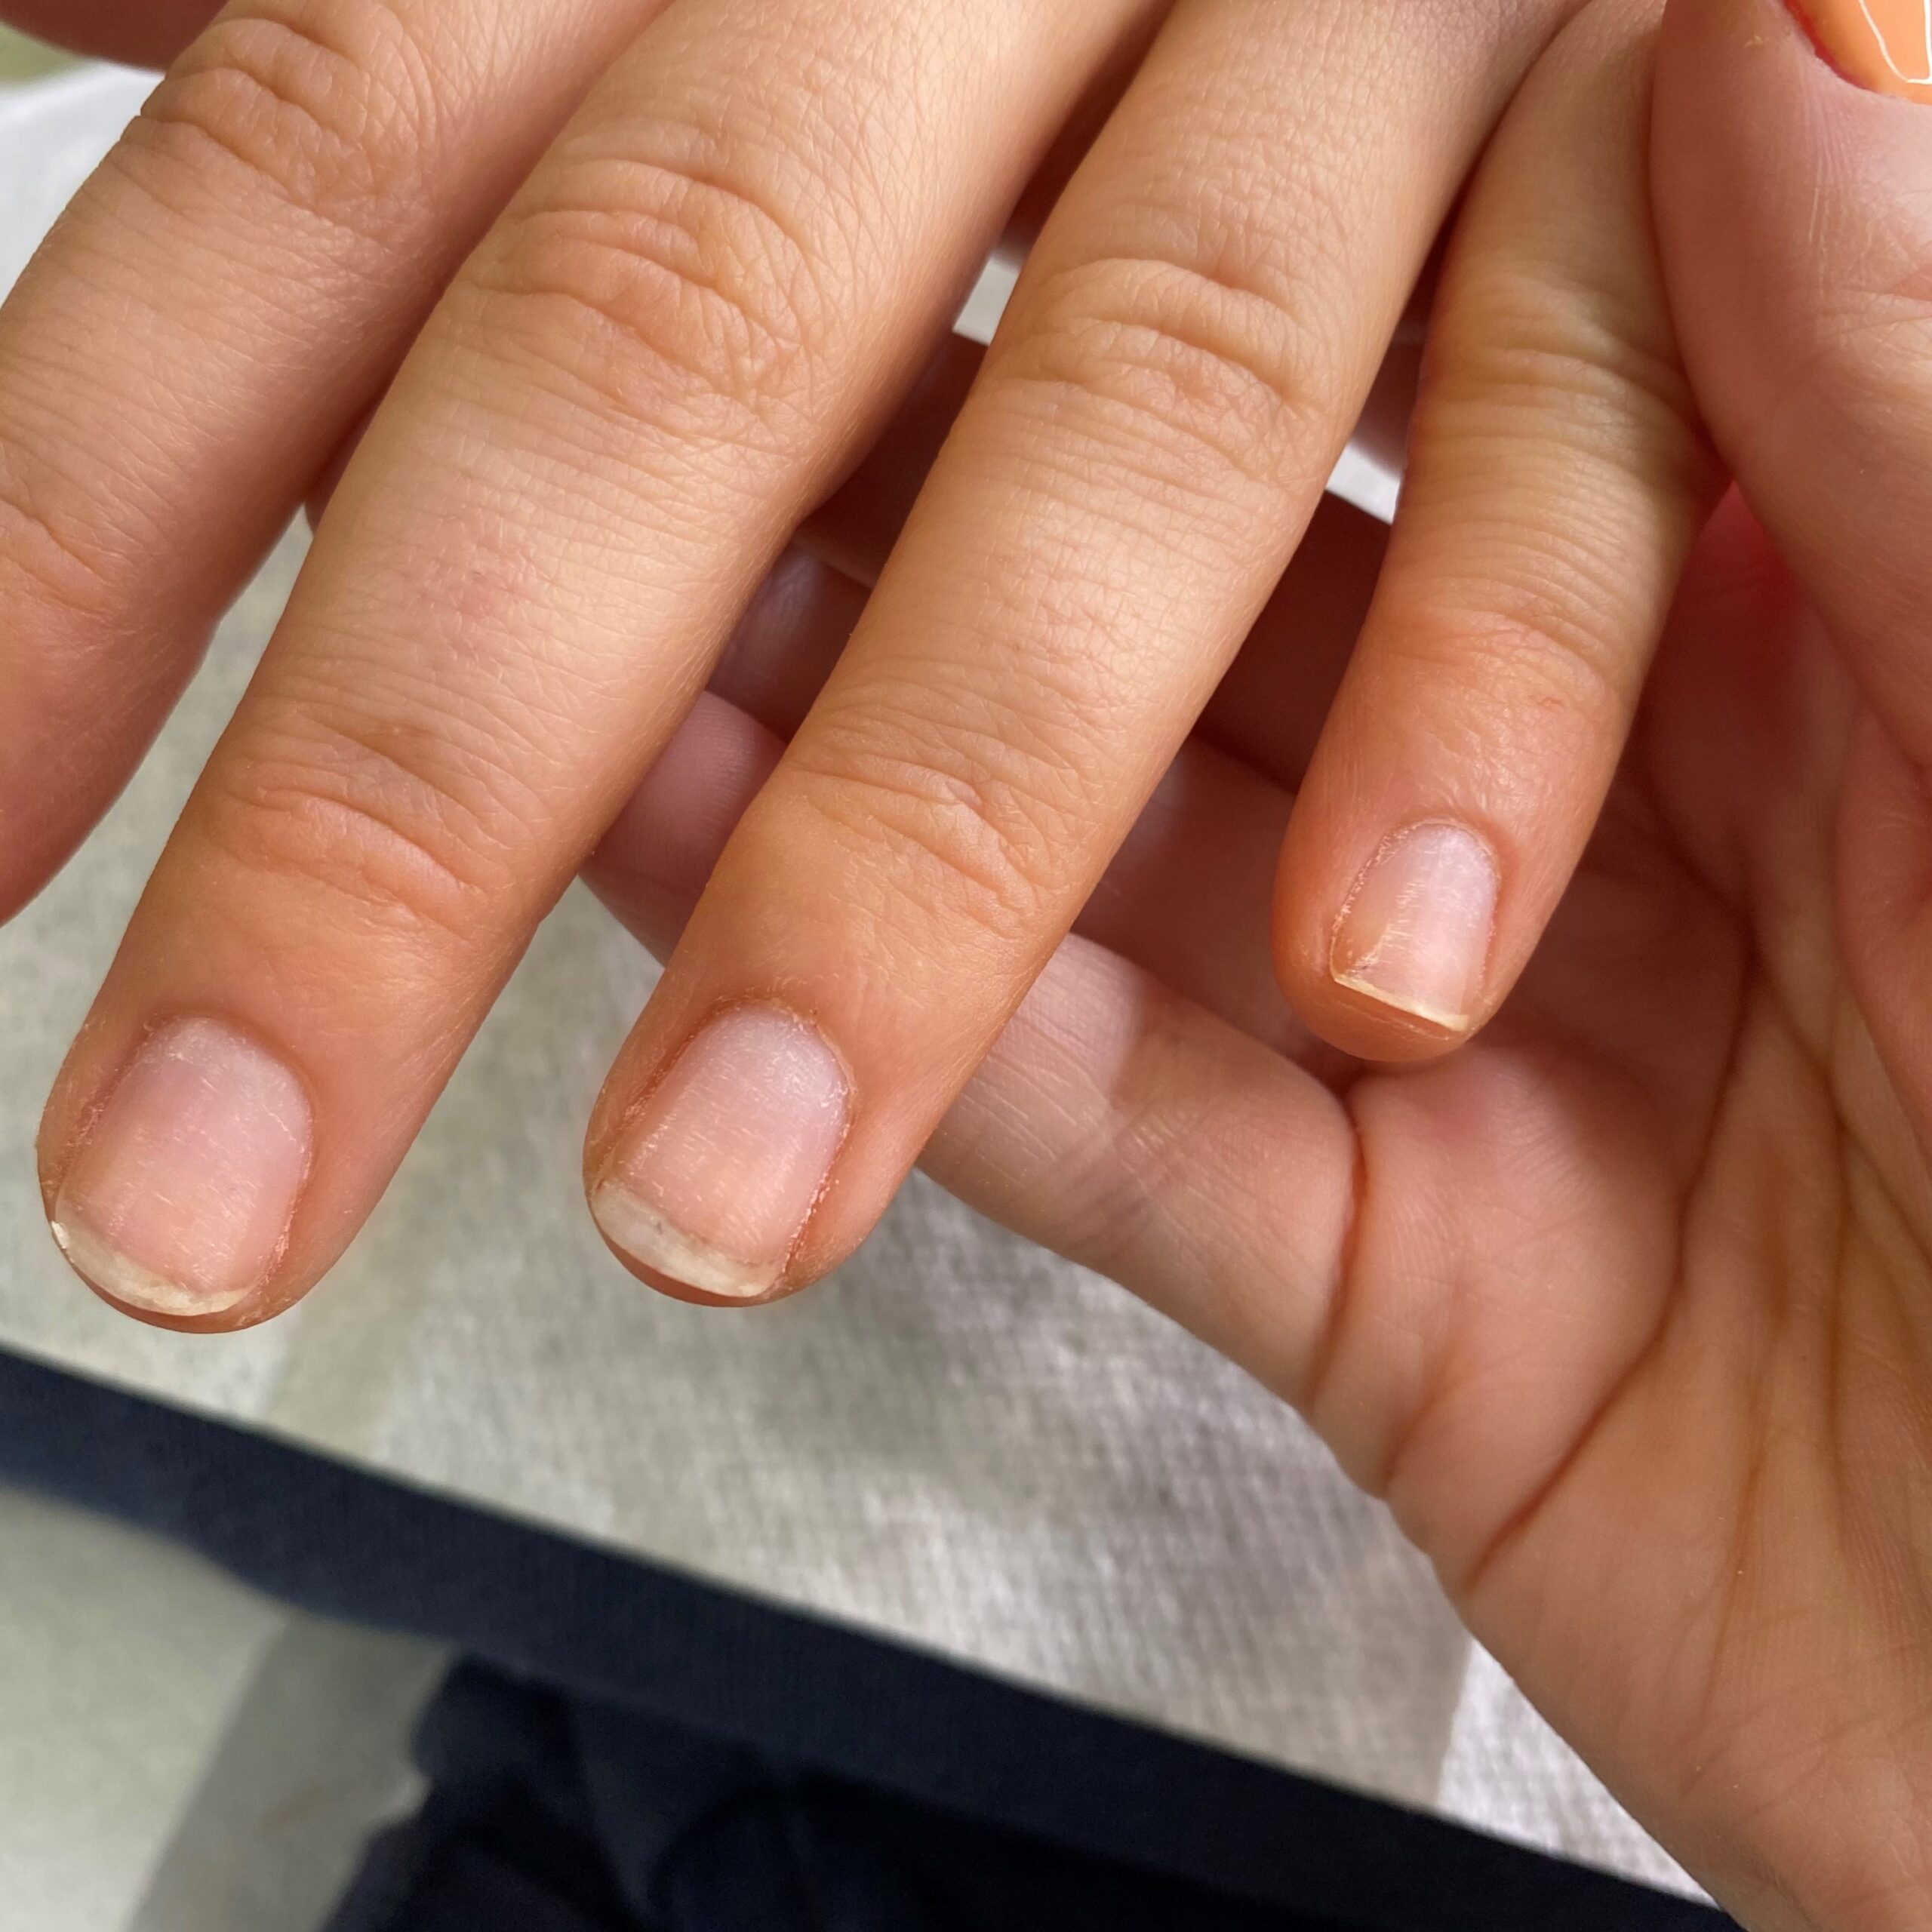
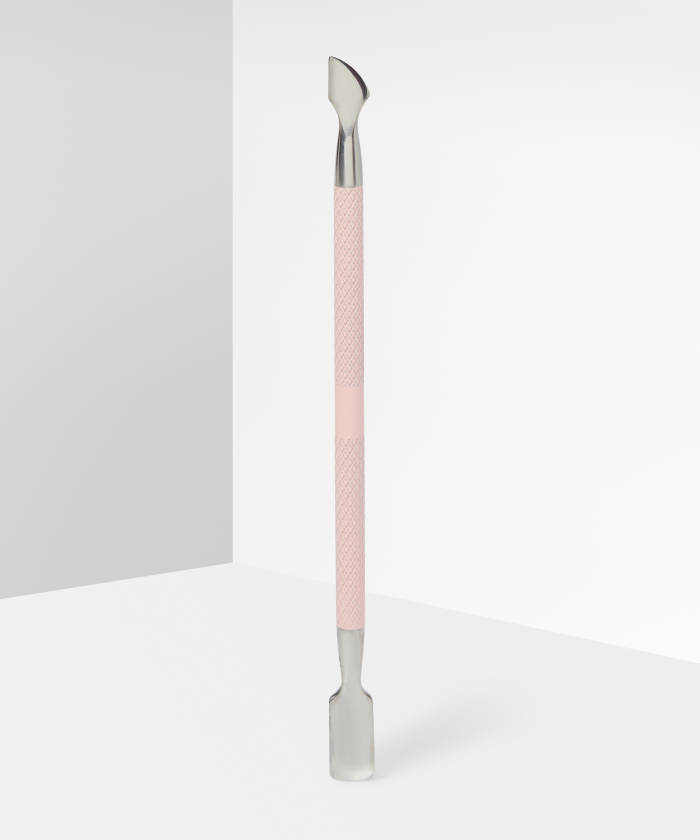
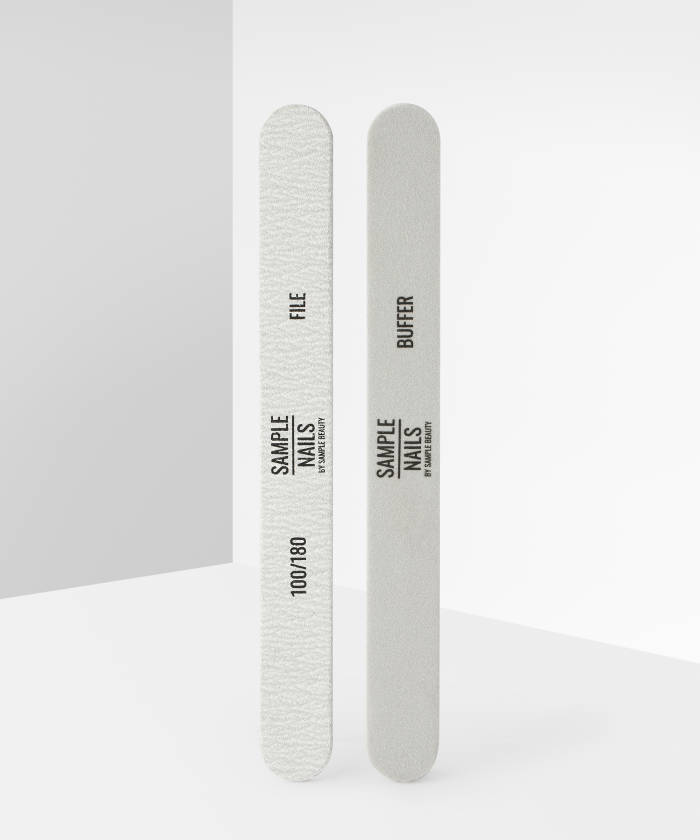
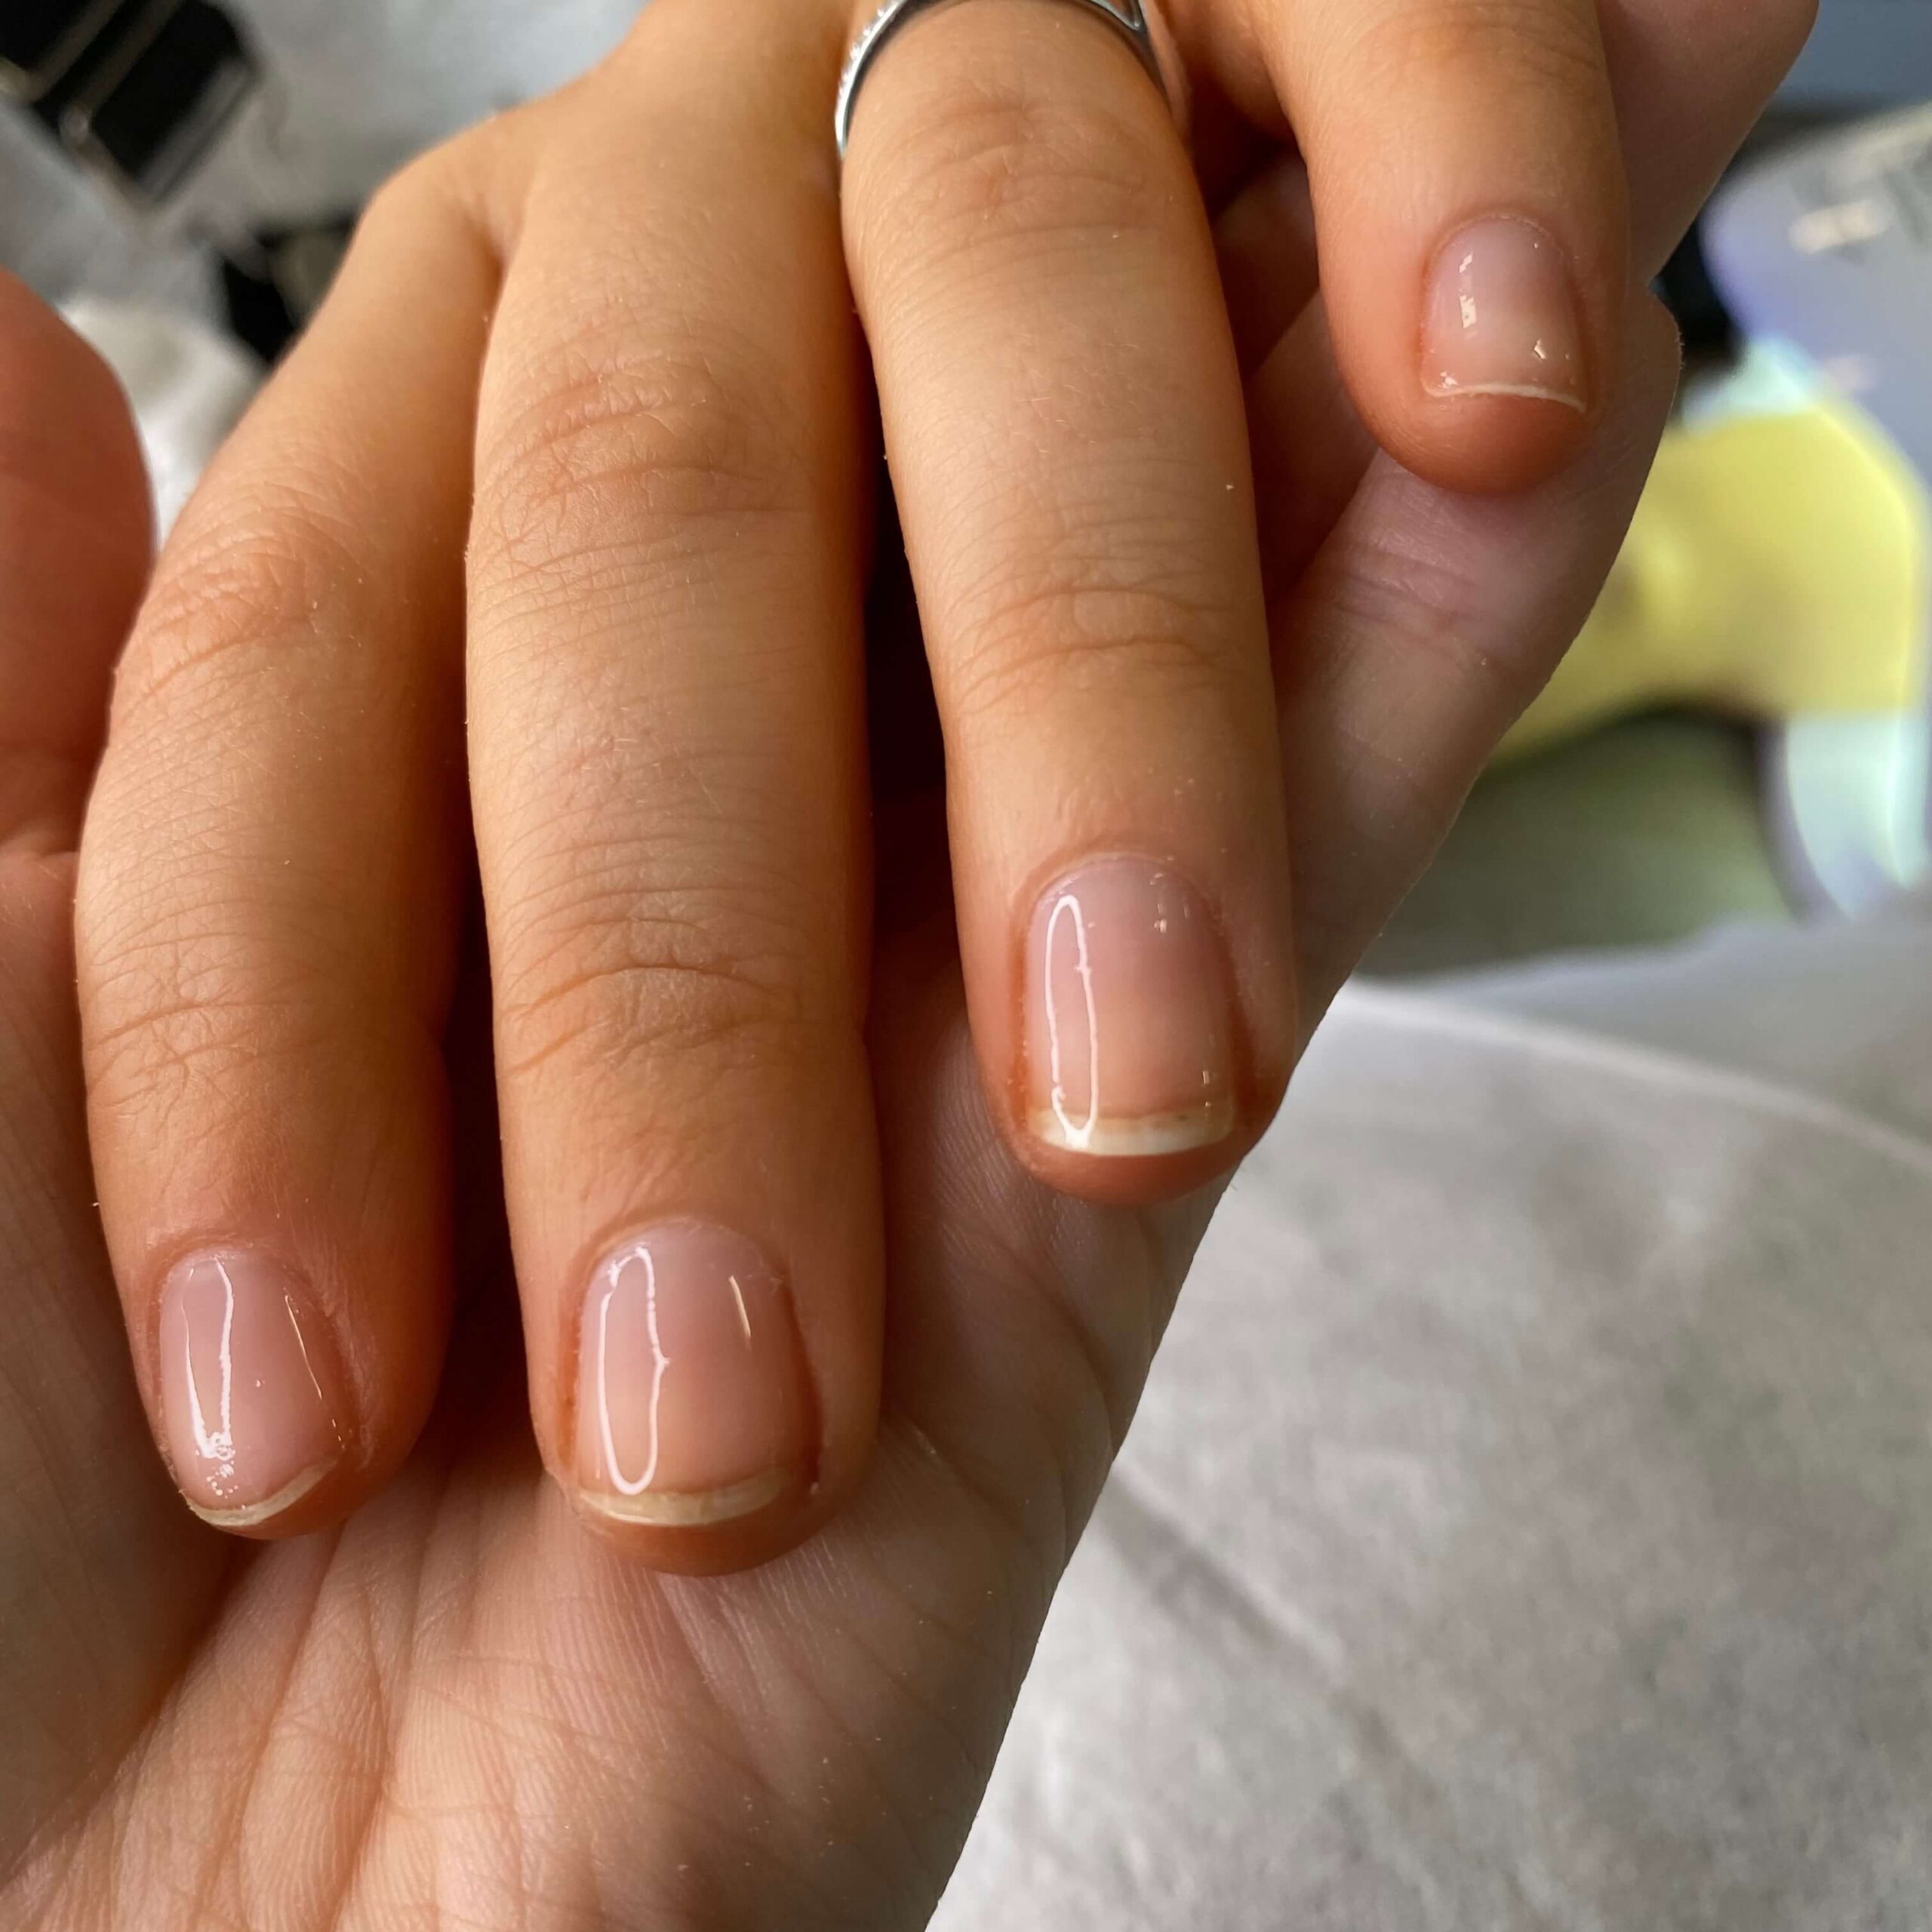
As always, start out by prepping and filing your nails into shape with a nail file and cuticle pusher. We’ve opted for a rounded edge, but feel free to go for a square tip if you wish.
Step Three:
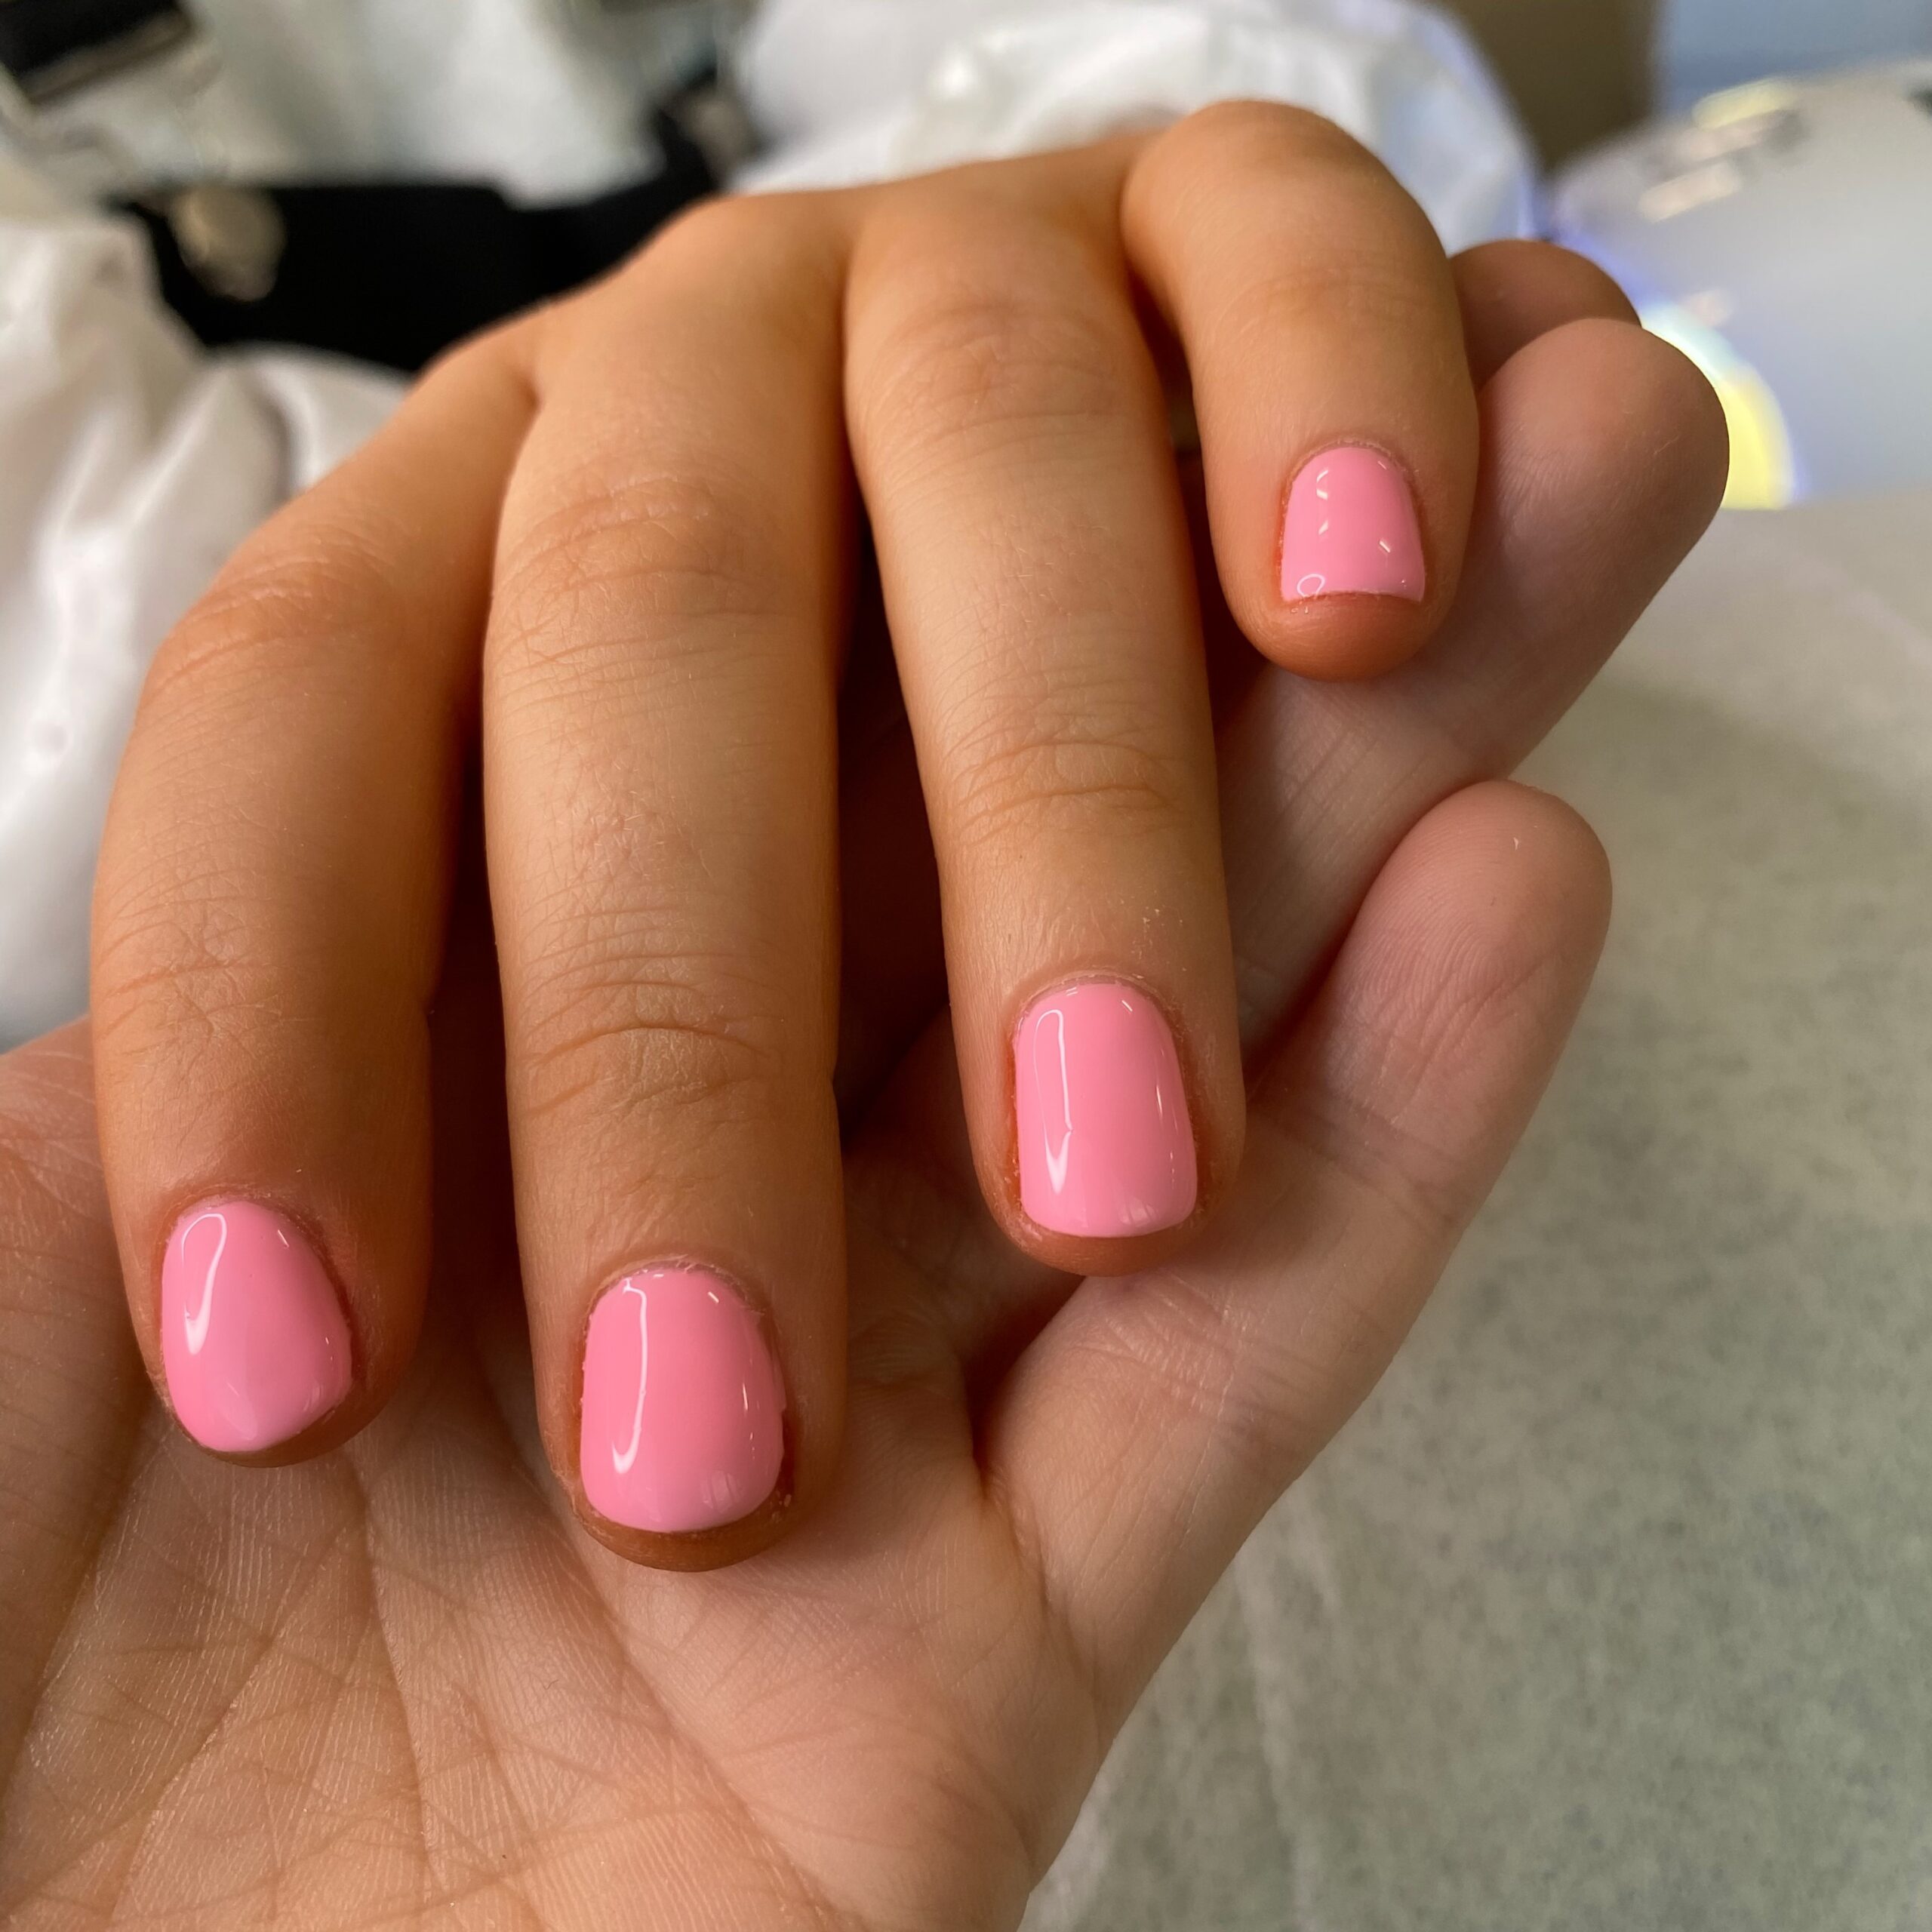
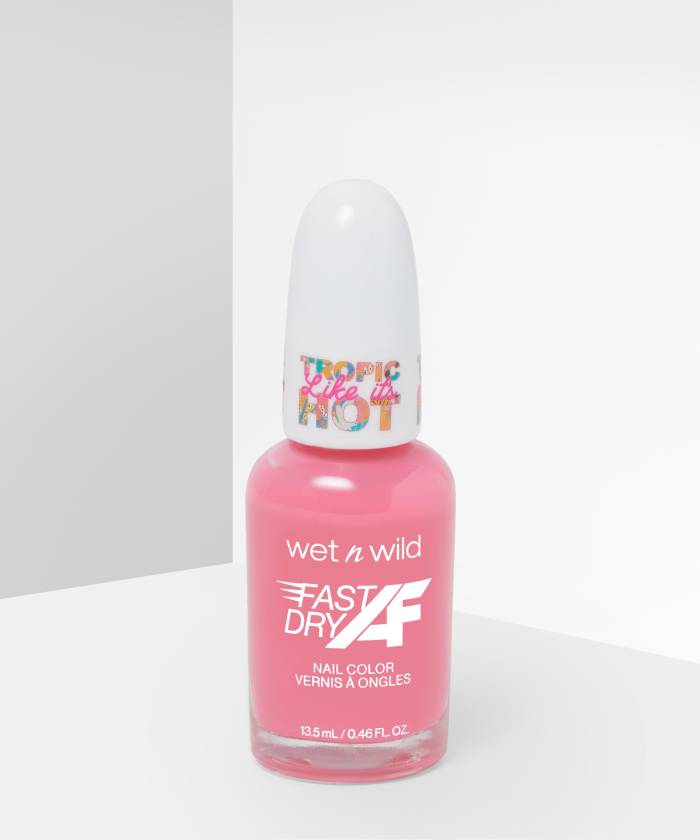
Using the colour polish of your choice, we’ve gone for pink, paint the whole nail, using thin coats and letting them dry in between. If you’re struggling on this step, check out our tutorial on how to paint your nails perfectly, every single time.
Step Four:
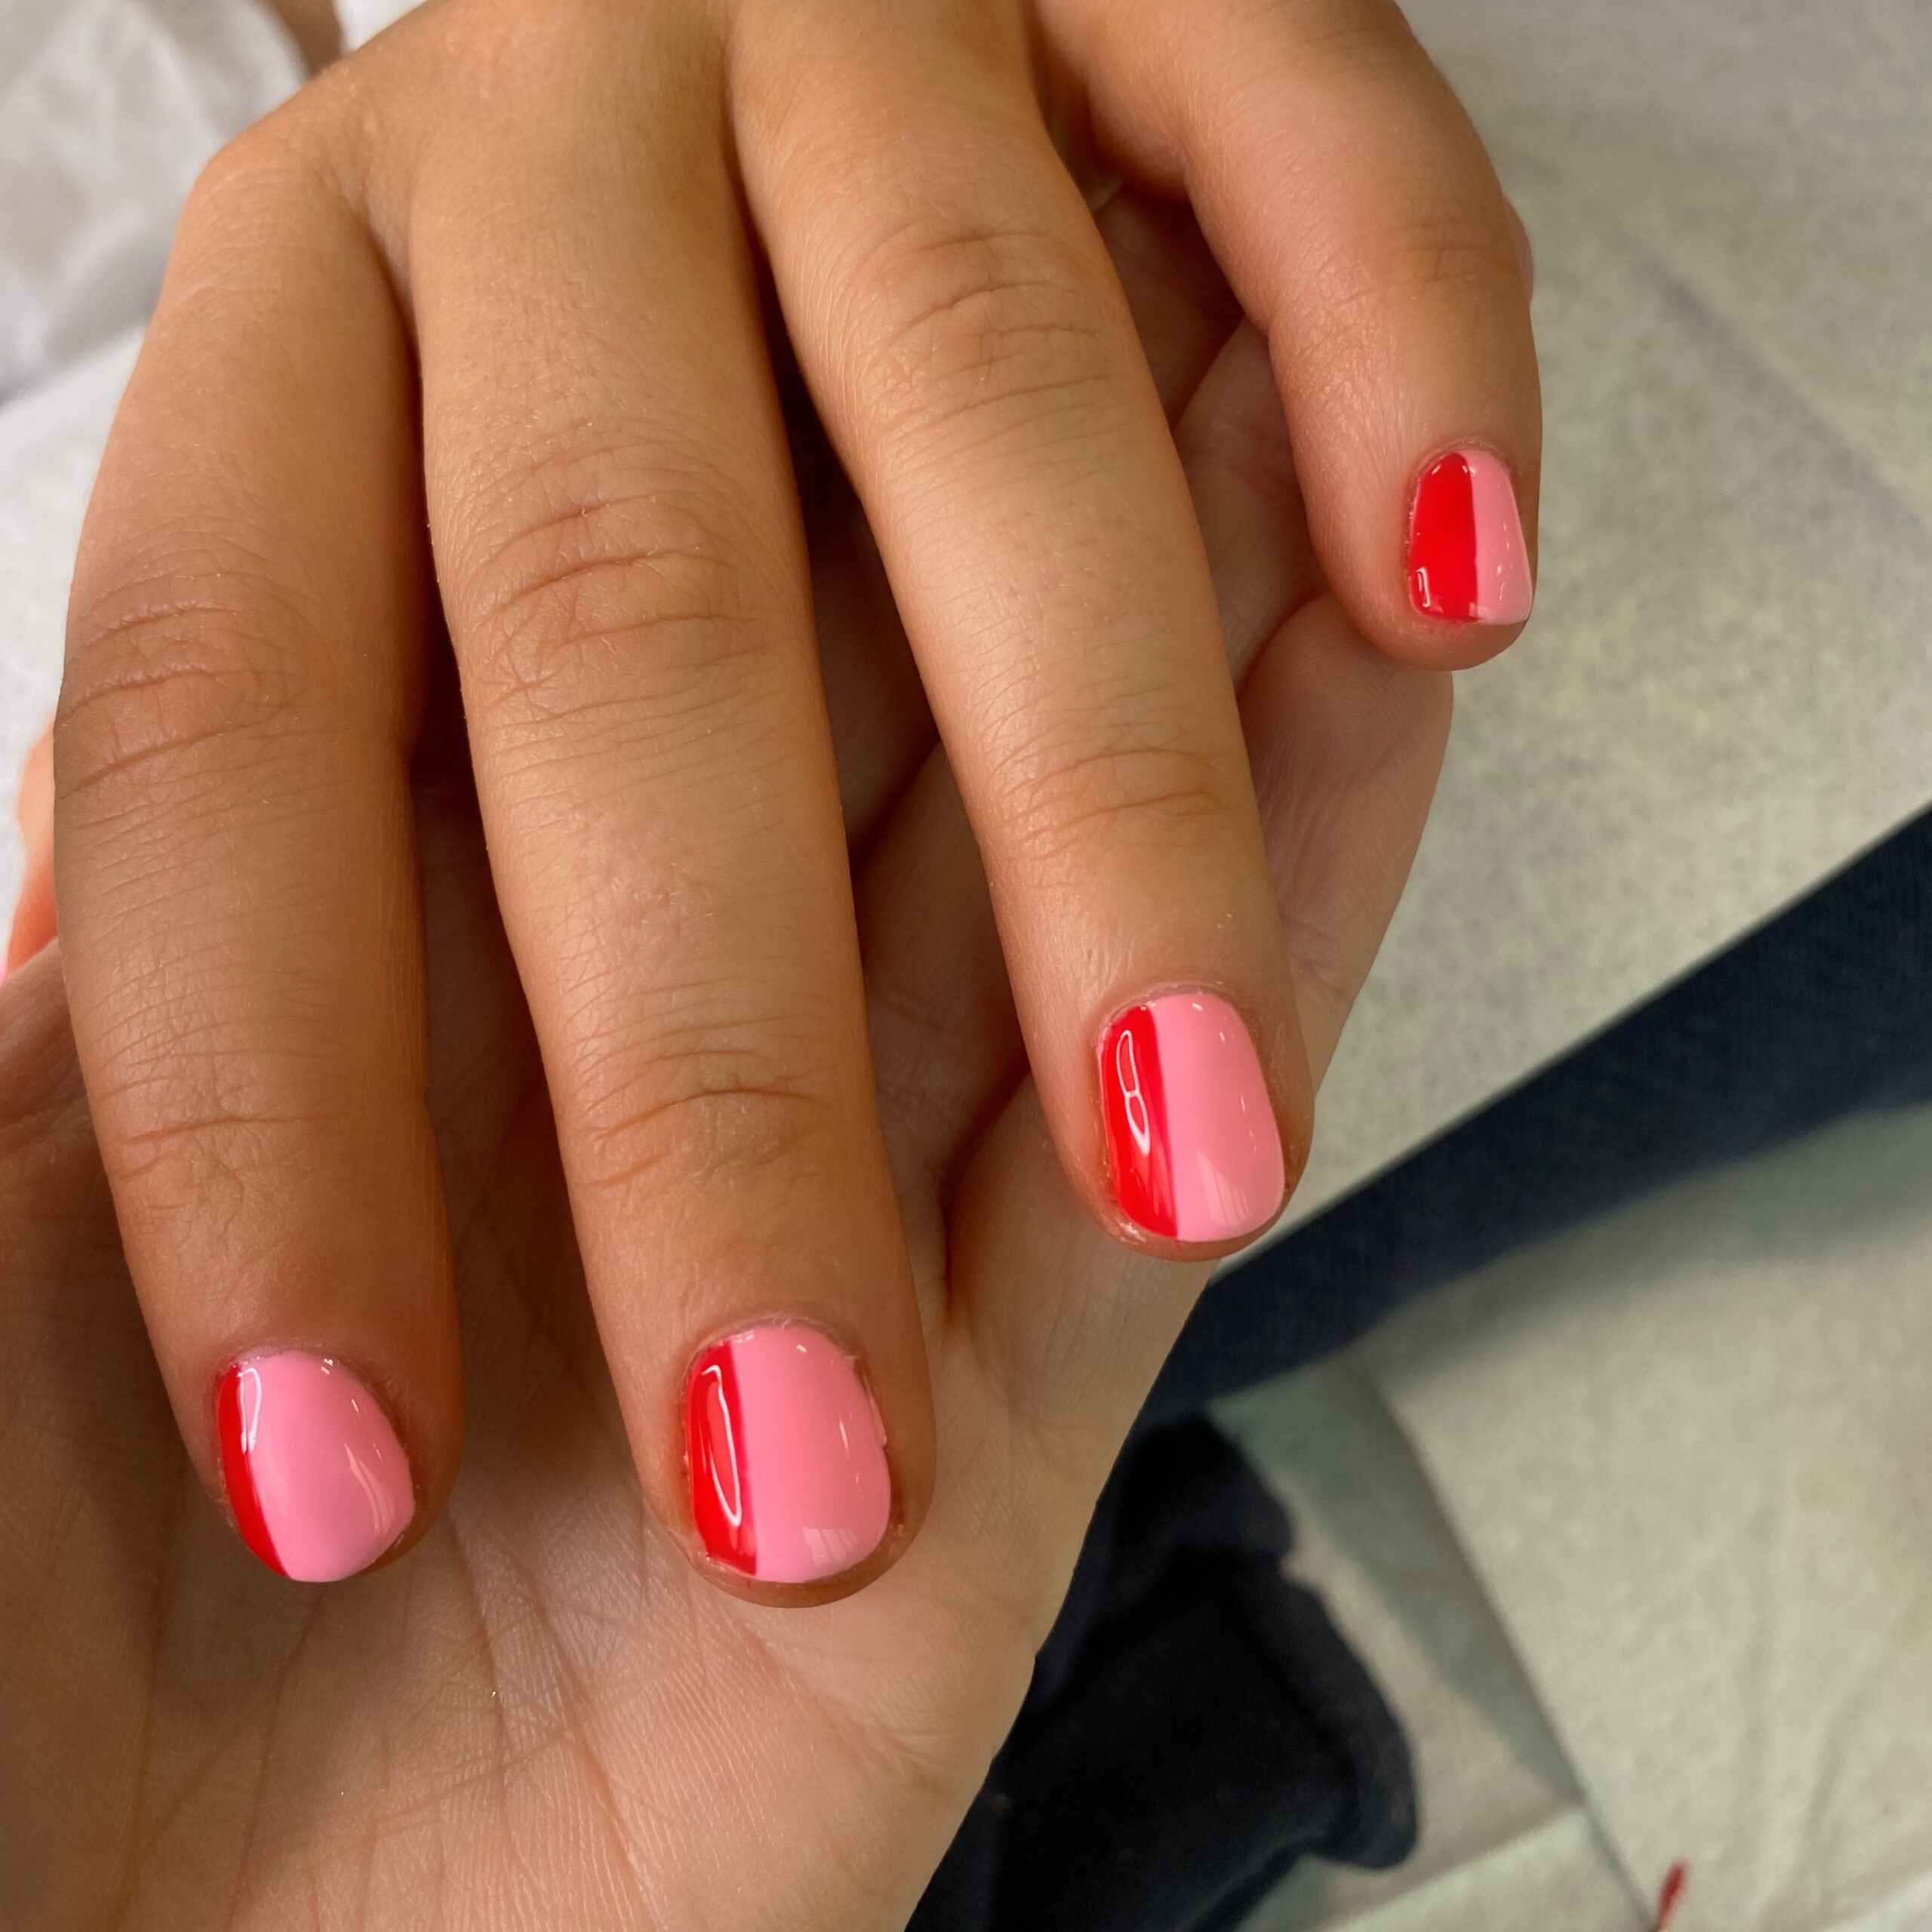
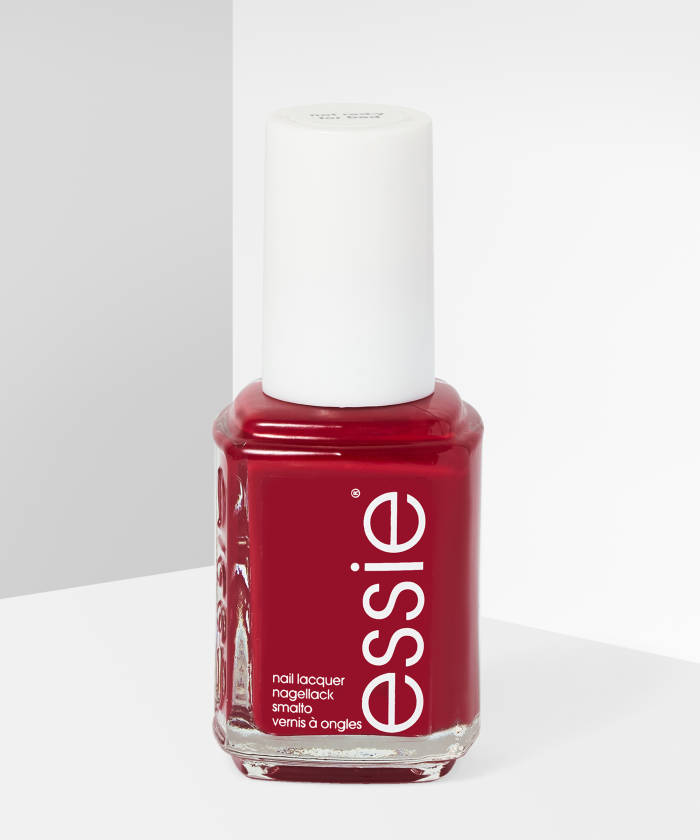
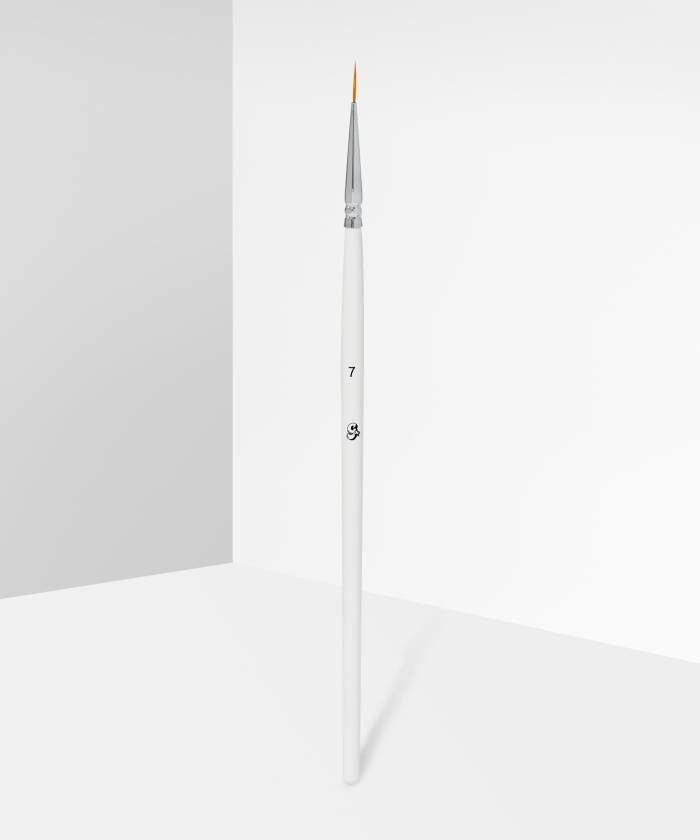
Using a fine line detailer brush and red nail polish, create a line on the inner edge of your nail. Fill it in using the same coloured polish. Again, use thin coats to avoid your polish becoming gloopy on the nail. Feel free to opt for a different colour on this step.
Step Five:
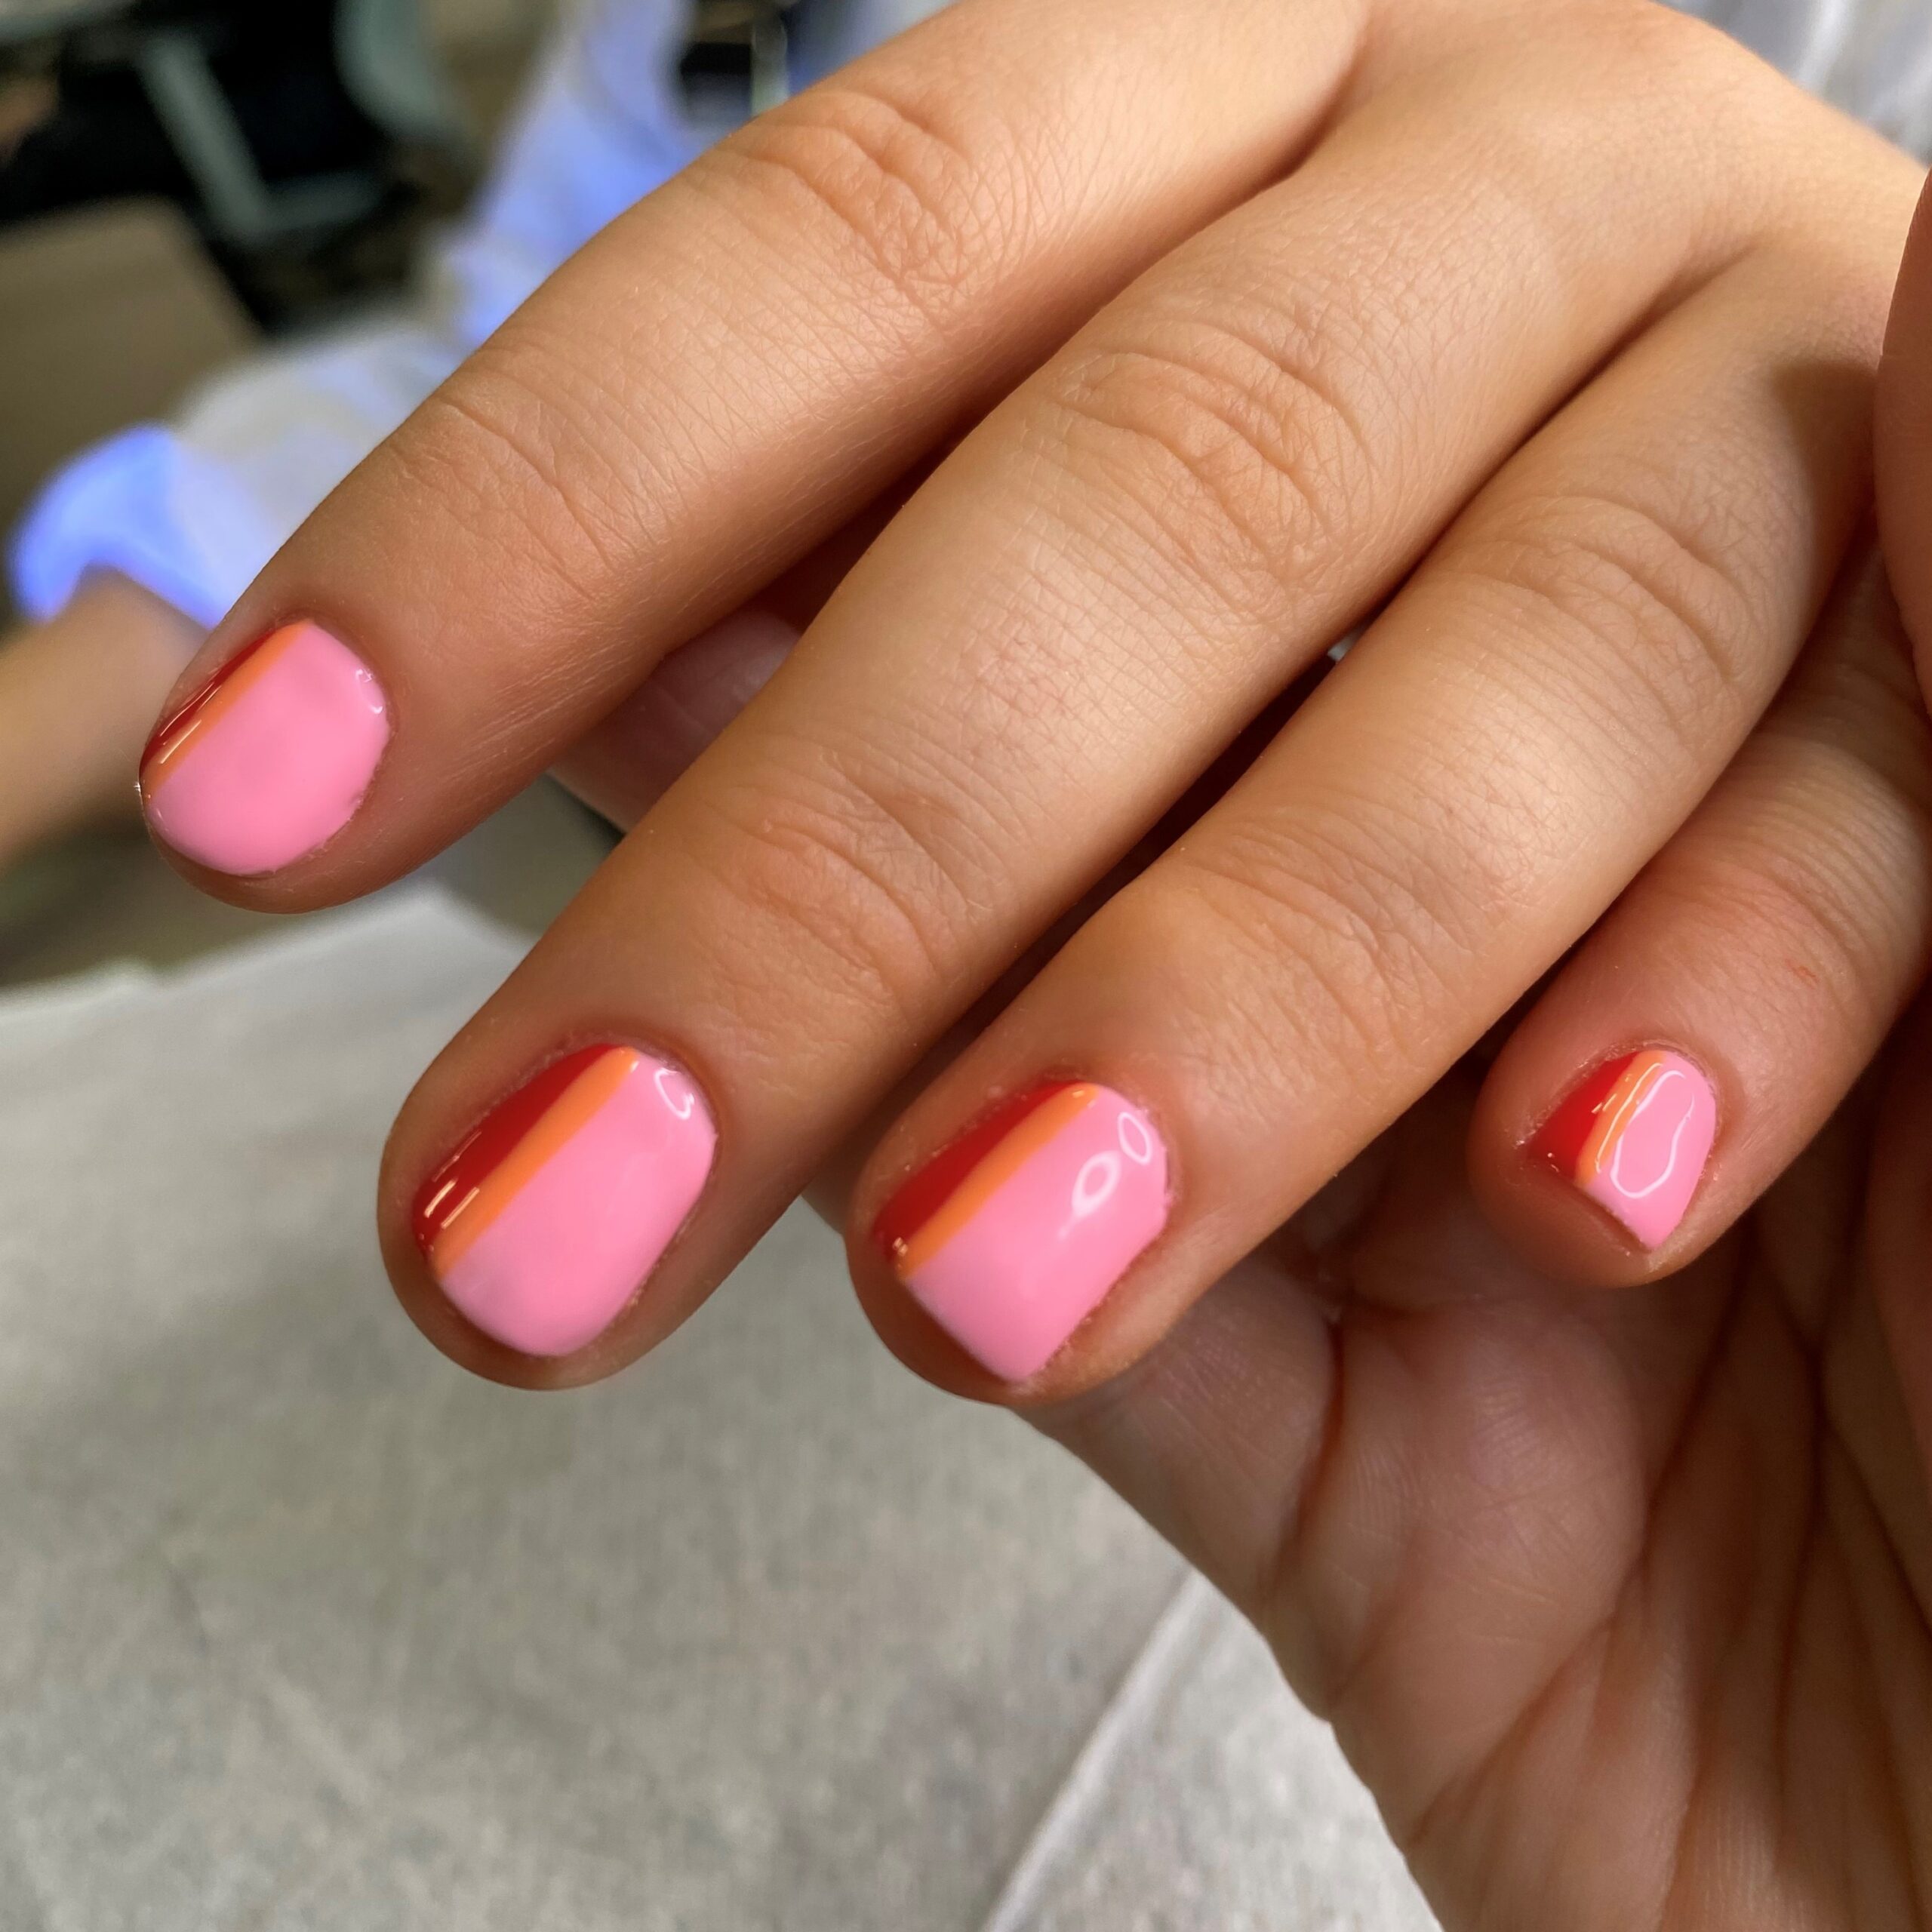
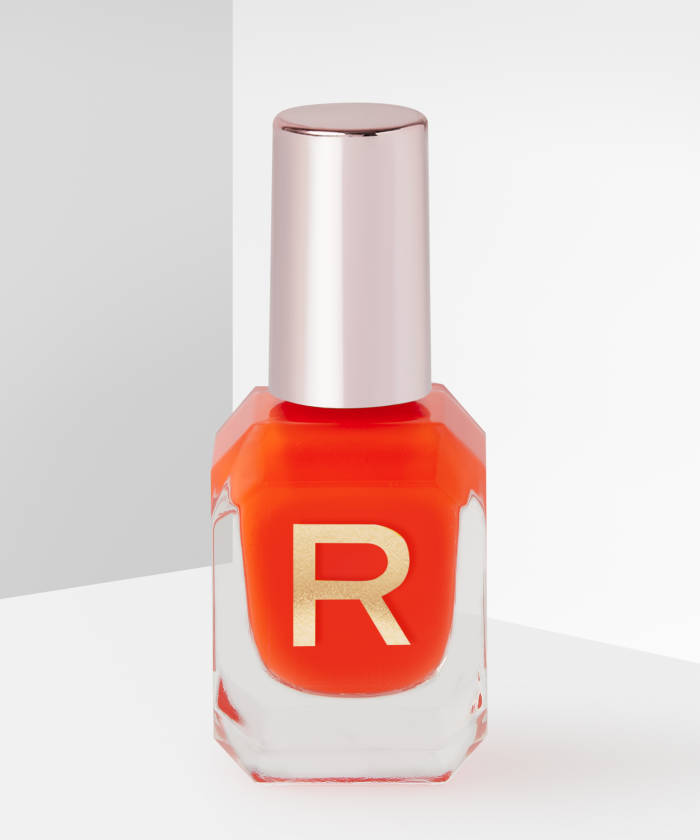
Once your red polish is completely dry, create another thin line using a different colour, in-between your red and pink polish, we’ve gone for a contrasting orange shade.
Step Six:
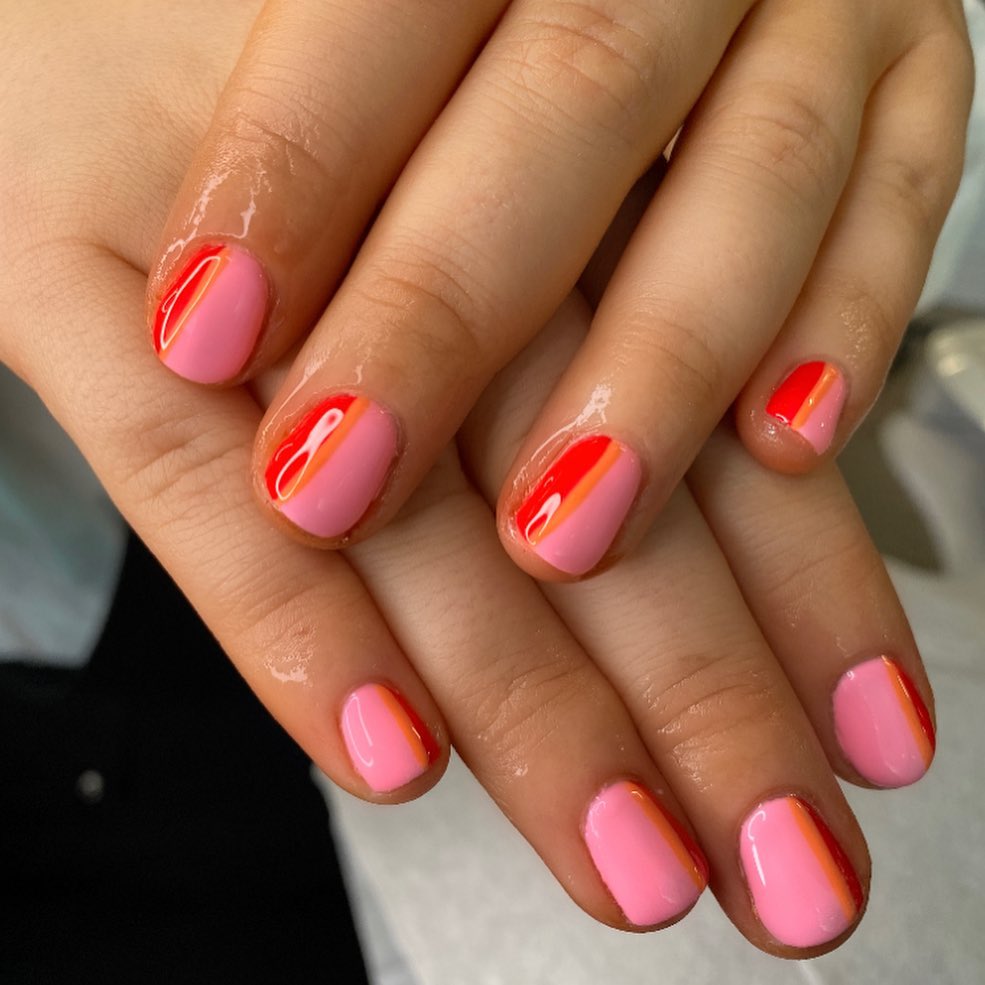
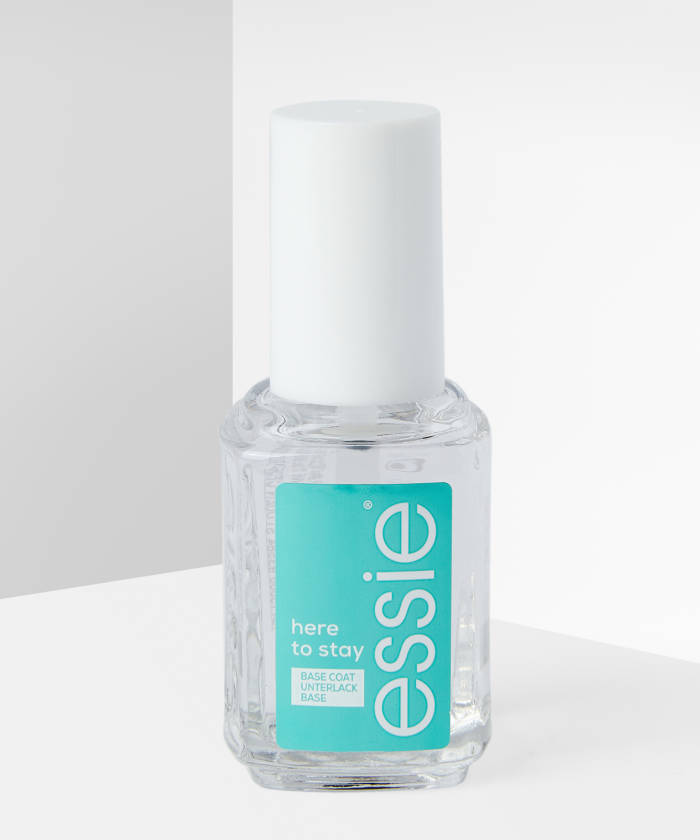
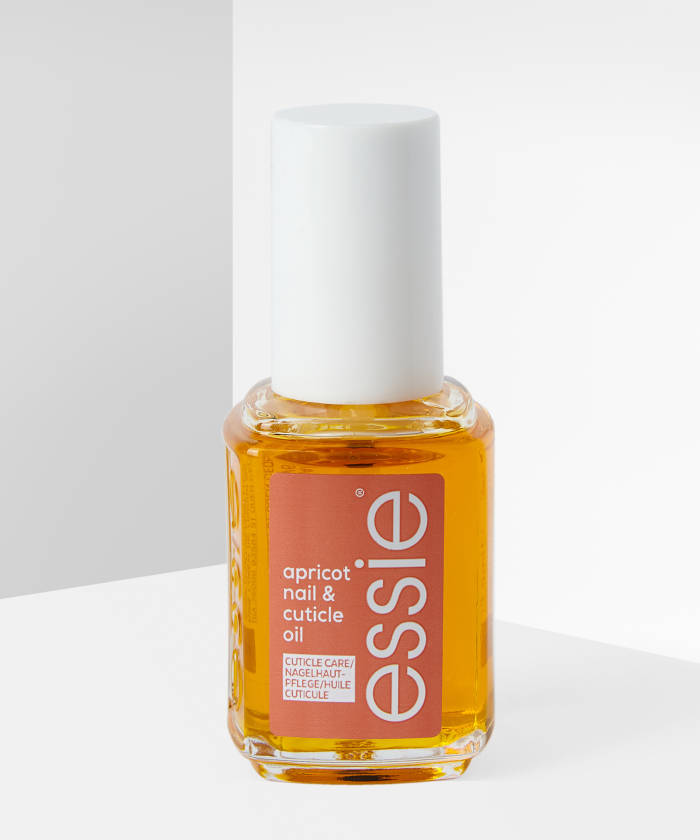
Once your polish is dry, apply a top coat to lock your design in and prevent chipping. And once your top coat is completely dry, apply cuticle oil to the cuticles to keep your nails healthy and strong.
🧡 ❤️ 💗 YOU'LL NEED 🧡 ❤️ 💗