One scroll on Instagram this Spring and all we see is pastels, florals and more florals, and we wanna get involved. If you’re feeling inspired by these spring nail art designs we love and fancy an at-home salon session – then you’re in luck.
We’ve already covered the basics with our beginner’s guide on How To Paint Your Nails Perfectly, Every Single Time, but this time we’re moving up a level. Scroll to find out how to achieve this accent nail floral design, that’s easy-peasy and perfect for spring.
Step one:
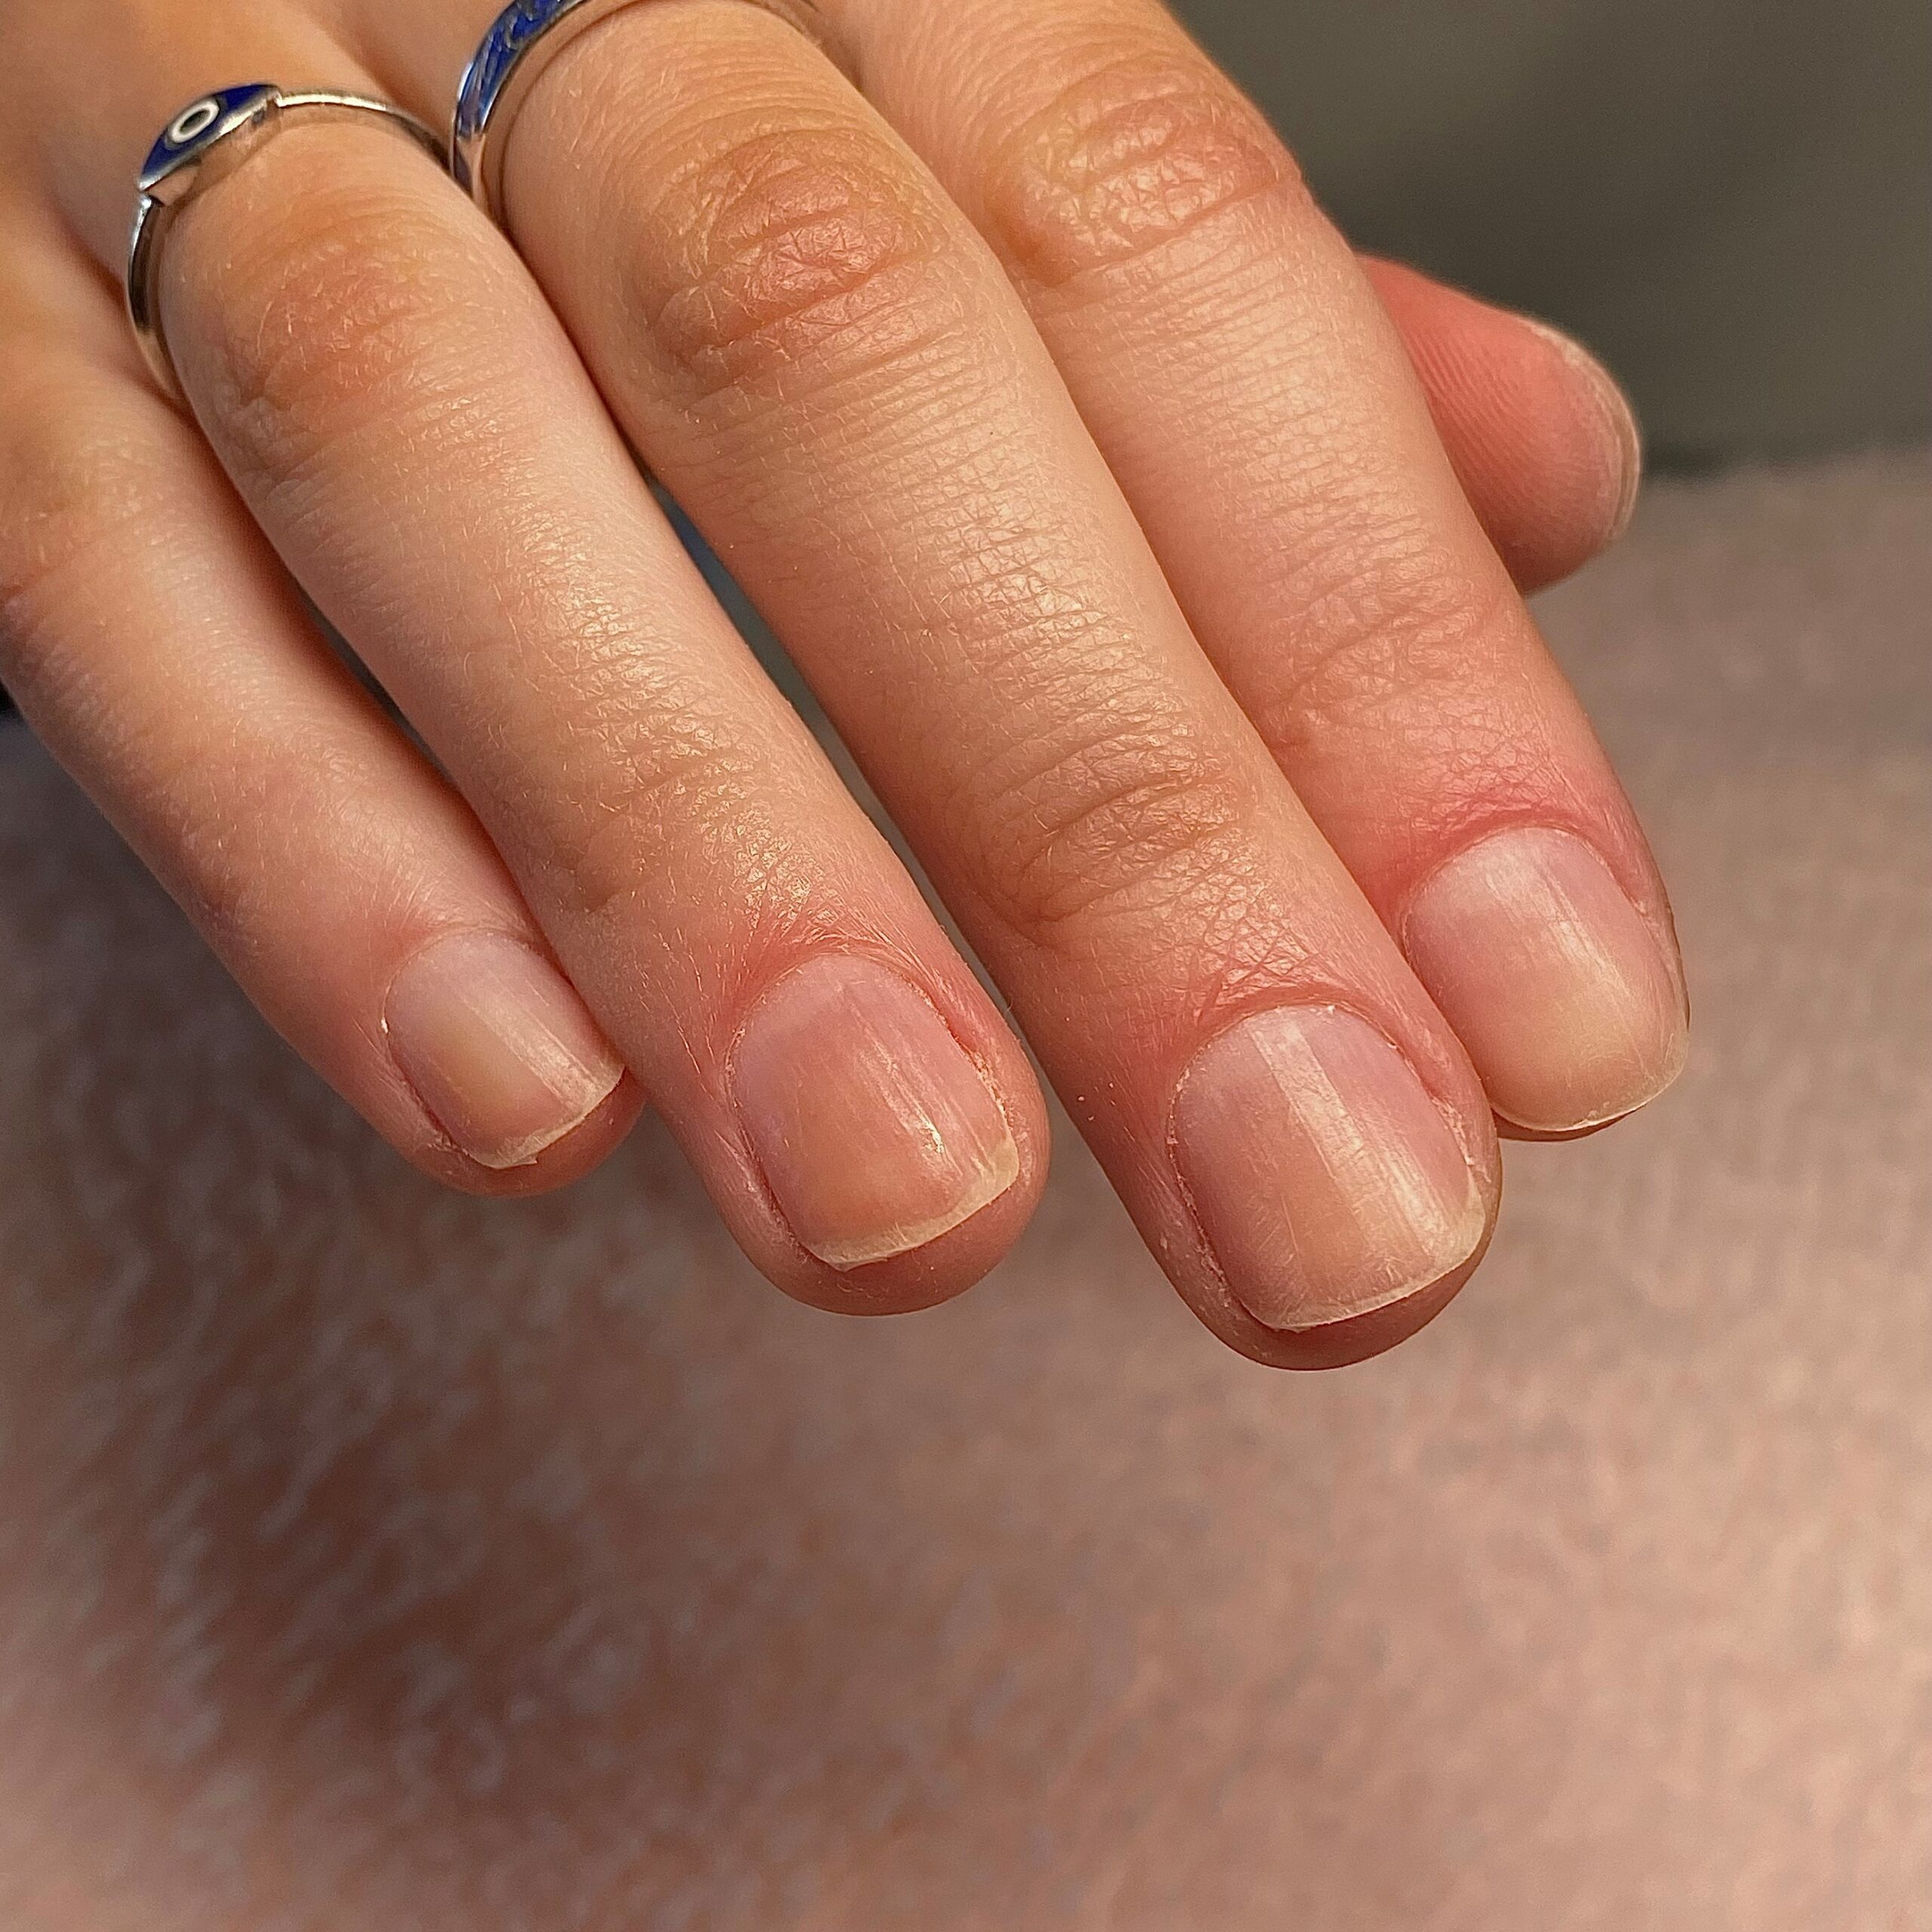
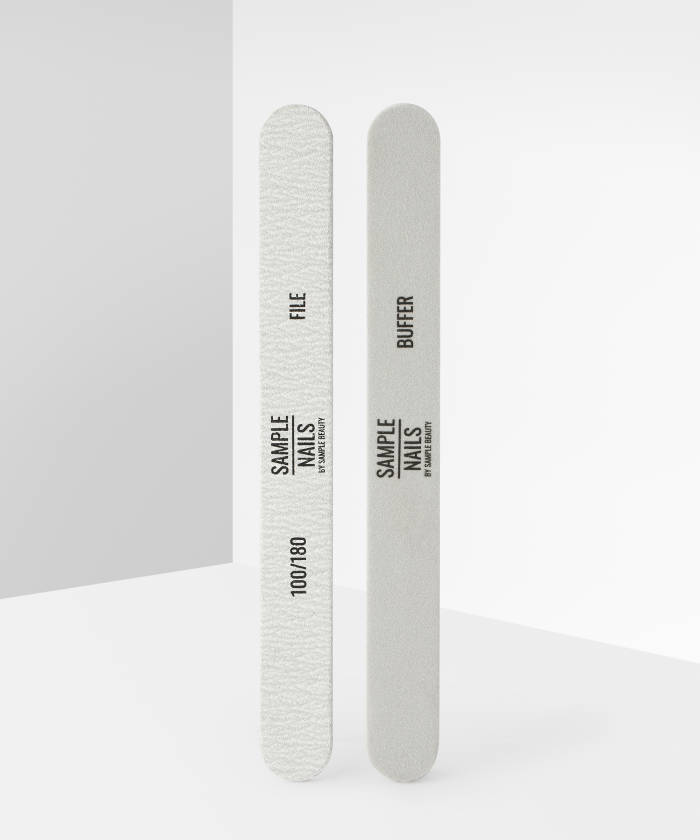
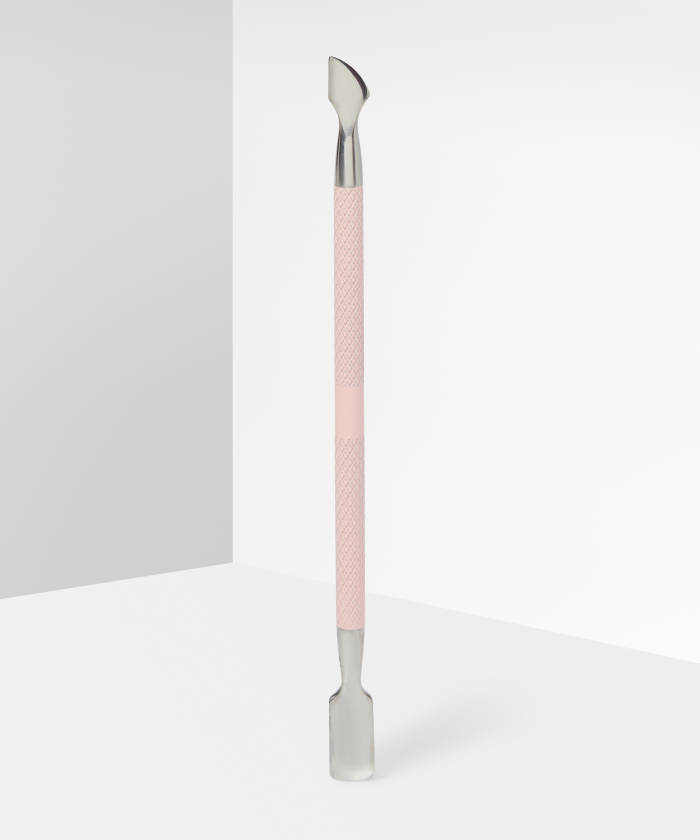
As always, start out by prepping and filing your nails into shape with a nail file and cuticle pusher. We’ve opted for a slightly rounded edge, but feel free to go for a square tip if you wish.
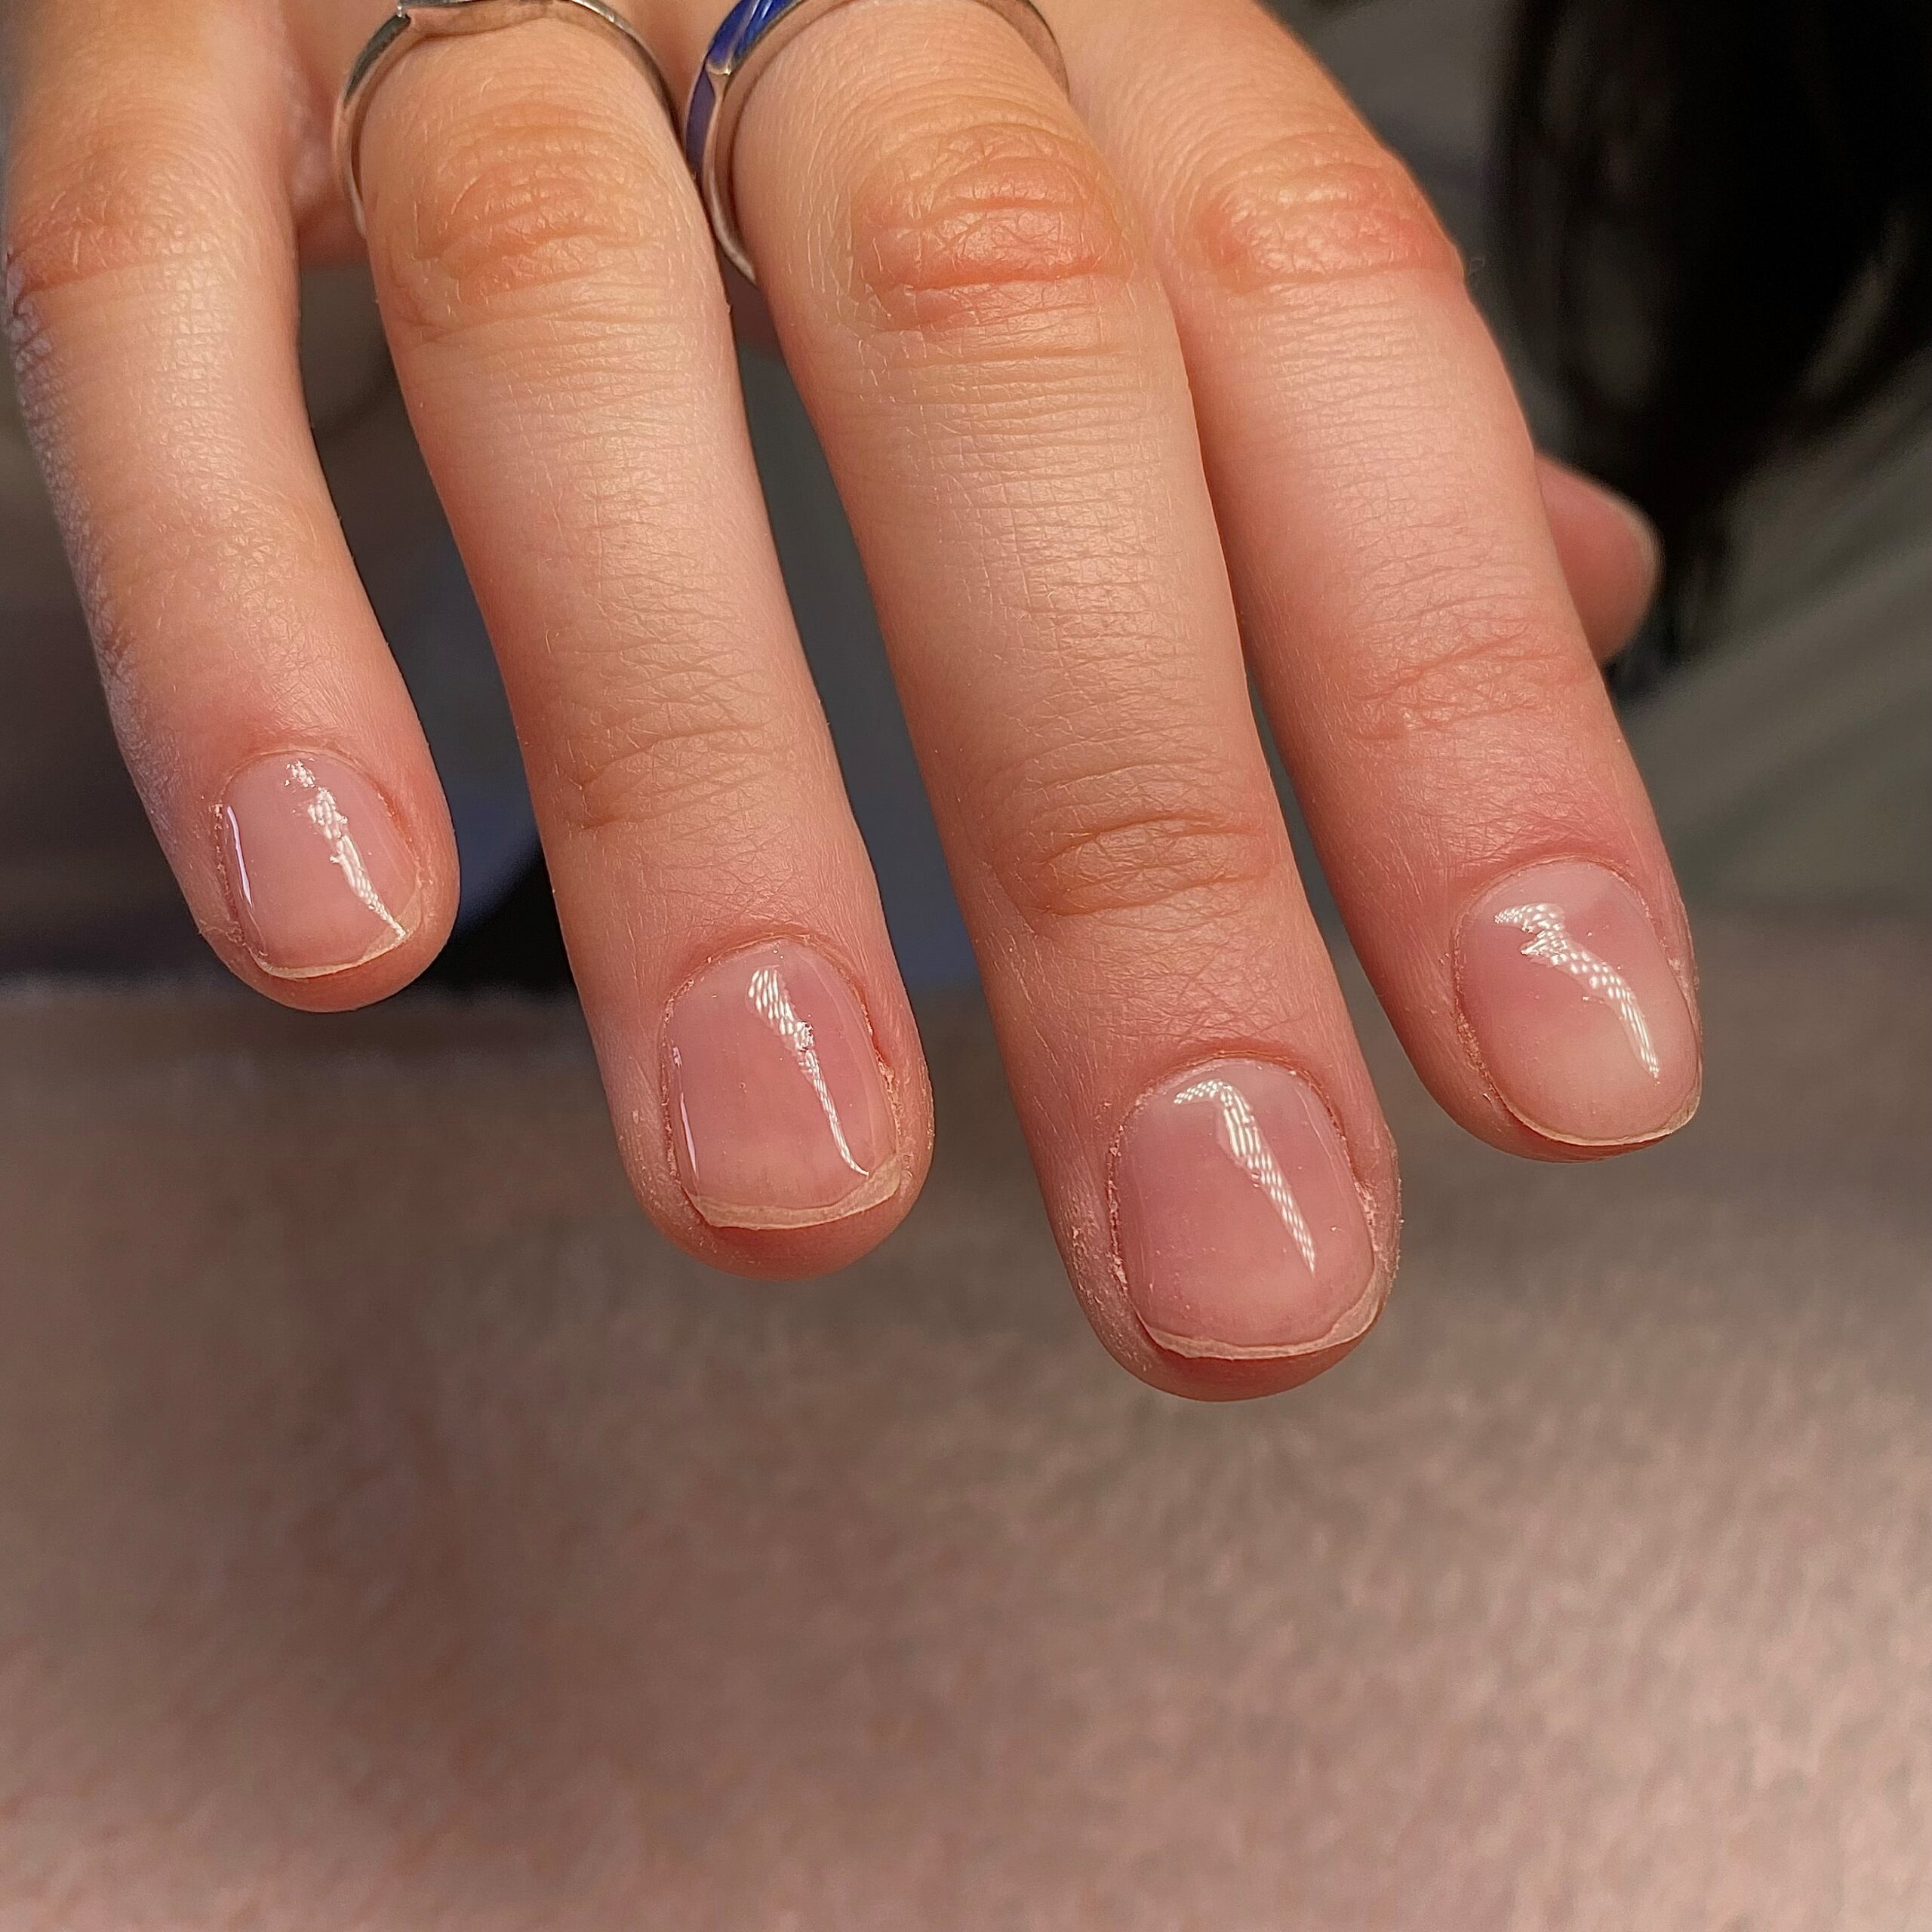
Step three:
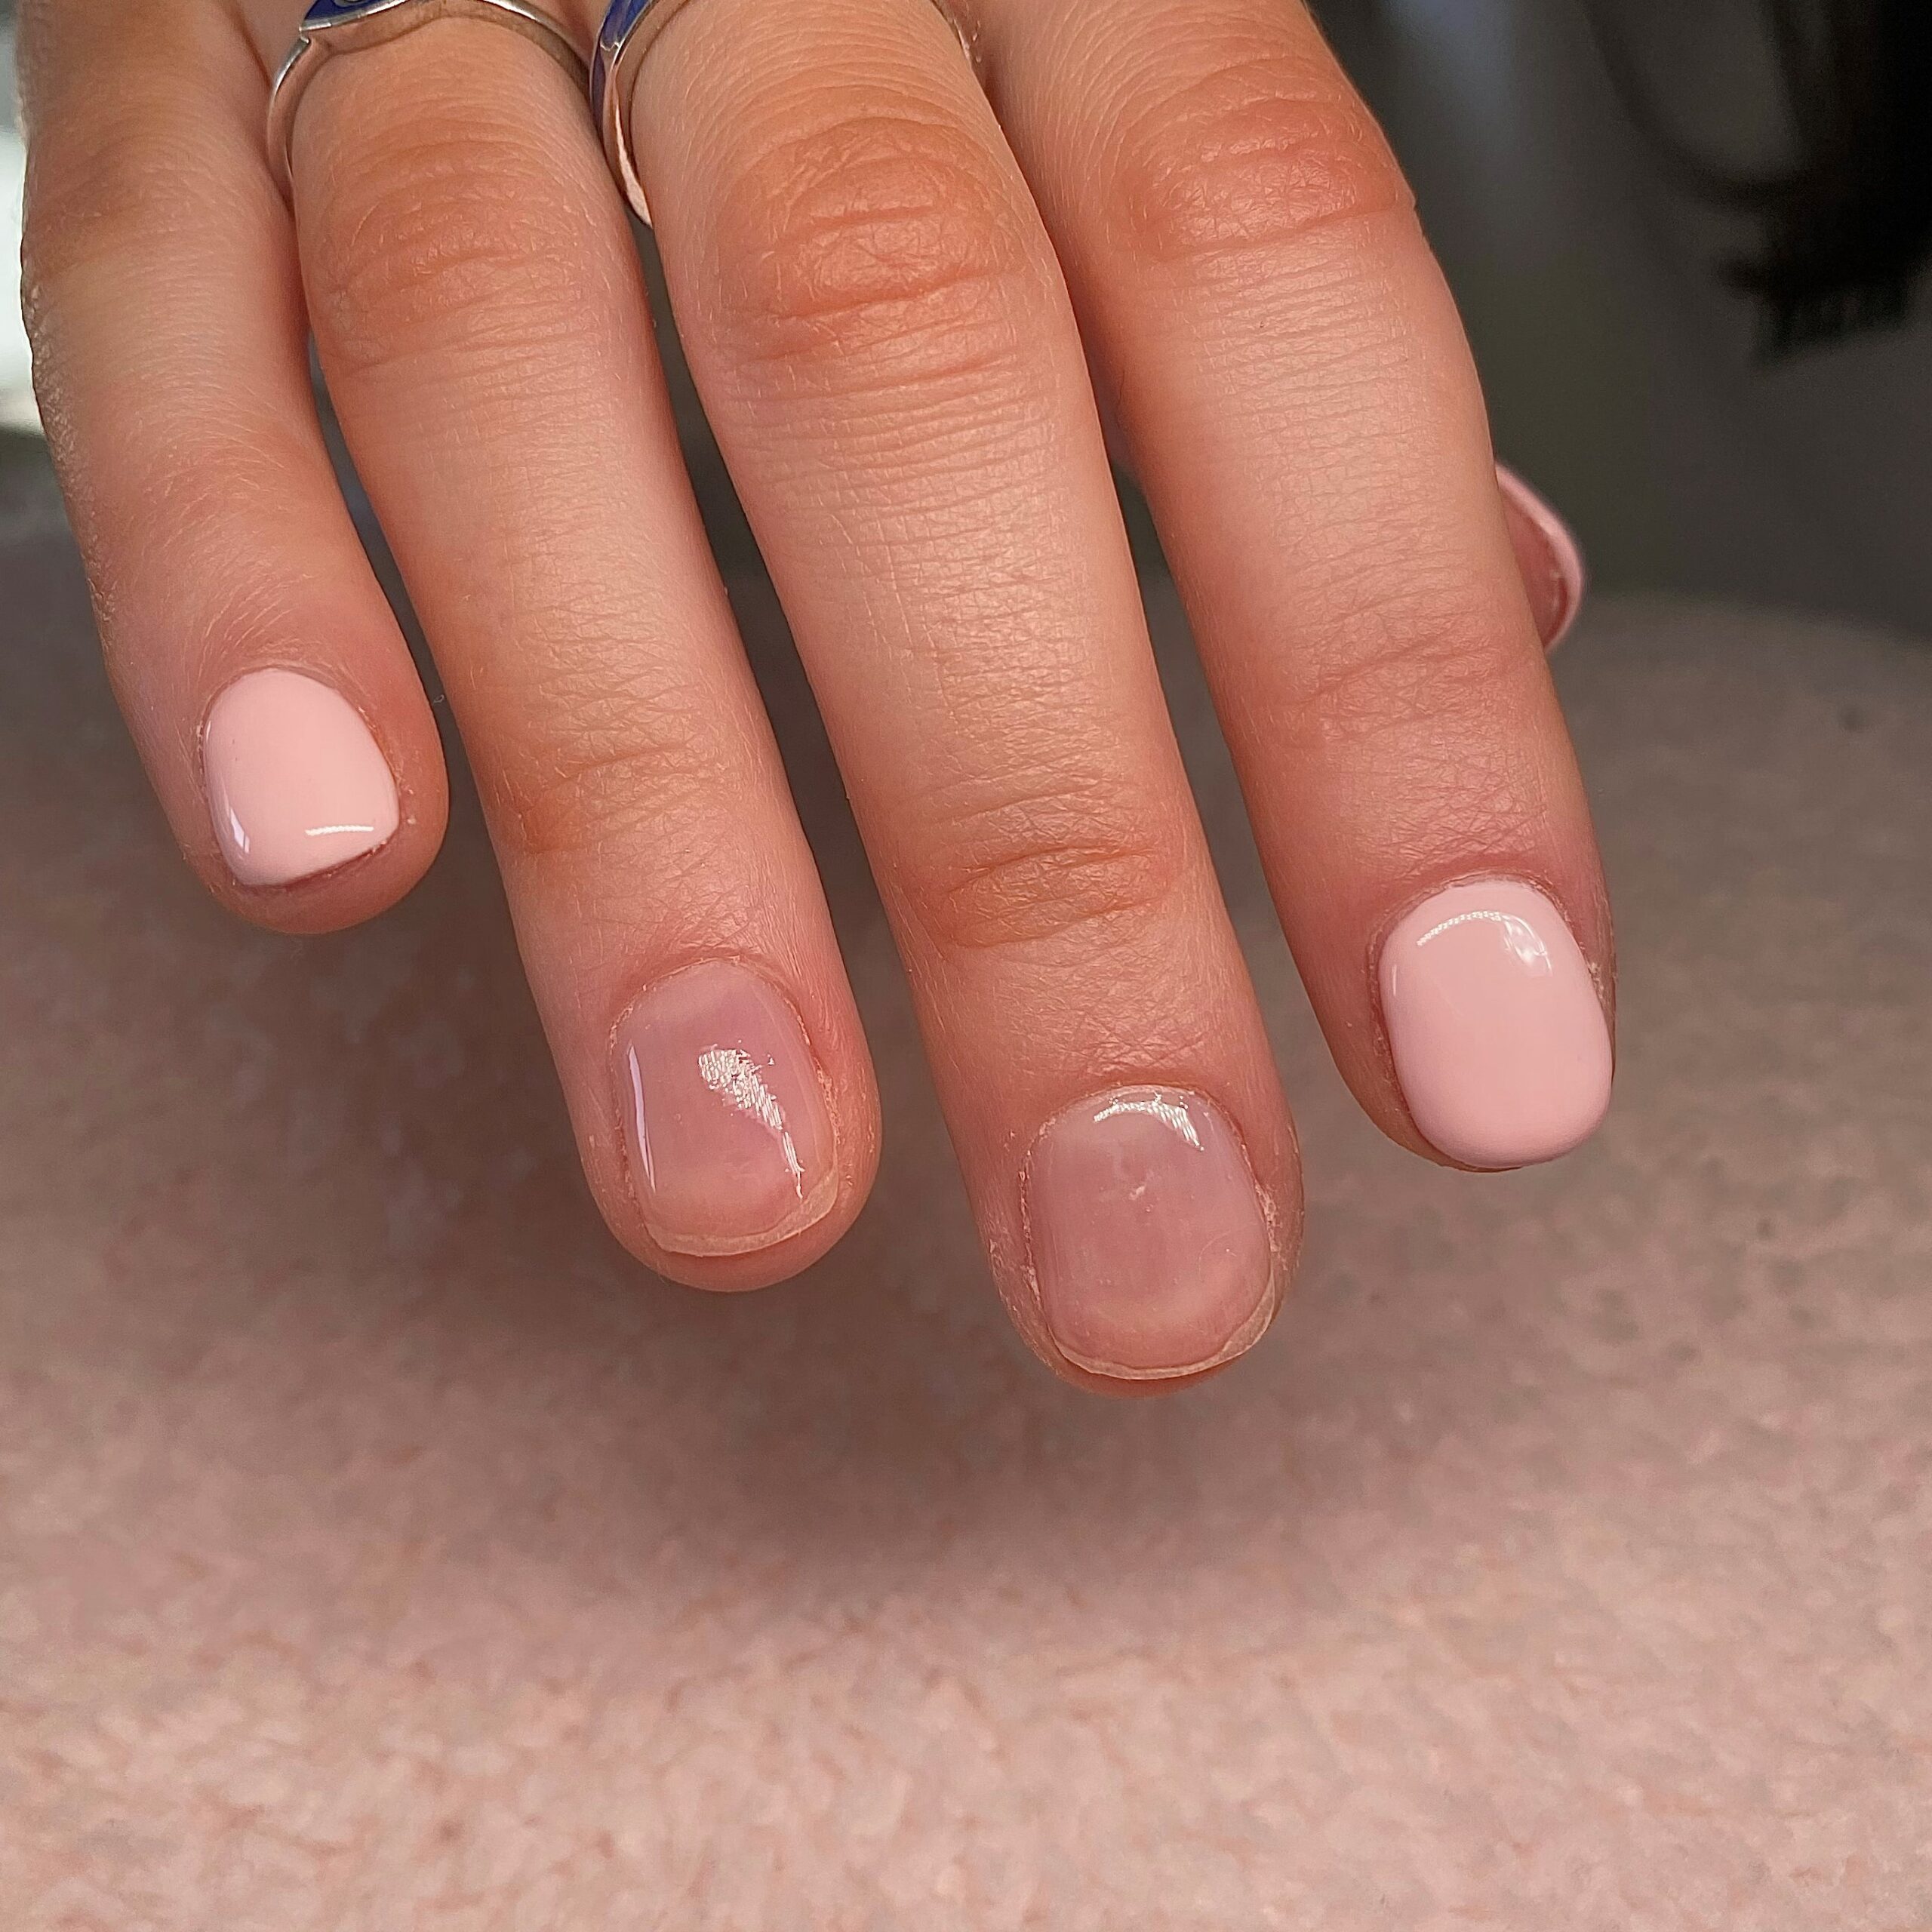
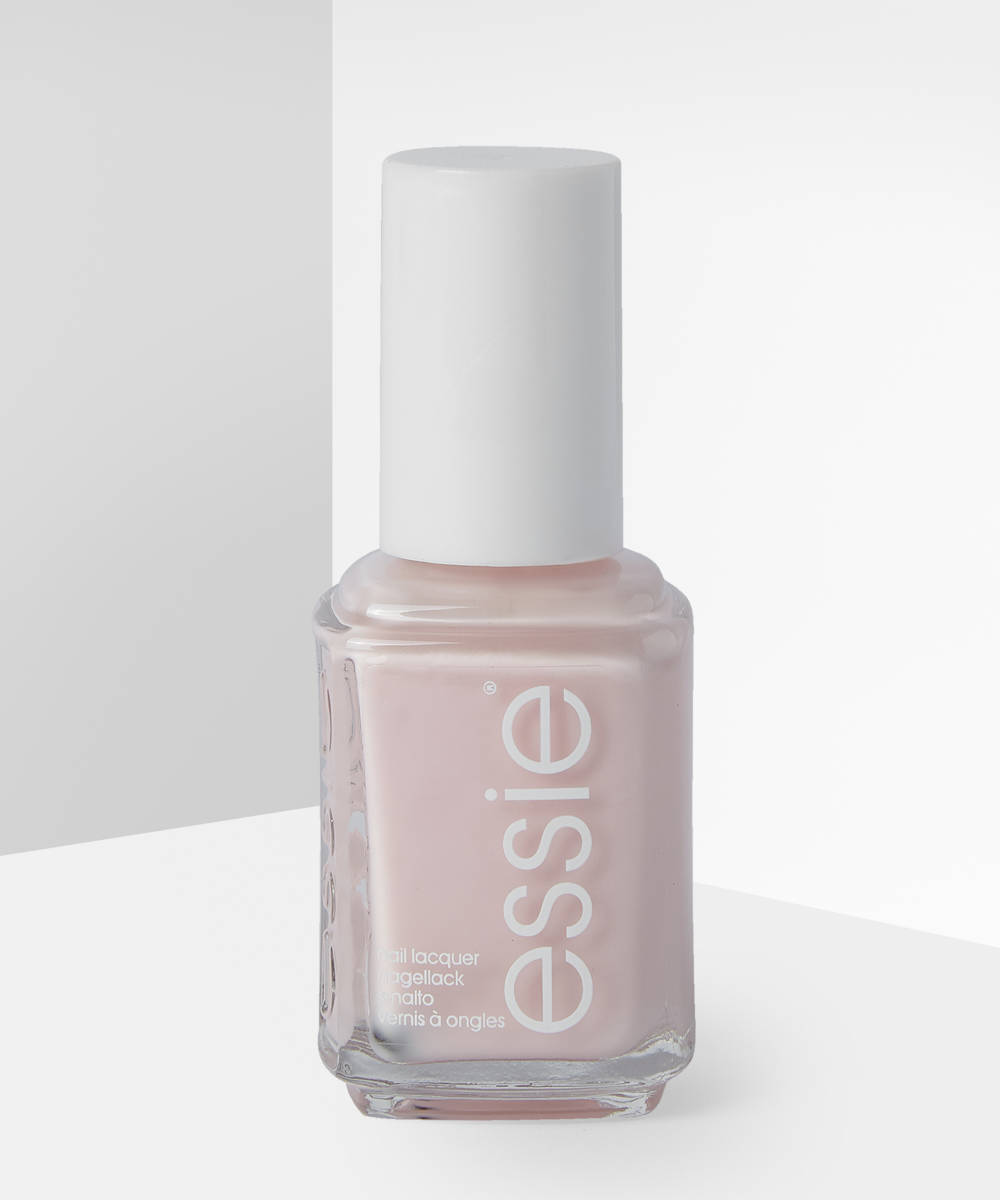
Using the colour polish of your choice, we’ve gone for pink, paint each nail (minus the middle and ring finger), using thin coats and letting them dry in between.
Step four:
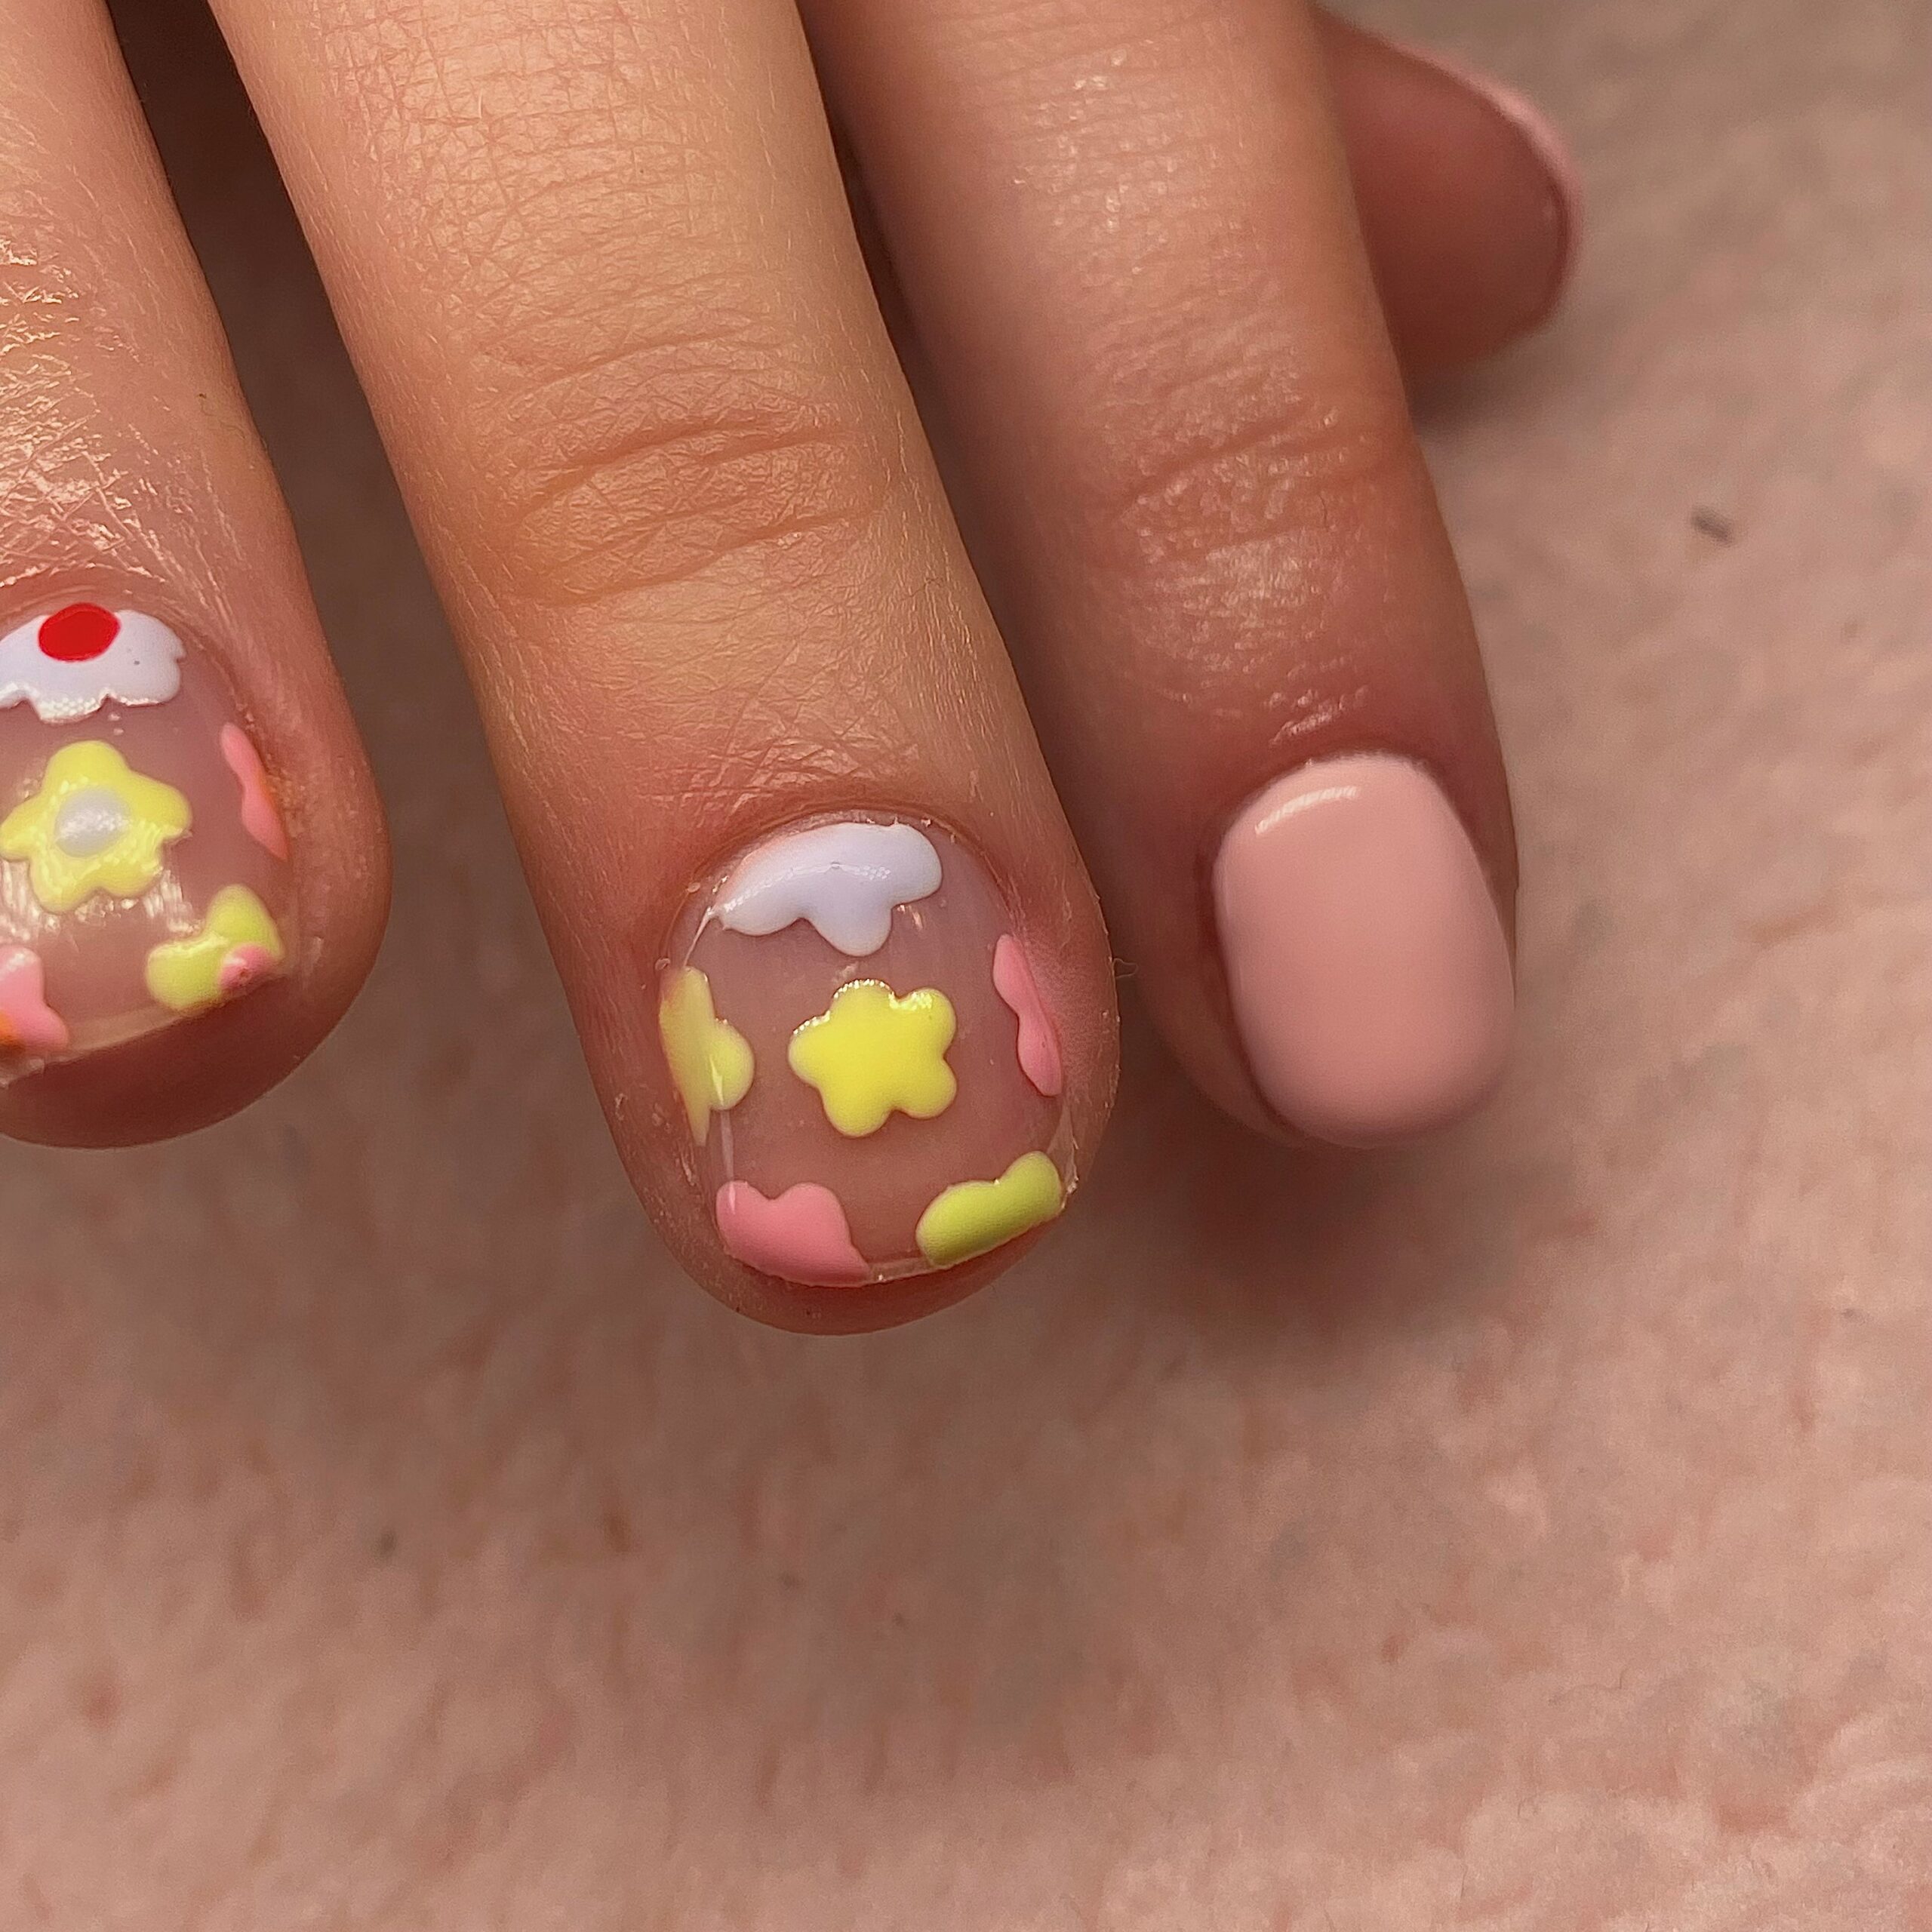
Using a dotting tool (or bobby pin), create the outlines of your flowers. Feel free to pick the colours of your choice on this step, we’ve gone for some cute pastel shades.
Step five:
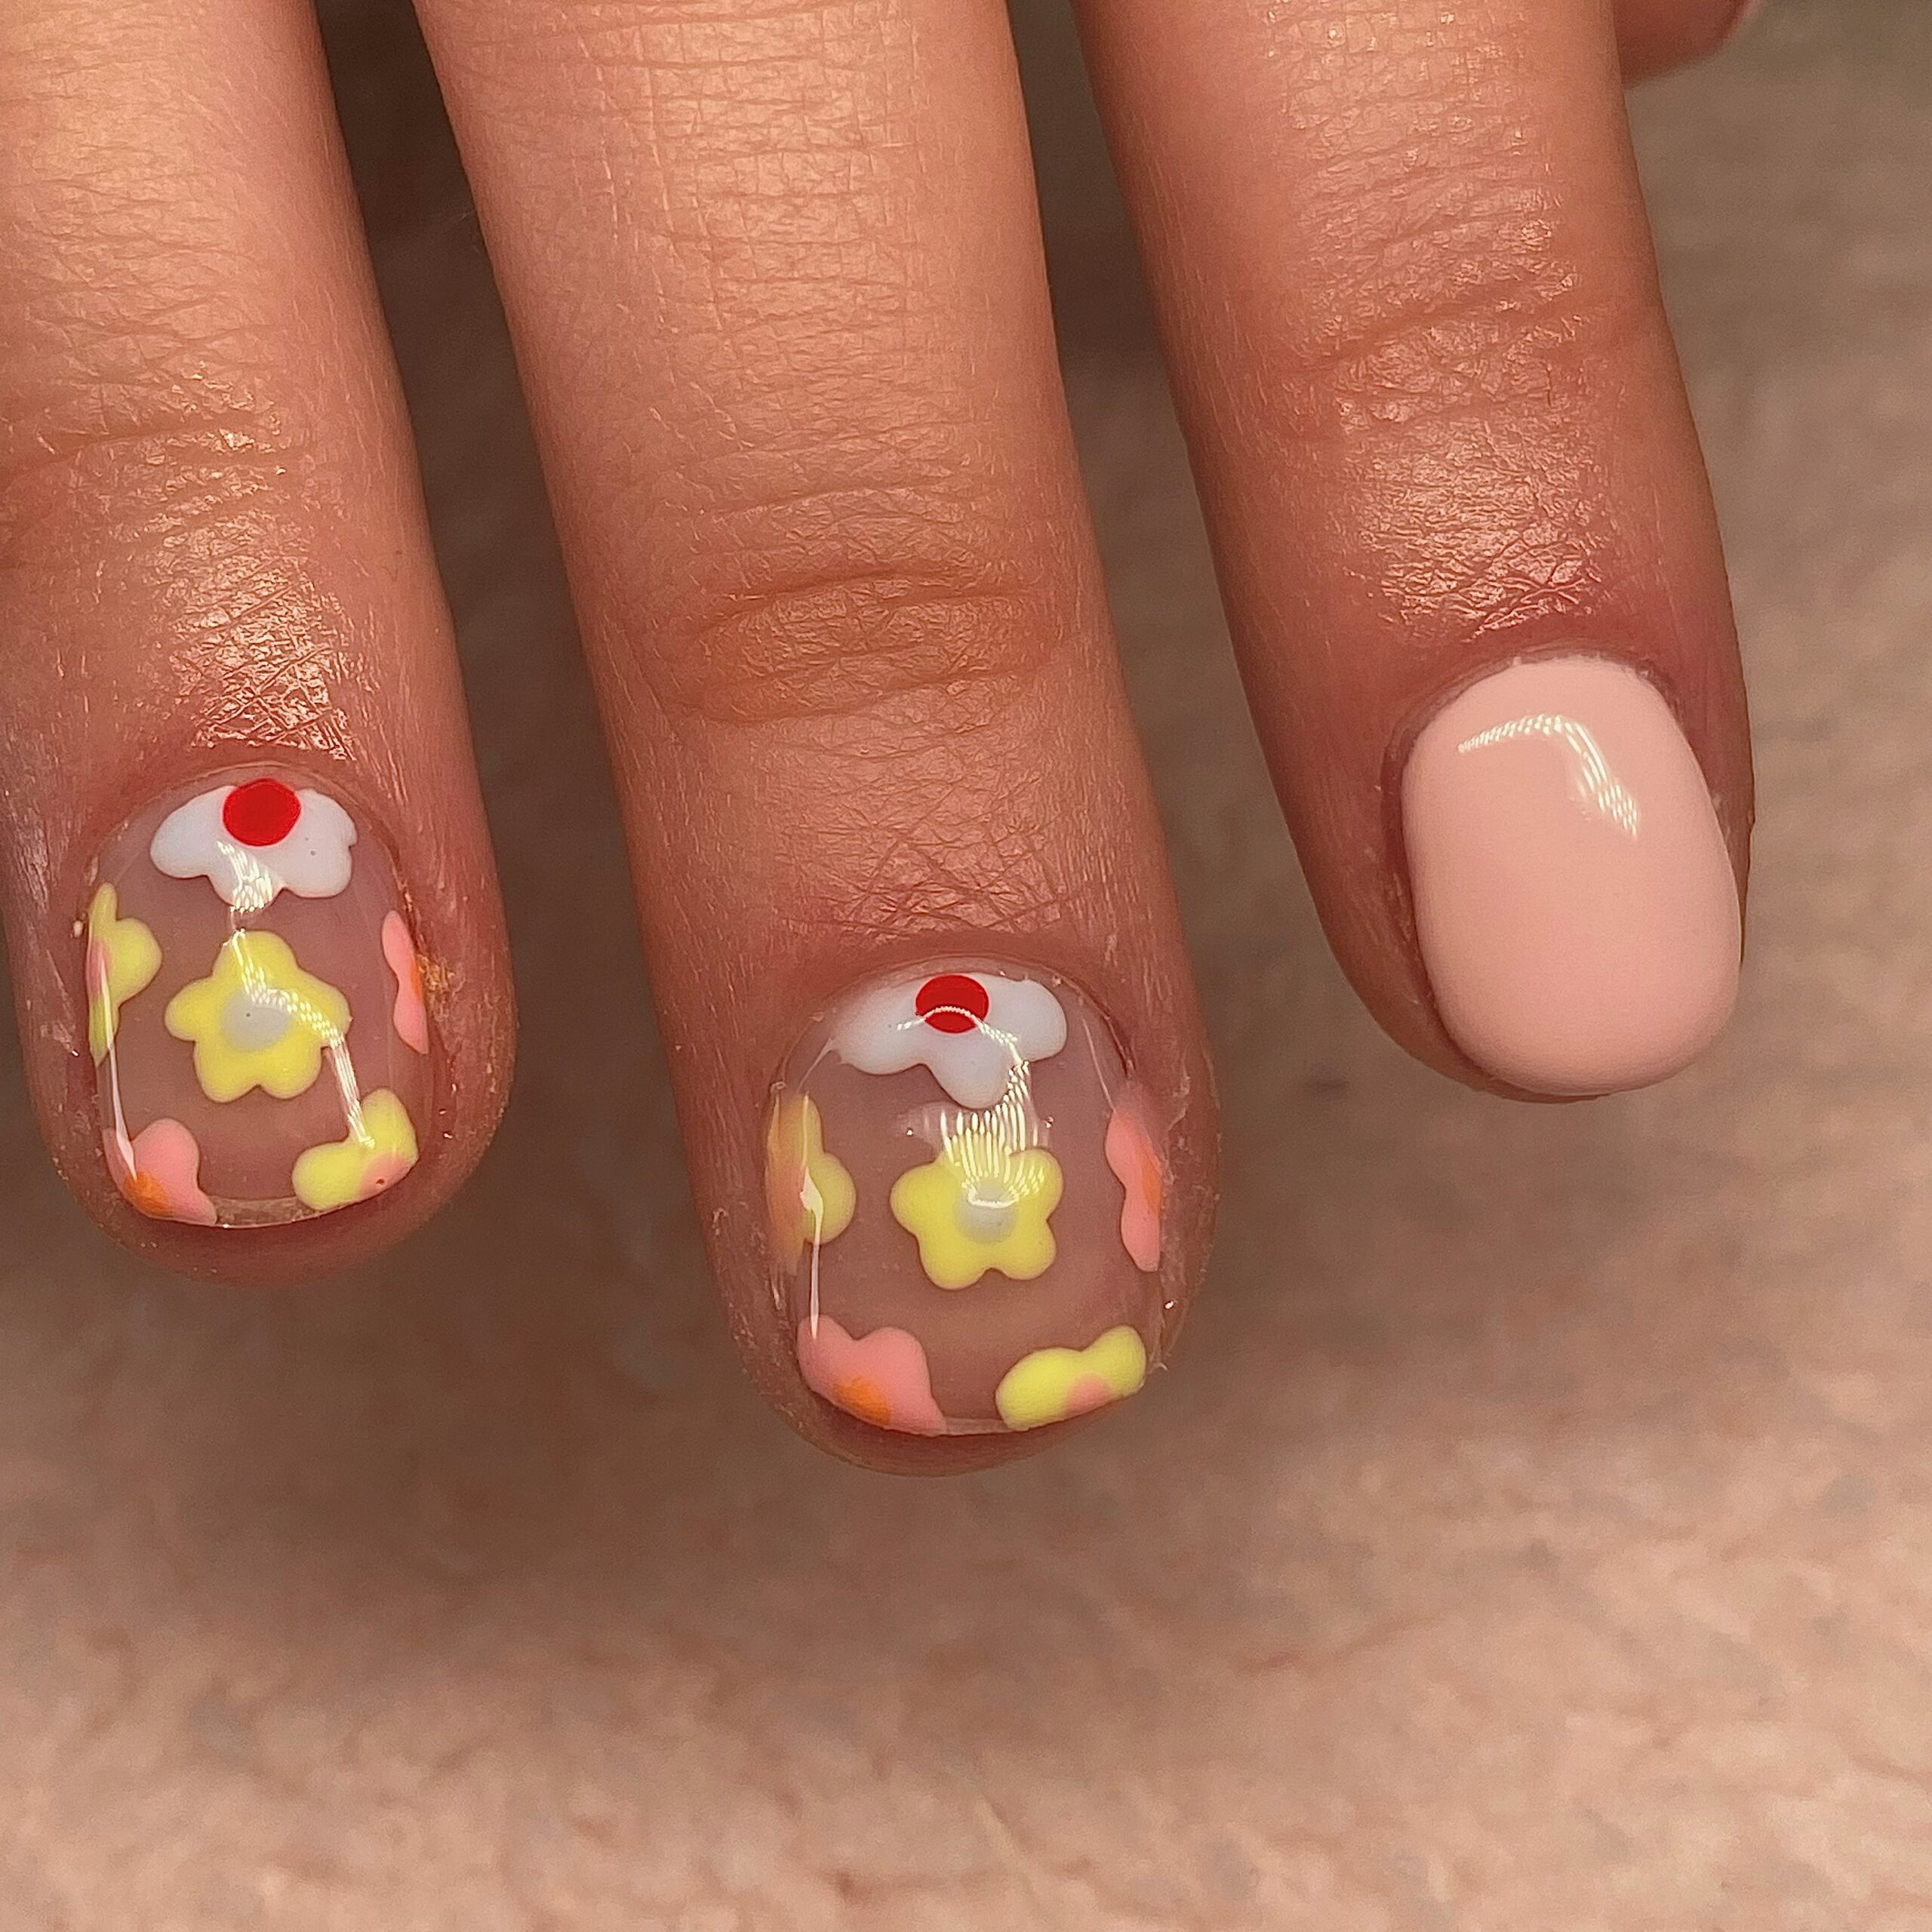
Once your previous layer has completely dried, using a dotting tool or bobby pin, add a dot into the centre of your flowers, in a contrasting colour.
Step six:
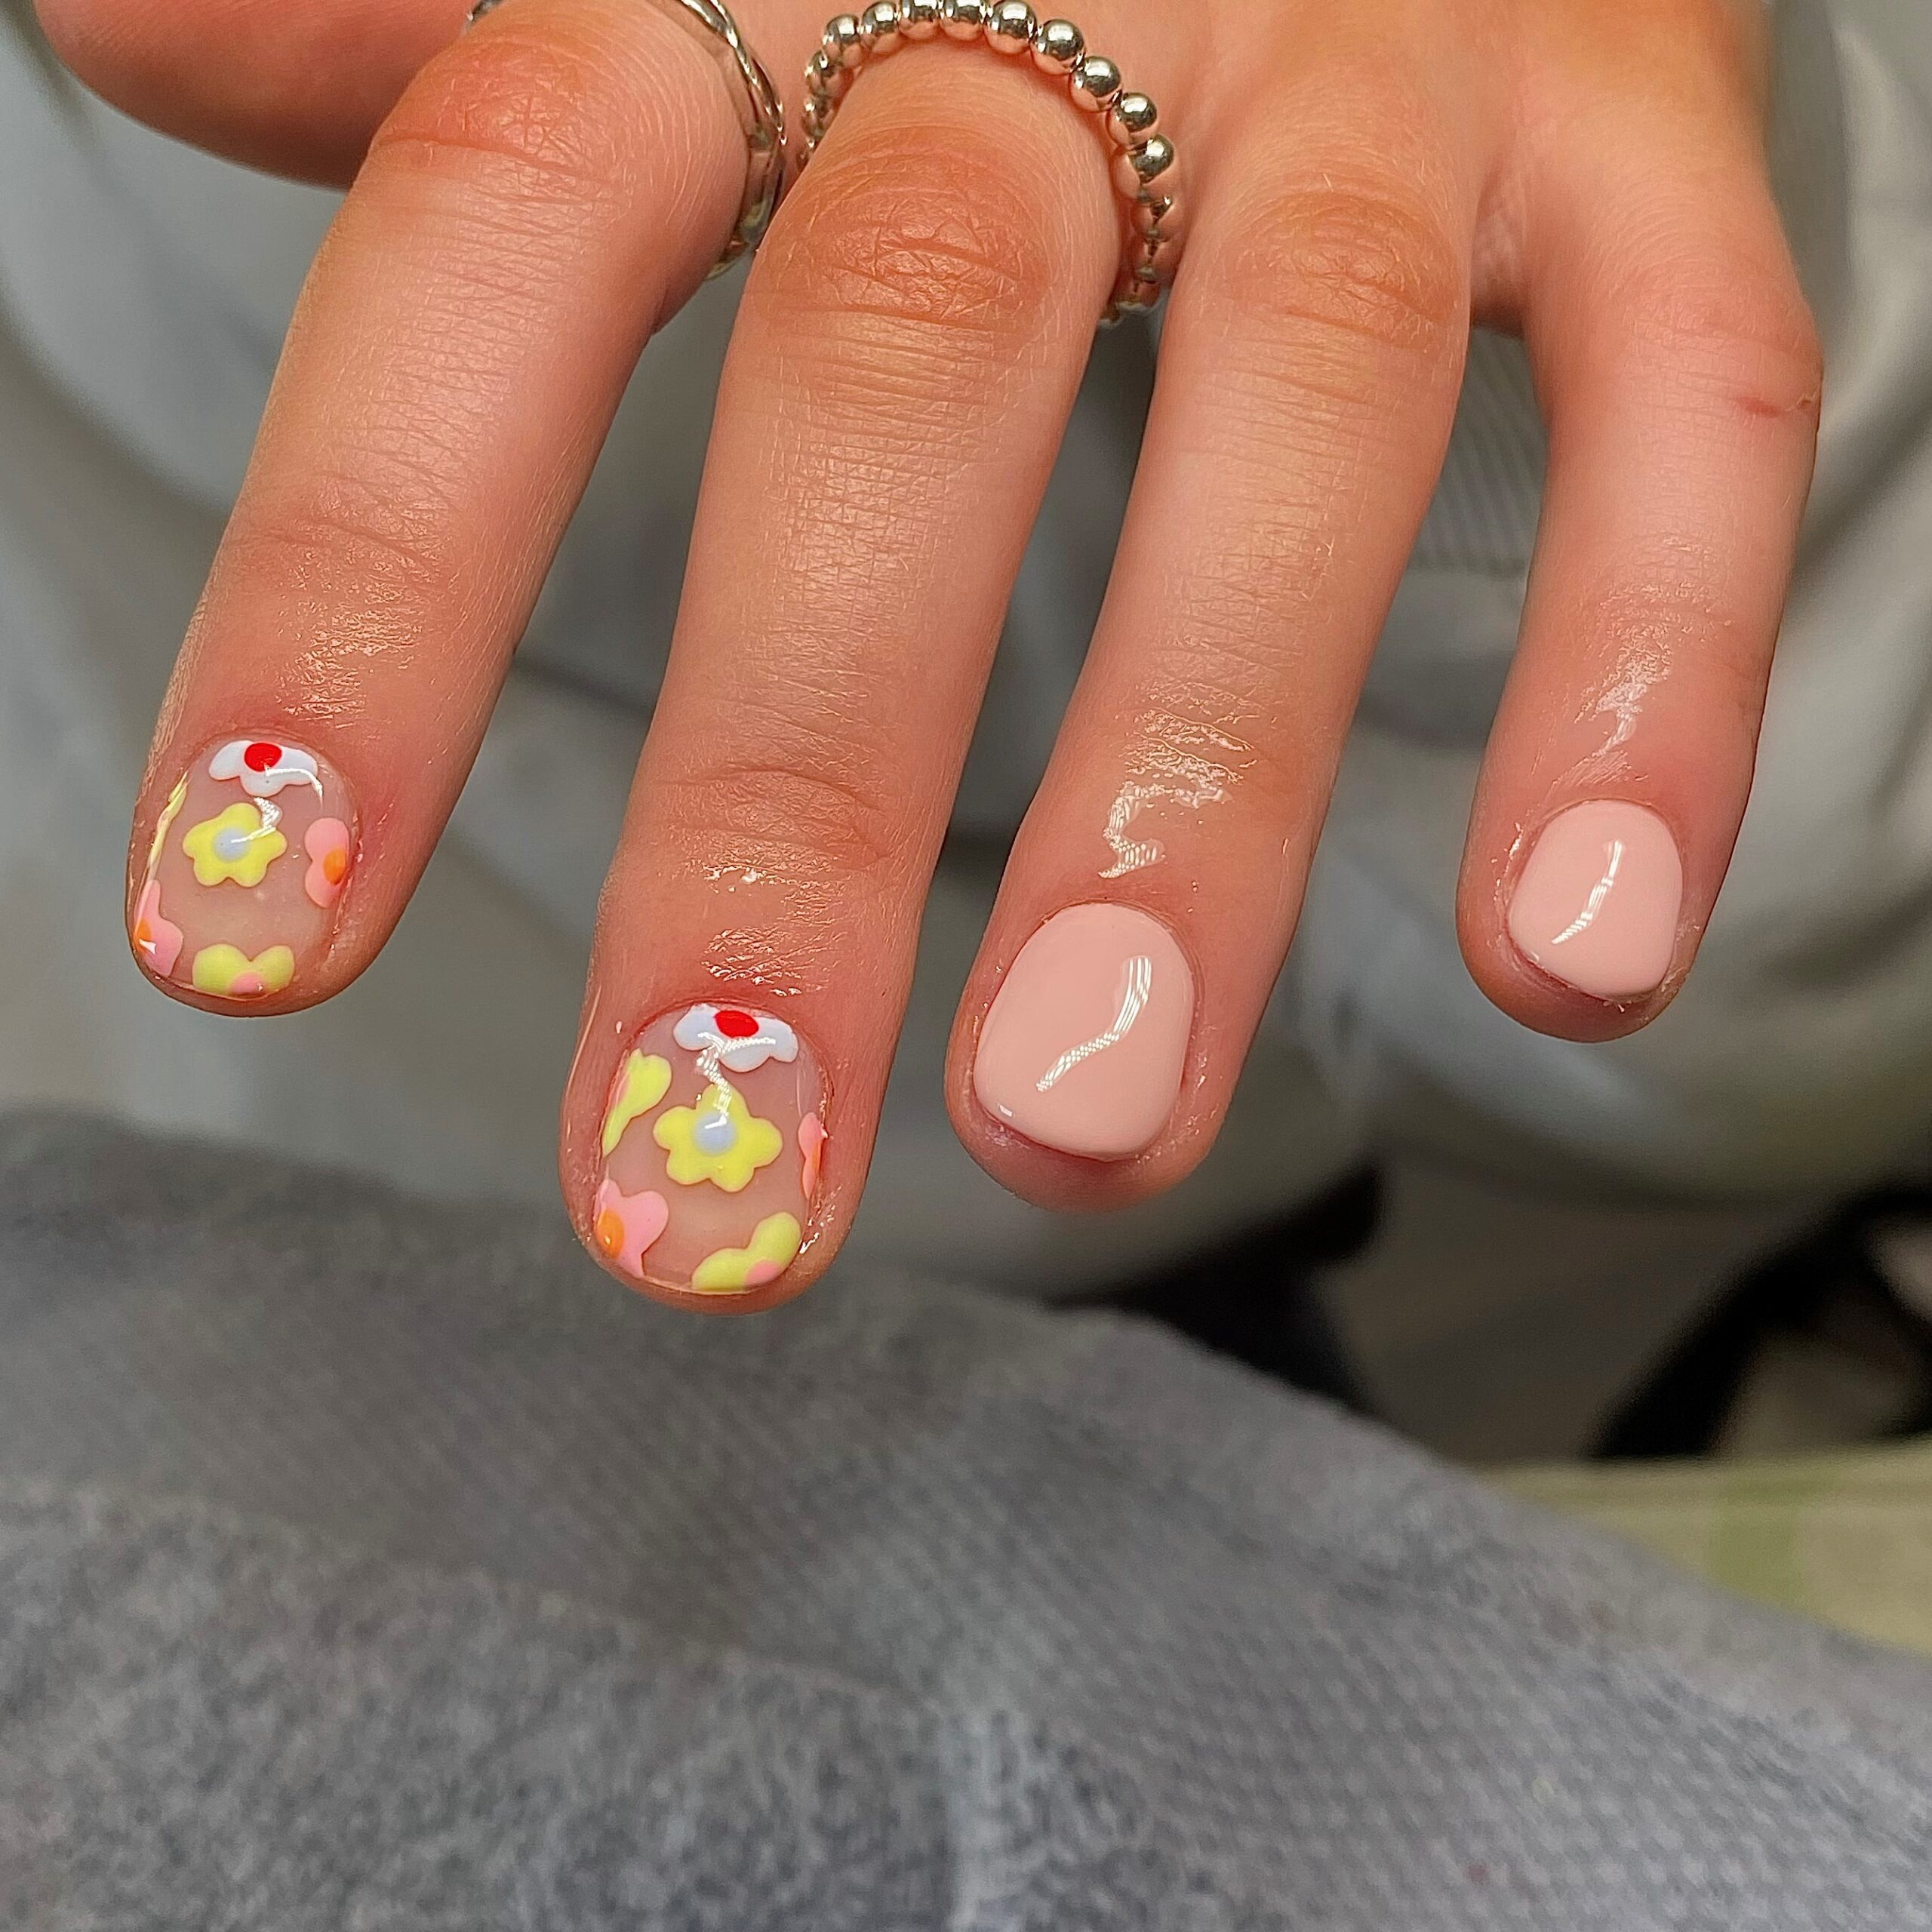
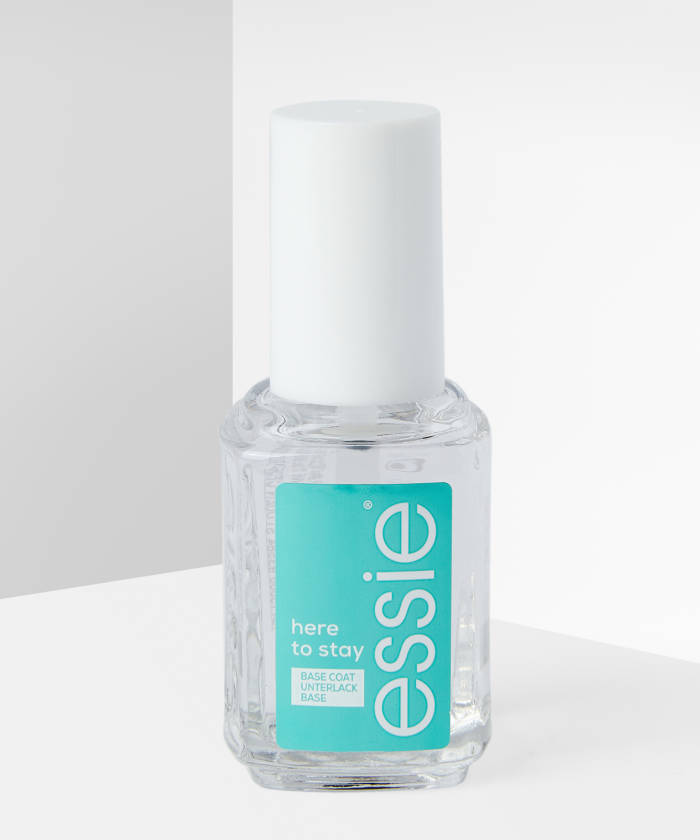
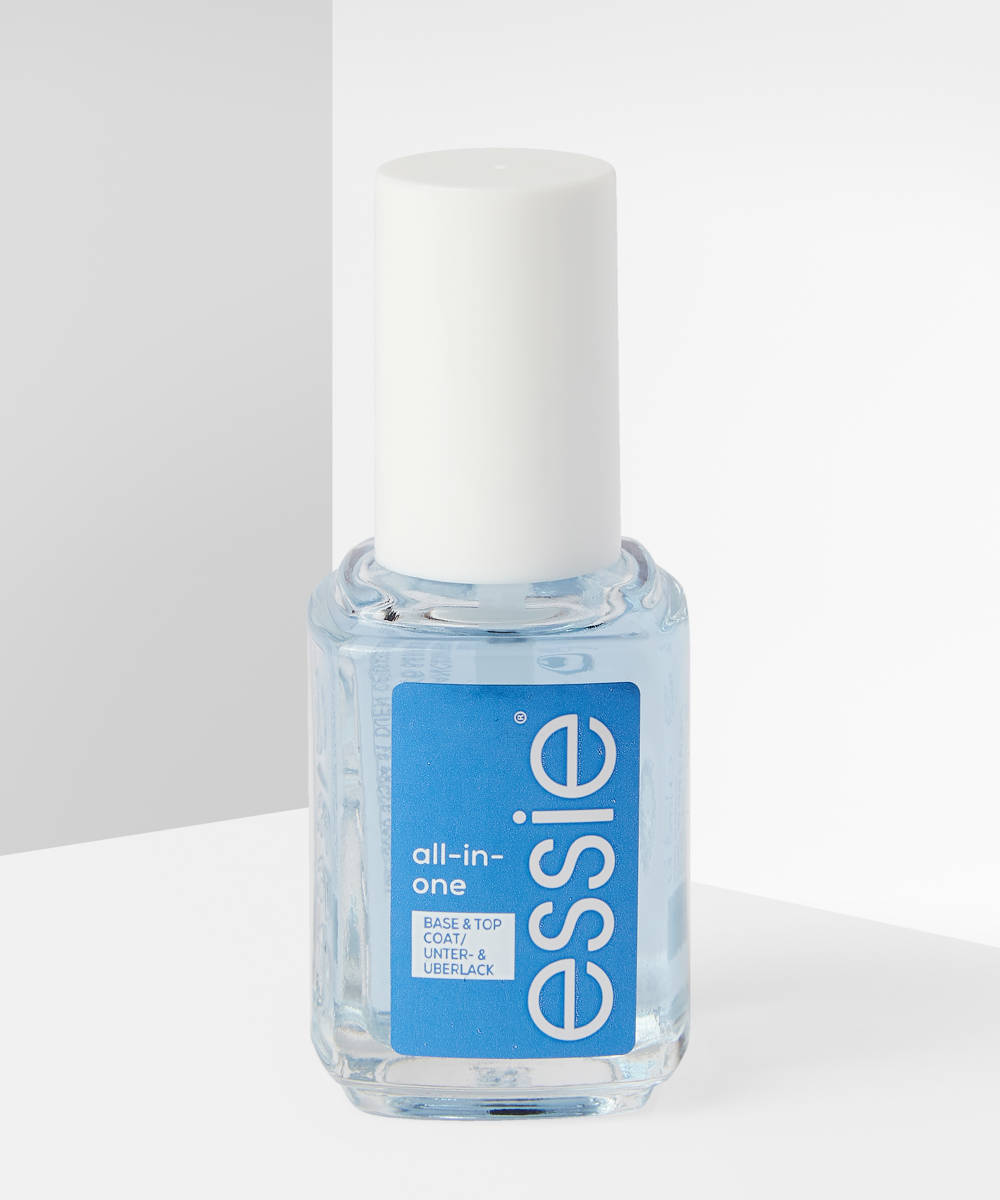
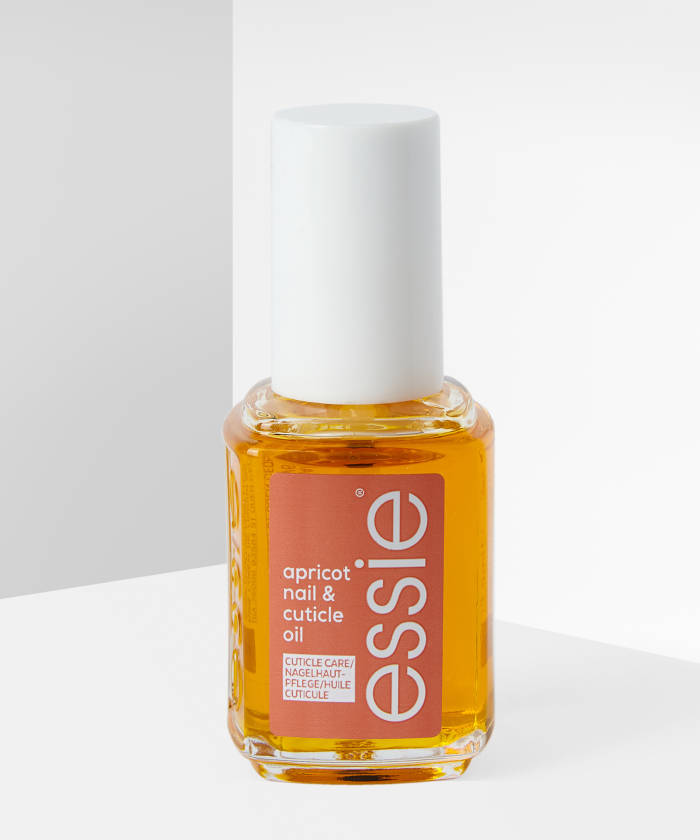
Once your polish is dry, apply a top coat to lock your design in and prevent chipping. And once your top coat is completely dry, apply cuticle oil to the cuticles to keep your nails healthy and strong.
💐 You'll need 💐