Whether you wear makeup every day, only for special occasions, or you fall somewhere in between, it’s likely you aren’t cleaning your makeup applicators as much as you should be. We know it’s a boring task, but keeping makeup brushes and sponges clean is essential to skin health and flawless makeup.
So, stock up on the best makeup brush cleaners and follow our steps and advice below on how best to clean makeup brushes, beautyblenders, and all other applicators. Your skin will thank you for it!
The Importance of Cleaning Makeup Brushes and Sponges
It’s easy to let makeup brush cleaning slip to the bottom of your to-do list, but if you could see the bacteria they can harbour if left uncleaned, we’re sure it would be a different story. If you love to use makeup sponges too, then you really don’t want to leave them unwashed for long. The porous sponge that applies makeup like a dream is also bacteria’s ideal breeding ground.
The build-up of bacteria that occurs if brushes and sponges are left unwashed means breakouts, clogged pores, and redness are more likely to occur. So if you invest in your skincare, it’s super important to clean your brushes regularly. Otherwise, you’re undoing all the hard work of your cleansers and serums every time you apply makeup.
The importance of cleaning your tools doesn’t just lie in protecting your skin from harmful bacteria (though that should be reason enough). Letting oil and makeup build up on your tools causes them to not work as effectively as well. So, if you’re finding your makeup isn’t applying as well as it should, or your sponge isn’t giving that flawless finish anymore, then it’s likely because your tools are overdue a good wash.
Plus, keeping your brushes and sponges clean means they last way longer. If you look after a makeup brush well, it can last for life. If you leave it unclean you might find it starts malting. By showing it proper care, you can save money on needing to buy new makeup brushes every year.
When it comes to beautyblenders and sponges, it’s recommended to replace them every one to three months, even if you’re keeping them squeaky clean. But, by washing sponges, it means you can keep them around for up to three months rather than just one. More money saved to spend on new makeup to use with them.
How Often to Clean Makeup Applicators
Ideally, both brushes and sponges should be cleaned after every use. This totally avoids build-up, protects your skin every time you apply makeup, and ensures a perfect finish. However, we know this isn’t always possible.
We recommend trying to give all your brushes and sponges a deep clean once a week. Why not add it into your Sunday reset routine? This way you’ll keep on top of the chore without taking too much time out of your busy day-to-day schedule.
The Best Makeup Brush and Makeup Sponge Cleaners
Now you know why you should be cleaning your brushes and sponges regularly, it’s time to ensure you have the best makeup brush and sponge cleaners to do so. There’s no point setting out to clean them once a week if you’re using the wrong products.
You need more than just a rinse under the tap to clean your tools, but you don’t want to reach for any household item. Ignore trends and ‘top tips’ that recommend using the likes of baking soda, vinegar, washing up liquid, and olive oil to clean applicators. And if you’re also wondering if you can use shampoo to clean makeup brushes, then again the answer is no.
If it isn’t something you’d wash your face with, don’t try cleaning makeup tools with it!
The best products for cleaning brushes and sponges are specialist makeup brush and sponge cleaners. Products that have been created to thoroughly clean, and break down makeup, oil, and bacteria build-up, while also being kind to your skin.
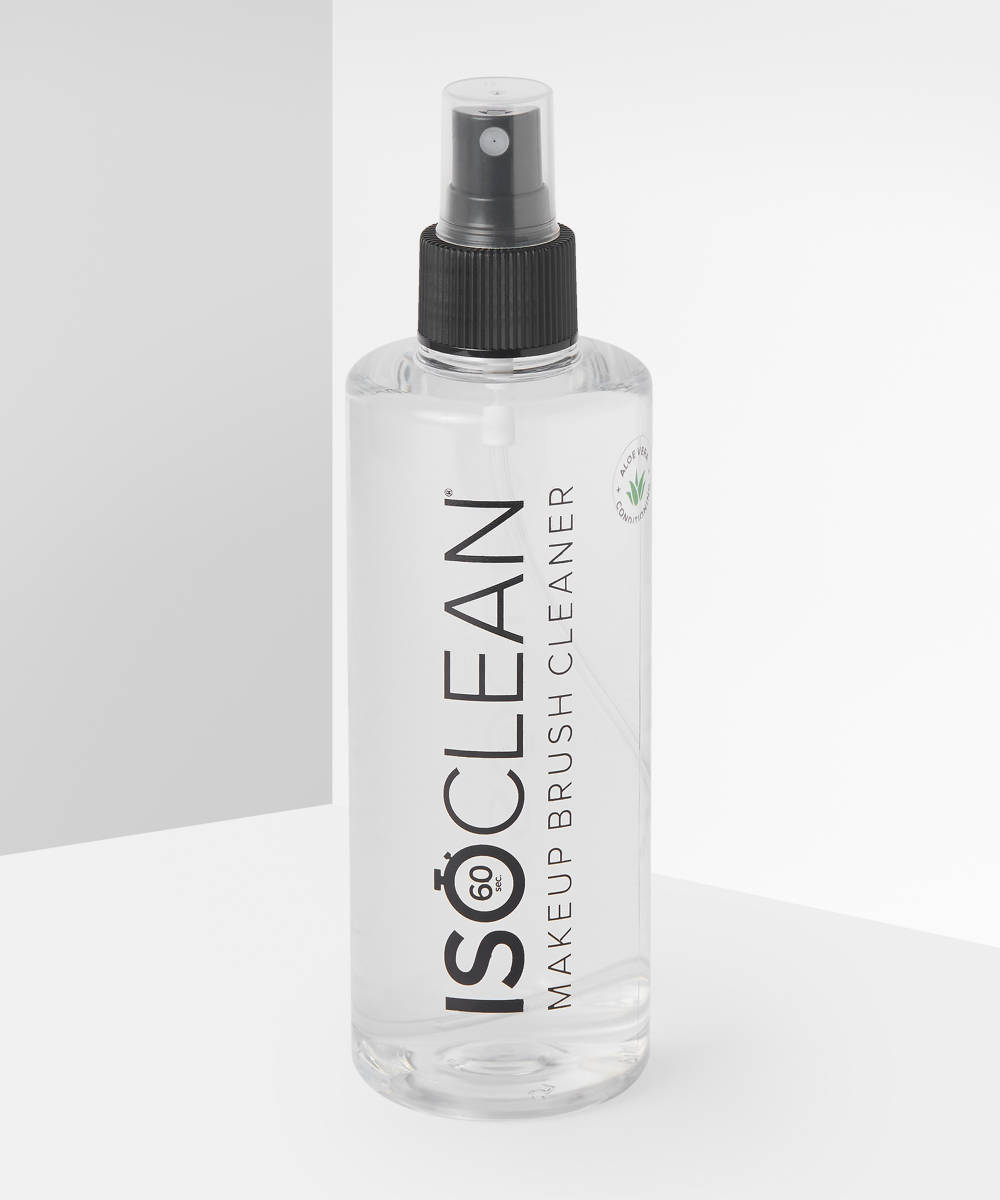
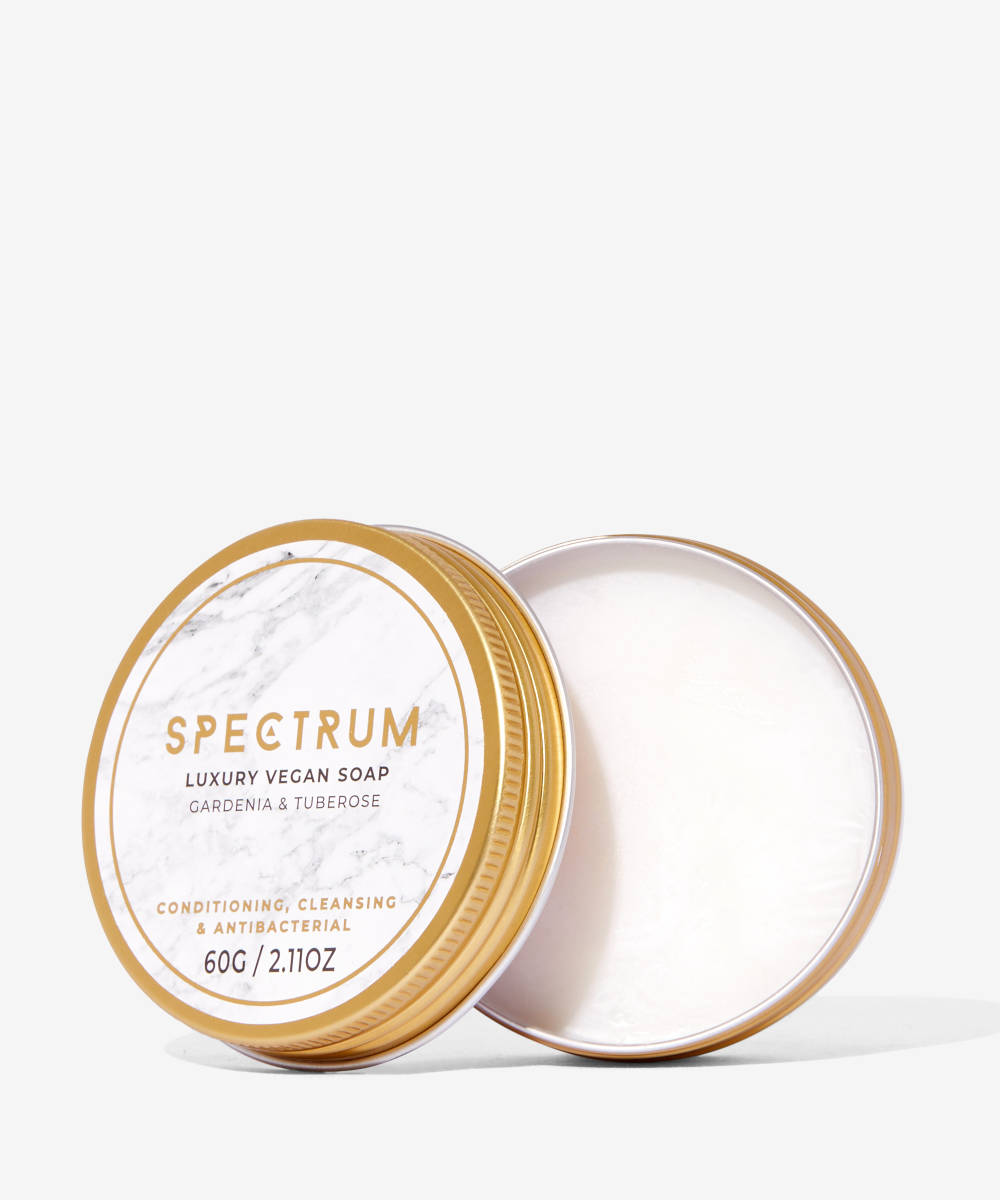
You can go for a liquid brush and sponge cleaner like the Isoclean Cleaner Spray, or a solid cleaner, (like a cleansing balm for brushes) like the Spectrum Collections Soap. Both work to break down build-up, leaving you with clean tools once more.
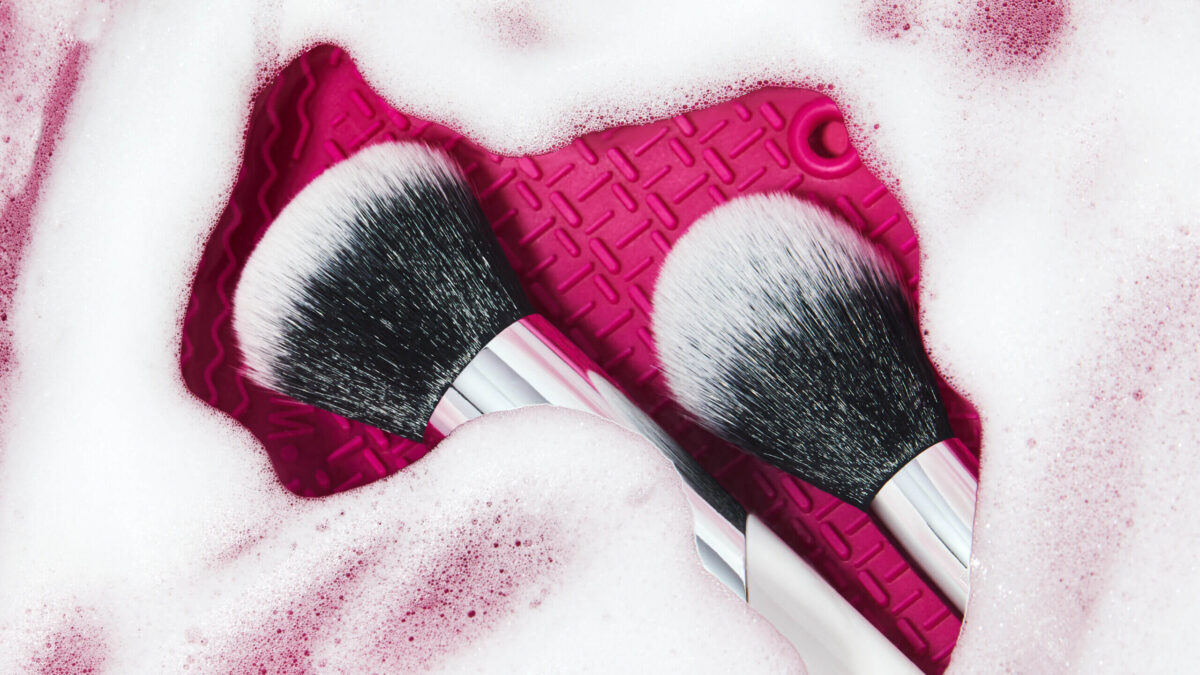
For an effective deep clean, we recommend using a cleaning tray with your solution of choice, the bumps and grooves help to work in the cleaning products and break down build-up everywhere.
The Best Way to Clean Makeup Brushes
Cleaning brushes is quick and easy, follow these steps and you’ll have clean, undamaged makeup brushes in no time at all…
1. Dampen your brush with warm running water – Avoid very hot water as this can cause damage to the bristles. Keep your brush pointed downwards at all times to avoid water entering ferrules and loosening bristles.
2. Apply your brush soap of choice – If using a cleaning pad, gently circle your brush on the pad, lathering up the soap. If using a solid soap, lather your brush up on that before moving it to the pad. Don’t forget to also clean the handle.
3. Run the brush under warm water – Continue rubbing the brush and running under water until water runs clear and all cleaning product is washed away.
4. Remove excess water – Now your brush is clean, gently run it over a dry clean towel and then reshape the brush with your fingers.
5. Lay brush flat to dry – Finally, leave your brush flat on a clean towel, preferably with the brush head hanging over an edge until dry.
The Best Way to Clean Makeup Sponges and BeautyBlenders
Cleaning sponges is quite similar to brushes, however, you just need to be a bit more thorough with them due to their porous nature. For sponges we recommend using two soaps where possible, like a double cleanse, but for your tools.
1. Liquid cleaner – Apply around four teaspoons of your liquid cleaner of choice and let your sponge absorb it for up to three minutes.
2. Soak sponge – Submerge your soapy sponge in warm water for a further three mins.
3. Squeeze and massage the sponge – Gently pressing and squeezing the sponge releases oxygen from it, allowing for the cleaning product to soak further in and break down all the build-up.
4. Run sponge under water – While still gently squeezing your sponge run it under cold water to wash away unwanted build-up, until the water runs clear.
5. Solid soap – If you want to give your sponge a deep clean, now is the time to bring in that second soap. Lather your sponge up with your solid soap and repeat steps two and three.
6. Rinse sponge – Once you’re happy with the cleaning, run your sponge under cold water until the water is clear.
7. Dry sponge – To dry your sponge gently squeeze it with a towel and then leave it to air dry.
Easy! And as you can use sponges damp, you can use it straight after a clean. One important thing to note is that their delicate nature means you should avoid twisting or pinching your sponge while cleaning to avoid tearing.
There you have a foolproof guide to keeping your makeup brushes and sponges squeaky clean. If you don’t already, start giving your tools a regular deep clean and you’ll soon see better skin and improved makeup application. Haul brush and sponge cleaners today!


