Minimal nail art designs are super popular right now. But, as basic as they may look, a lot of effort goes into pulling off a really clean, neutral nail with simple details. We tapped session manicurist @nailedbymil for her top tips on elevating an everyday manicure with a few easy tweaks.
Step 1
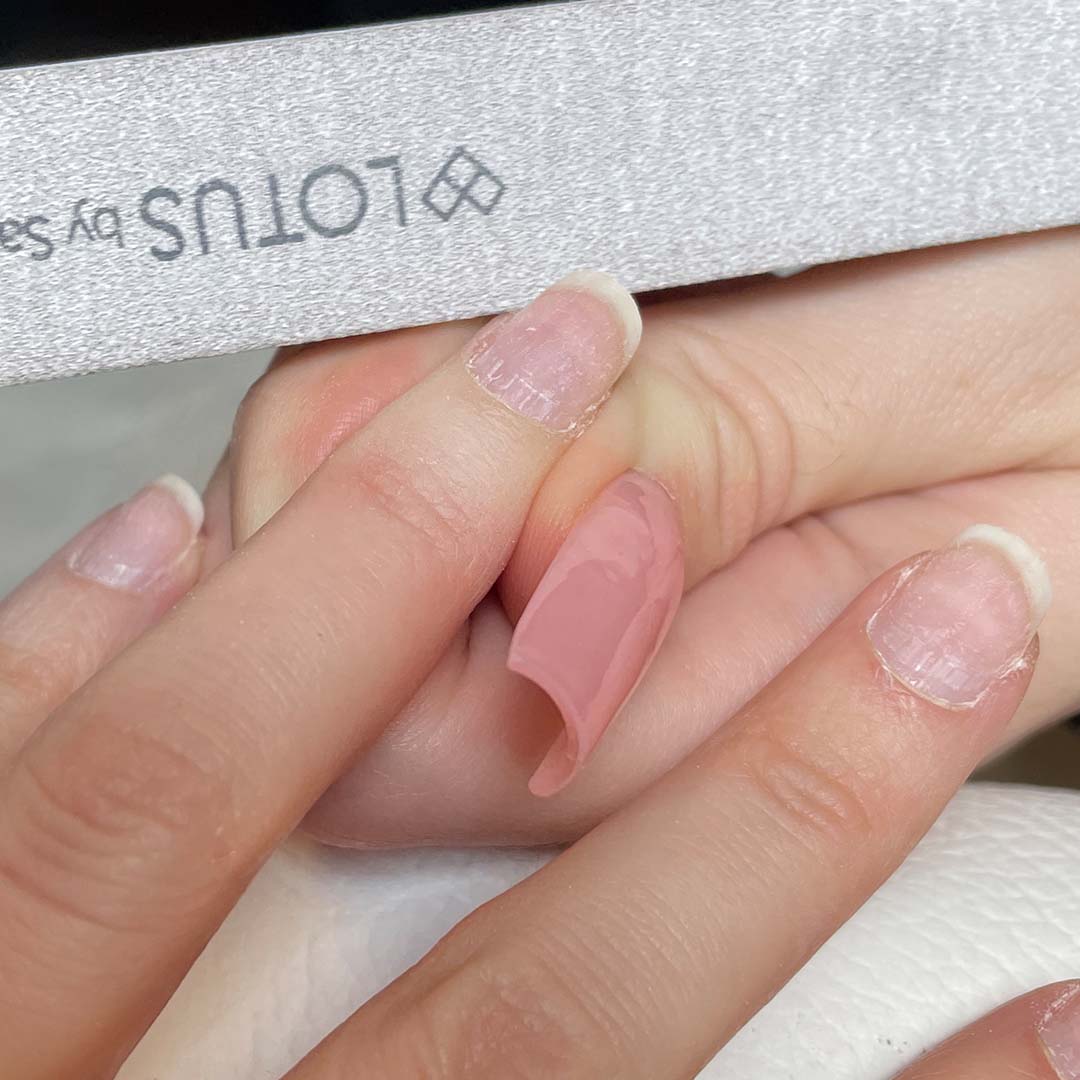
When the attention isn’t drawn by bright colours and bold shaes, it’s important to get even the seemingly minor details perfect, so try to ensure that all nails are cut and filed to the same length and shape. A short, soft square is perfect for this style and flatters all nail shapes. File flat across the top of your nail, bringing slightly down at the corners to round it off.
Step 2
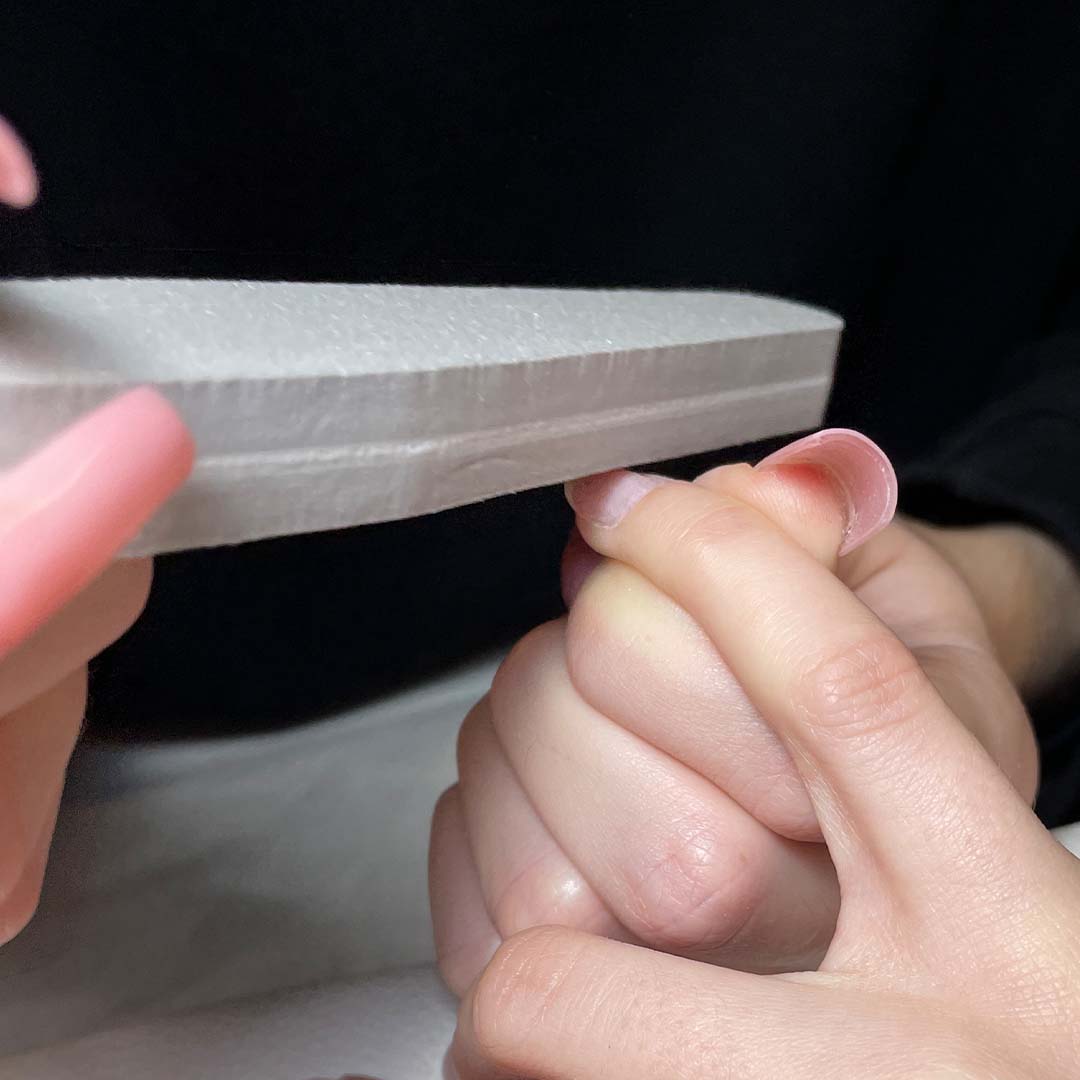
To prep the nails for polish, use a buffer and lightly file over the top of the nails to create a super smooth surface.
Step 3
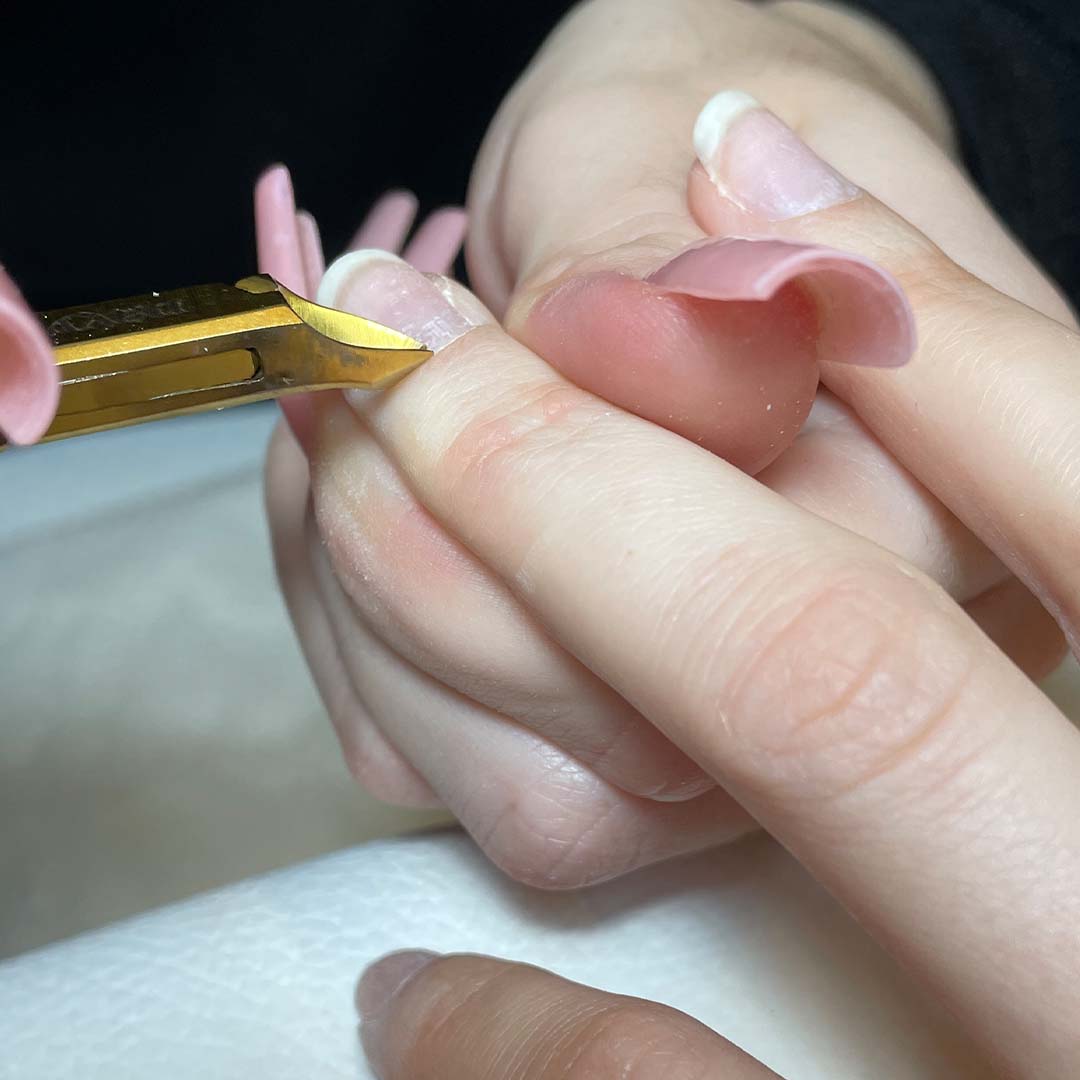
Take your time when working on the cuticles – again, this is one of those small details that can actually make a huge difference to the end result. Be gentle when pushing back skin to avoid tearing or redness, and only trim the dead skin.
Step 4
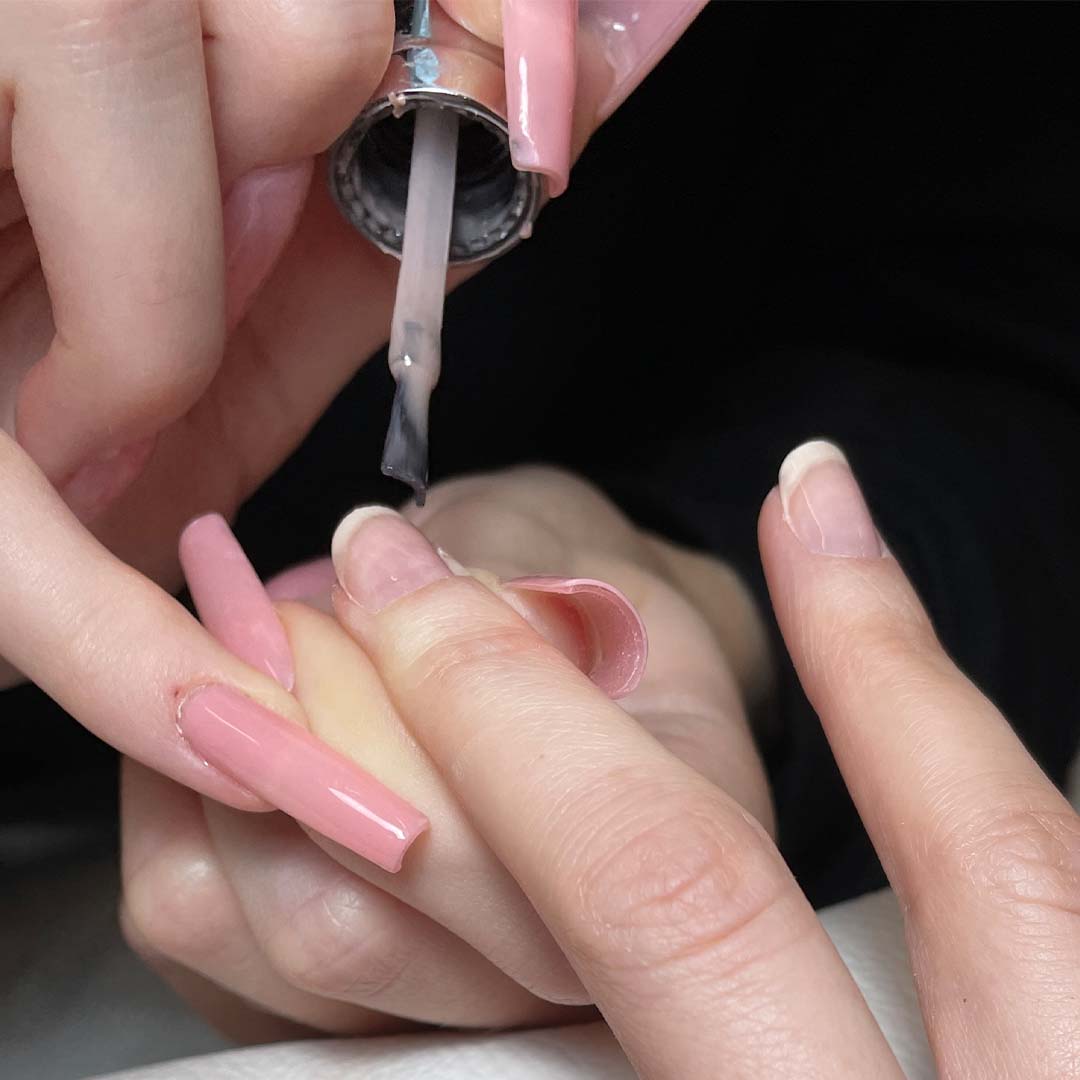
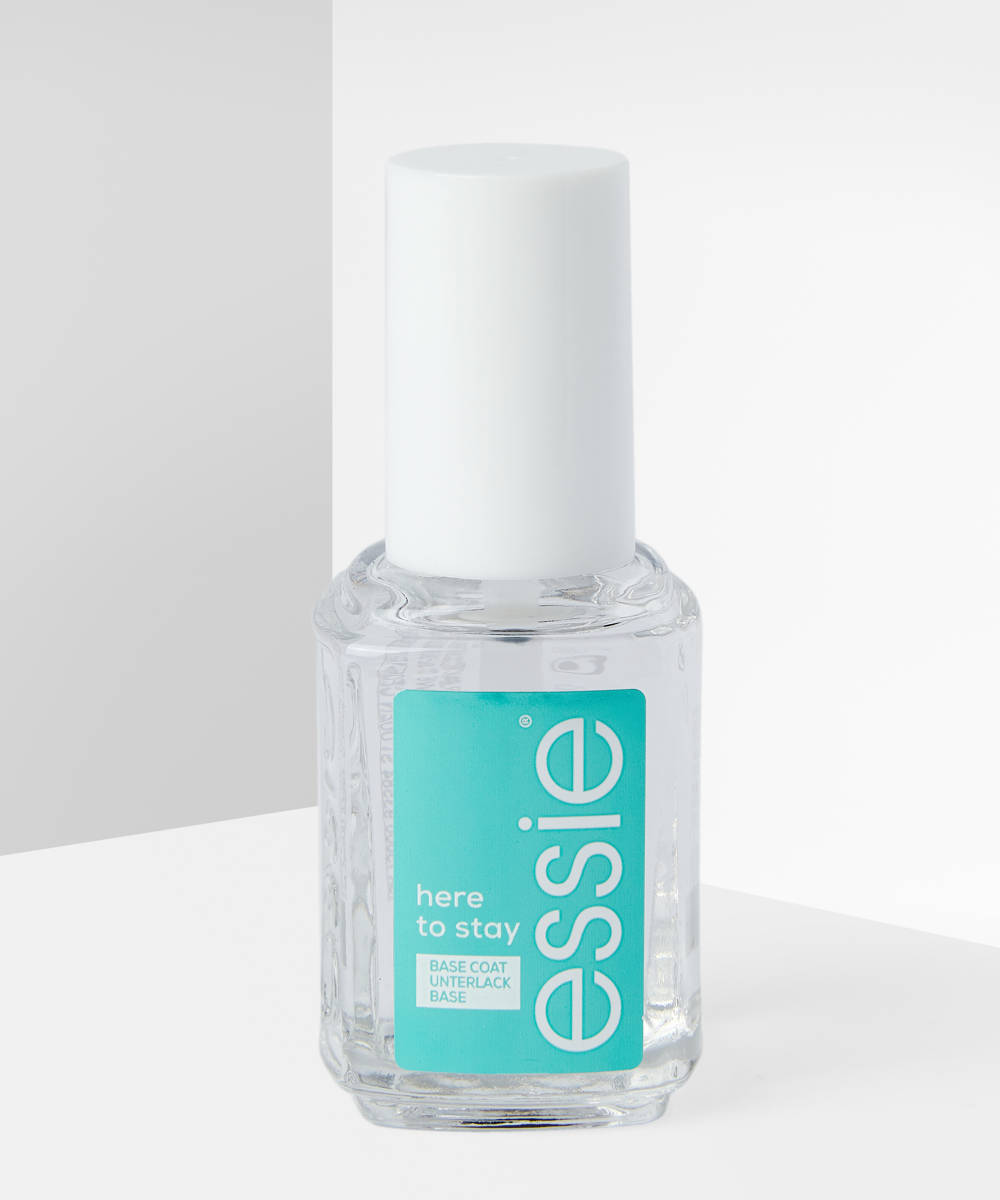
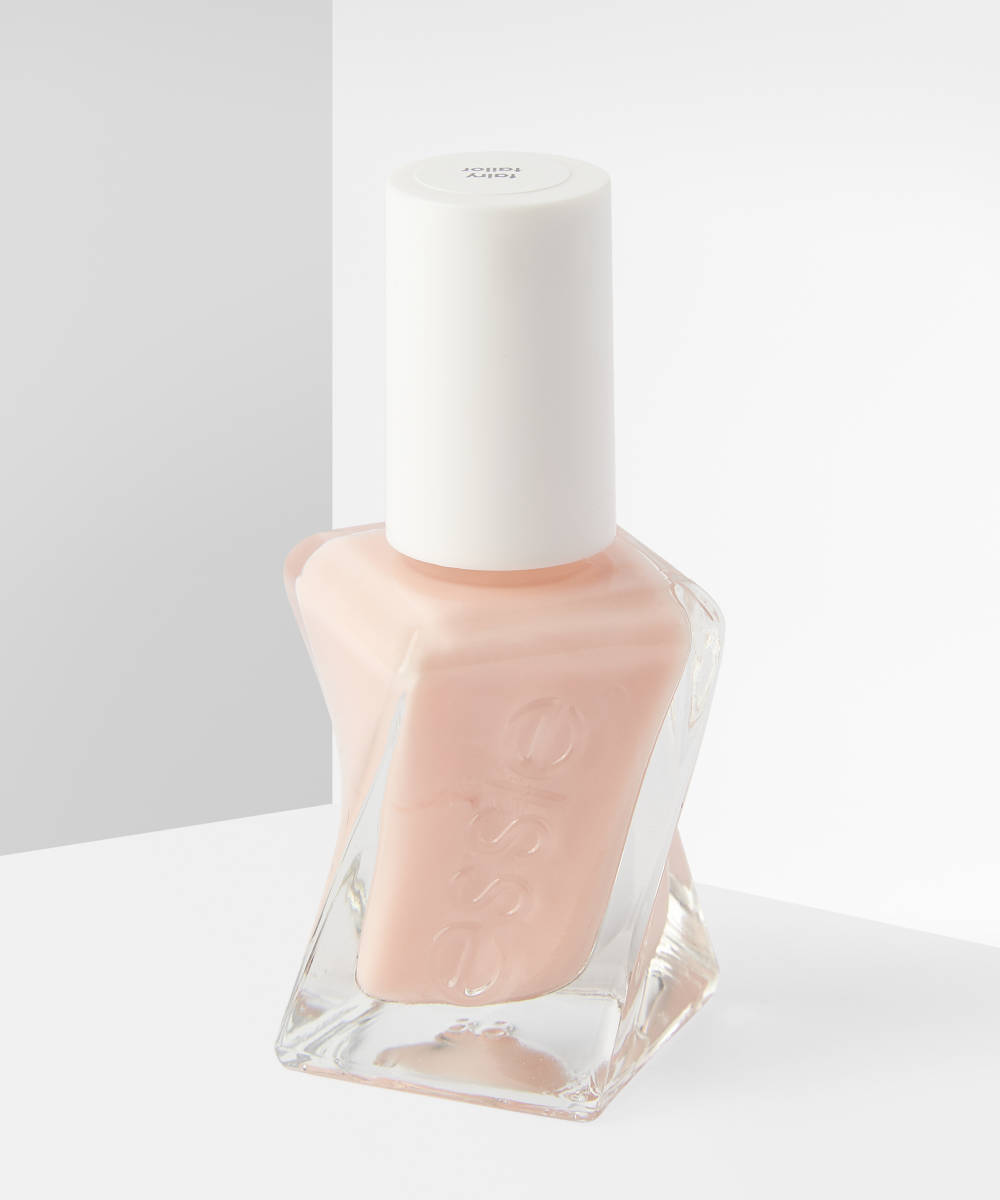
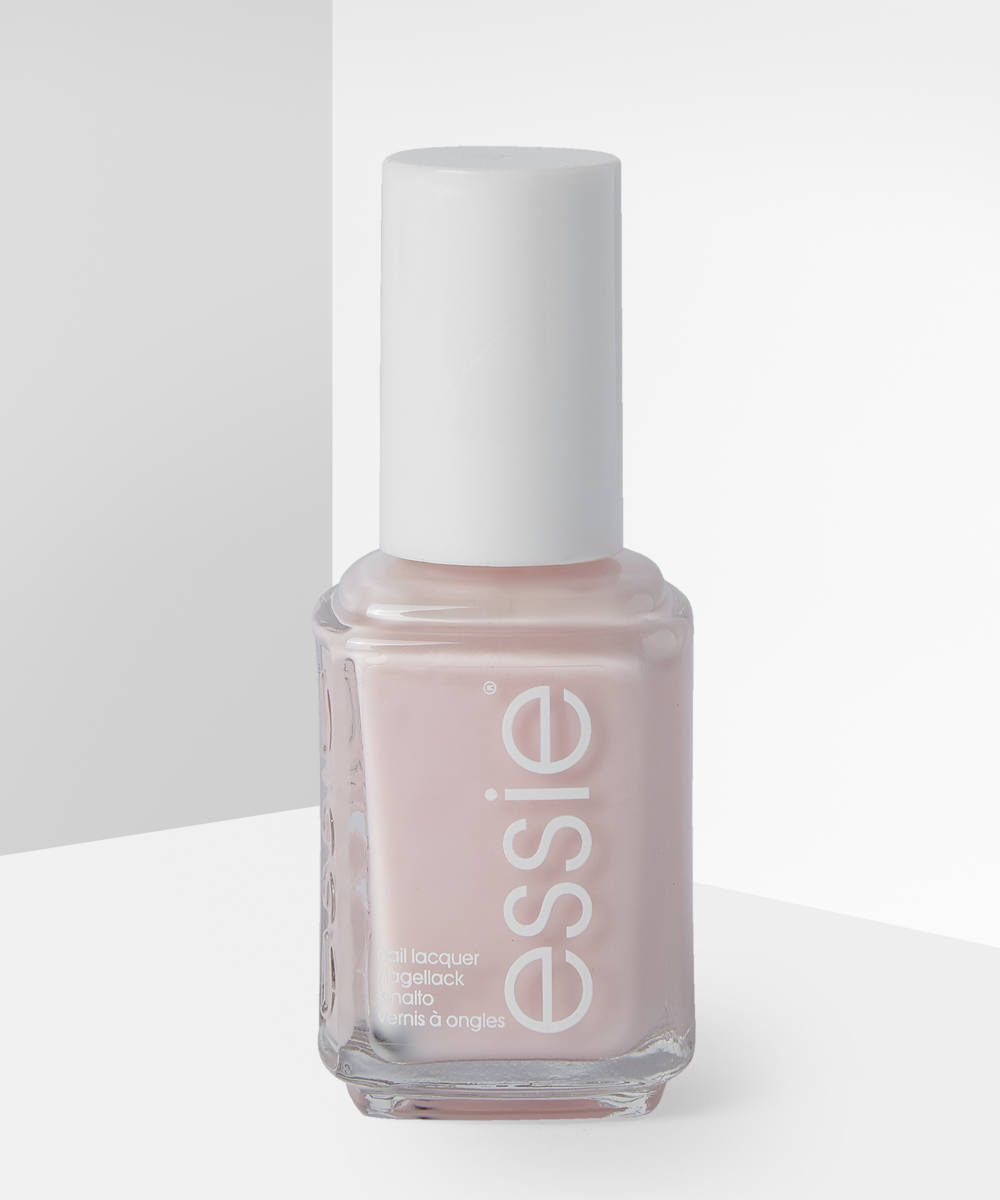
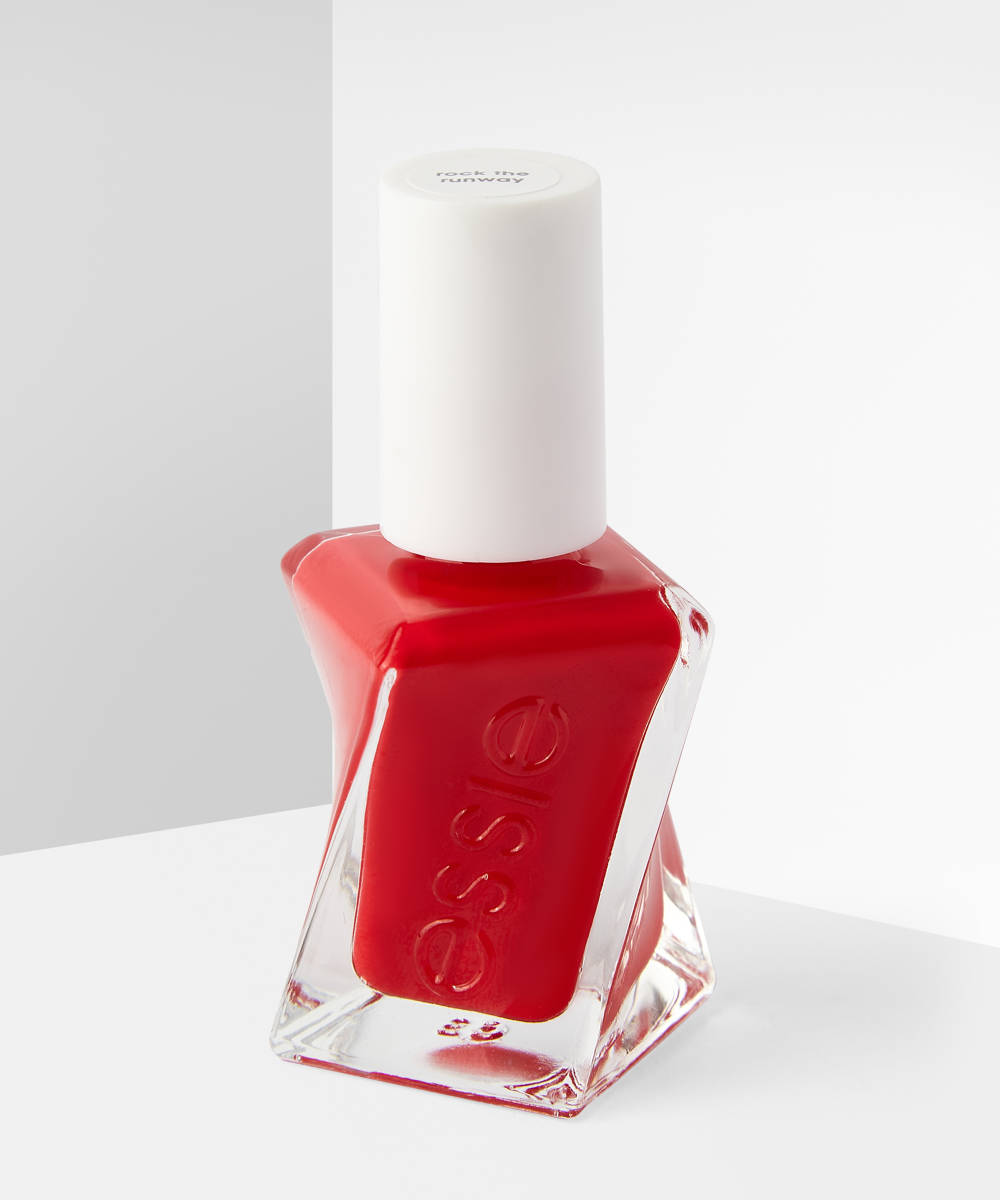
Choose a sheer nude polish that isn’t totally opaque – the key with this look is replicating a healthy, shiny version of the natural nail. If your skin has cool undertones choose a pink-toned nude, and if you have warmer undertones go for a nude with yellow tones.
Step 5
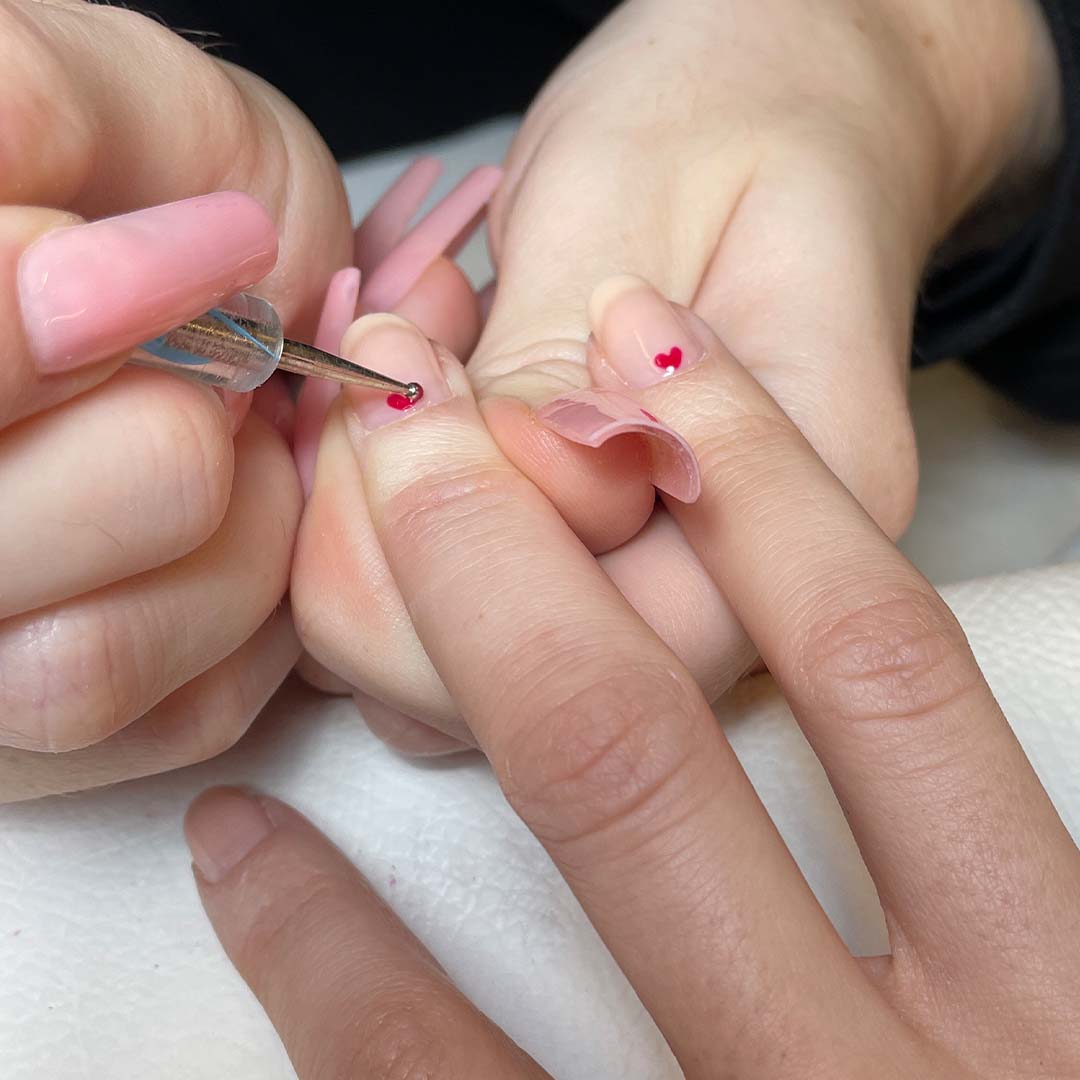
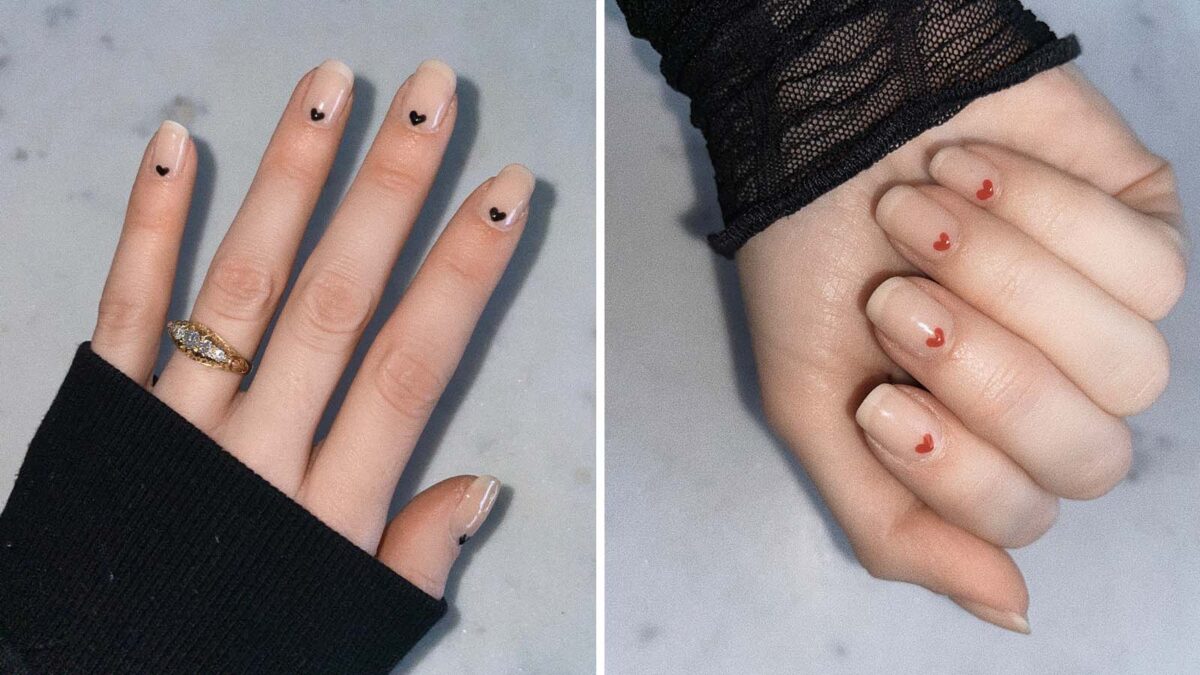
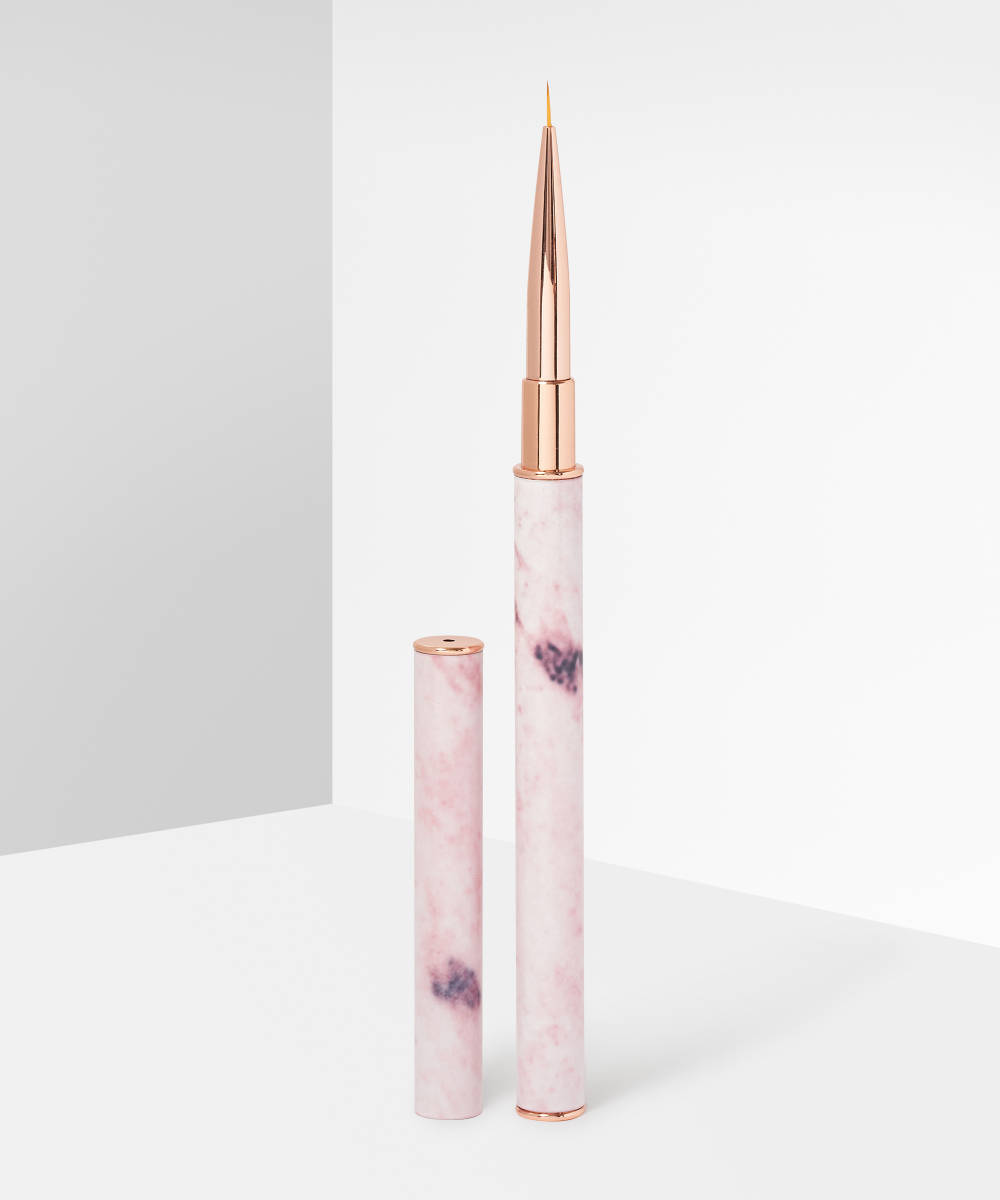
If you want to add nail art, keep the details super intricate. A small heart at the base of the nail is cute, surprisingly eyecatching, and won’t look obvious as your nail grows out. To create the heart, you’ll need a fine-tipped brush and a bobby pin. Start with two tiny dots side-by-side (using the bobby pin), then use the brush to connect them with a ‘V’ shape and fill in the gaps.
