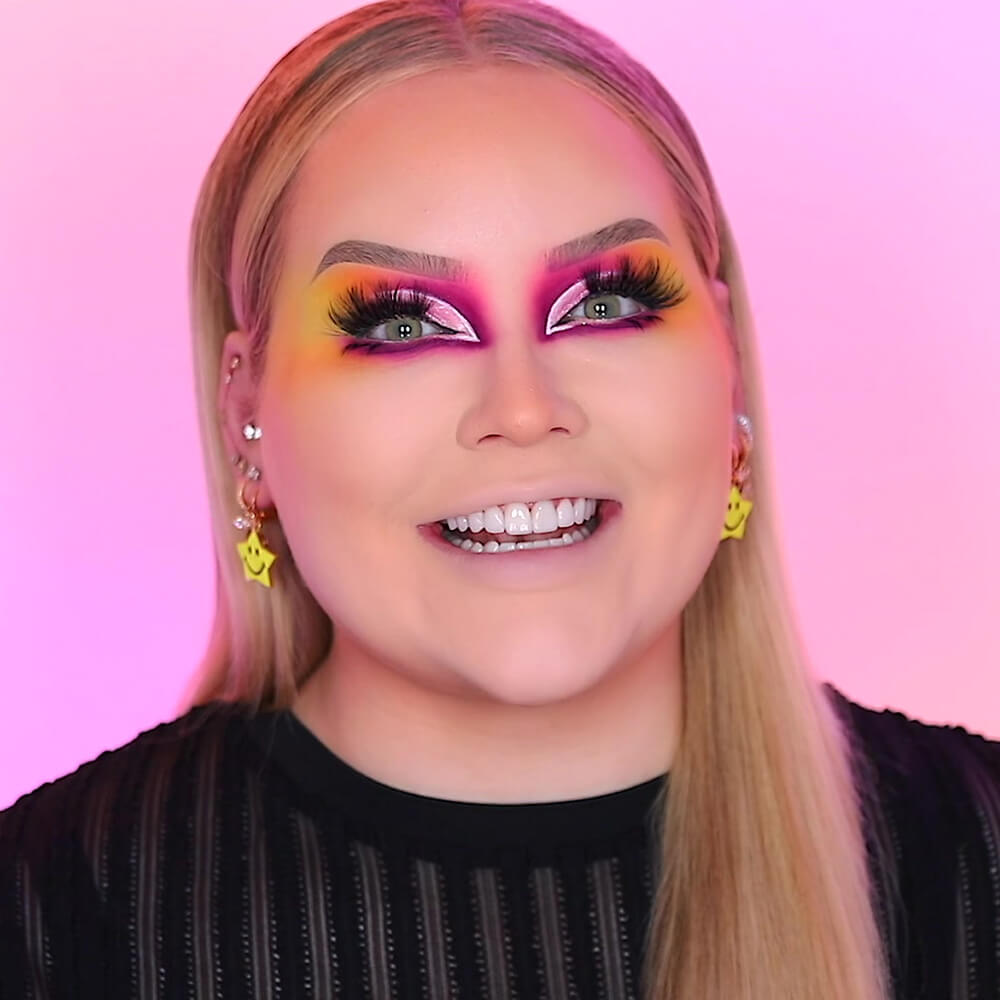
You asked for it and Nikkie delivered. BEAUTY BAY and NikkieTutorials asked you to vote on Instagram for Nikkie’s next makeup looking using the iconic NikkieTutorials x BEAUTY BAY Pressed Pigment Palette and boy, did you make the right choice!
Brushes and palettes at the ready, Nikkie is here to show us how to create the ultimate rainbow goth look. Get ready to blend (and snap), Glow Babies!
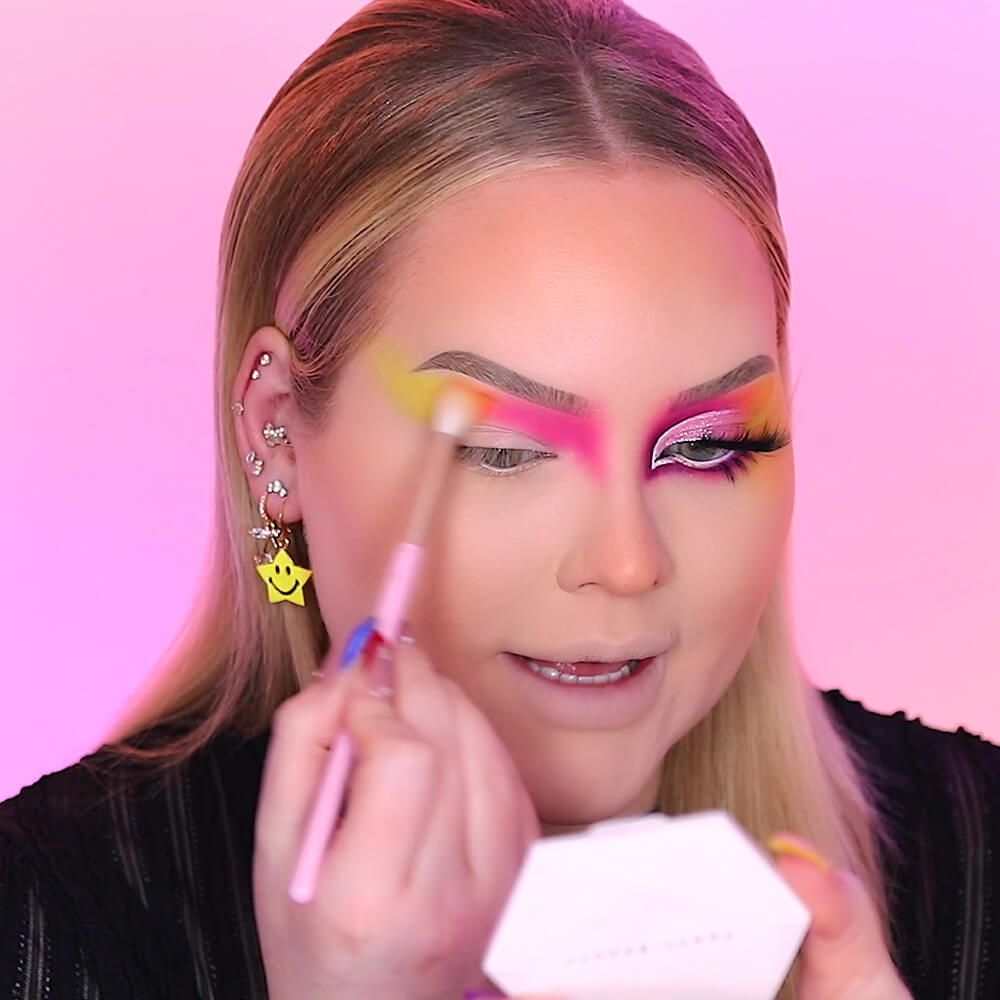
STEP TWO
Apply Blend & Snap! to the inner portion of the crease and blend onto the bridge of the nose.
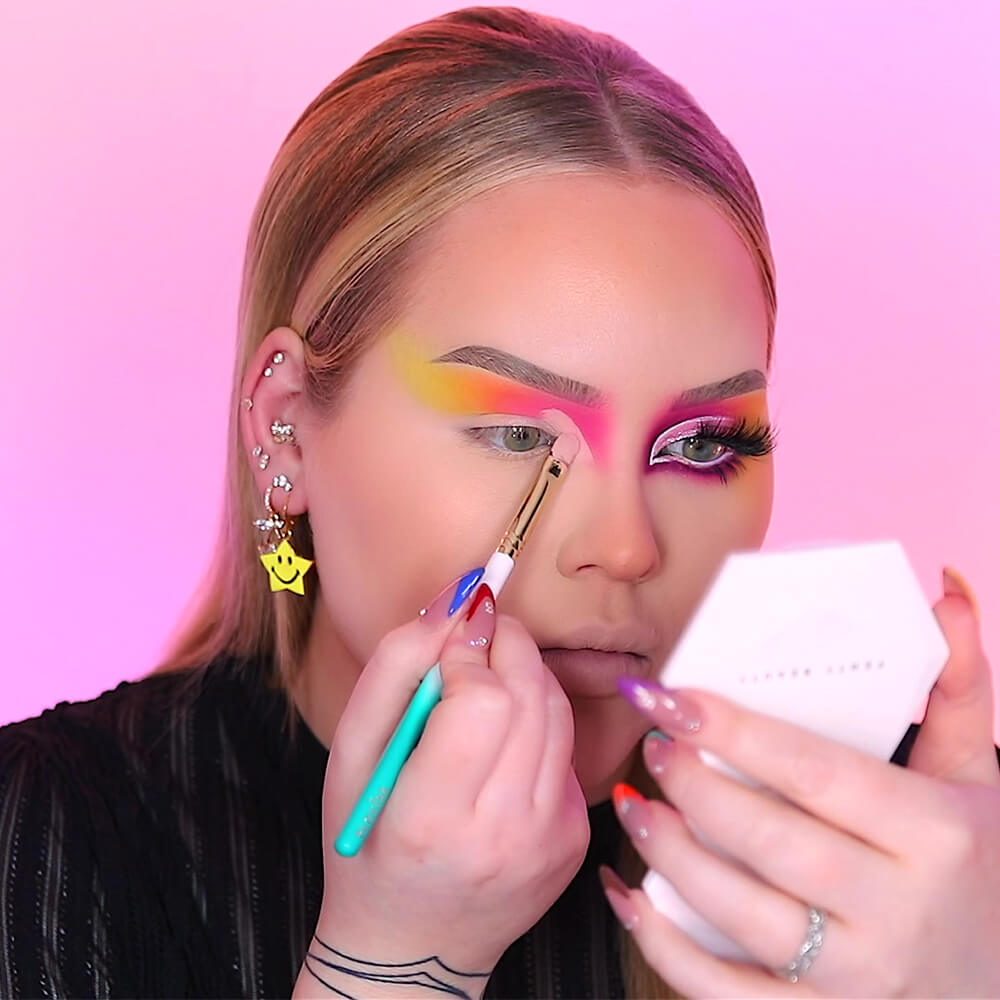
STEP THREE
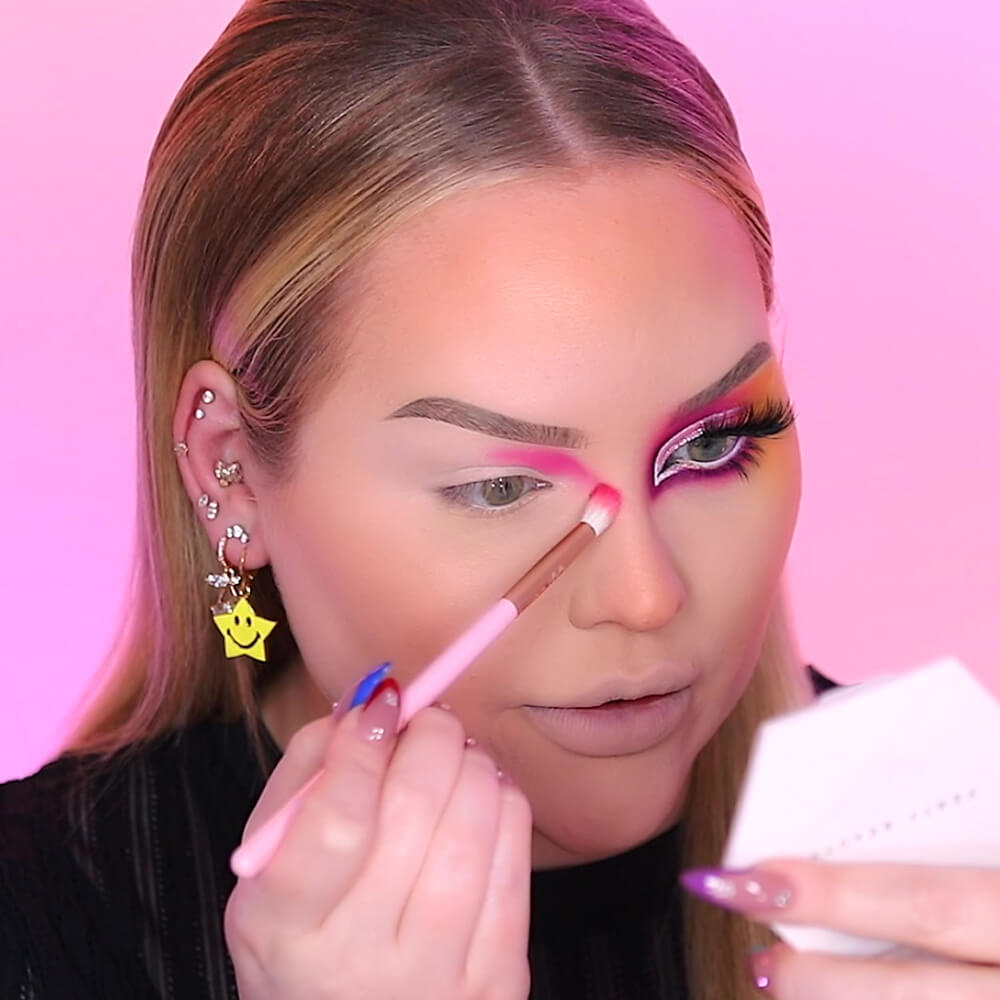
To add drama, drag the shade down the side of the nose, before buffing the shade upwards to the front of the brow.
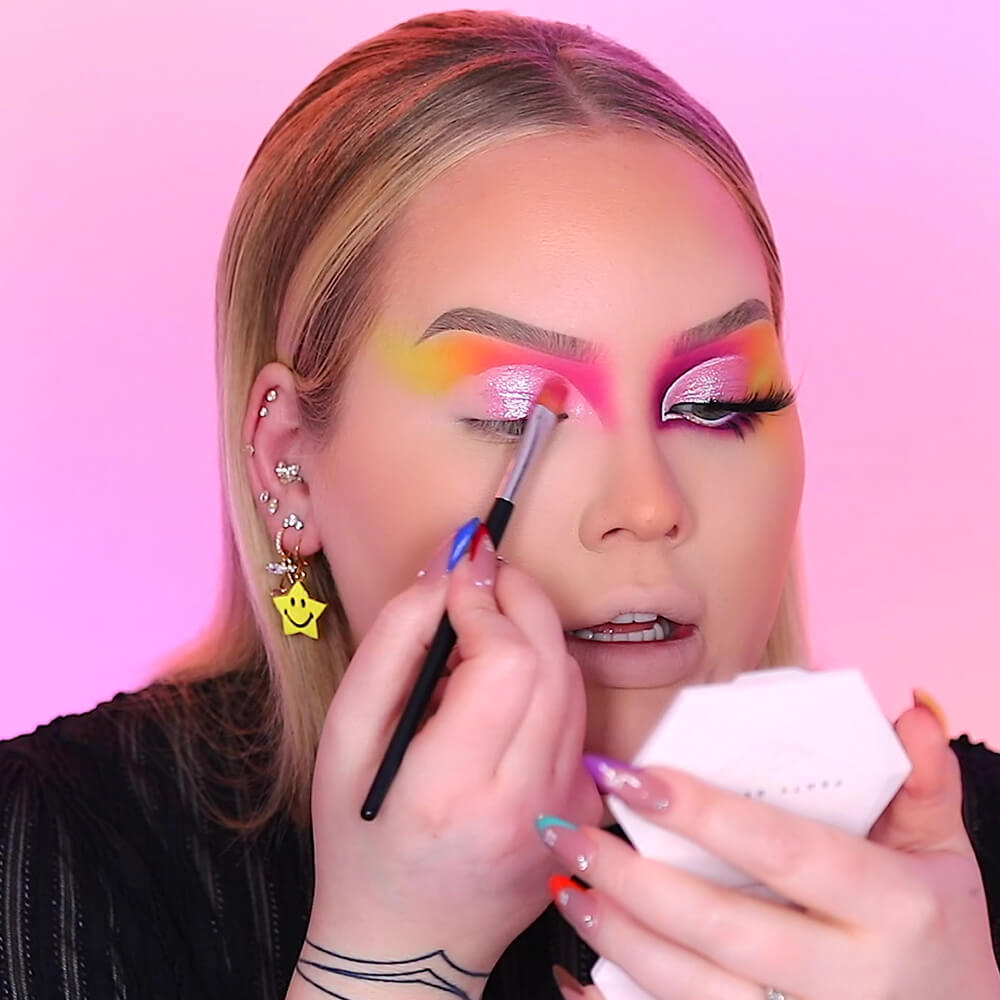
STEP FOUR
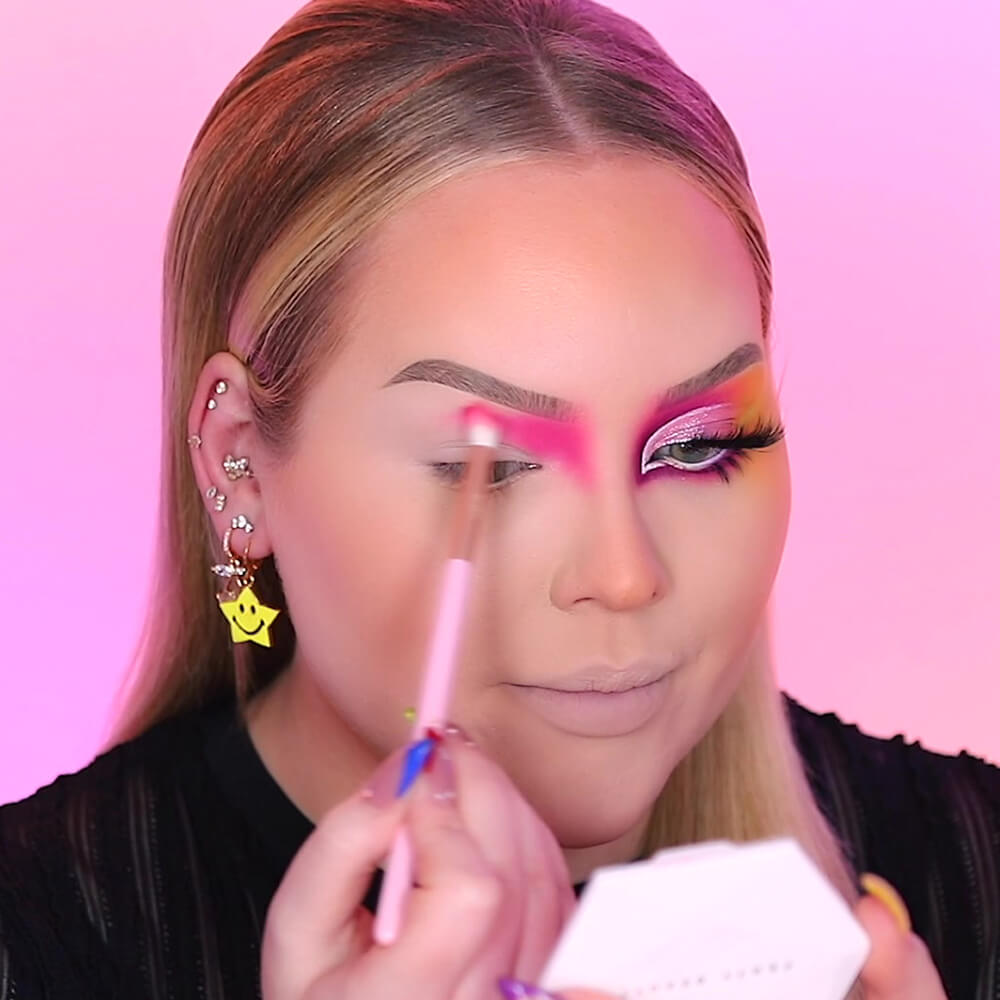
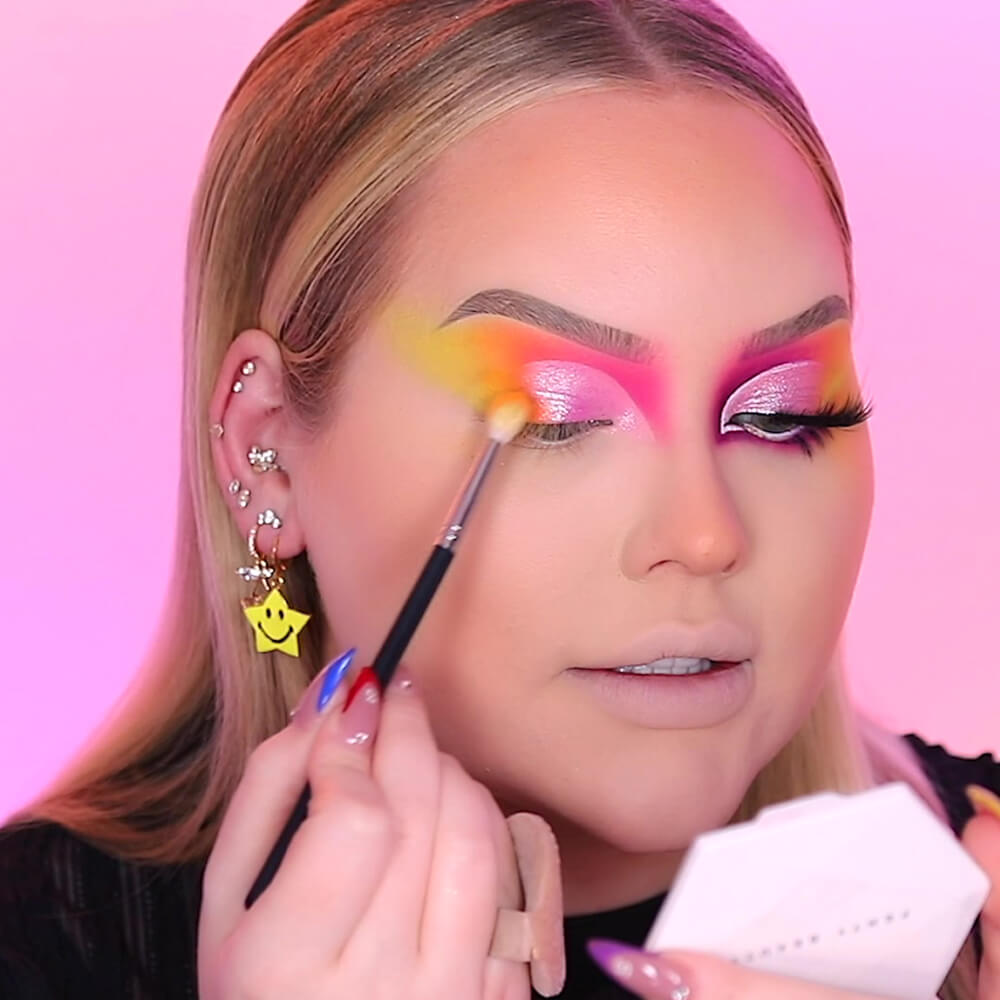
Still using Blend & Snap!, make your way through the crease, making sure you keep blending using soft circular motions.
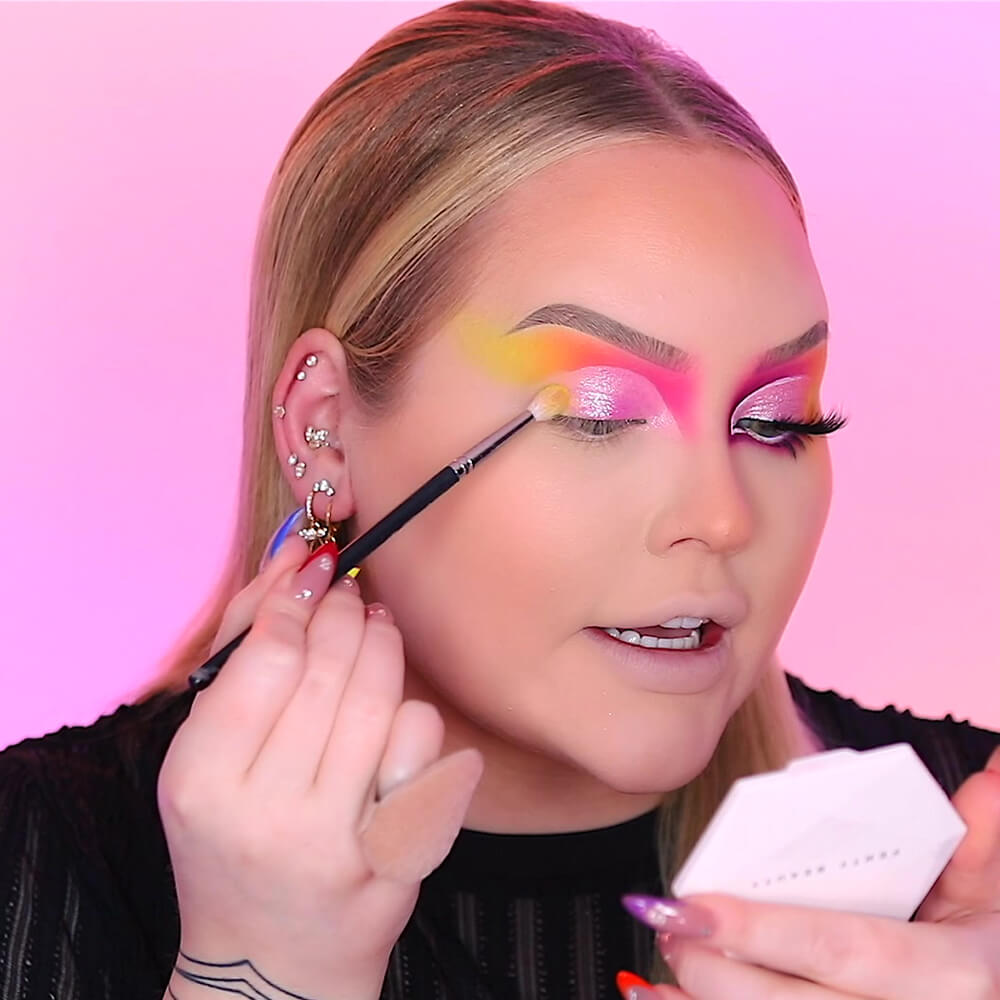
STEP FIVE
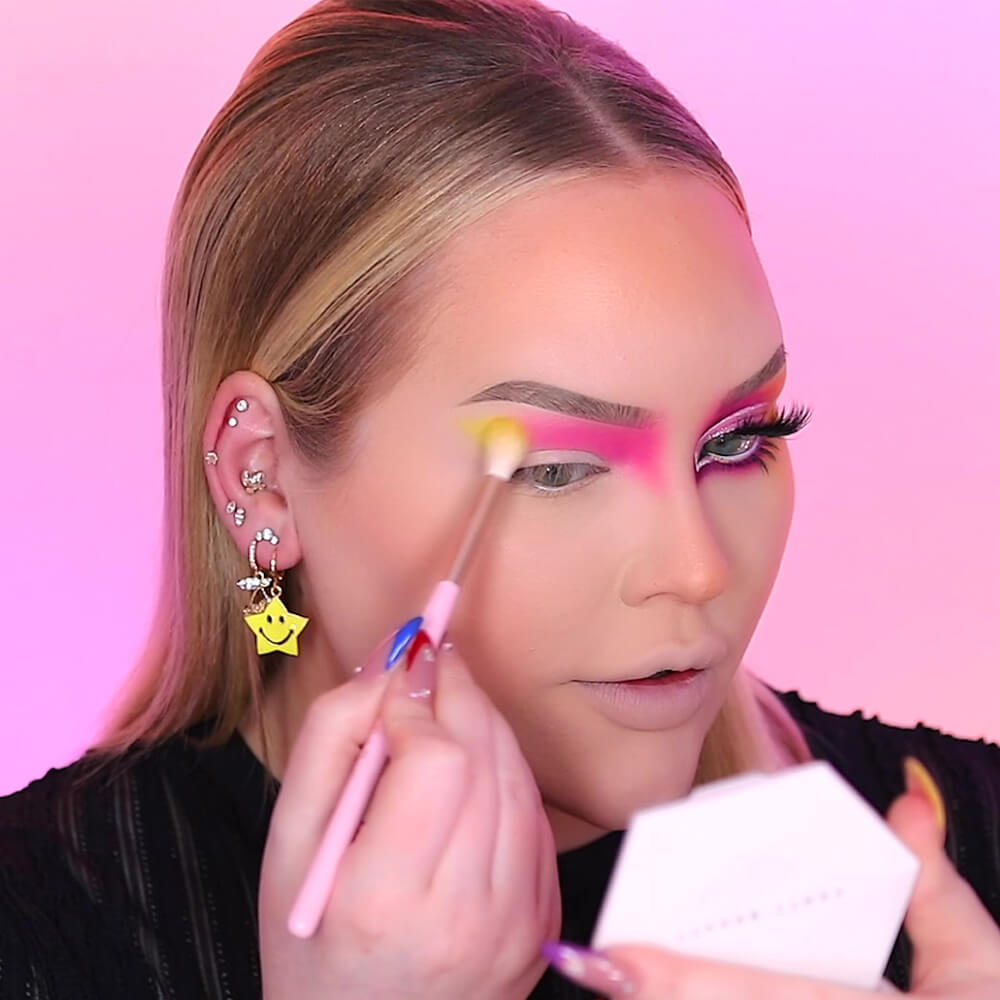
Apply VLA to the outer portion of the crease. Blend the shade into Blend & Snap! to create an orange hue.
STEP SIX
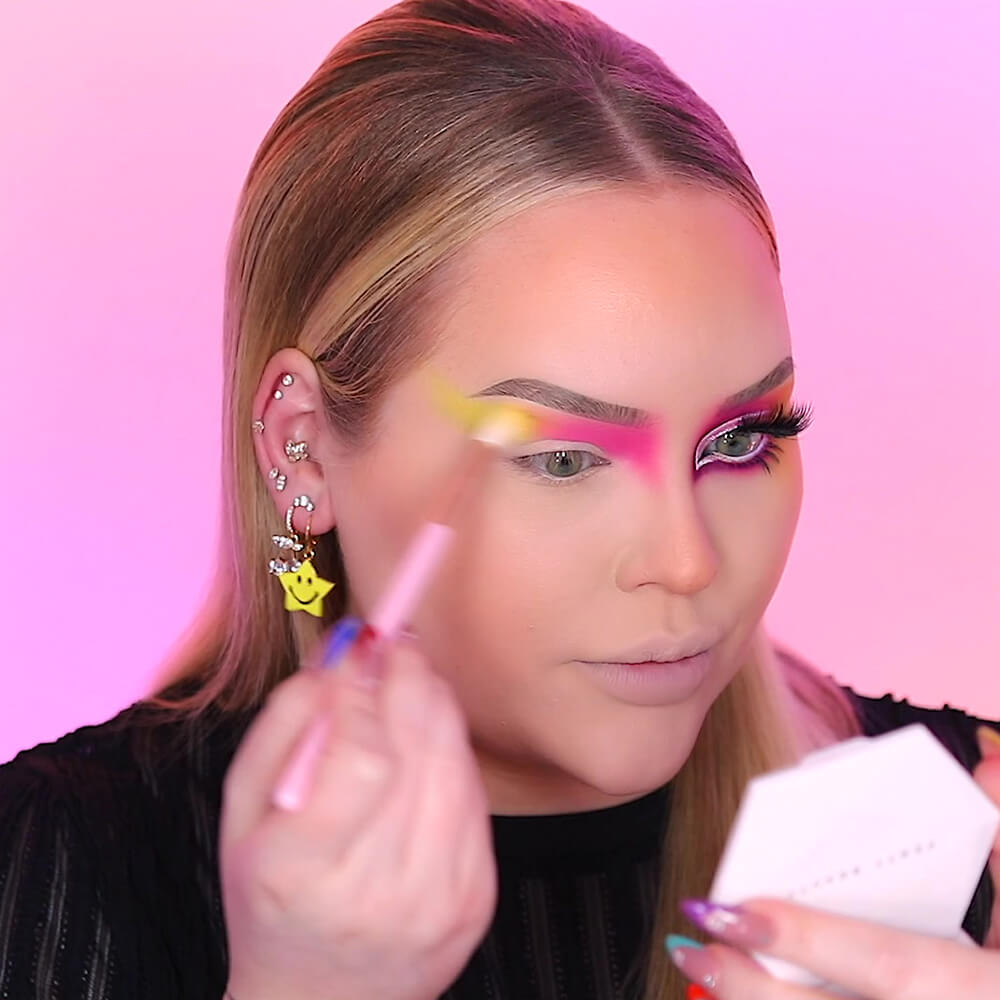
Wing VLA out towards the temples using dragging motions.
STEP SEVEN
Take Redemption and blend in between Blend & Snap! and VLA to create a smooth transition.
STEP EIGHT
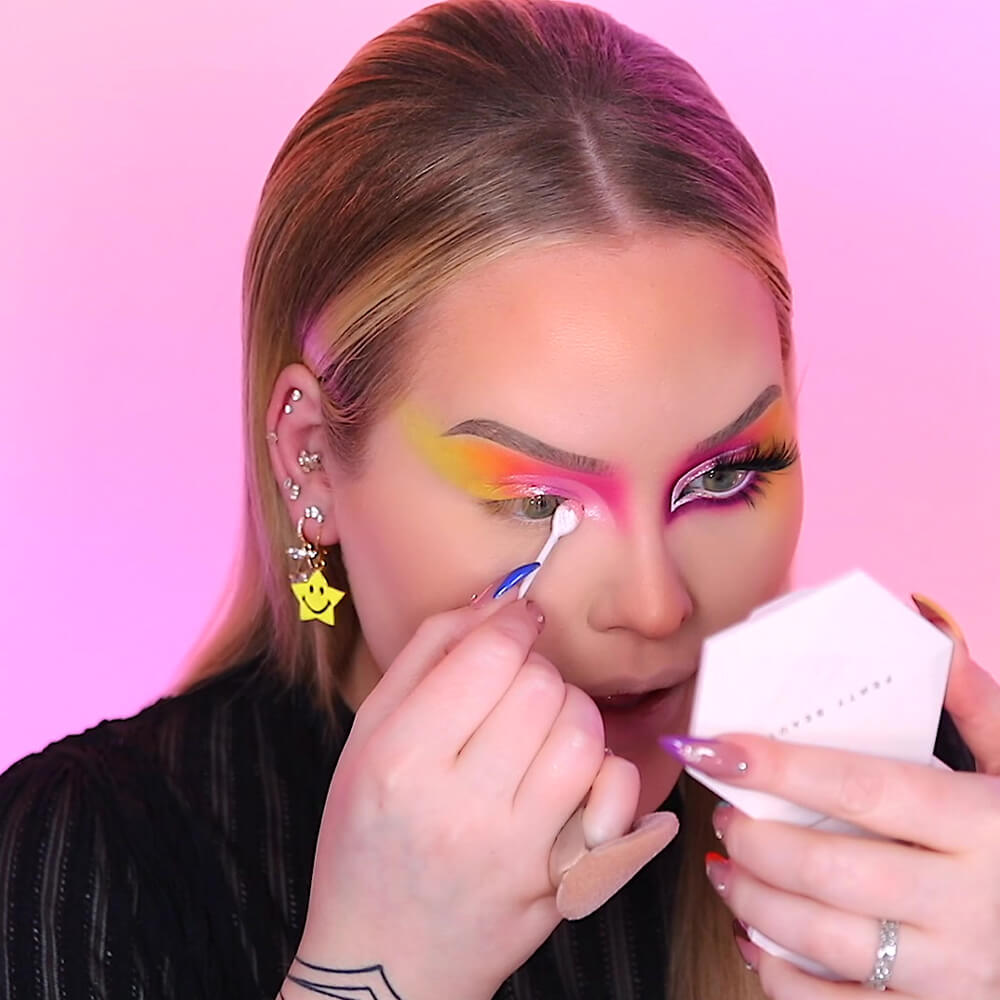
Cut the crease starting at the inside of the crease using stamping motions, bringing the concealer down the outer corner of the eye.
Cut the crease across the rest of the eye, allowing the concealer to fade out.
STEP NINE
Pack Pride over the crease and down the outer corner of the eye.
STEP TEN
On the bare outer corner, pack on VLA, bringing it out to meet the wing.
STEP ELEVEN
Add a dab of Redemption to create the transition.
STEP TWELVE
Apply Ivy to the inner corner of the eye for extra drama.
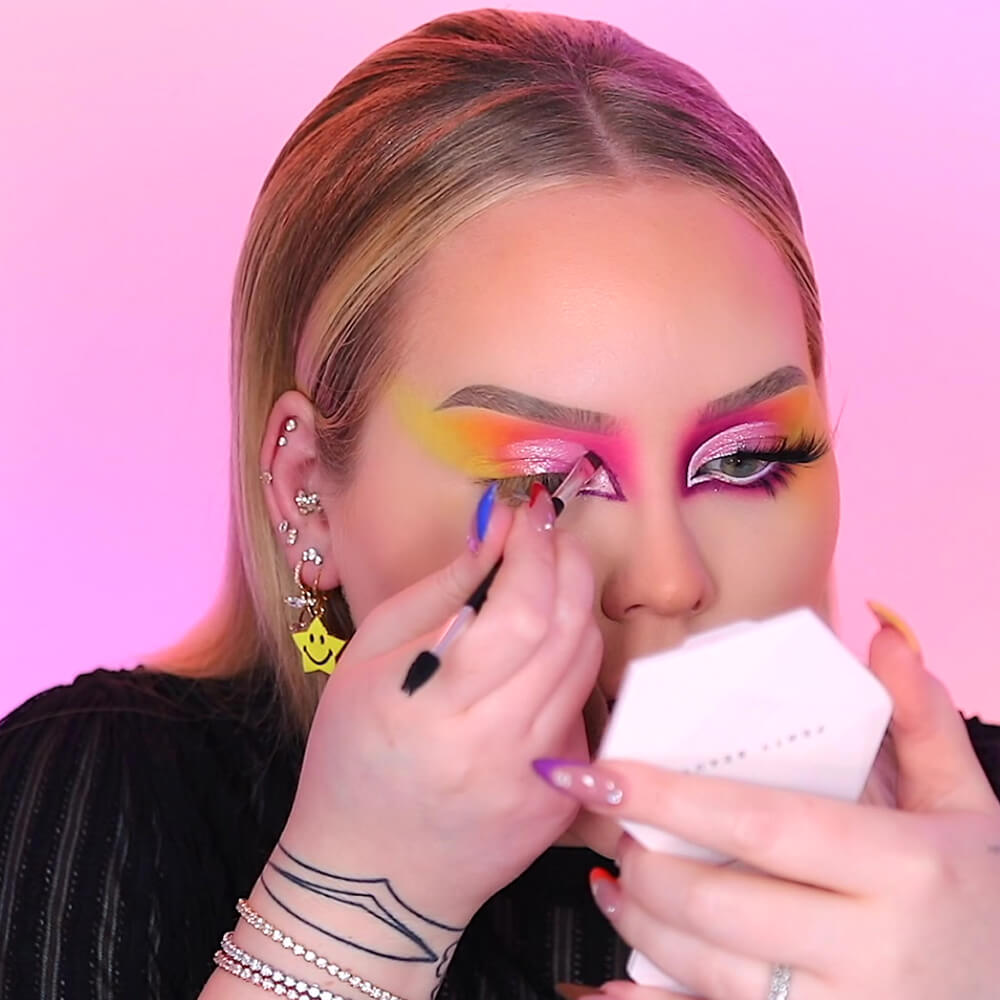
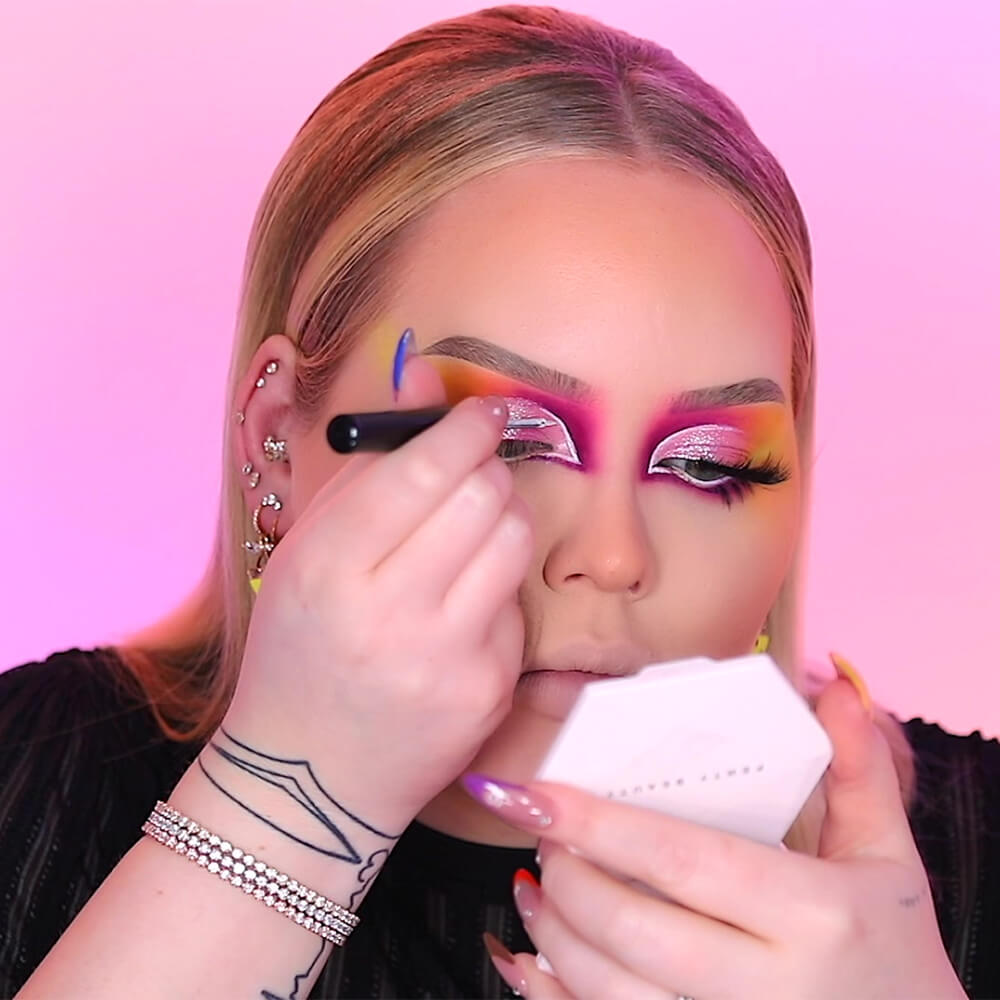
STEP THIRTEEN
With an angled brush, use Slasher to carve out the inner corner on the lower potion of the eye.
STEP FOURTEEN
Connect the line to the upper lid, following the line of the cut crease shape, before buffing out the harsh lines with a fluffy brush.
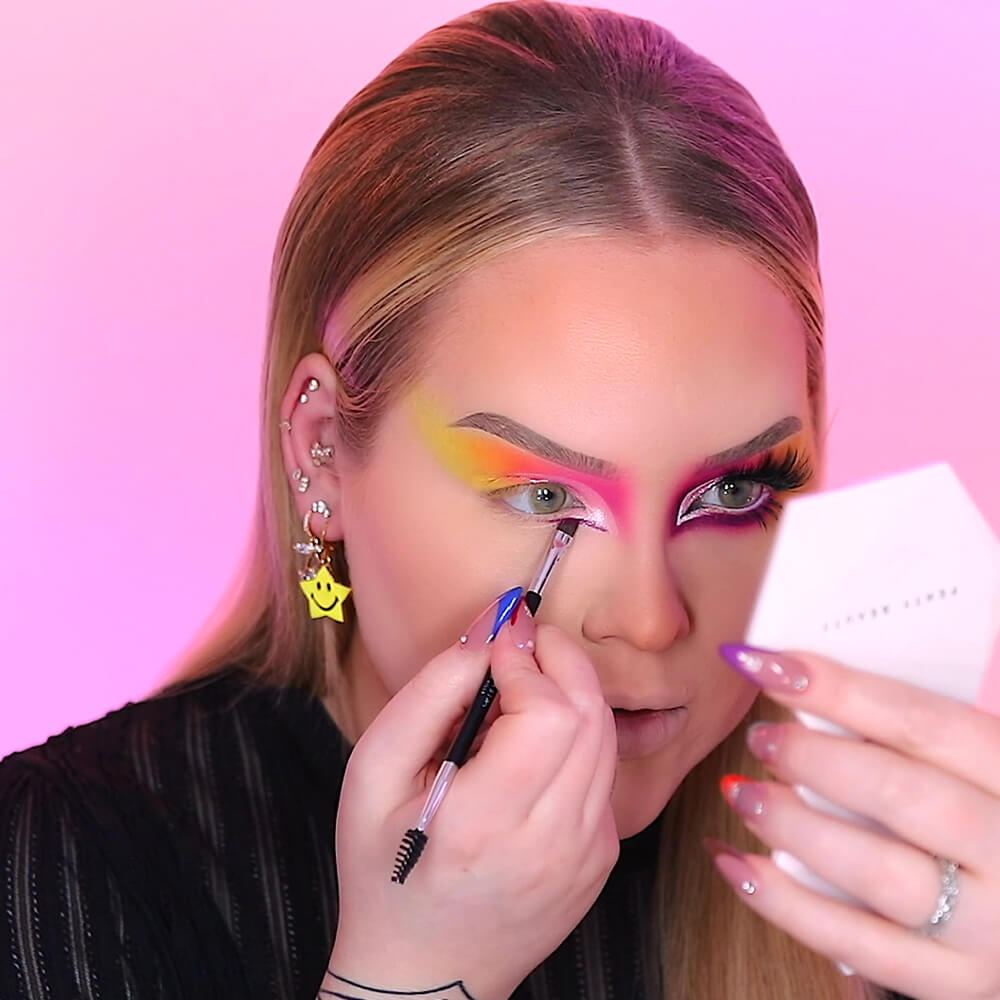
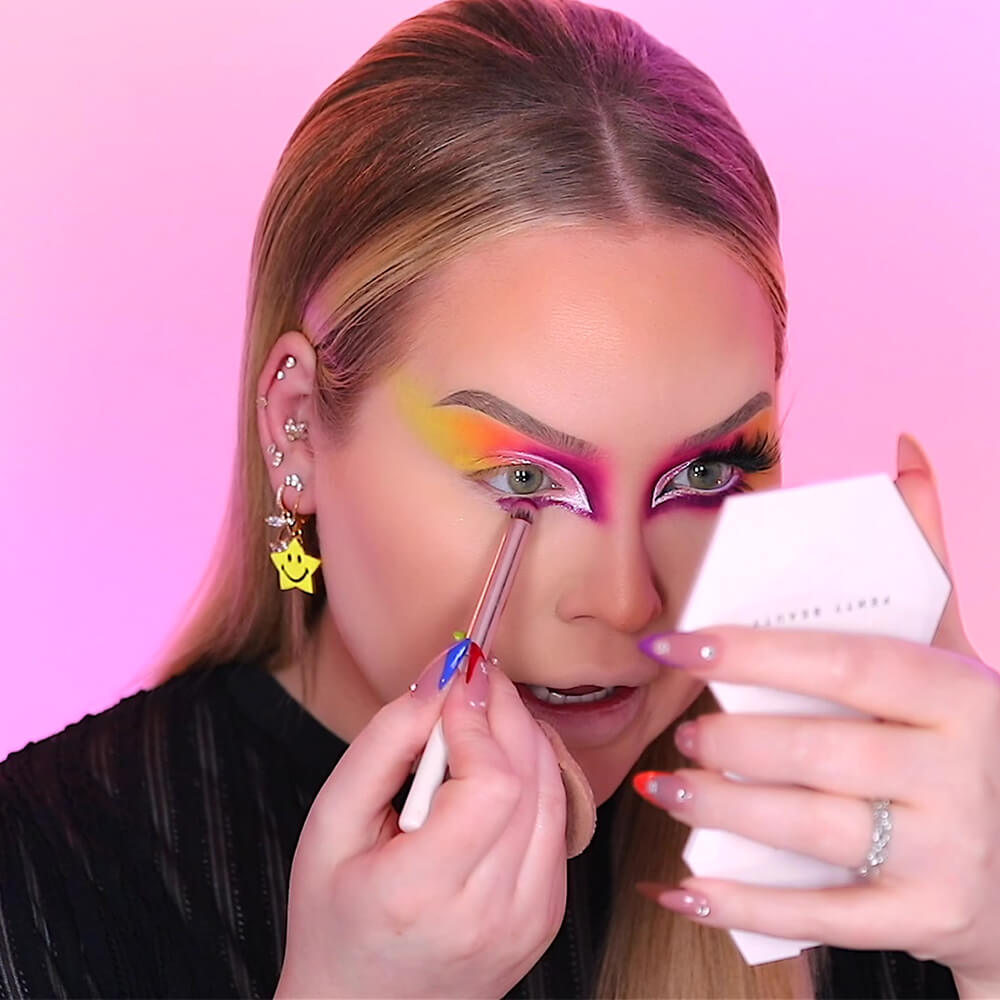
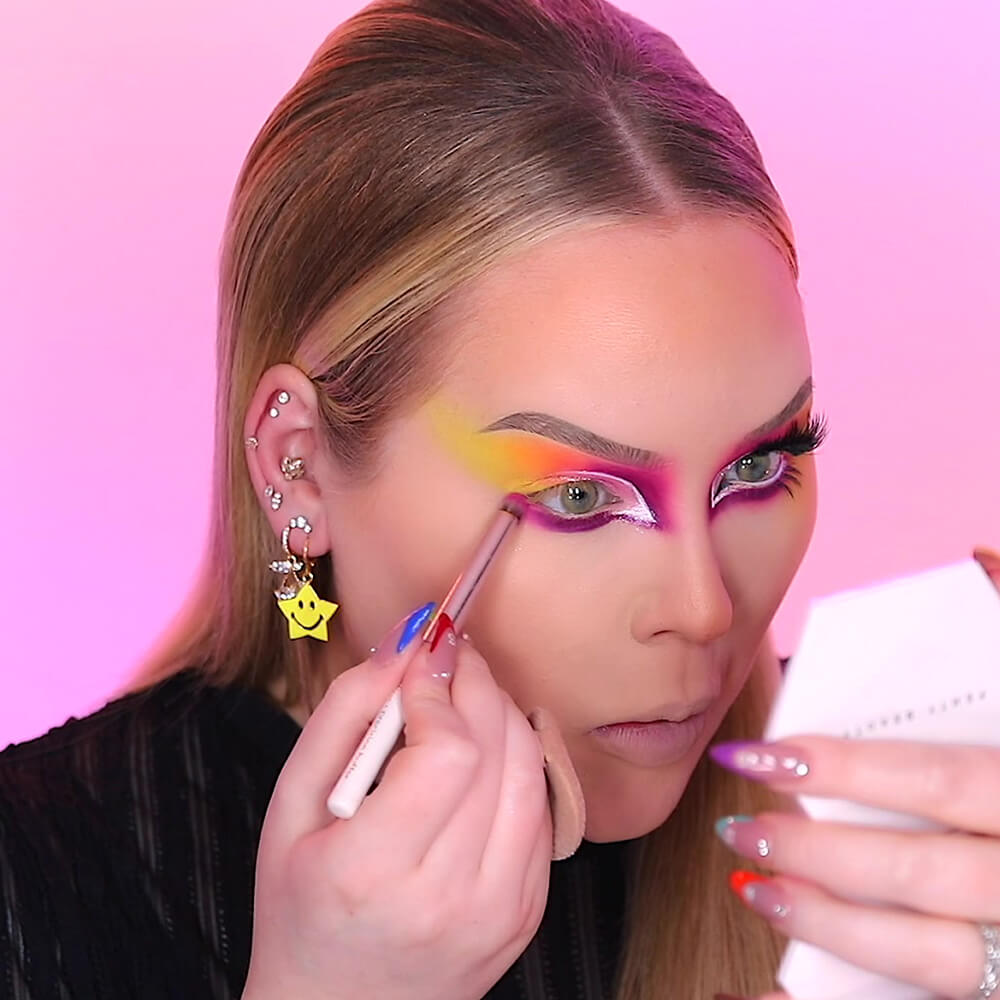
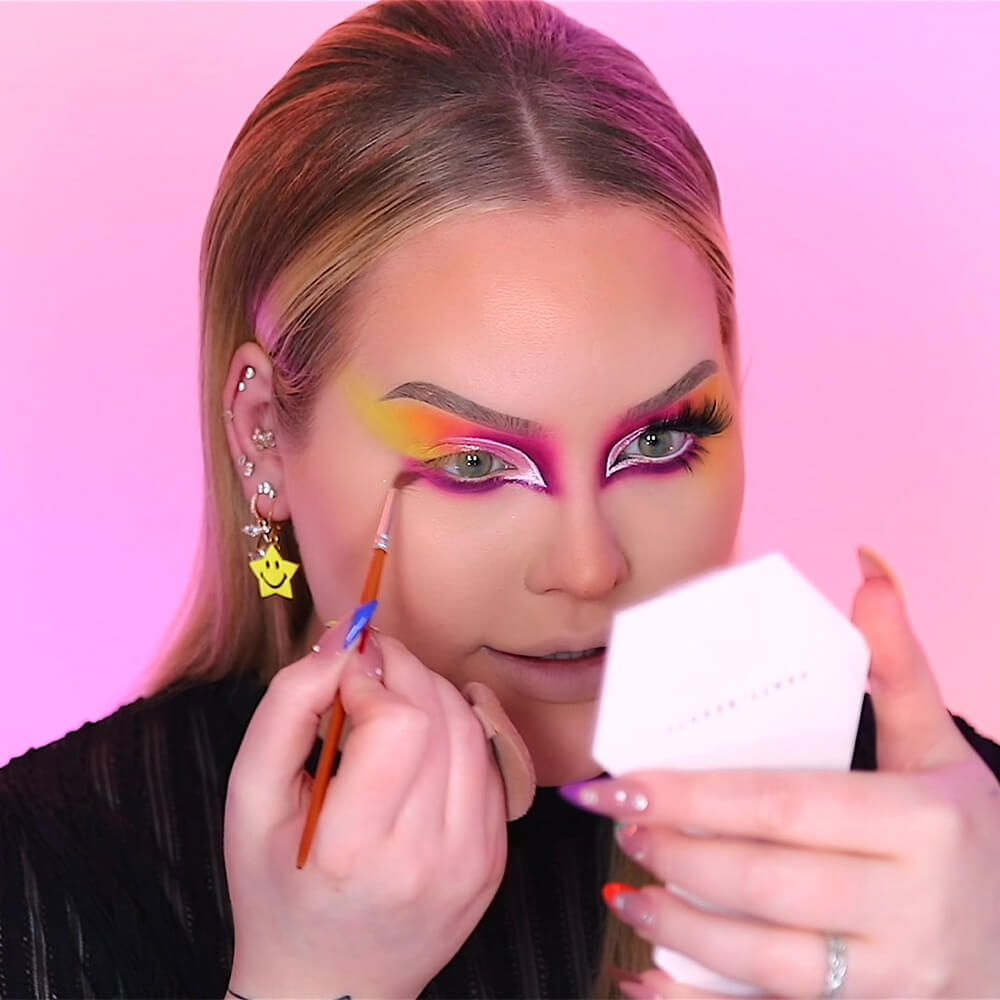
STEP FIFTEEN
Use a white liquid eyeliner to pull in the contrast.
STEP SIXTEEN
Apply Slasher to the lower lash line, blending out to the outer third.
STEP SEVENTEEN
Apply Blend & Snap! to the far outer corner of the lower lash line.
STEP EIGHTEEN
With a small blending brush, add Blend & Snap! to the edges of the lower lash colours to create a hazy look.
STEP NINETEEN
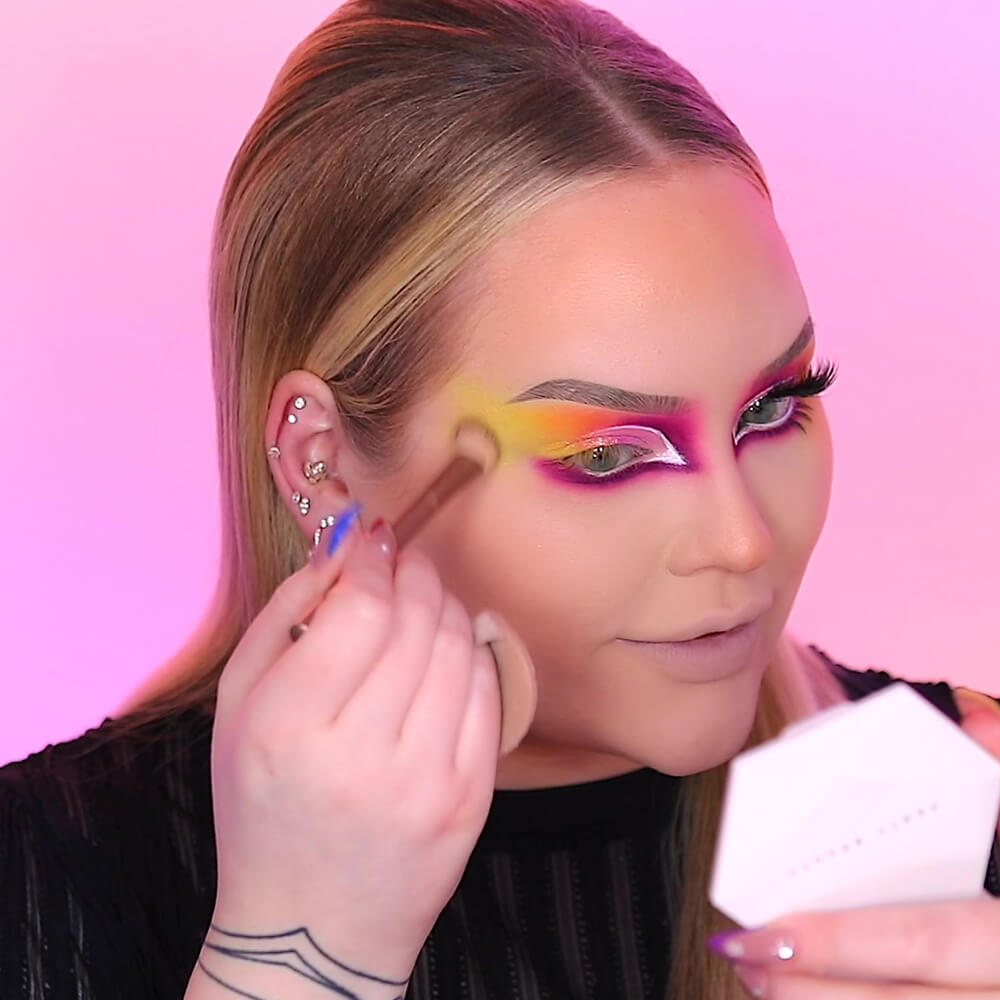
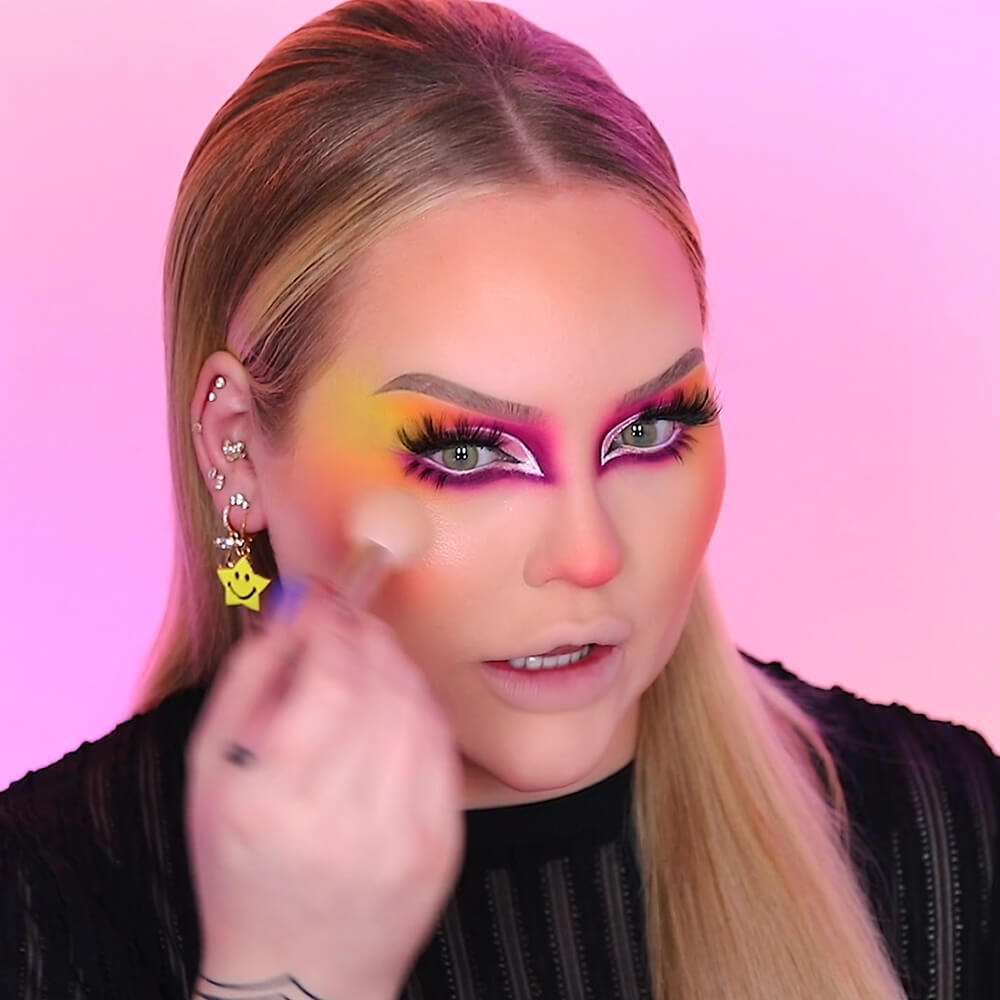
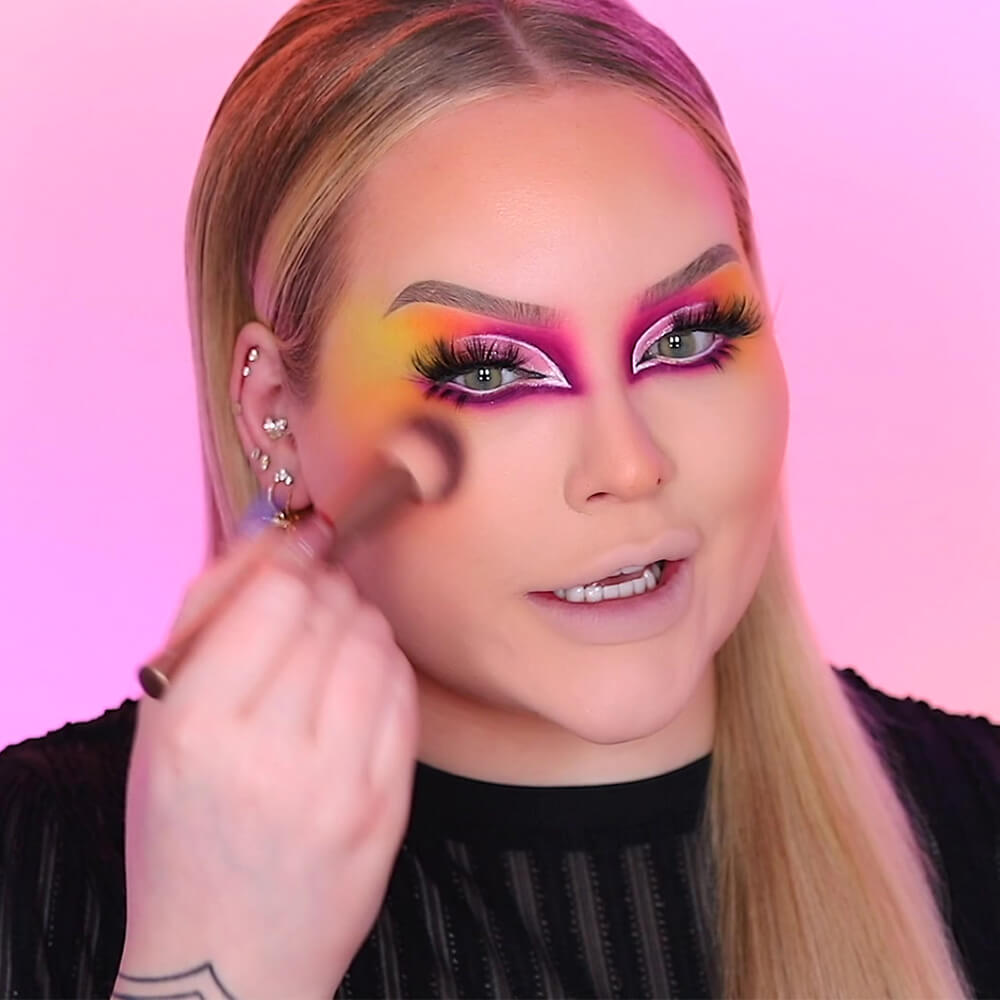
Blend VLA onto the temples, buffing in a dab of Redemption where you would usually highlight.
STEP TWENTY-ONE
Mix Redemption and Blend & Snap!, and apply to the cheekbones. Apply a dusting of Blend & Snap! to the nose.