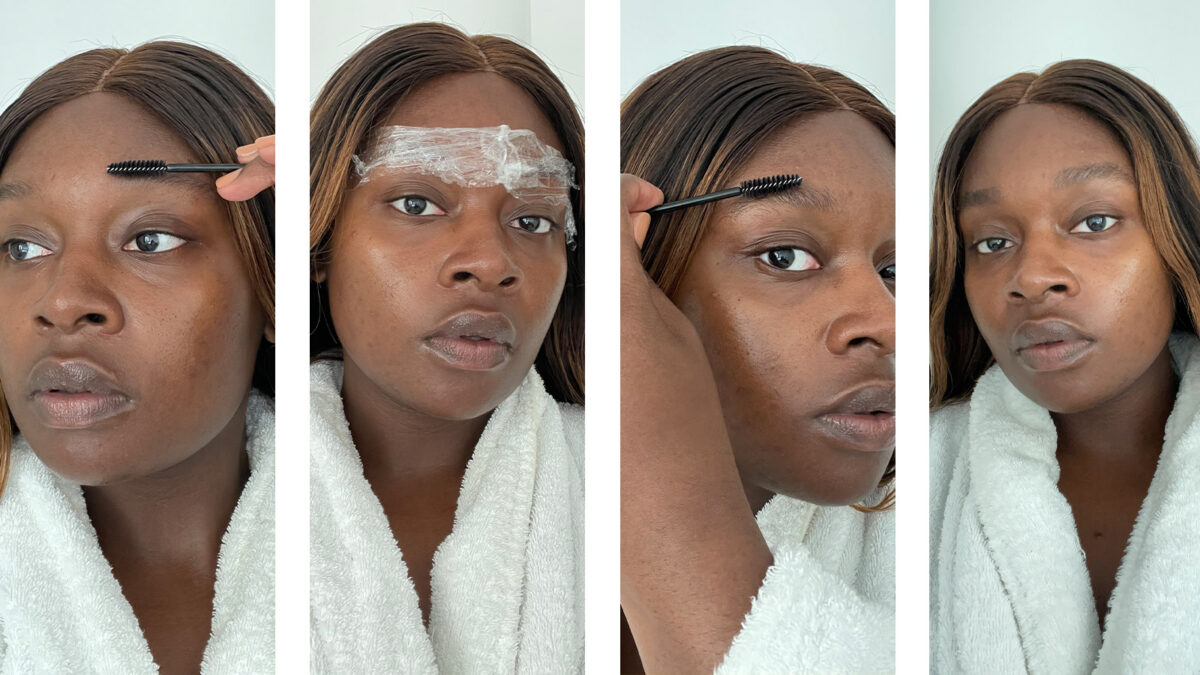
Whatever your brow shape, you can’t go wrong with the trending laminated brow look. For those who are unsure, a brow lamination involves semi-permanently perming the brows in place to create a feathered and fluffy look.
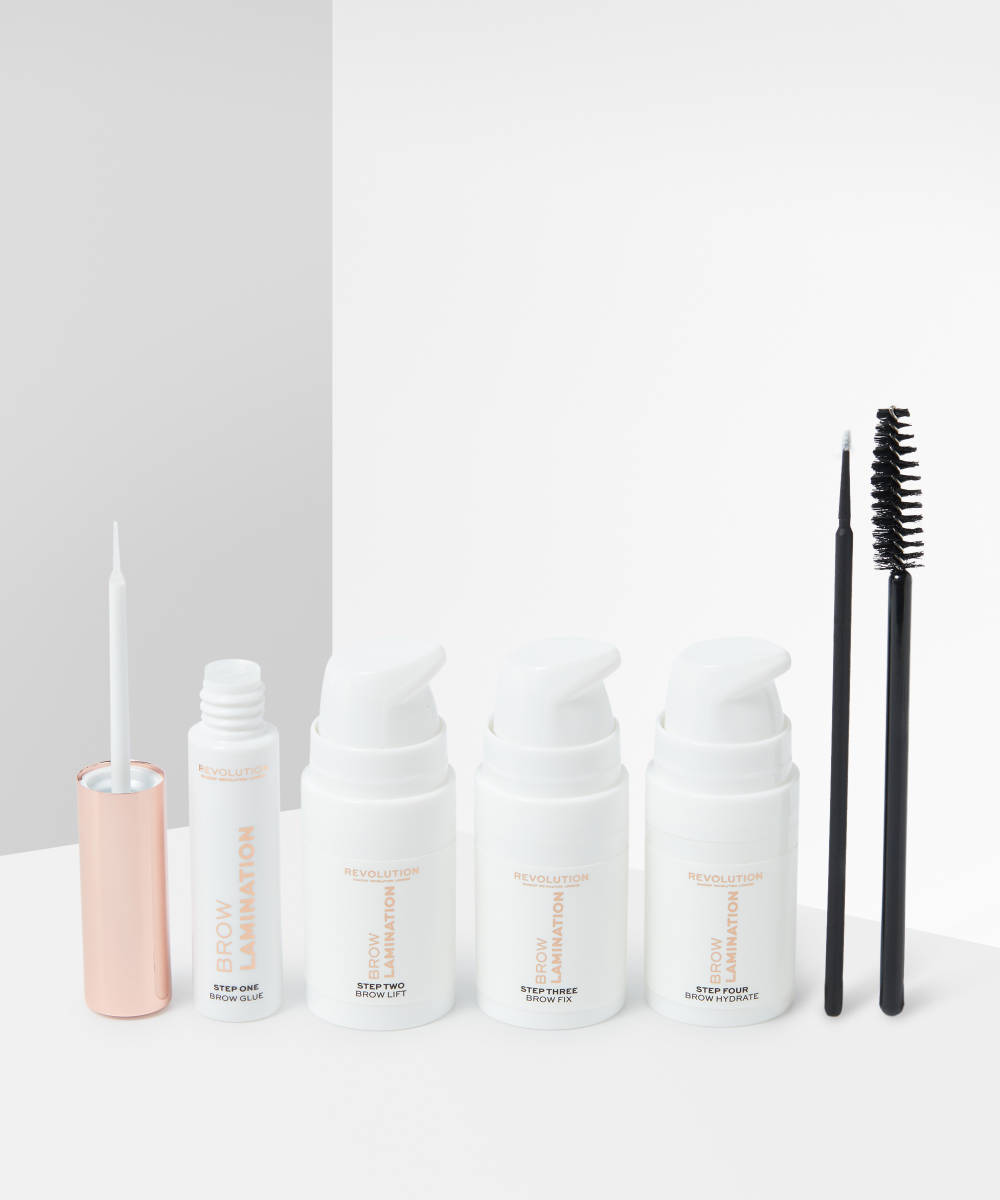
Whether you have unruly brows, over plucked brows, or barely existent brows, everyone can benefit from the treatment, and even better – we all can embrace it without having to join a beauty tech’s waitlist thanks to Makeup Revolution’s Brow Lamination Kit.
Keep scrolling to read our beginner’s at-home guide to brow lamination.
STEP THREE
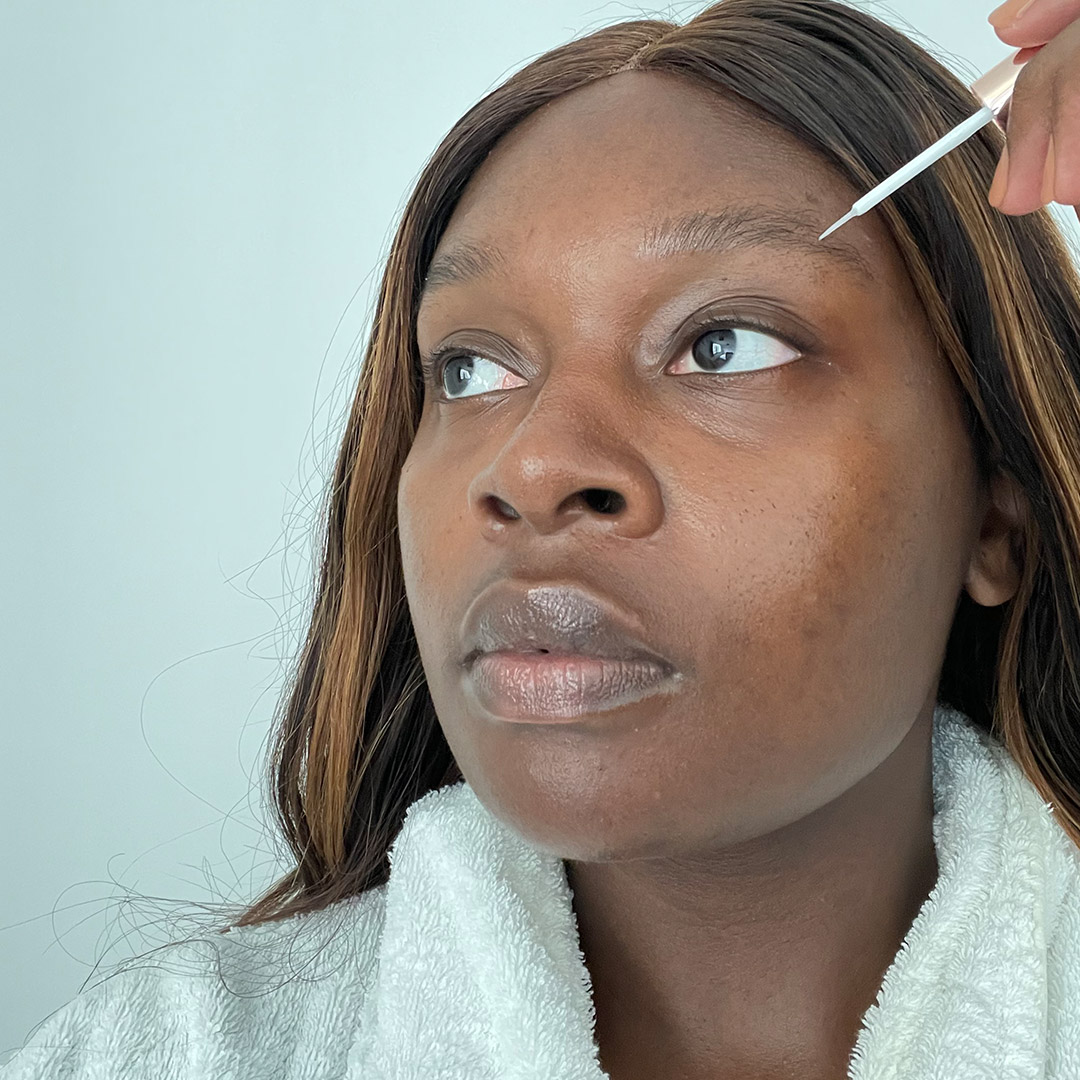
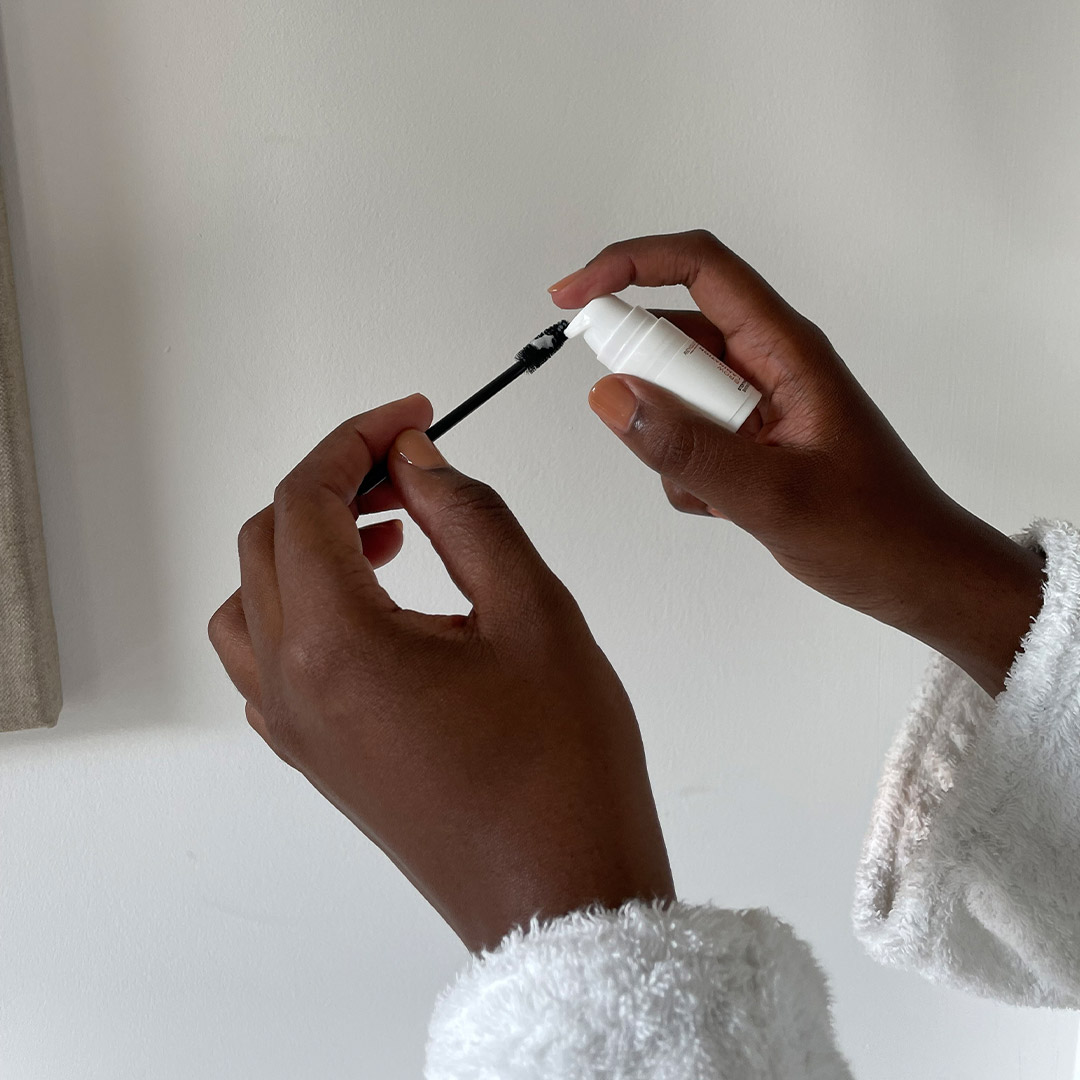
Take the Brow Glue included in Makeup Revolution Brow Lamination Kit and lightly stroke it through the brows in an upward motion using the micro applicator wand.
STEP FOUR
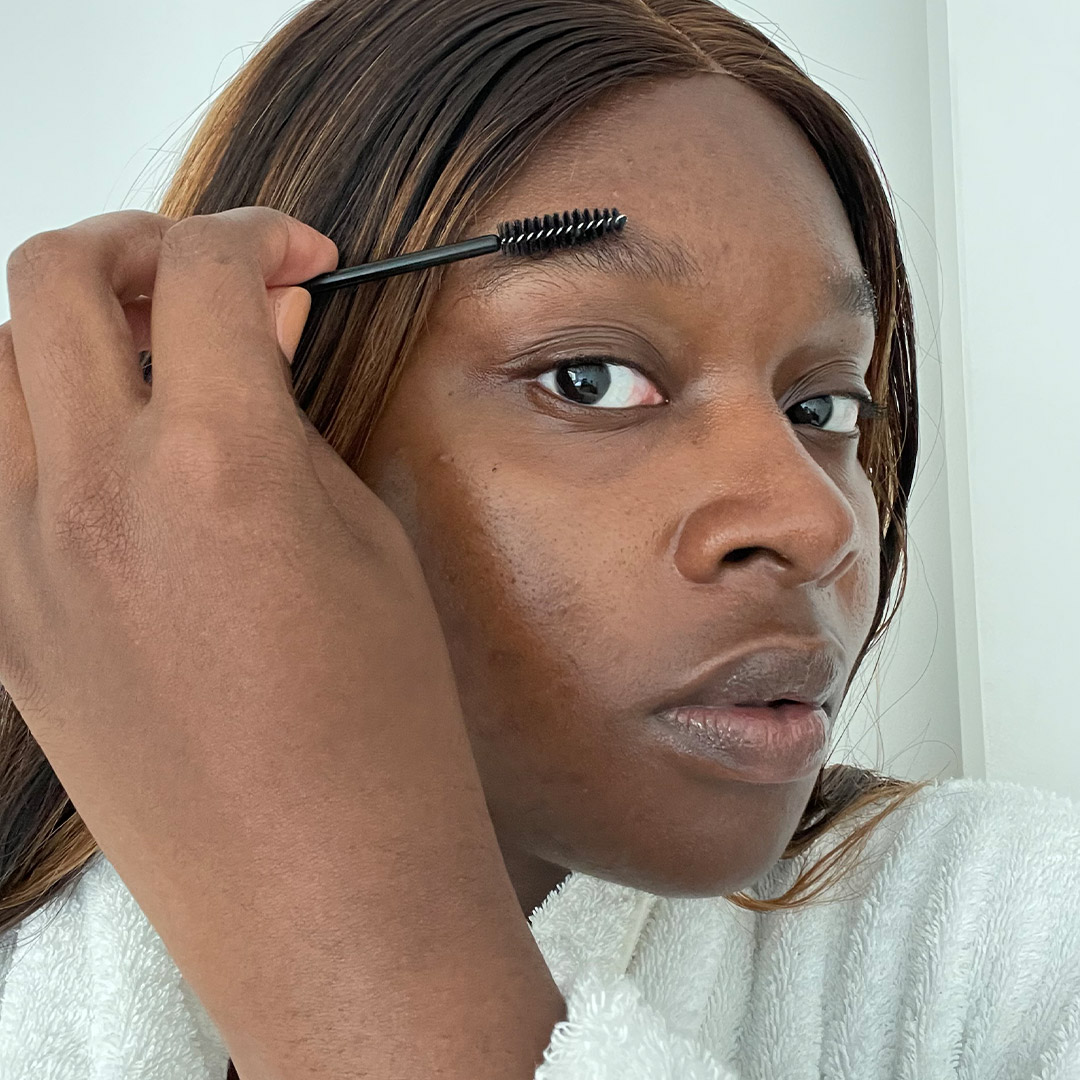
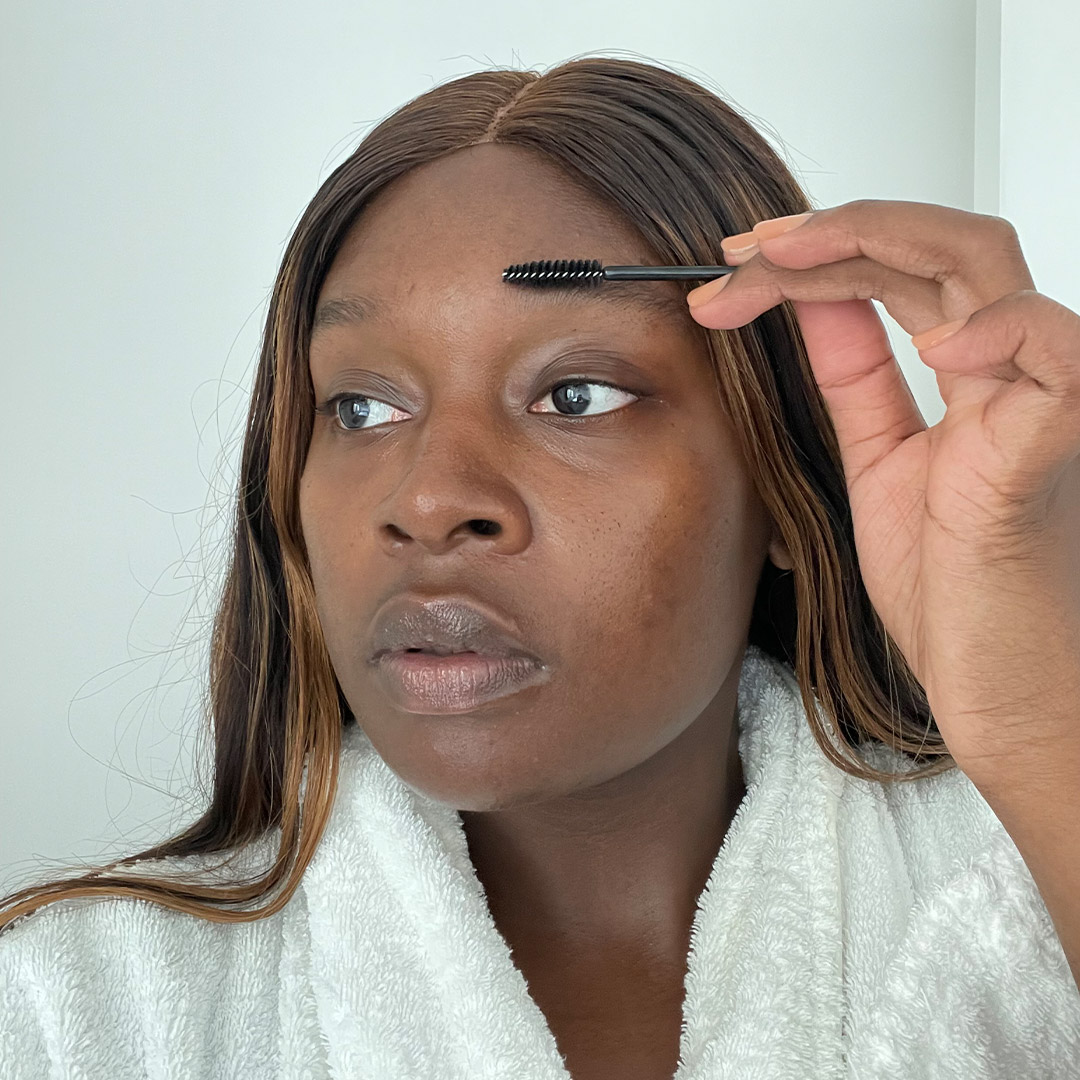
Next, brush the Lifting Solution through the brows using the spoolie, ensuring all the brow hairs are covered from root to tip.
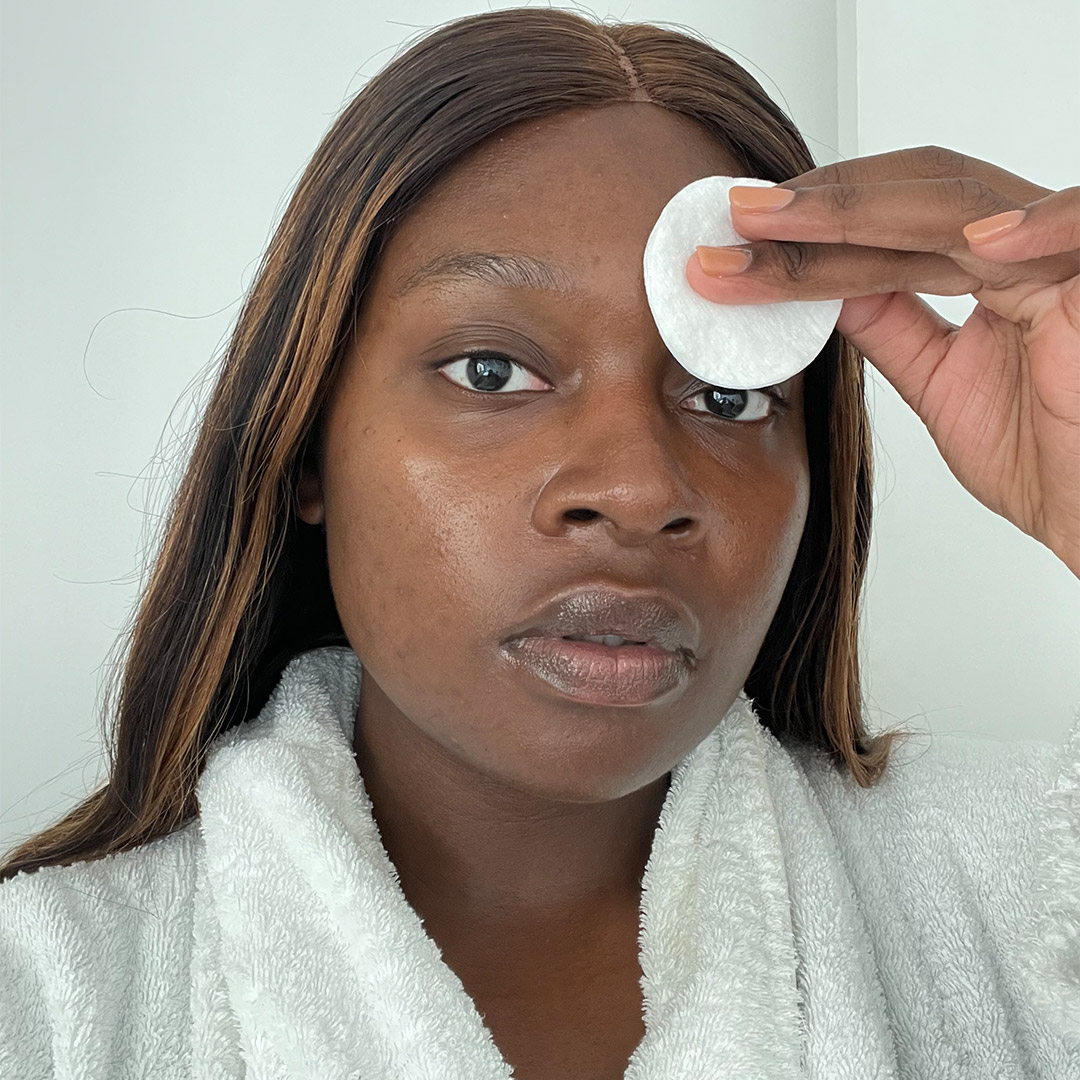
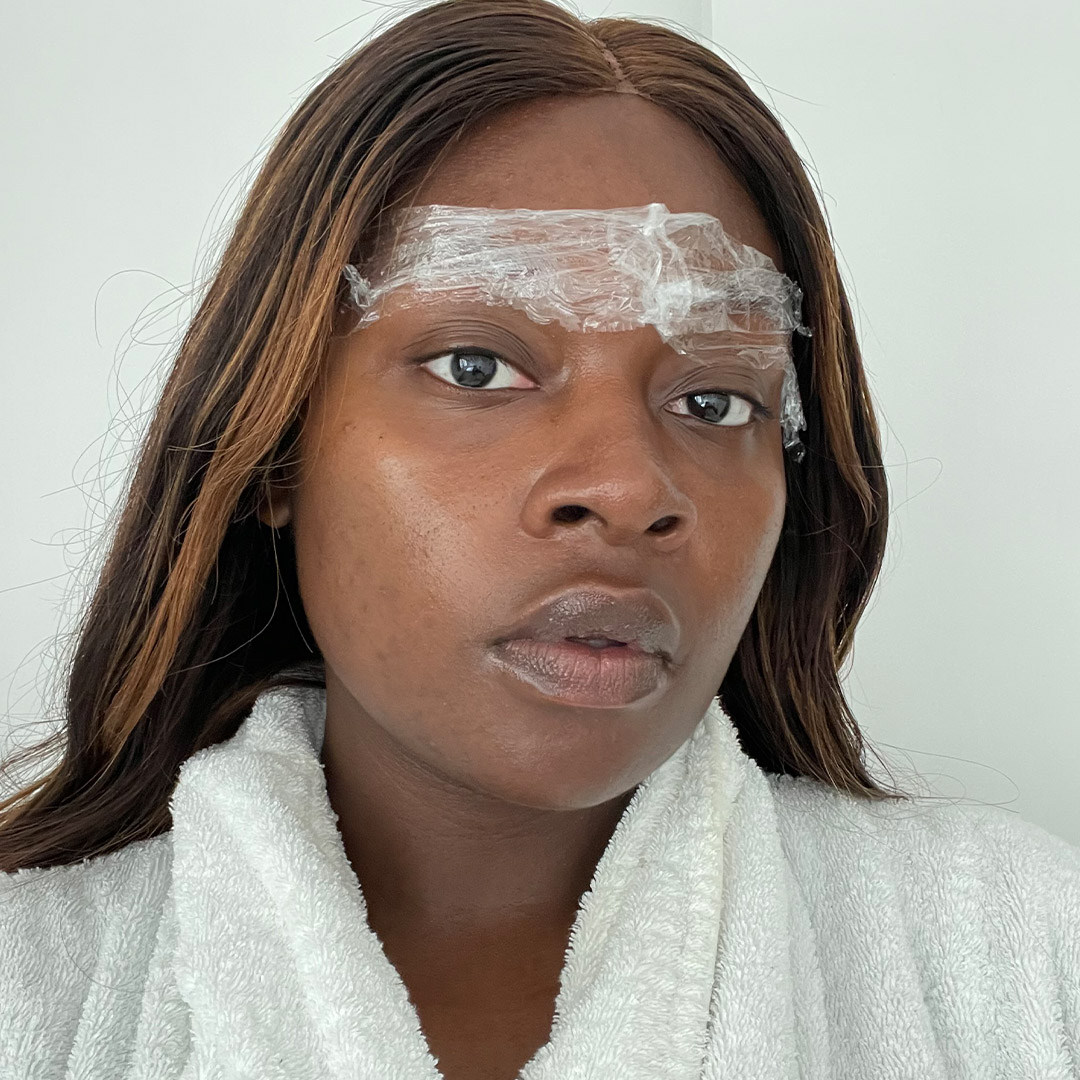
For an enhanced lifting effect, place some cling film over the brows and leave in place for six minutes before gently removing and wiping off the excess with a dry cotton pad.
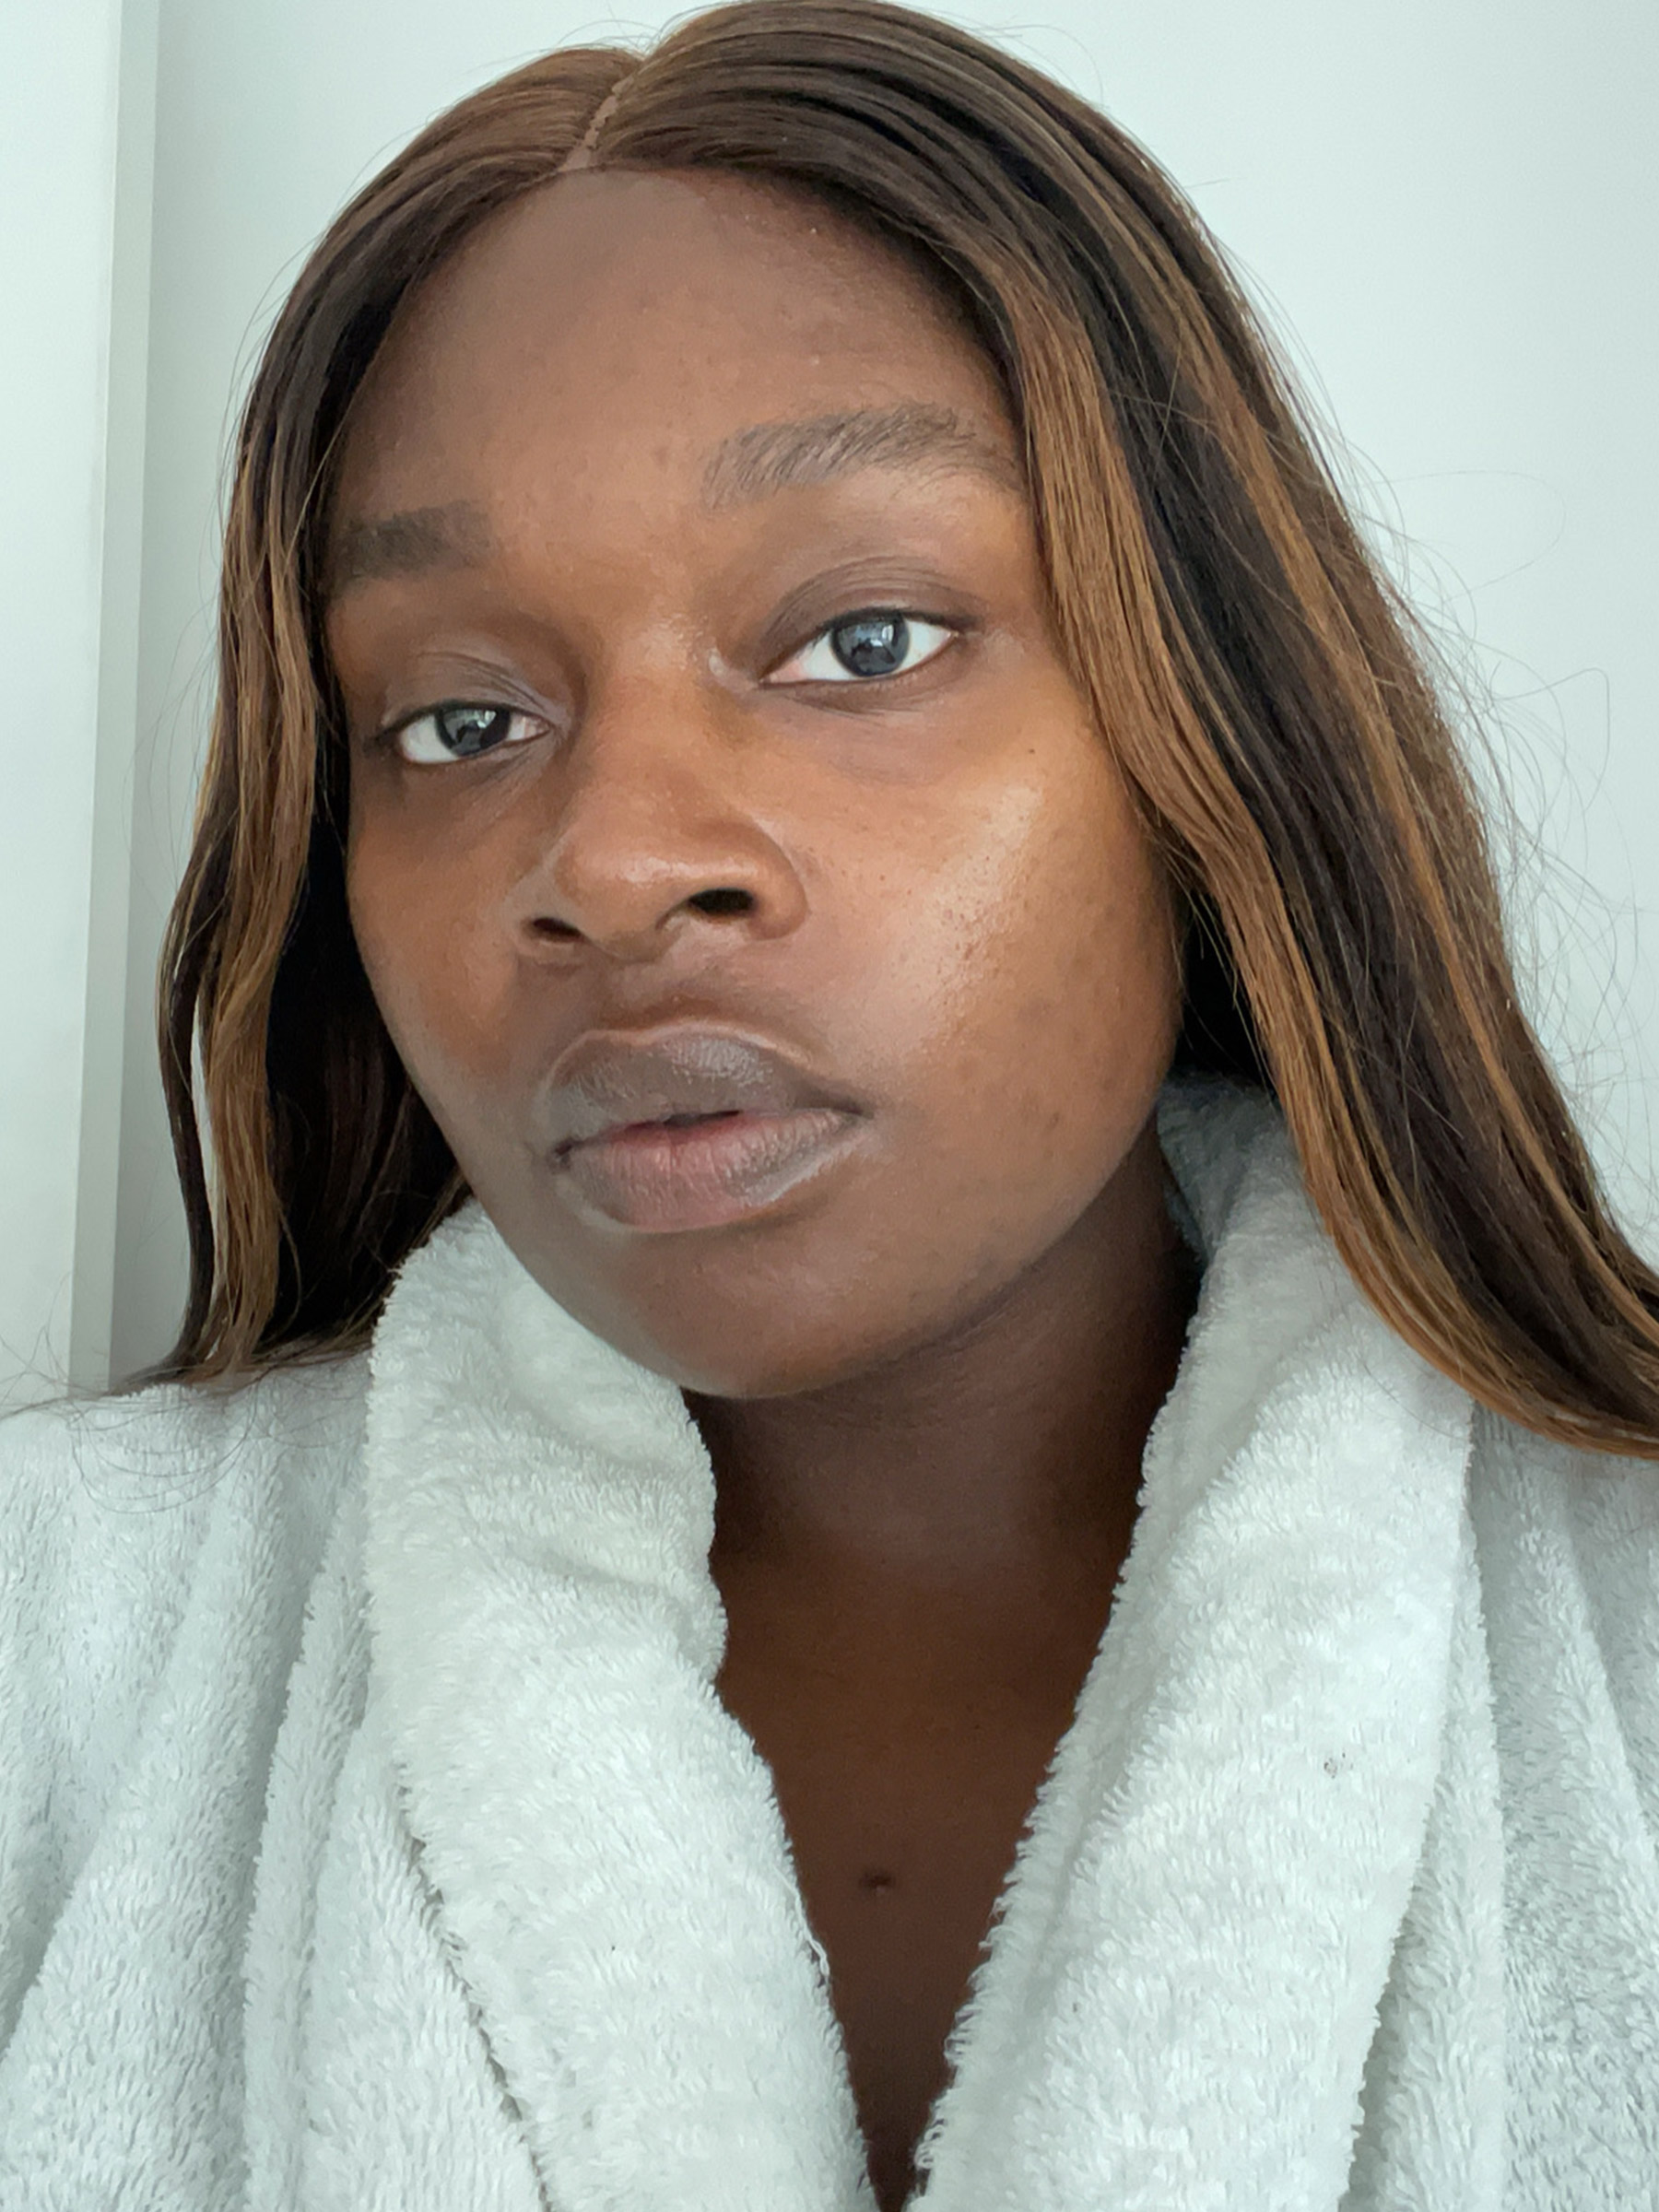
FINISHED LOOK
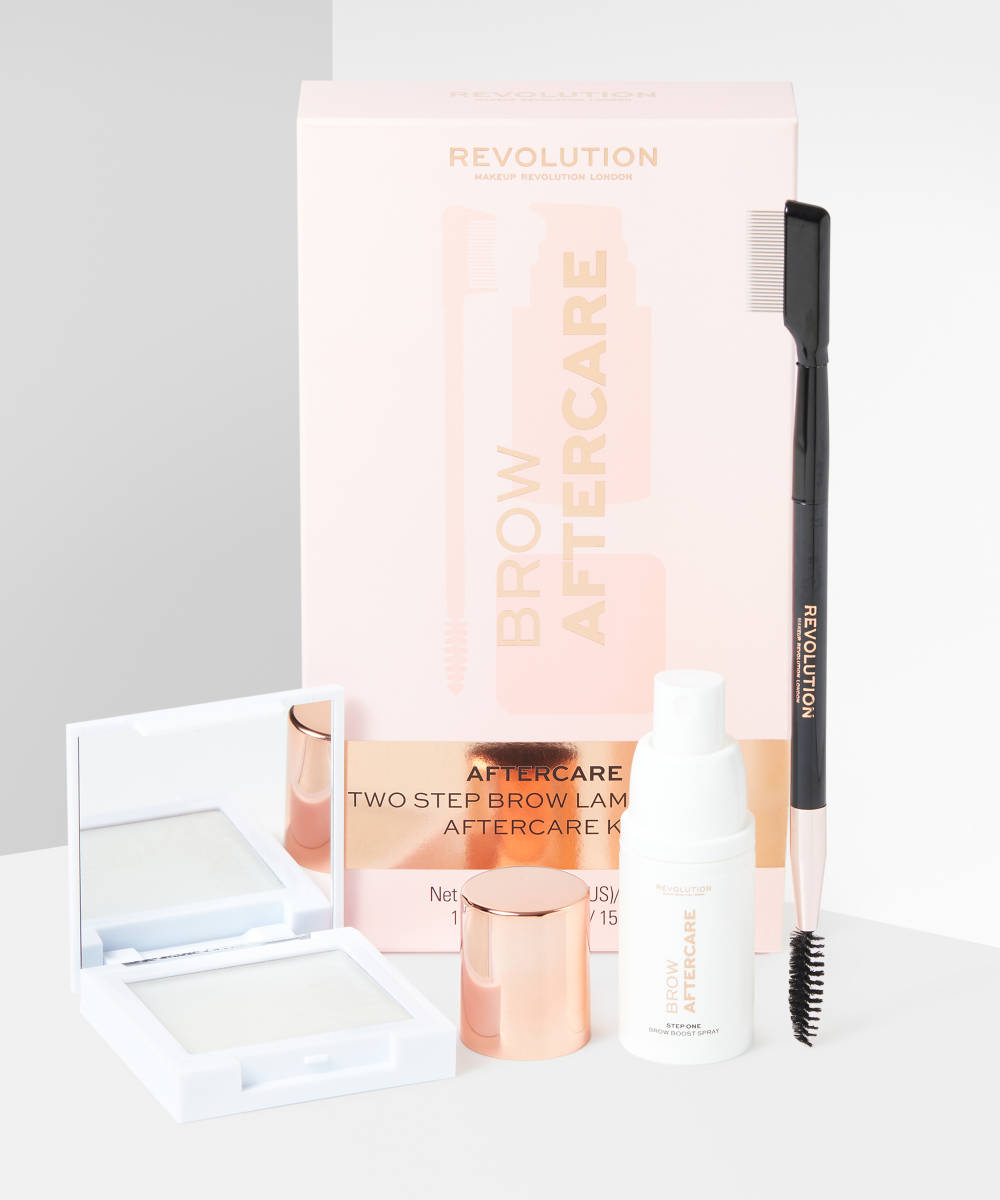
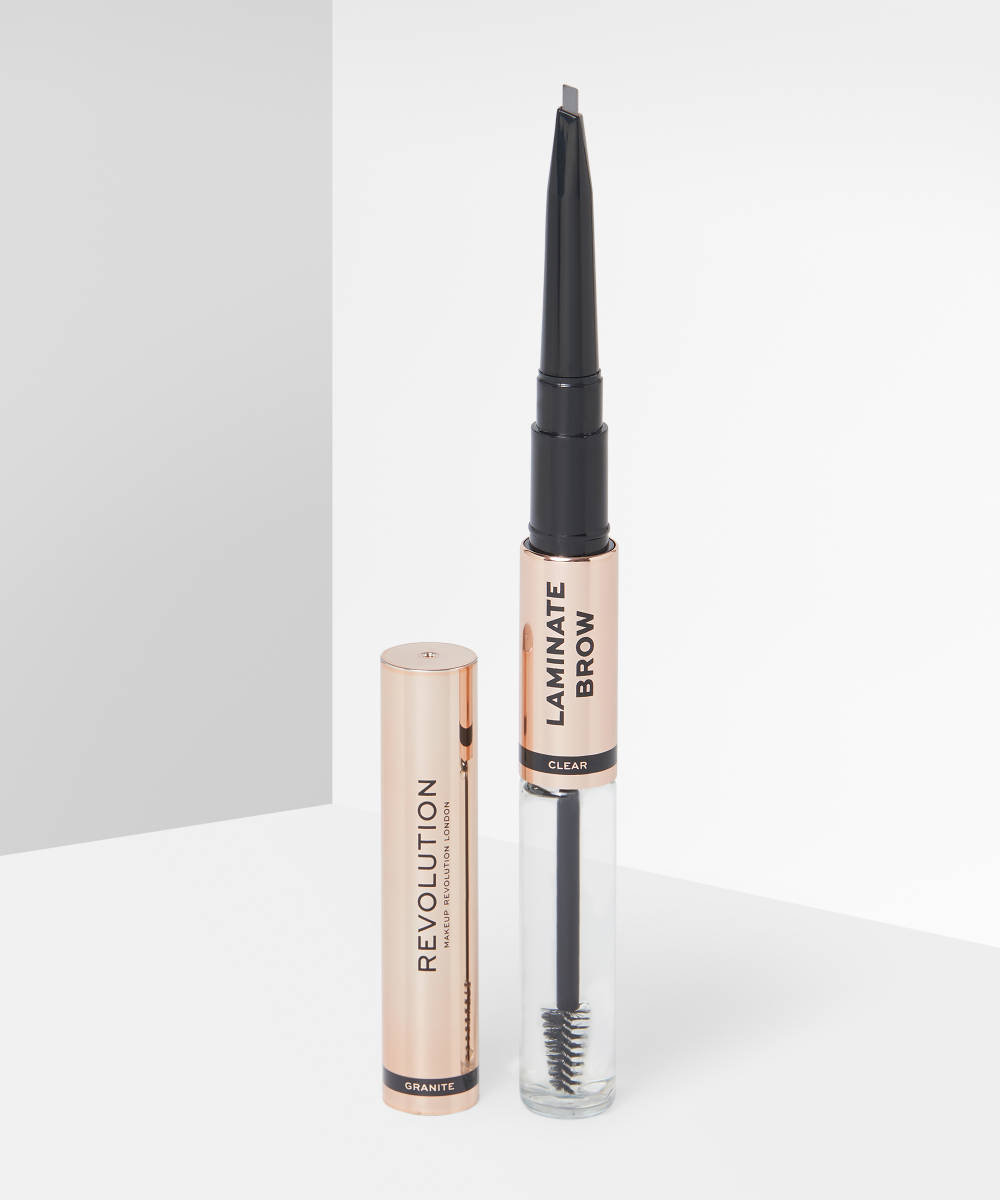
Keep your freshly laminated brows looking and feeling feathery with Makeup Revolution’s Brow Lamination Aftercare & Growth Set. If your brows need filling out, try using Makeup Revolution’s Laminate Brow for a boost.
